
DIY: Replace a head Gasket. My civic would randomly get hot and I found there to be a greyish sediment in my coolant, as well as a very fine oily substance floating on the surface. My head gasket may not have been blown, but there was definitely a leak from the combustion chamber into the coolant passage.
The engine should be cool before starting.
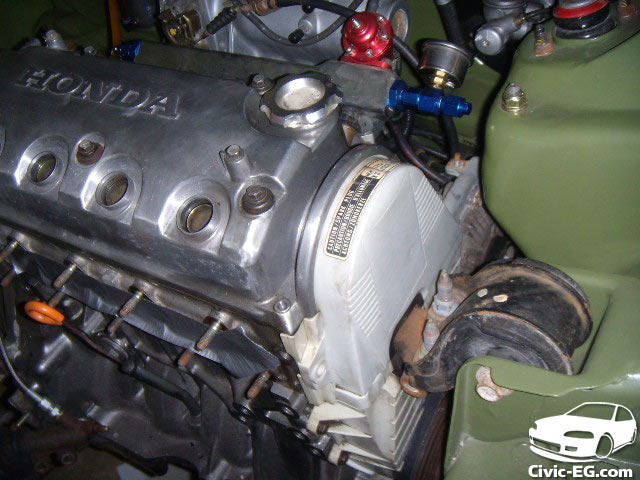
Take note of the order of your plugs, then remove them.
Drain the coolant from the petcock

Removing the radiator cap will help it drain faster. While it is draining, disconnect the o2 sensor and un-torque the header bolts (evenly in the correct order).
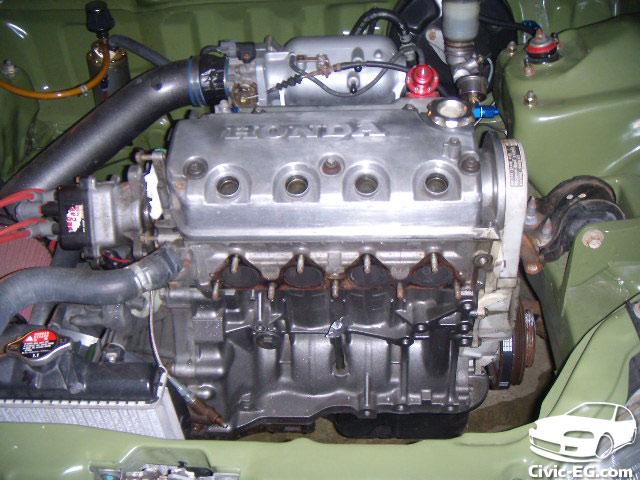
Then on the intake side, un-torque all the bolts (evenly in the correct order). If you don’t have a small enough wrench or ratchet to get the middle one through the hole in the middle, then you’ll have to reach it from the bottom of the car.
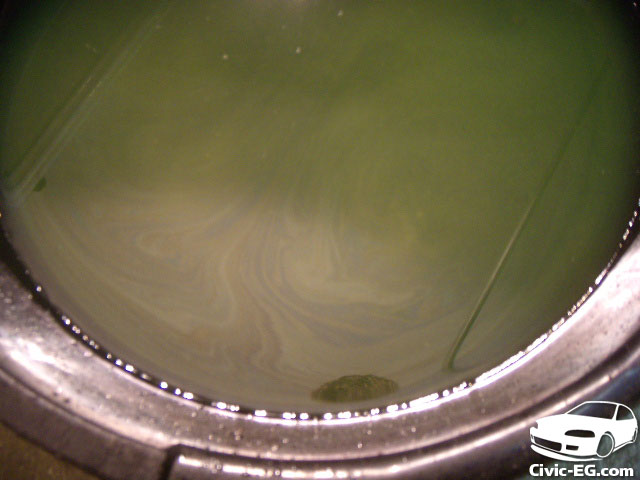
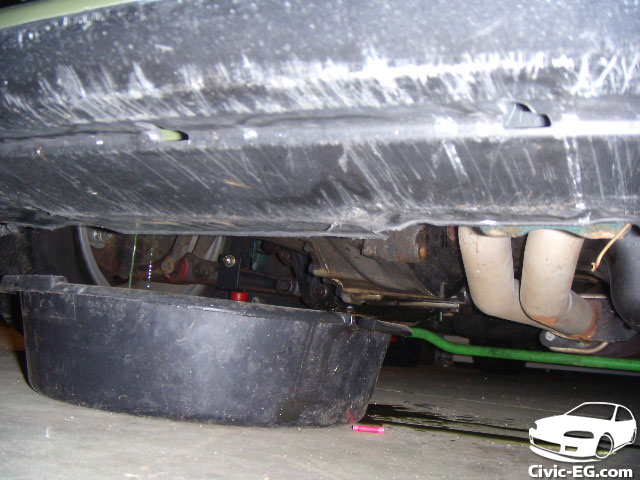
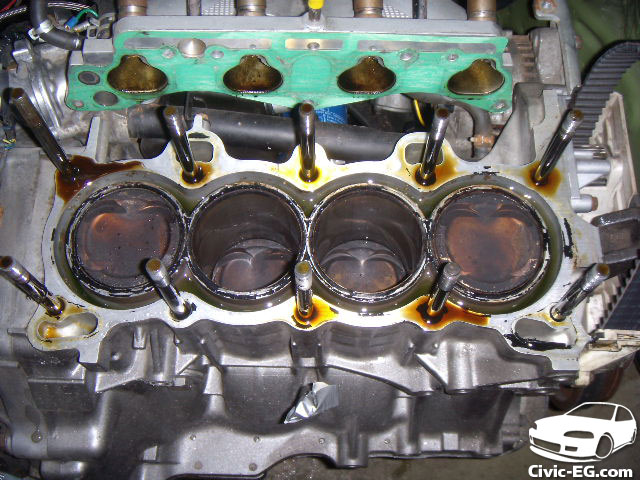
The coolant is through draining. Look at it in the right light and you can see the oily film on the surface. Yep that is not good, but it’s better than having it look like a milkshake, indicating a complete mixing of oil and coolant.
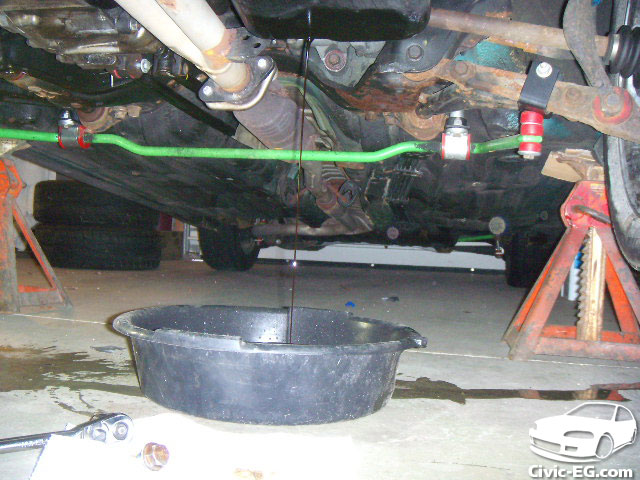
Next drain the oil. You could probably get by without doing this step, but now is a good time to change it.

Disconnect the harness & coolant hoses from the head. (the towel was stuffed into the dizzy hole to stop oil from dripping out)
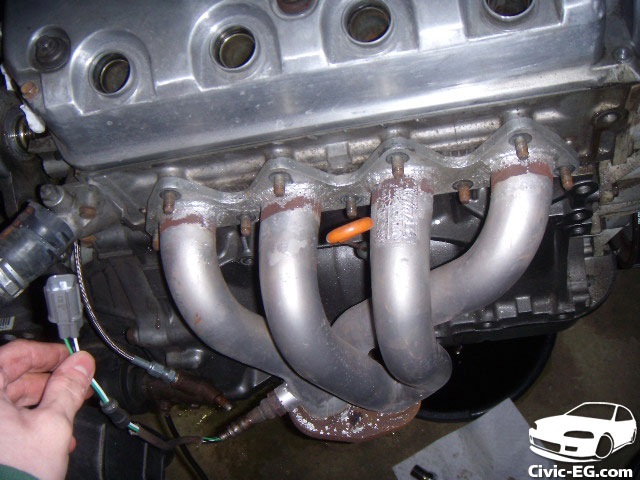
After the oil has drained & you are putting the drain plug back in, unbolt the 2 bolts holding the header to the cat. Then finish removing the 9 header bolts on top and remove the header.
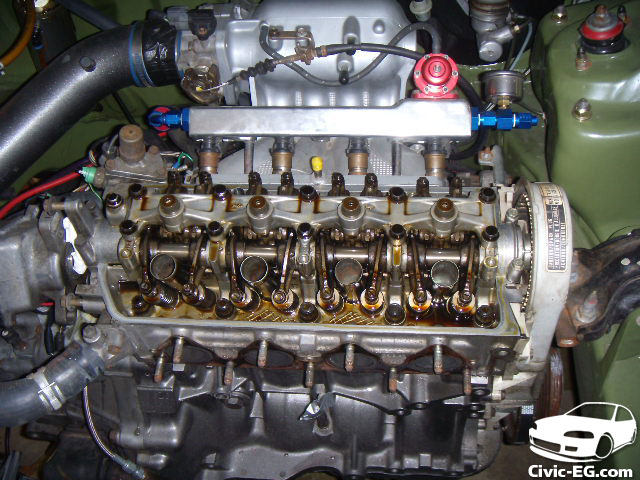
Unbolt the valve cover bolts (evenly in the correct order) and remove the valve cover.

Unbolt the 2 10mm bolts holding the upper timing belt cover & remove it.
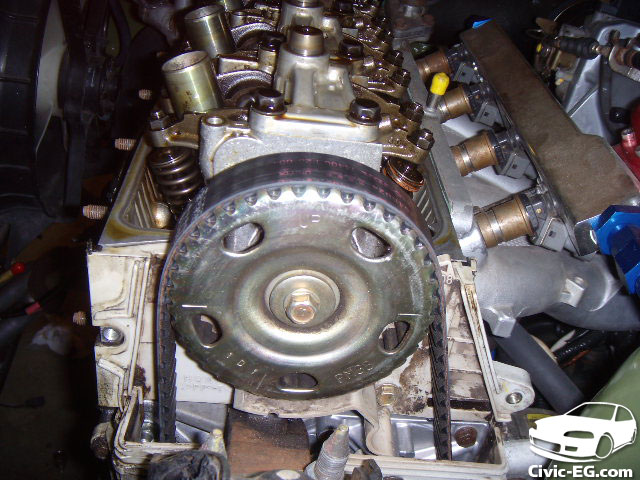
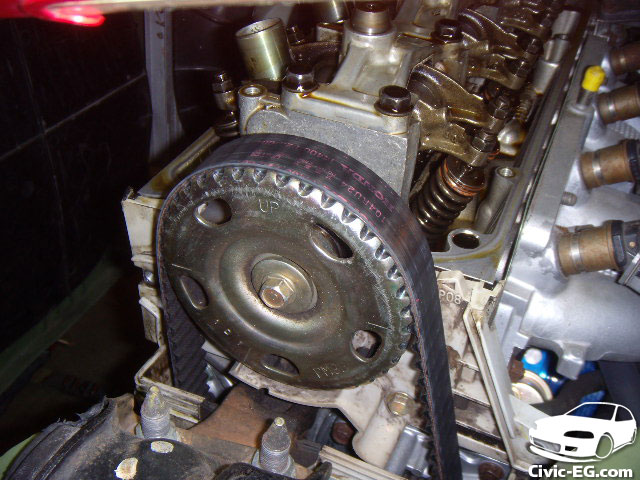
Check to be sure that the timing is at Top Dead Center (TDC) just like in the pic. This will make your life easier should the position of the cam or crank change while you have everything apart. Leave the transmission in neutral (or park) so that if someone accidentally spins one of the front wheels while it is on jackstands, the crank will not move.

If it is not set at TDC, then turn the crank pulley by hand until you reach TDC.
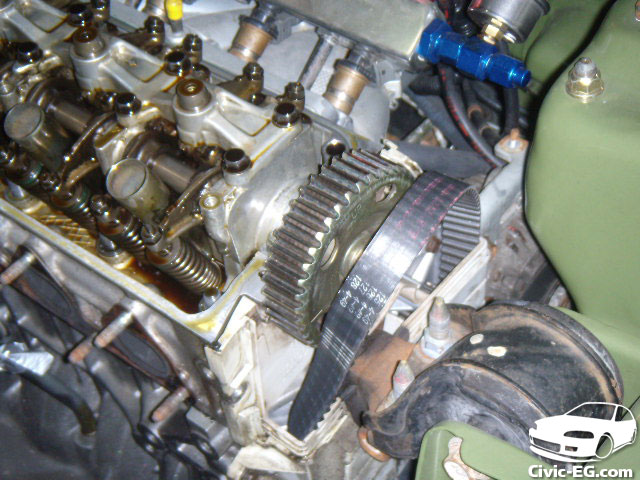
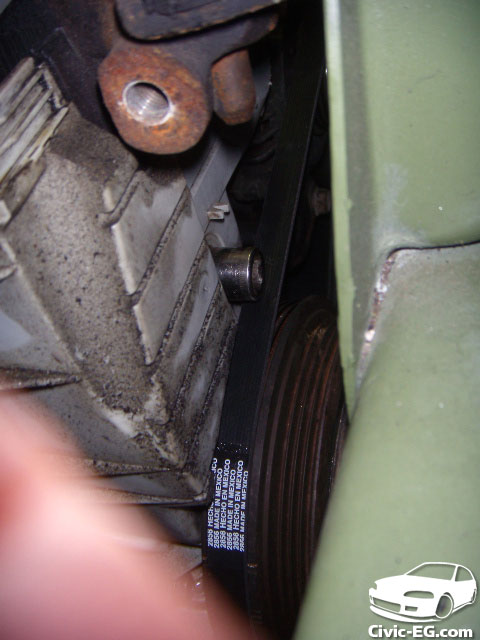
Loosen the timing belt tensioner bolt and then you will get the slack you need in the timing belt to slide it off.
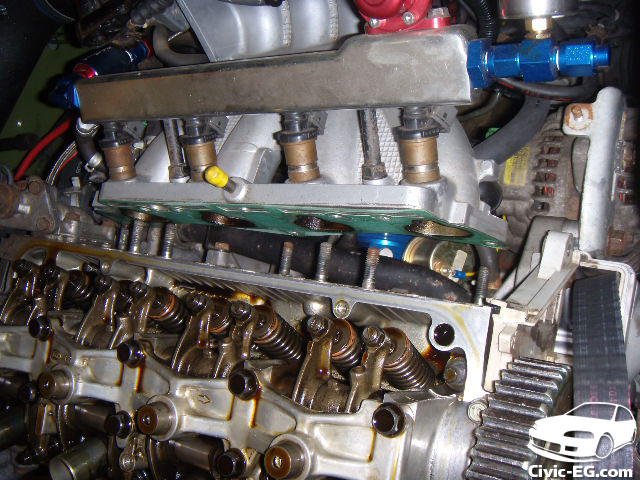
Next pull the intake manifold away from the head.
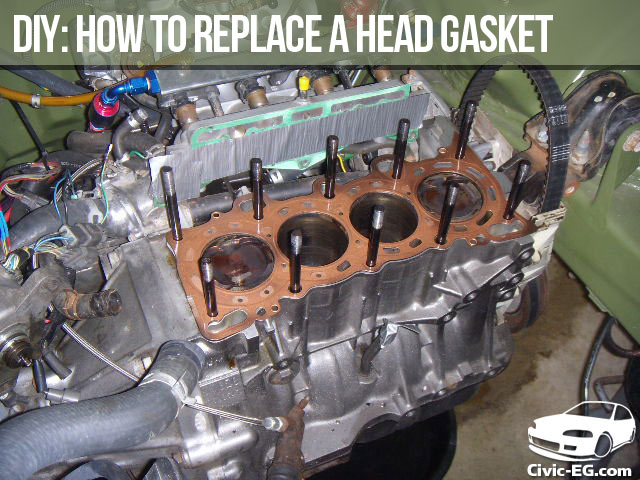
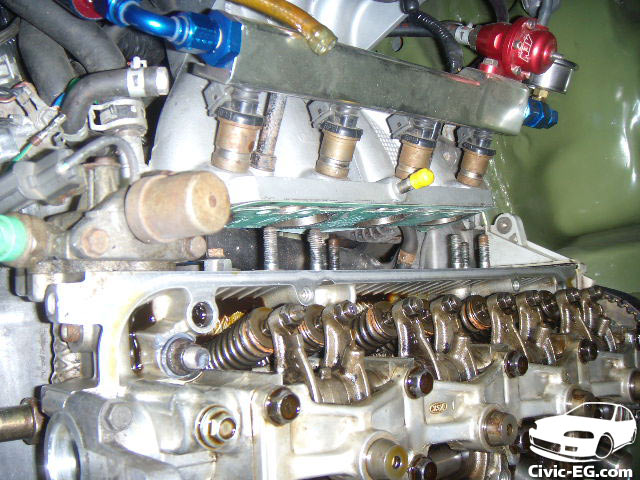
Un-torque the head bolts (or studs) in the procedure described in the manual. Then pull the head off.
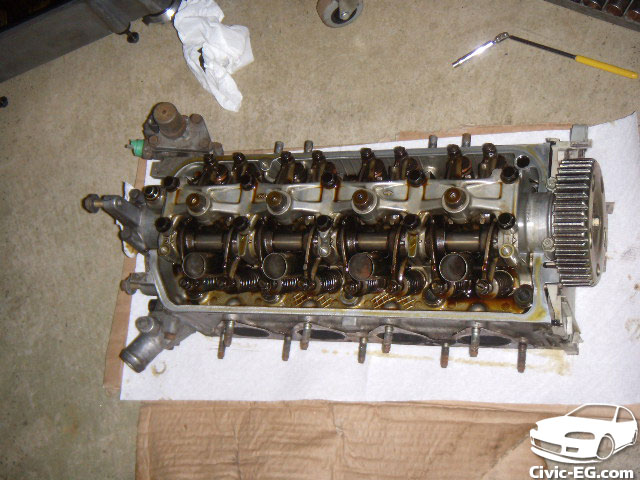
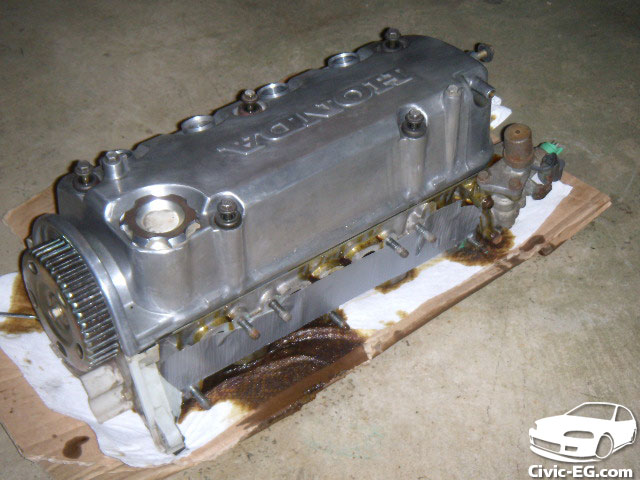
Have a clean area ready to set the head on.
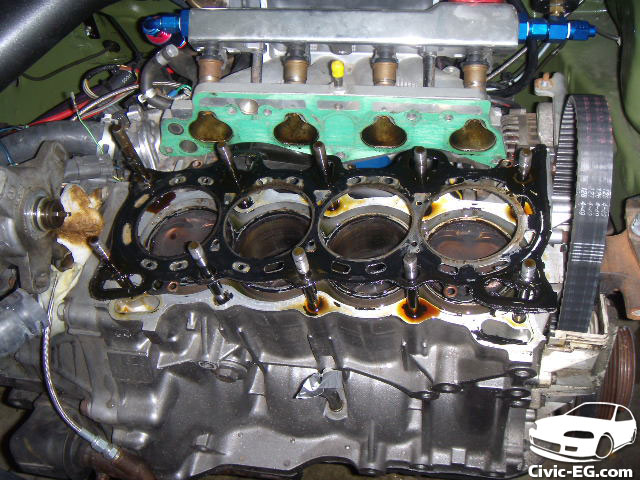
Clean the oil off of the surface and get your gasket scraper (or razorblade) to remove anything left of the old headgasket.
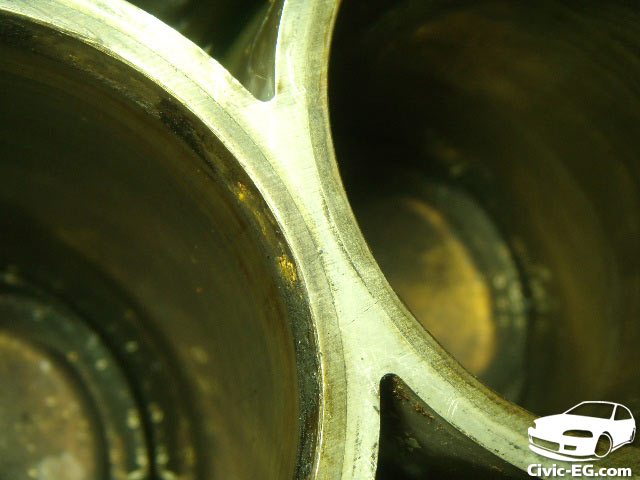
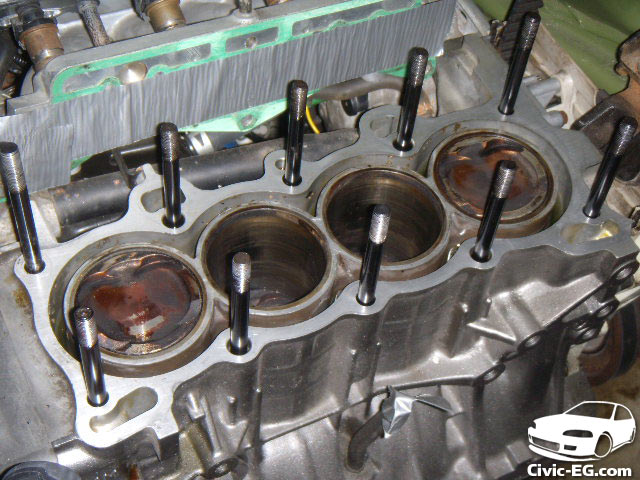
Here’s how clean the block surface should be.
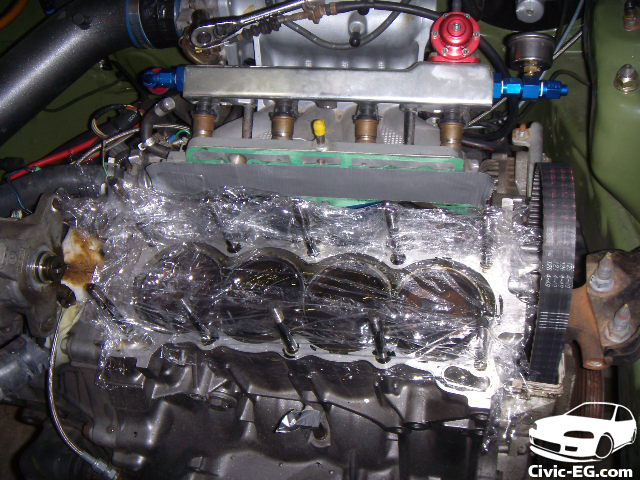
If you’re taking a brake, be sure to cover the engine and head to keep out debris.
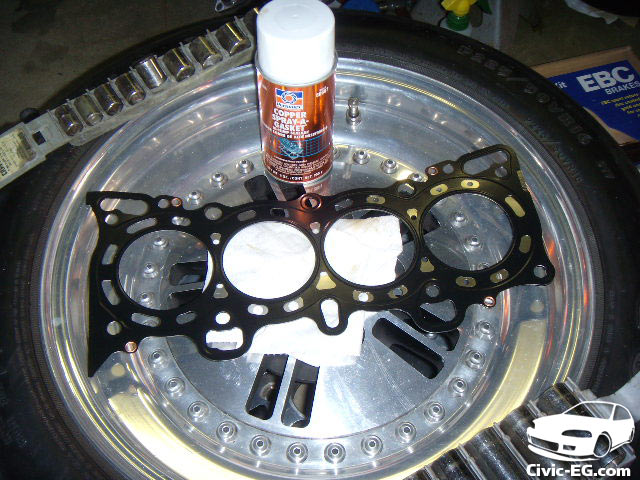
Next get your new, clean head gasket ready to put on. Copper Spray is optional. I used it for extra insurance since this will be a boosted motor. It can help create a better seal. If you do use the spray, be aware you’ll have more mess to scrape the next time you pull off the head and replace the gasket.
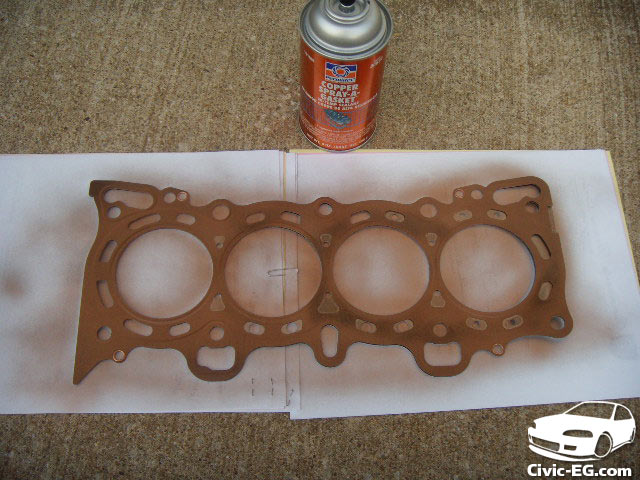
Sprayed both sides.

Then carefully put the head gasket on over the studs without touching the copper, kind of like that board game “Operation.”
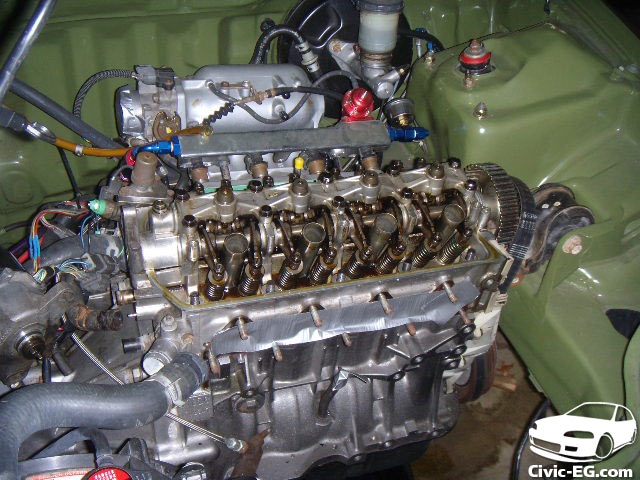
Then put the head back on. Be sure the intake, timing belt and hoses are not going to be in the way.
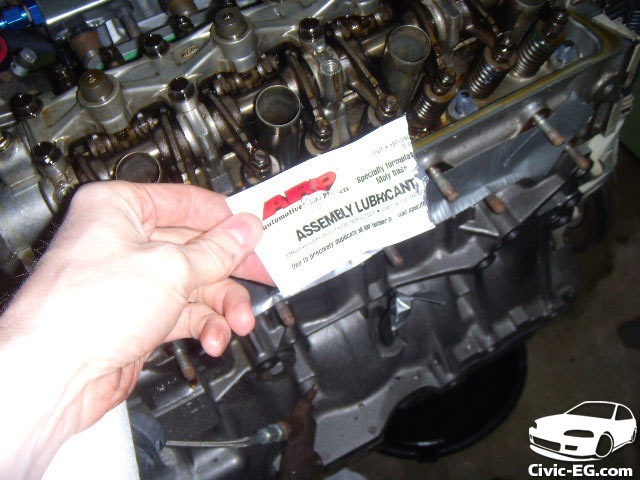
Applied ARP assembly lube to the studs. If you are using OEM headbolts, then never mind this and go ahead and put the bolts in now.
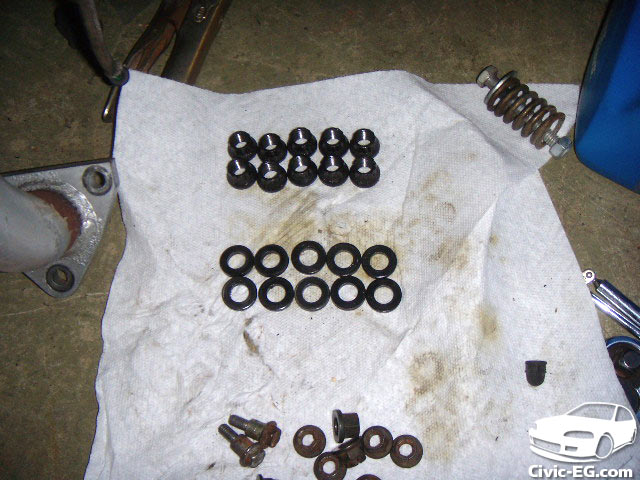
Cleaned all of the nuts & washers of dirt & oil.
And torqued them to 70 ft/lb in the correct order. (if you are using oem bolts, check your manual for the specs)
Now check to see that everything is still at TDC. If it is then tighten the belt tensioner. VERY IMPORTANT STEP!
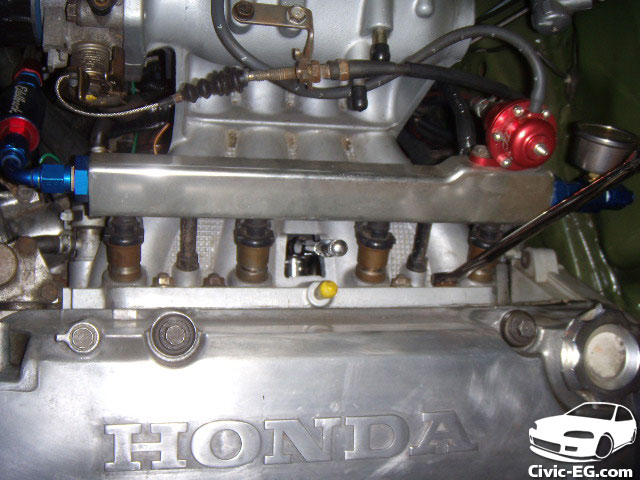
Bolt the Intake back on to the head.
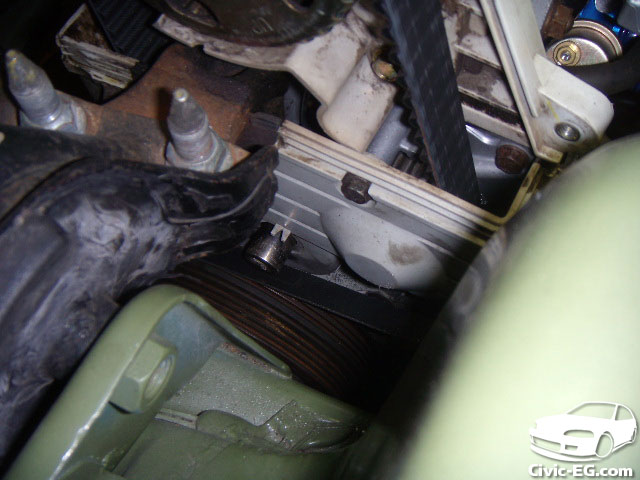
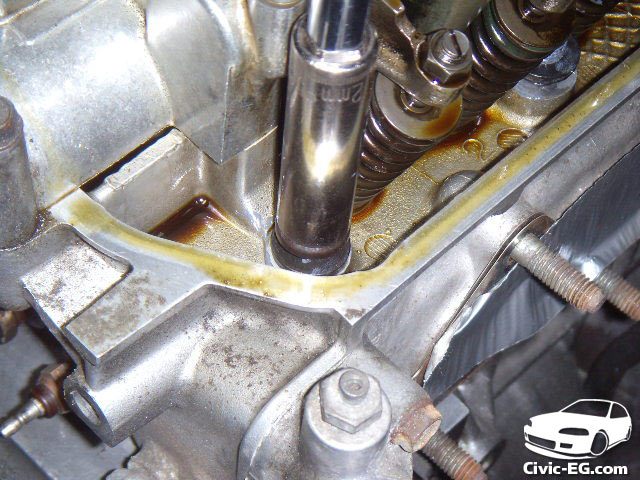
While doing so, I noticed this. No you don’t need to remove the head to fix this. It is just a small ruber seal to keep dirt and oil (if your valve cover gasket leaks) from getting into the timing cover and ruining your timing belt.
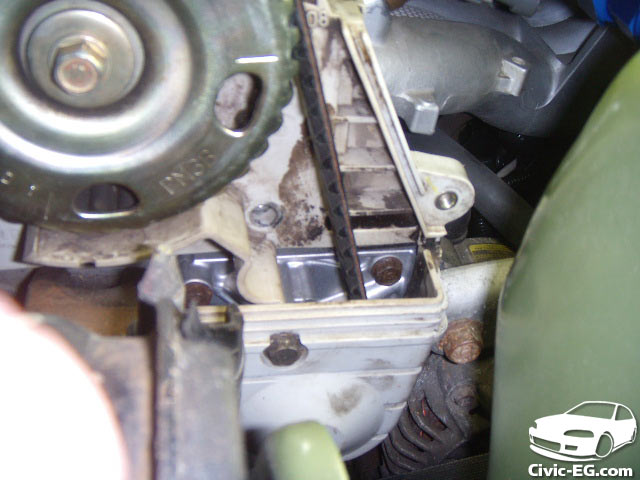
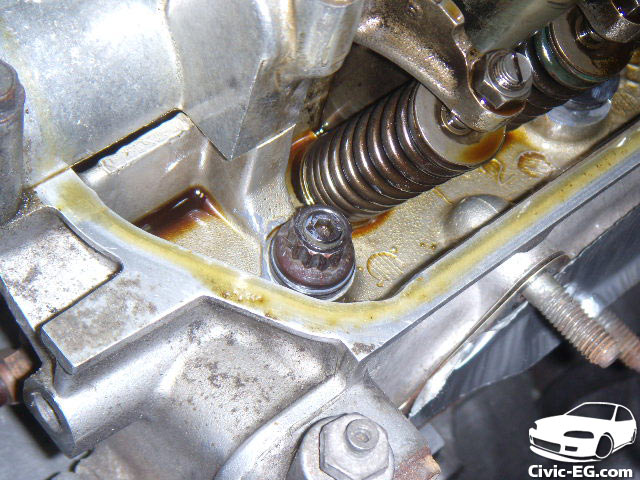
See the missing 10mm bolt between the belt & gear – loosen that and you’ll gain enough play in the plastic piece to tuck the rubber seal back under.
Now put the upper timing belt cover back on, then the valve cover. Tighten the bolts according to specs in the manual.
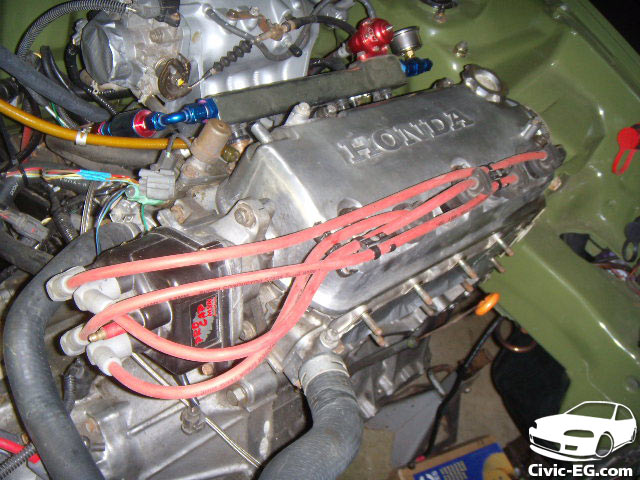
Bolt on the Dizzy to the same place you marked it before you took it off. Then the plug wires.

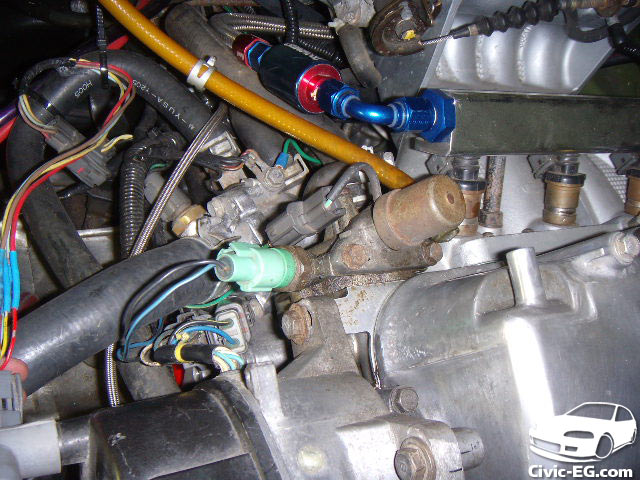
Don’t forget the coolant hose & wiring under the dizzy when you’re hooking all your hoses & harnesses back up.
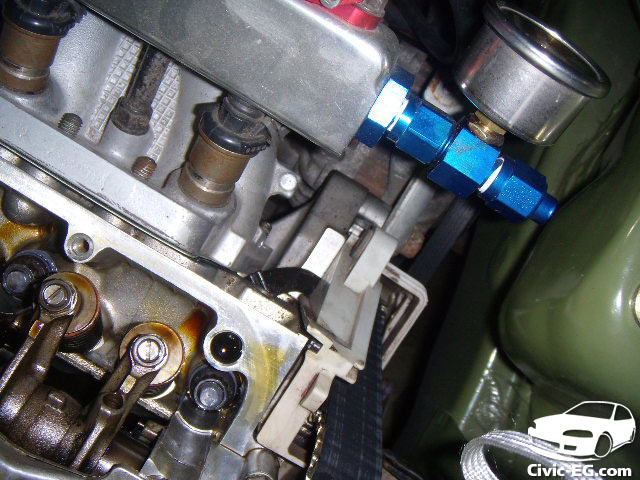
…and hook up the oil pressure sensor/vtec y0!
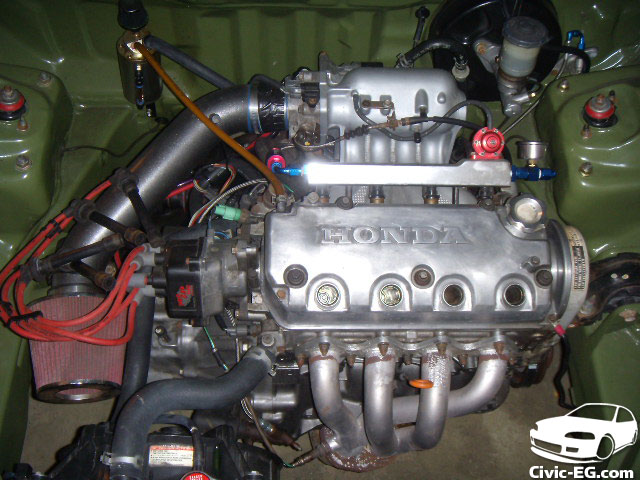
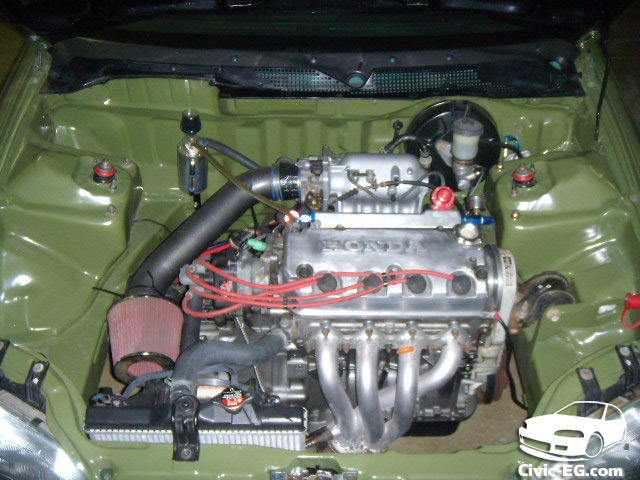
Put the header back on. Refill your radiator, oil, and then bleed the coolant system.
When using ARP Studs, remember that you have to re-torque them after 5-10 heat cycles.
This is a featured DIY Tutorial from the Civic-EG.com forums. For additional comments and questions, please see the original thread here: http://civic-eg.com/forum/viewtopic.php?t=2865