- Sat Jul 28, 2018 6:23 pm
#6908669
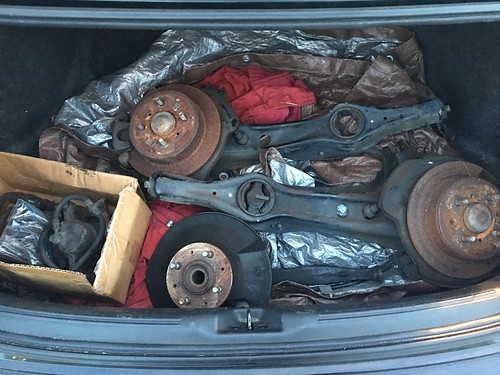
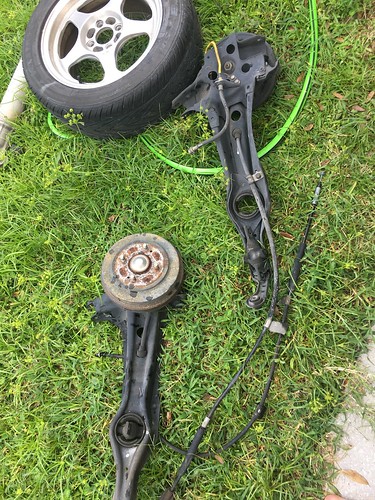
Well it's been slow at work today so I took a few minutes to work on my trailing arms. If you've done this before and have everything easily accessible this takes around 20-30 minutes total. If this is your first time I'd plan for a lot longer. I know the first time I did this years ago there wasn't a guide yet other than the terrible directions in the kit and this took hours to scrape out with a razor blade.
I plan to get PCI offset trailing arm bushings before I do any lowering of the car but I've been sitting on my polyurethane trailing arm bushings so it's time to install those, because the original bushings are so bad they just fell out. I didn't think I'd have time to install them at work so the bushing kit is at home. I just took care of the messy annoying part of the job at work. I have a press at home so popping the bushings in won't be an issue.
Here is an overly in depth explanation to removing the rubber bushing while leaving the collar intact. This only applies to Energy Suspension trailing arm bushings. Prothane and most other offerings come with a new collar and you use a press or specialty tool to remove and reinstall the bushings.
DISCLAIMERI am not responsible for any damage resulting from you following my method. This has to be done in an open area with a respirator, goggles, water, and fire extinguisher nearby. It must be done on a surface that can handle sustained high temperatures. This also leaves a big mess of burnt rubber pieces that can be difficult to clean up completely so make sure the are can be dirty. This is the easiest way to do this job but it is also dangerous and possibly illegal to burn depending on where you live. This involves a torch, fire, and very hot parts be careful and do this at your own risk. I also suggest setting up a small fan nearby to keep the black smoke blowing away from you. It's nasty stuff.
Sorry there aren't more pictures. Hard to snap them while wearing gloves and playing with fire.
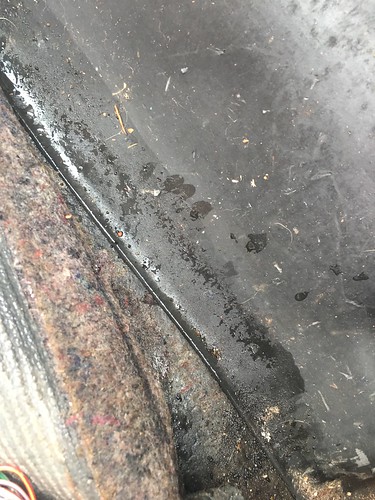
-First remove the center part of the bushing. If it's as rotted out as these were that just means lifting them straight out of the trailing arm bushing, if they are in better shape you need to use a razor blade or cutting tool of some kind to remove them.
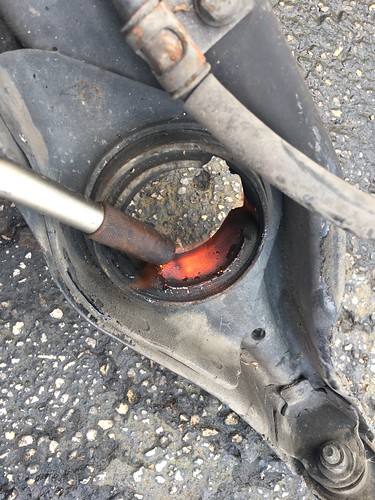
-Next you take a torch and slowly work around the bushing to heat the collar to the point the rubber can just be pushed off with a flat head screw driver. THE RUBBER WILL CATCH ON FIRE, IT WILL STINK (you should be wearing a respirator and goggles YOU DON'T WANT TO BREATH THIS IN), there will be lots of black smoke that you want to keep blowing away from you. The rubber will start to crackle and pop along the way, when you're about half way to the rubber releasing the little metal inserts in the rubber can be pushed out with a long flathead and about half the rubber should fall out along with it. Carefully pick that burning rubber up with long pliers and drop it into a bucket of water, it floats so you will have to push it down with the pliers to put the flames out.
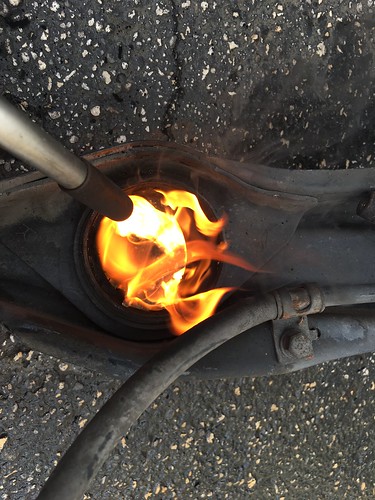
Cleaning out the already burned rubber will calm the flames down quite a bit. You want to get the torch back in there and continue heating the collar. More rubber will burn and keep crackling. At this point you are very close to the collar being hot enough for the rubber to detach easily. Just keep watching it and you will see some separation start to happen just from the air flow of the torch. When this happens work a flat head screw drive carefully around the rubber to see it all fall out of the arm. The rubber will still be on fire and everything is hot so be careful. Again submerge the rubber to put the fire out. Leave the arms to cool slowly while you move on to the mounting tabs.
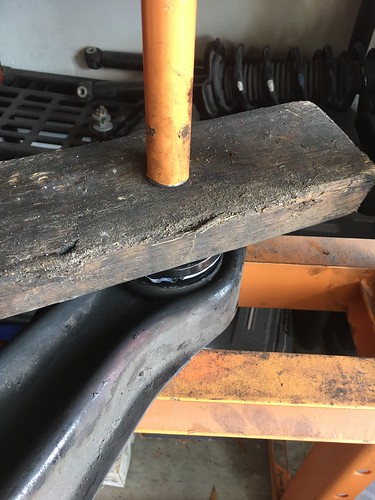
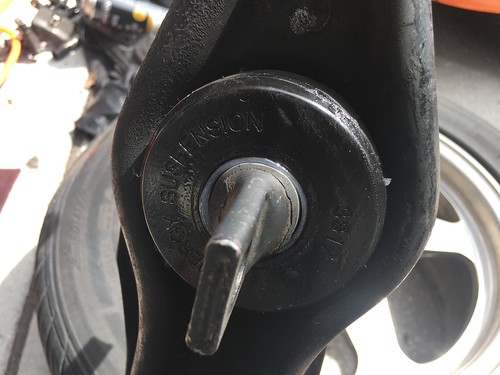
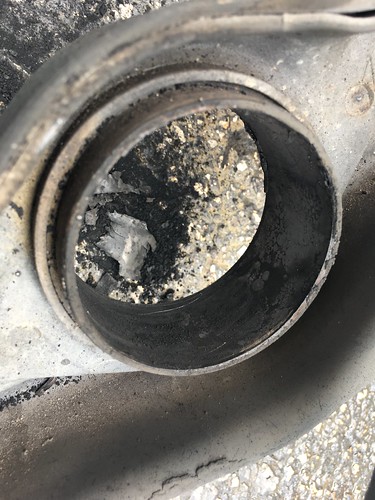
Here is the collar after the rubber has been removed. Before greasing the collar and pressing the bushing in I will clean this more with a scotchbrite pad to leave a very clean surface.
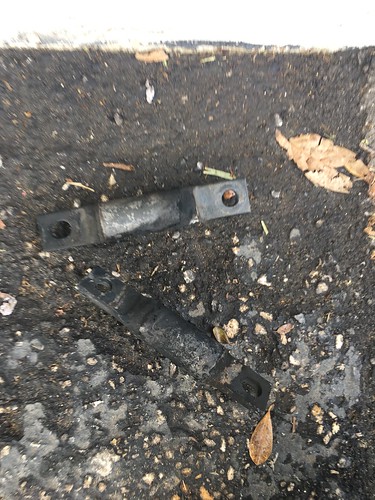
For the mounting portion of the bushing you want to set it on the ground and focus your torch on the portion of the mount where it goes from thin and flat to round ( right where it transitions from metal to rubber). This will heat the rubber and the thick part of the mount you are trying to separate the bushing from. Continue heating this until you see the rubber cracking from the inside out (the outside will already be cracking from being on fire). Once it's starting to separate from the inside I carefully pick it up with a pair of pliers and use a flat head to push the rubber sleeve off of the mount.
Here is what those look like done. Again I will scrub them clean with scothbrite pads before greasing them to install in the trailing arm.
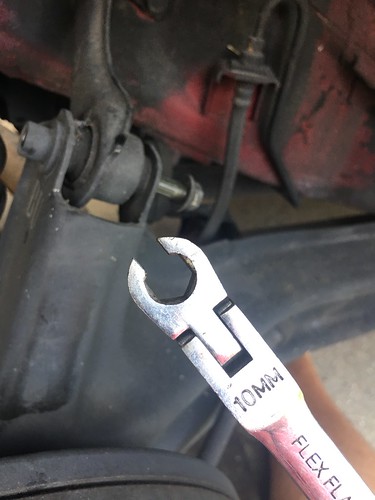
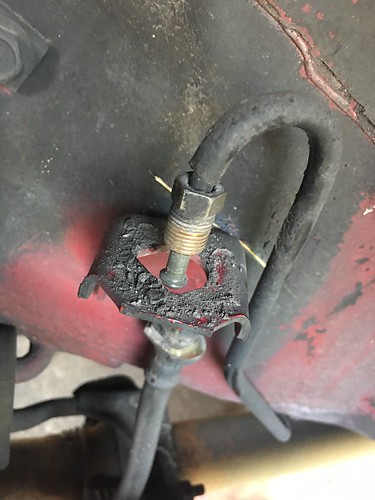
My local vendor through work finally got back to me and they didn't have my rear rotor kit in stock. Their shipping time and shipping cost sucked so I ended up spending a few dollars more and just ordering the PowerStop rear rotor kit on Amazon. That put a damper in my plan to install the brakes this weekend but hopefully by next weekend the rest of the parts will have arrived and I can get these installed. I will be cleaning these arms and calipers up before the install as well.
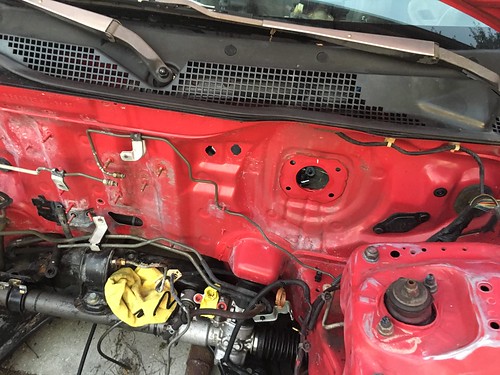
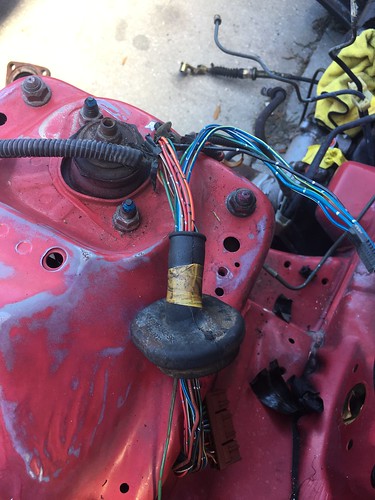
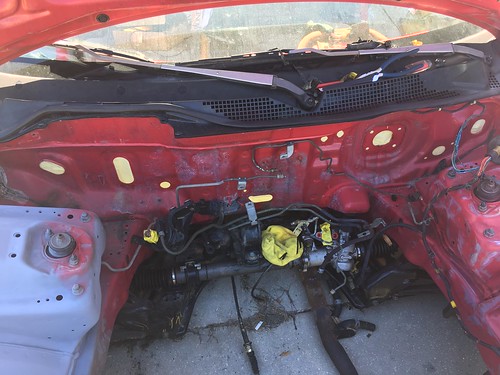
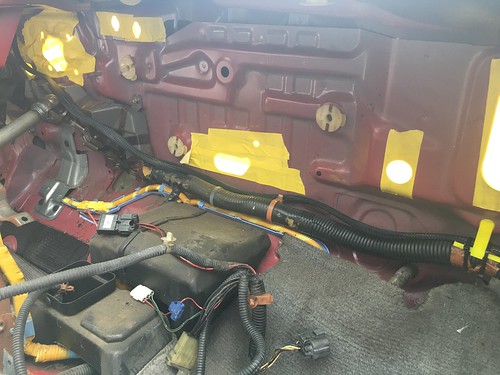
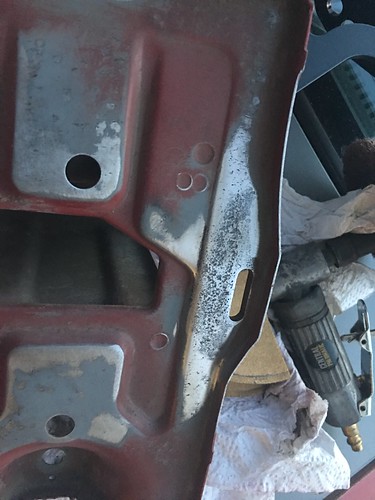
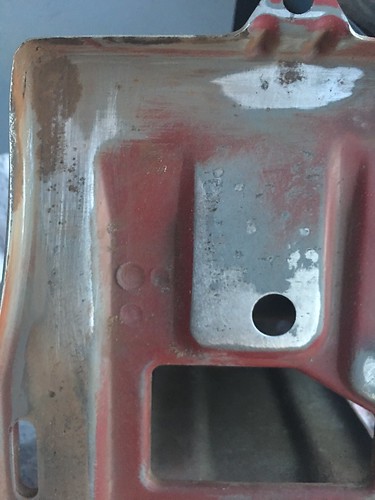
Hopefully I'll have more updates and pics tomorrow. I'm going to be focusing on finishing the engine bay. I have a lot more to get done.
Reviving Classic, Crafting Culture.
Classic Honda apparel, prints, and digital downloads.
Instagram:
https://instagram.com/enjoymotorsportsWebsite:
https://enjoymotorsports.com