
- Mon Feb 23, 2009 3:00 pm
#98414
Hey found a real good DIY for a retrofit HID conversion at HondaTuningMagazine
http://www.hondatuningmagazine.com/tech/0506_ht_hid_conversion_kit/index.html
HID Conversion Kit - Get Lit
An easy solution to bridge the gap between H.I.D. haves and have-nots
You've seen the intense radiance from the headlights of an S2000 or a BMW, usually as it barrels down the other side of the road or in your rearviews. The brilliant, blue-white hue of the xenon beams catches your eye. It wasn't long ago that high-intensity discharge (H.I.D.) headlights were reserved for cars with hefty price tags. If your car isn't H.I.D.-equipped, don't stress. You'll just have to work a little harder to enjoy them.
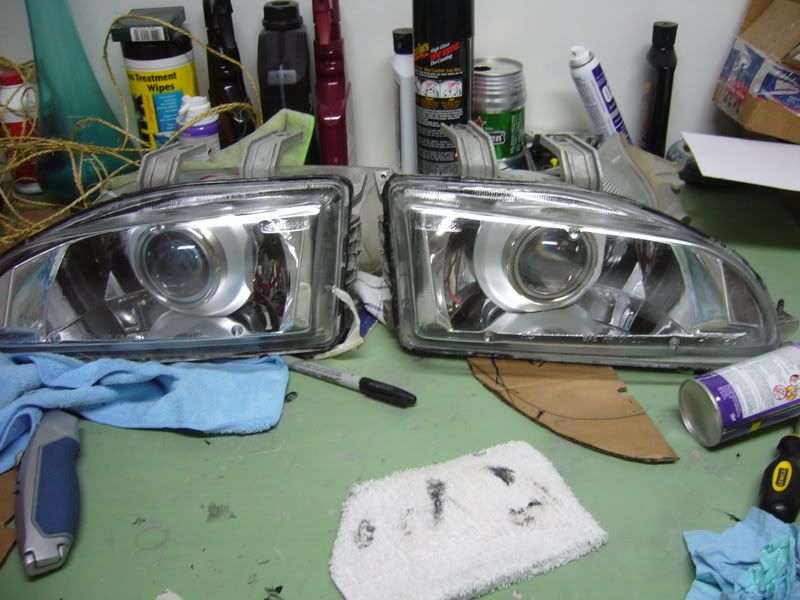
To bridge the H.I.D. gap between car enthusiast classes, we found a solution using parts by HIDPlanet.com. Its H.I.D. kit includes a set of bulbs, ballasts, ballast boxes, pigtail plugs and the company's new Lite-Glow projectors. These parts are replacement parts for cars with OEM xenons. The projectors went in a set of headlights from Pro Car Parts, an Internet parts provider.
The lights will be installed in project EG8, Editor Bob's ex-fifth-gen Civic. (A big thanks to the guys at L-Con Engineering for letting us use their shop.) Finally, check your local/state vehicle codes before retrofitting xenon projectors into your headlights. Single xenon projectors like ours don't have separate high and low beams. If high beams are necessary, opt for bi-xenon projectors.
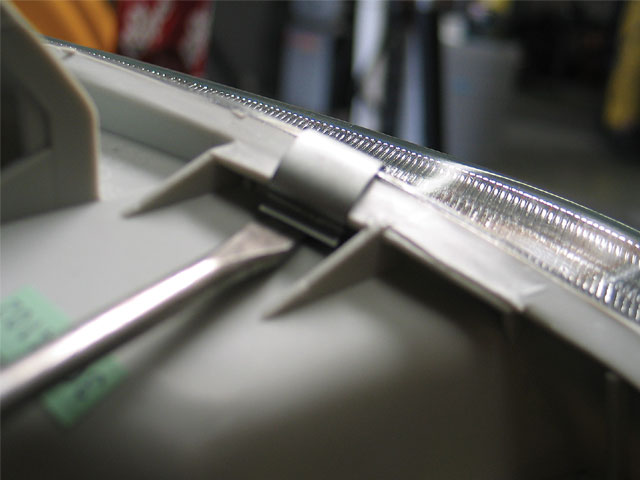
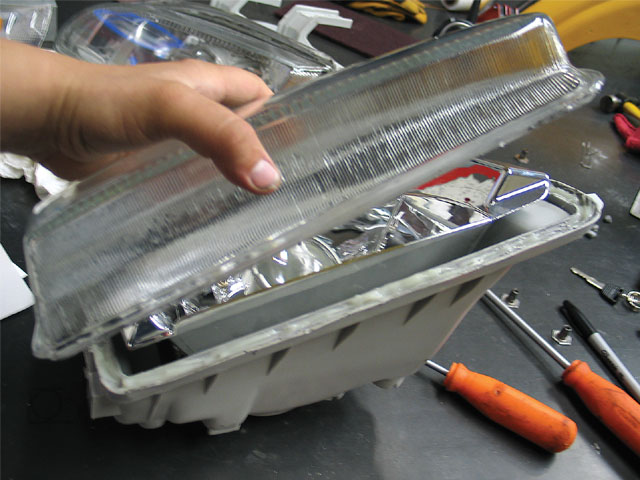
First, we separate the headlight's glass lens from its housing and use a flathead screwdriver to remove the retaining clips holding the two pieces together.
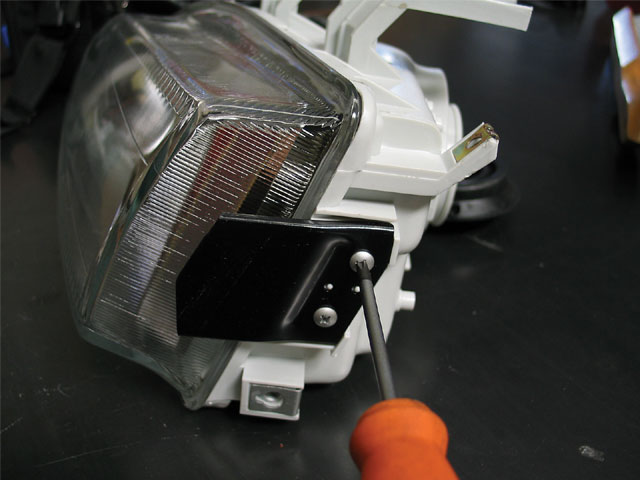
We remove all of the minor parts attached to the housings. On the EG headlights that Pro Car Parts sent us, we only need to remove the corner light brackets.

The best tool for detaching the glass lenses is a heat gun. The one we use has dual heat settings-750 degrees F and 1100 degrees F. We use the low setting for this project. The silicone sealant between the housings and the lenses will come out easier when it's hot. Make sure to keep the heat gun moving to avoid melting the housing in any one area.
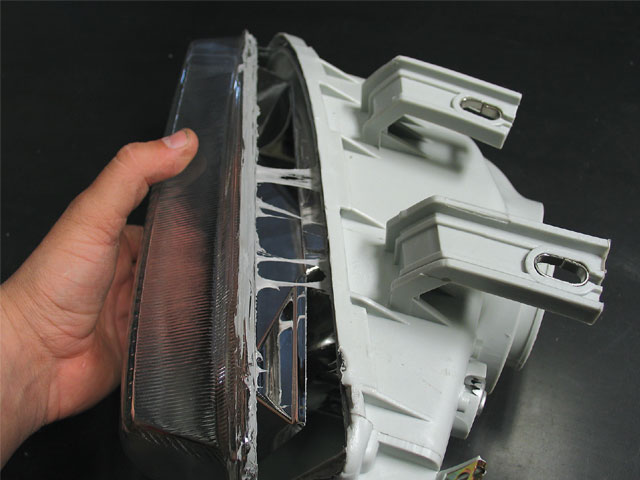
Use a screwdriver or a knife to scoop out excess glue. Patience is key here. The lens should pull away easily. If need be, focus heat on the areas difficult to separate. Careful, though; using excessive force can bend or break the housing, or even worse, crack the glass lens.
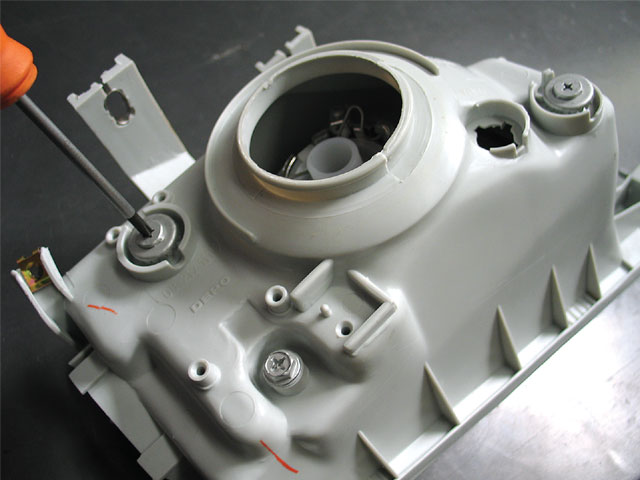
The adjusting screws hold the reflector in the housing. Loosen the three Phillips screws and remove the reflector from the housing.
We remove the stock bulb retaining clip from the reflector housing to make room for the projector, then also remove the screws holding the inner reflector to the reflector housing.

We remove the front side of the reflector housing.
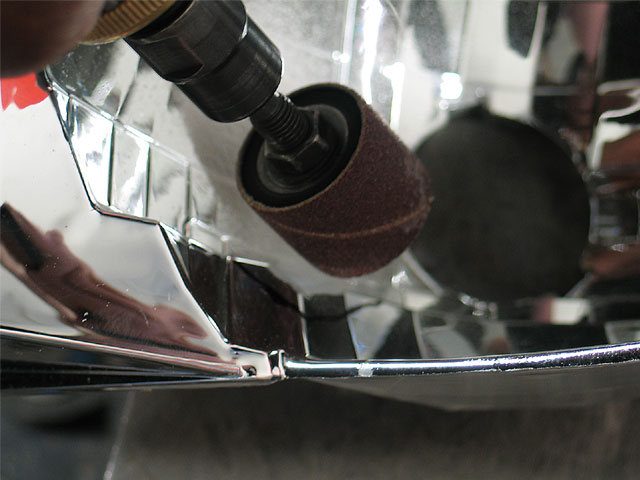
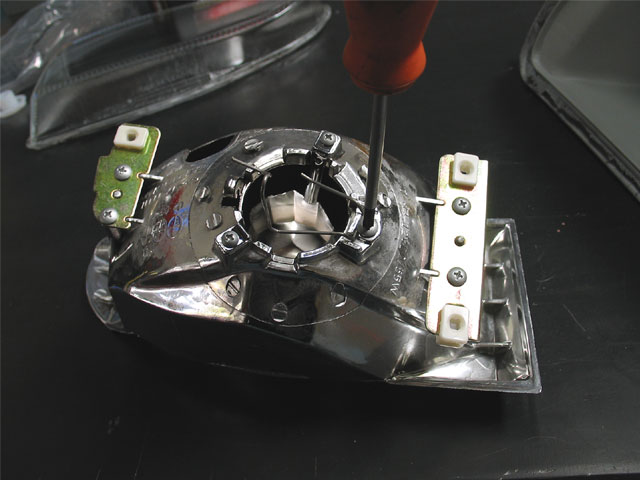
After test fitting the projector, we need to cut away some of the reflector housing for a more flush fit. We use a barrel sander on a pneumatic die grinder to remove the material. A Dremel tool works fine for this.
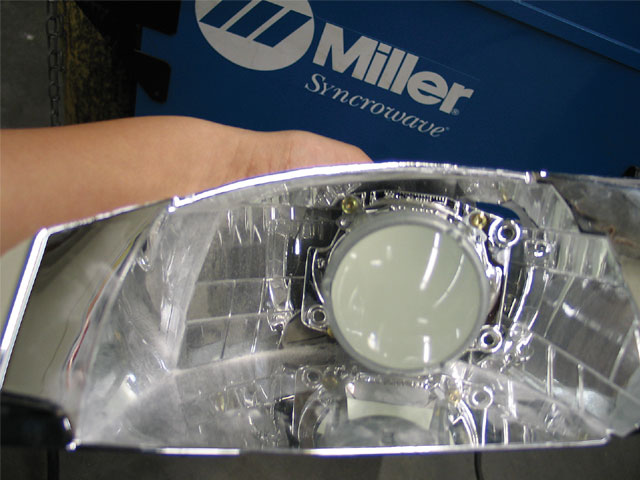
We test fit the projector as often as possible.
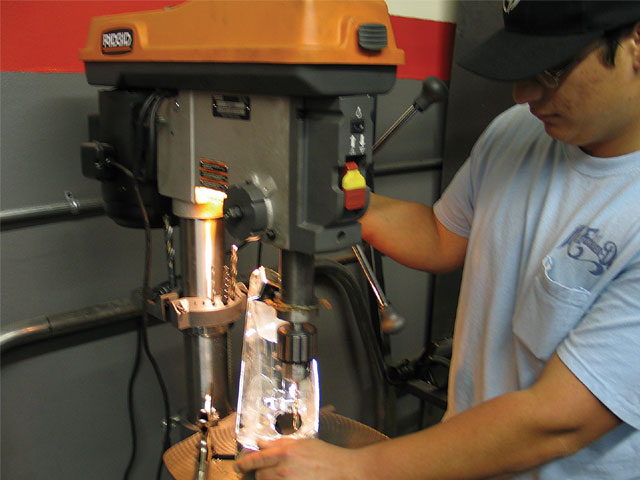
A.J. "Inventory" Villalobos uses a step bit to cut the holes necessary to mount the projector in the reflector housing.
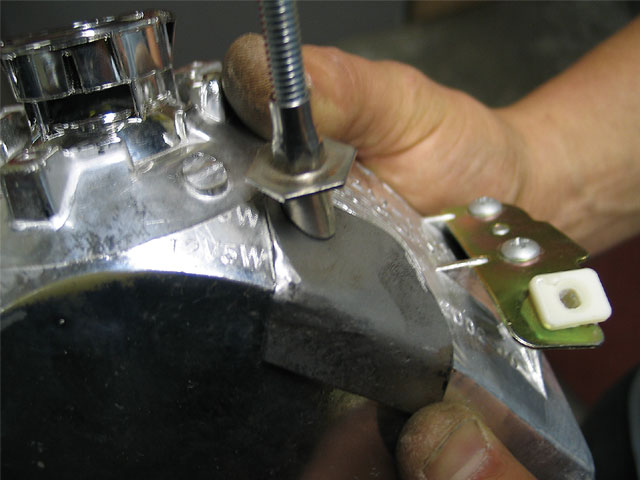
We make sheet steel reinforcements for each of the three holes we cut in the reflector.
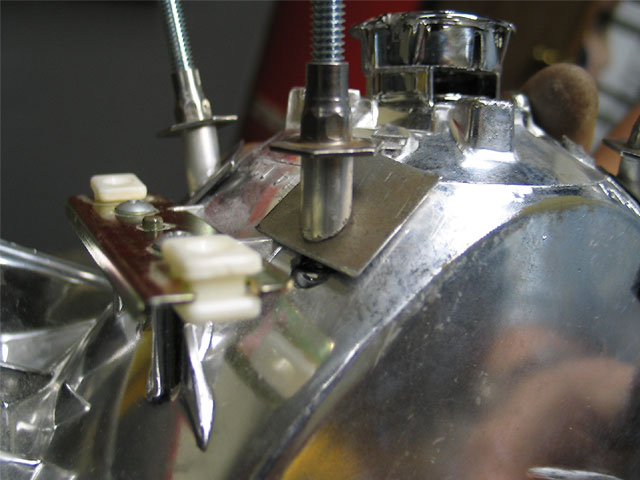
We also make aluminum spacers to create the angle at which the reinforcement plates will sit. We use nutserts to temporarily hold everything together during the final test fittings.
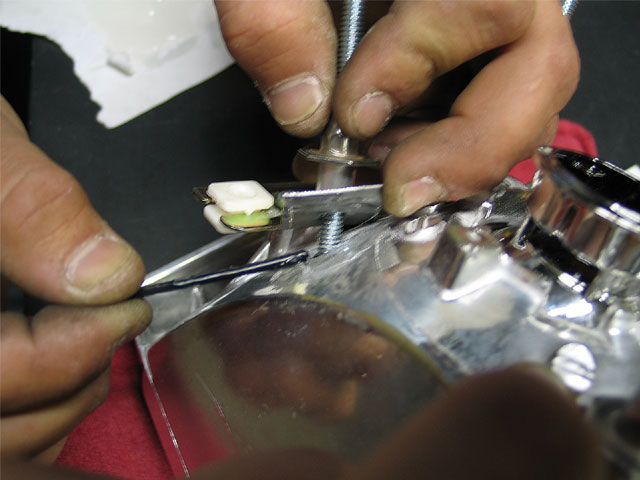
The reinforcement plates are epoxied in place.
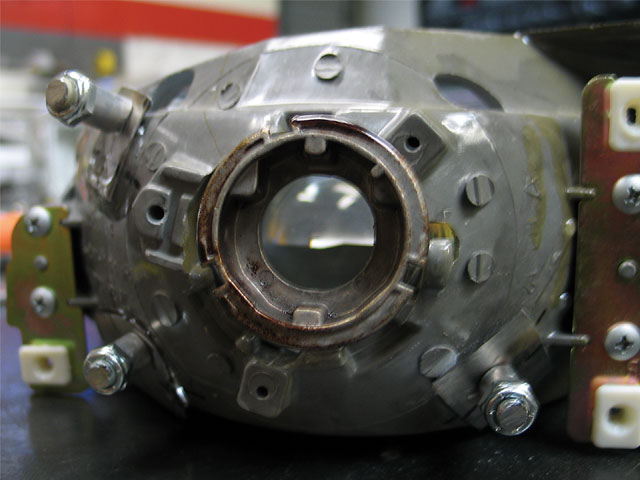
This is what the reflector housings look like when they're done. We use Nylock nuts after the bolts are cut down to size. These prevent the nuts from loosening due to driving vibrations.
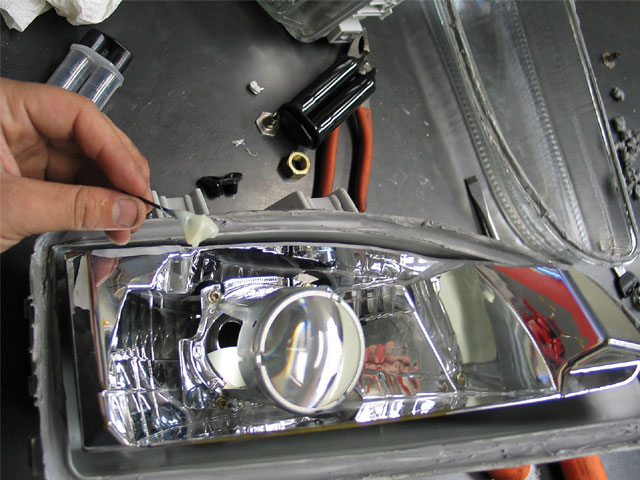
After we re-attach the reflector housings to the headlight housing using the stock adjustment screws (not pictured), we bond the lens to the housing using an epoxy sealant. Caution: using epoxy means the headlights aren't ever coming apart again. If you think you might need to take apart the lights in the future, use silicone sealant instead.
Before the lens is affixed to the housing, we make sure every part inside the headlight is clean. Whatever dirt or dust remains after this step stays for good.
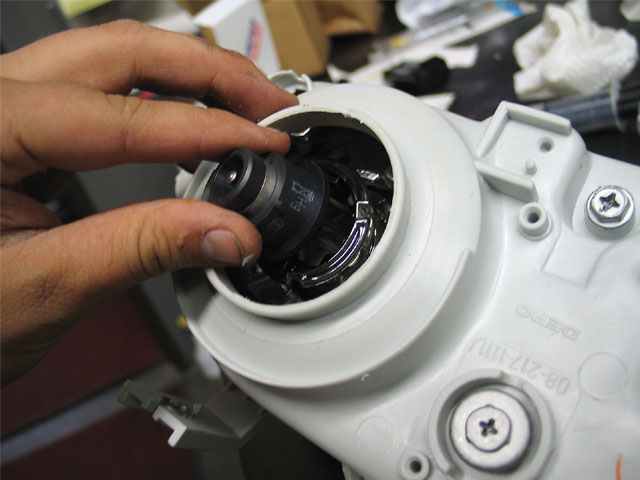
After the epoxy dries, it's time to install the bulb. The bulb is set into the projector; don't push or turn it. Don't touch the glass part of the bulb because the oil on your skin can crack it. There's plastic to hold the bulb in the projector. Push down and turn until it's locked. Careful, they're stubborn.
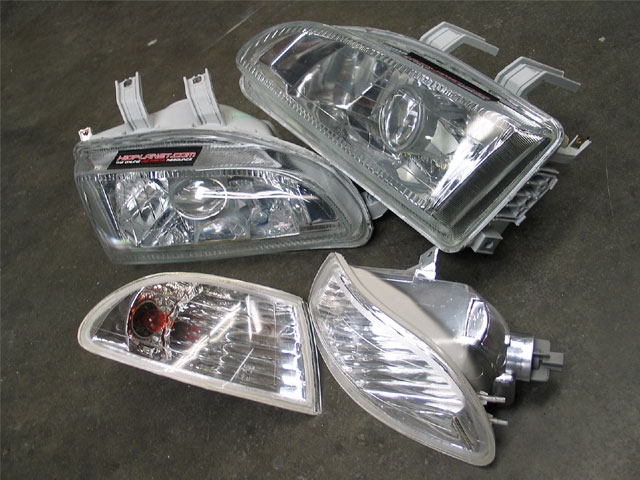
The finished product is ready for installation. The headlights run $110, and the projectors cost $400.
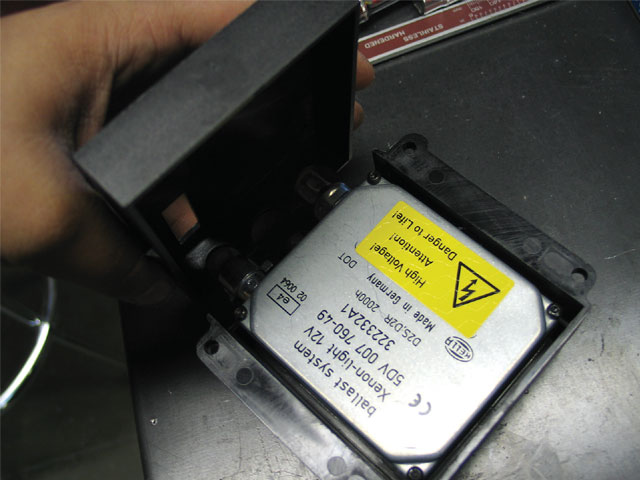
The ballast goes inside a plastic box to be mounted in the car.
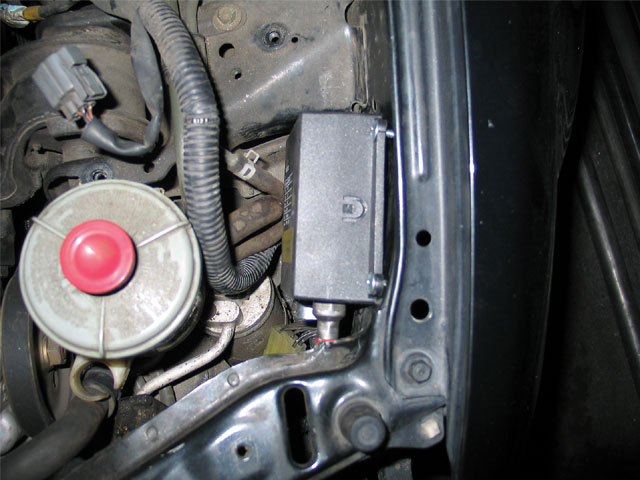
We remove the windshield wiper fluid reservoir (not shown) to make room for our driver's side ballast. Two self-tapping sheet metal screws are used to mount the ballast box to the inner fender.
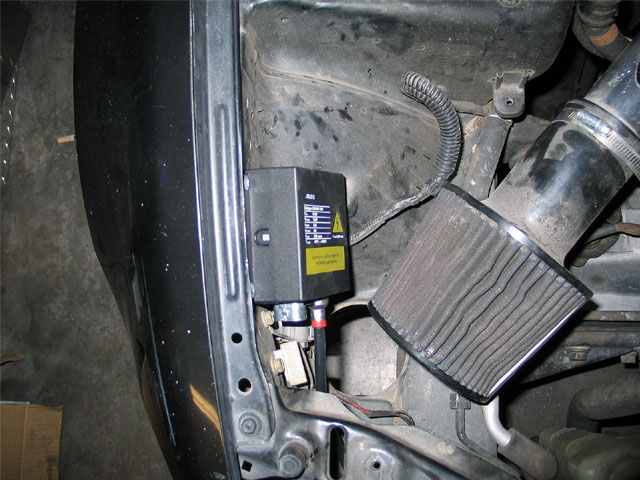
The passenger side has far more room for us to work with.
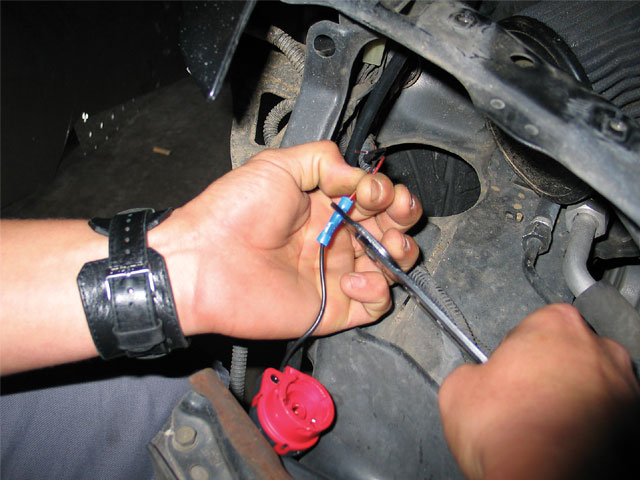
We run new 14-gauge wire in place of the stock headlight harness. The kit provides pigtail plugs for the ballast, which we crimp on with a butt splice.
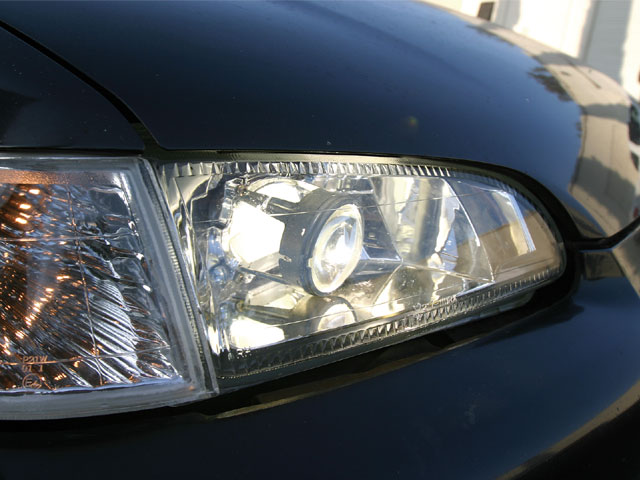
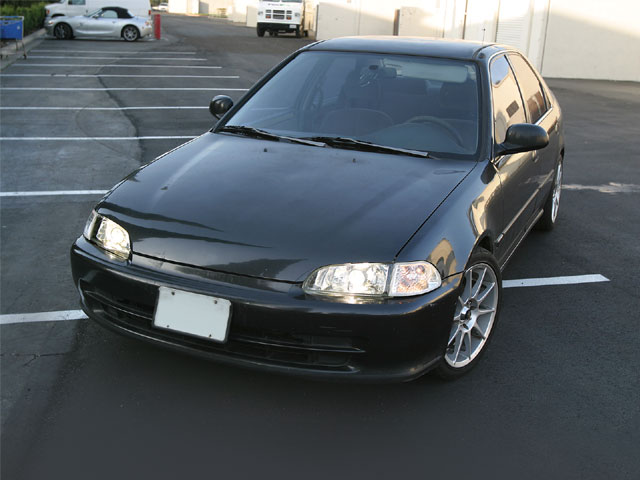
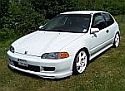
The final product: An EG with H.I.D.s. Sweet.
And here is another one
http://www.hondatuningmagazine.com/tech/0705_ht_hid_conversion/index.html
http://www.hondatuningmagazine.com/tech/0506_ht_hid_conversion_kit/index.html
HID Conversion Kit - Get Lit
An easy solution to bridge the gap between H.I.D. haves and have-nots
You've seen the intense radiance from the headlights of an S2000 or a BMW, usually as it barrels down the other side of the road or in your rearviews. The brilliant, blue-white hue of the xenon beams catches your eye. It wasn't long ago that high-intensity discharge (H.I.D.) headlights were reserved for cars with hefty price tags. If your car isn't H.I.D.-equipped, don't stress. You'll just have to work a little harder to enjoy them.
To bridge the H.I.D. gap between car enthusiast classes, we found a solution using parts by HIDPlanet.com. Its H.I.D. kit includes a set of bulbs, ballasts, ballast boxes, pigtail plugs and the company's new Lite-Glow projectors. These parts are replacement parts for cars with OEM xenons. The projectors went in a set of headlights from Pro Car Parts, an Internet parts provider.
The lights will be installed in project EG8, Editor Bob's ex-fifth-gen Civic. (A big thanks to the guys at L-Con Engineering for letting us use their shop.) Finally, check your local/state vehicle codes before retrofitting xenon projectors into your headlights. Single xenon projectors like ours don't have separate high and low beams. If high beams are necessary, opt for bi-xenon projectors.
First, we separate the headlight's glass lens from its housing and use a flathead screwdriver to remove the retaining clips holding the two pieces together.
We remove all of the minor parts attached to the housings. On the EG headlights that Pro Car Parts sent us, we only need to remove the corner light brackets.
The best tool for detaching the glass lenses is a heat gun. The one we use has dual heat settings-750 degrees F and 1100 degrees F. We use the low setting for this project. The silicone sealant between the housings and the lenses will come out easier when it's hot. Make sure to keep the heat gun moving to avoid melting the housing in any one area.
Use a screwdriver or a knife to scoop out excess glue. Patience is key here. The lens should pull away easily. If need be, focus heat on the areas difficult to separate. Careful, though; using excessive force can bend or break the housing, or even worse, crack the glass lens.
The adjusting screws hold the reflector in the housing. Loosen the three Phillips screws and remove the reflector from the housing.
We remove the stock bulb retaining clip from the reflector housing to make room for the projector, then also remove the screws holding the inner reflector to the reflector housing.
We remove the front side of the reflector housing.
After test fitting the projector, we need to cut away some of the reflector housing for a more flush fit. We use a barrel sander on a pneumatic die grinder to remove the material. A Dremel tool works fine for this.
We test fit the projector as often as possible.
A.J. "Inventory" Villalobos uses a step bit to cut the holes necessary to mount the projector in the reflector housing.
We make sheet steel reinforcements for each of the three holes we cut in the reflector.
We also make aluminum spacers to create the angle at which the reinforcement plates will sit. We use nutserts to temporarily hold everything together during the final test fittings.
The reinforcement plates are epoxied in place.
This is what the reflector housings look like when they're done. We use Nylock nuts after the bolts are cut down to size. These prevent the nuts from loosening due to driving vibrations.
After we re-attach the reflector housings to the headlight housing using the stock adjustment screws (not pictured), we bond the lens to the housing using an epoxy sealant. Caution: using epoxy means the headlights aren't ever coming apart again. If you think you might need to take apart the lights in the future, use silicone sealant instead.
Before the lens is affixed to the housing, we make sure every part inside the headlight is clean. Whatever dirt or dust remains after this step stays for good.
After the epoxy dries, it's time to install the bulb. The bulb is set into the projector; don't push or turn it. Don't touch the glass part of the bulb because the oil on your skin can crack it. There's plastic to hold the bulb in the projector. Push down and turn until it's locked. Careful, they're stubborn.
The finished product is ready for installation. The headlights run $110, and the projectors cost $400.
The ballast goes inside a plastic box to be mounted in the car.
We remove the windshield wiper fluid reservoir (not shown) to make room for our driver's side ballast. Two self-tapping sheet metal screws are used to mount the ballast box to the inner fender.
The passenger side has far more room for us to work with.
We run new 14-gauge wire in place of the stock headlight harness. The kit provides pigtail plugs for the ballast, which we crimp on with a butt splice.
The final product: An EG with H.I.D.s. Sweet.
And here is another one
http://www.hondatuningmagazine.com/tech/0705_ht_hid_conversion/index.html


 idiots, neat write up.. but they look kinda haggard


 or start selling us EG-Exclusive retrofits lol.