- Fri Oct 24, 2008 4:20 pm
#75849
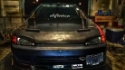
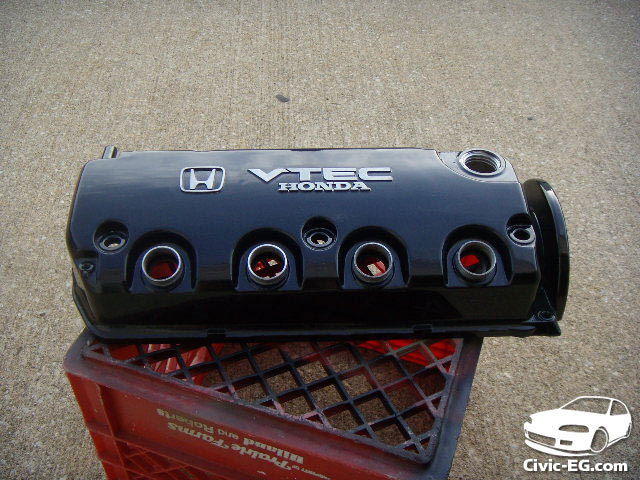
A D-series civic looks a lot better under the hood with a nice valve cover.
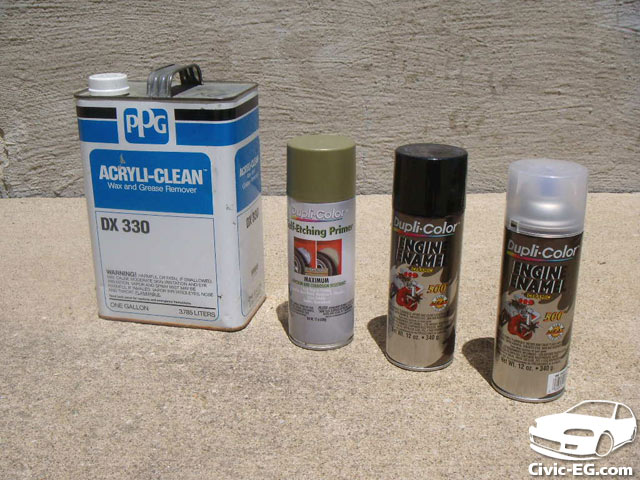
Here's what you need from left to right:
Wax & Grease remover
Self Etching Primer (great for bare metal)
Engine Enamel Black
Engine Enamel Clear
and sand paper, file, wire brush, tape (not pictured)
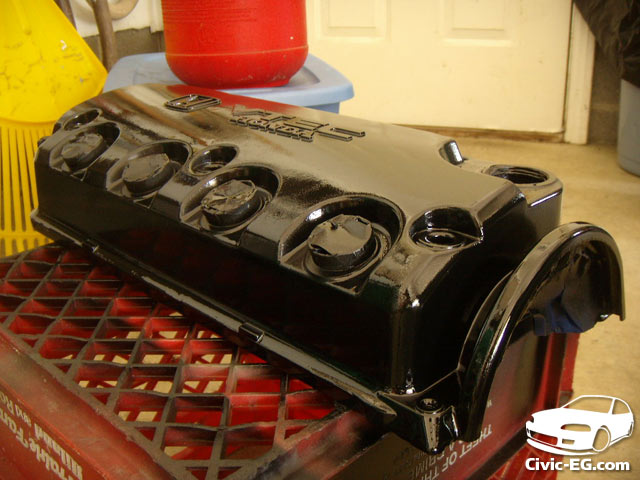
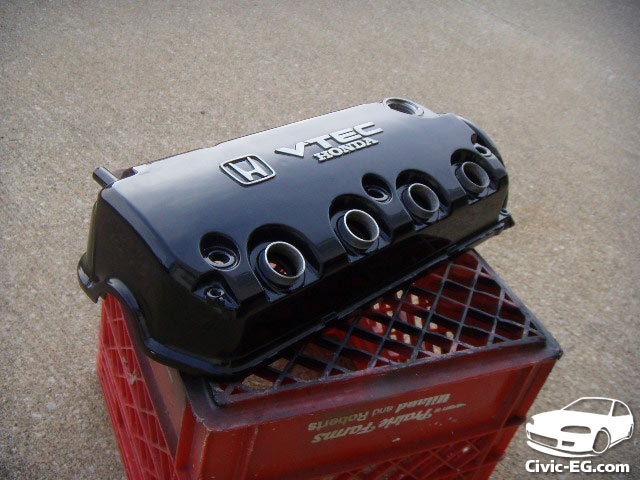
All the above, plus some elbow grease is going to help create this:
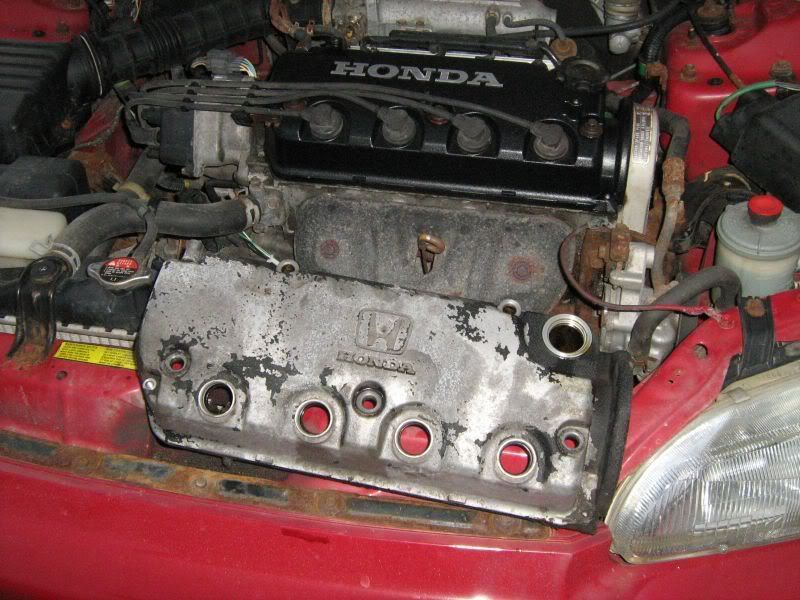
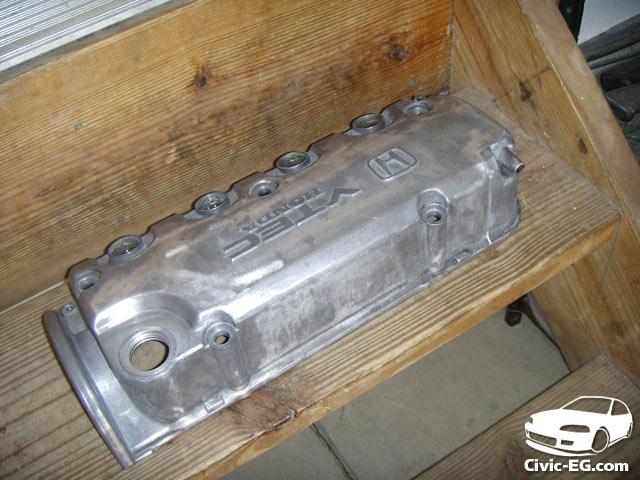
from this:
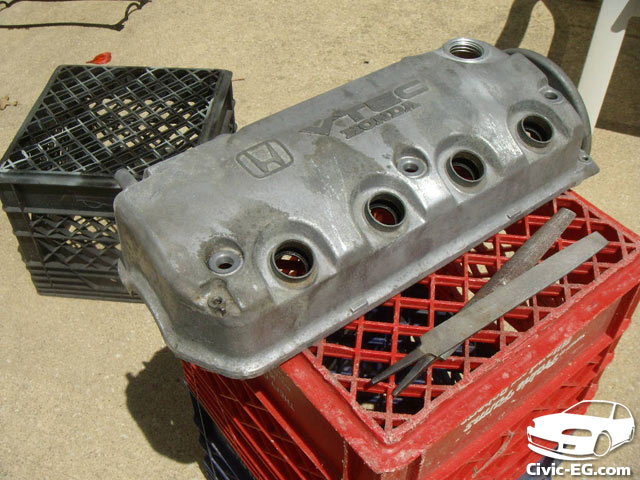
Here we have an old dirty corroded valve cover.

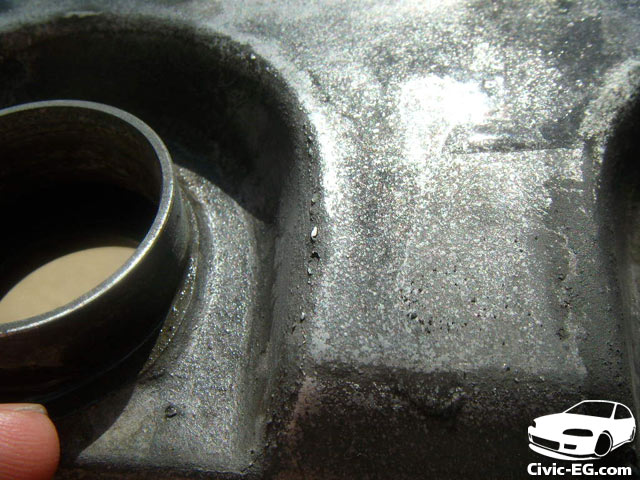
Look close at all the casting marks. Your paint isn't going to look smooth at all if you just paint over these.
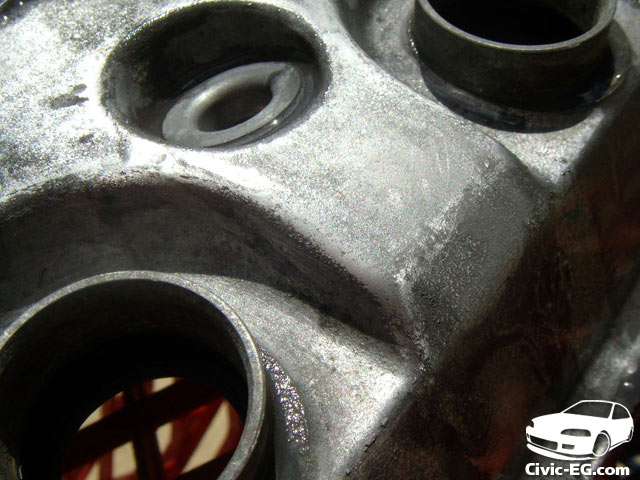
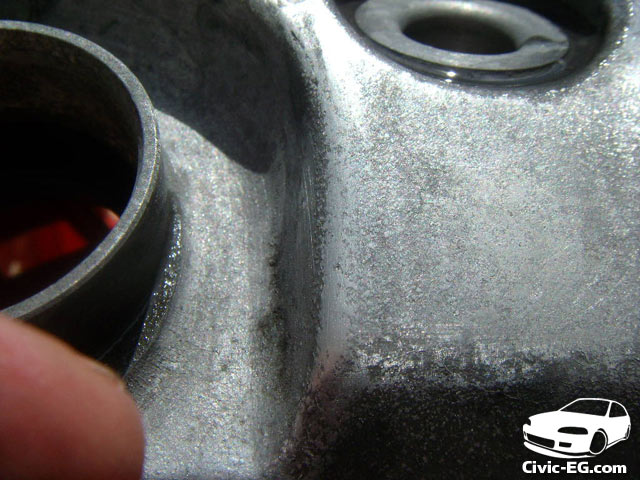
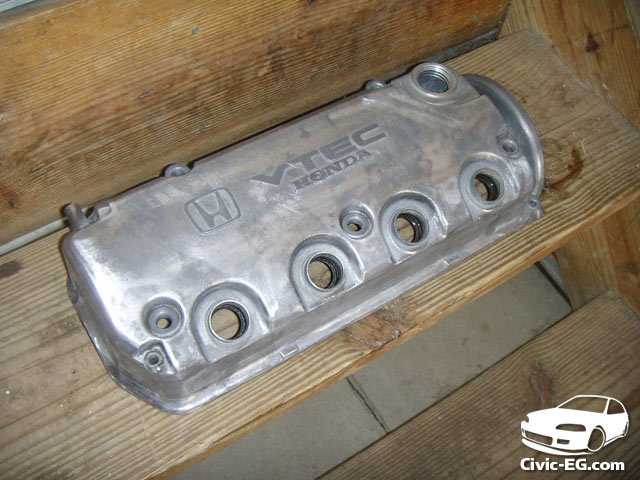
Here is another pic after smoothing them.
You can use files to get the worst of the larger marks, then some low grit sand paper (180 or 240 is good) to finish them smooth.

To get all the corrosion off of the surface (a problem if you like in areas that use road salt), I used a sanding wheel. The wire brush is also good in tight areas but if it if too stiff it can add deep scratches to the surface so watch out.
After the whole valve cover is smoothed & sanded and there is no corrosion left, it is time to give it a good cleaning with wax & grease remover.
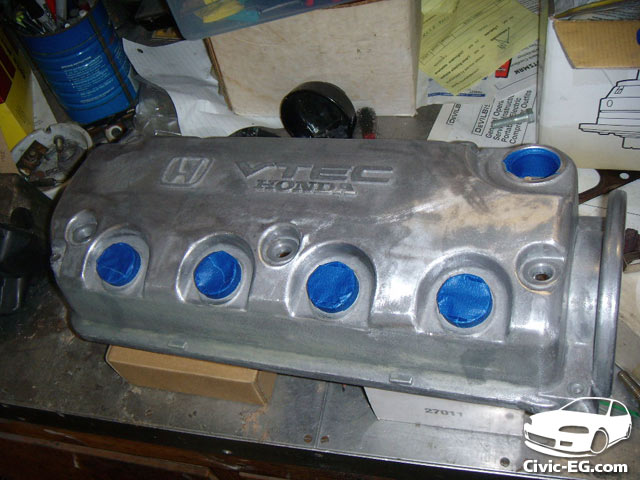
After you've cleaned it, mask off the areas you don't want painted.
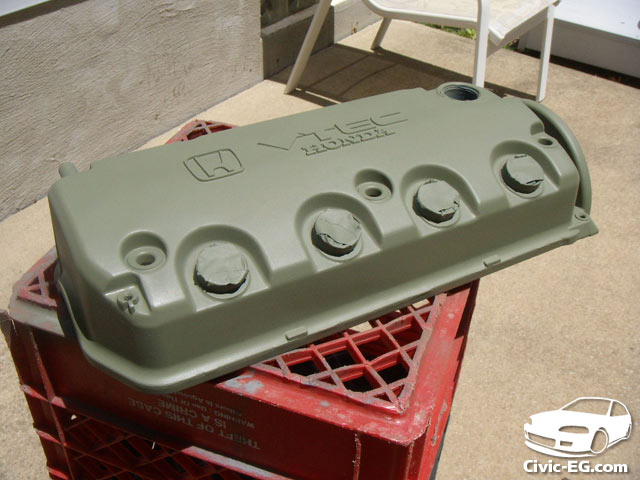
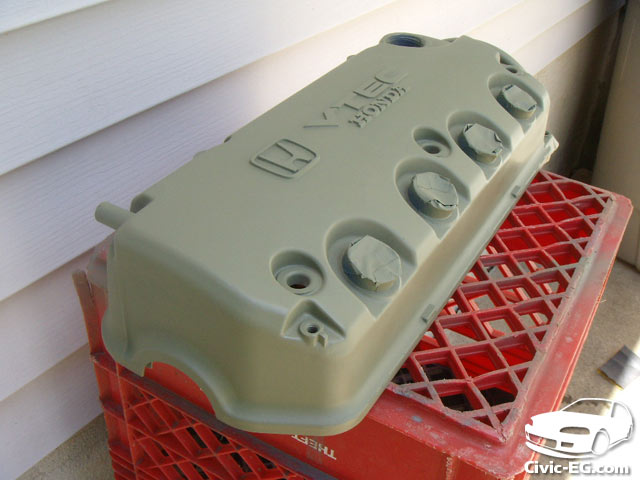
Next apply light coats of the Self Etching Primer. The pic was taken after several light coats. Several light coats is the way to do it, not one heavy coat that will take forever to dry and possibly run.
After the primer is dry, you can block sand the surface of the letters. I forgot to get a pic of this step. You could wait and block sand after you paint your color as well.
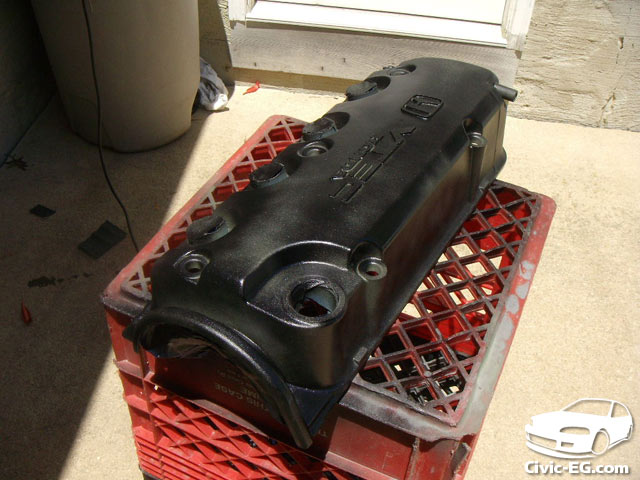

Applying light coats of color. Be sure to use a paint that can withstand the temperatures. Even if your light coats look splotchy, it is better than going on too thick and having it run. Light coats may take longer and look dull or splotchy, but the end result is what matters.
I've got a few light coats applied.
For the final color coat, do a "wet coat" which is a little heavier than your light coats. This will help to fill in any overspray areas or blotchy areas for a smooth finish. But not too thick or it could run. If it runs, wait until it dries, wet sand the run smooth, and then do another coat of color. I'm using an enamel paint which takes something like 7 days to cure before you can re-apply more coats. So a run will really slow down your progress.
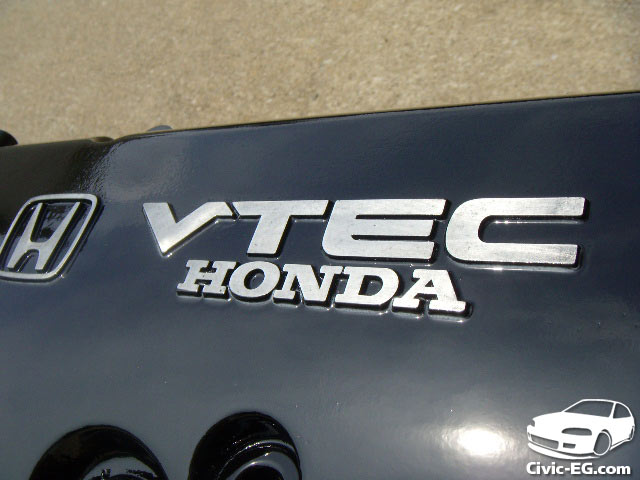
After the color coat has dried, you can block sand the letters carefully. Use a somewhat low grit to get through the paint (320) then work your way up (400, 600, 800, etc) on the bare metal surface of the letters. The higher grit you go up to, the less visible your sanding marks will be.
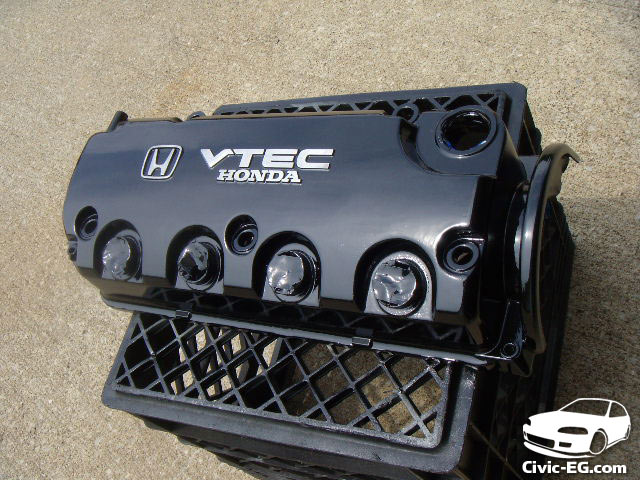
Then Lay down the clear just as you did the color, except you can do more coats. This way if you end up with orange peel, you will have more clear to wetsand to get a mirror smooth finish.
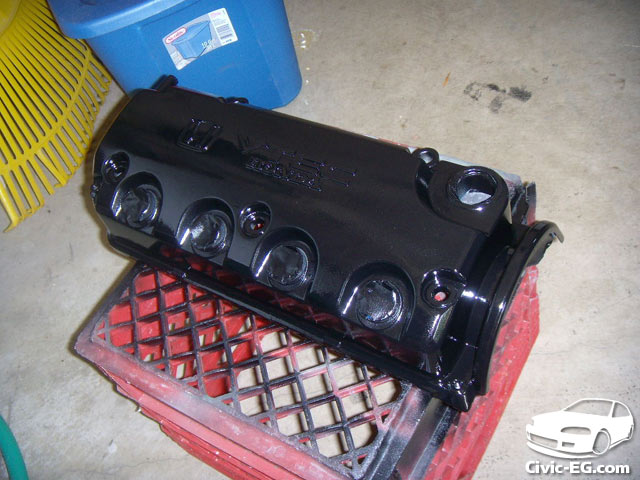
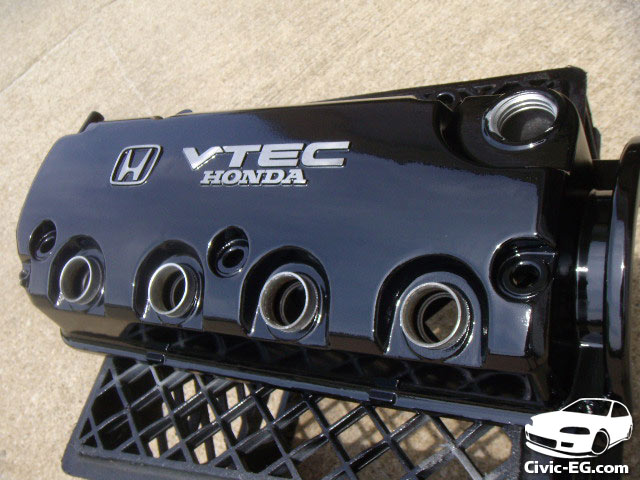
The results:
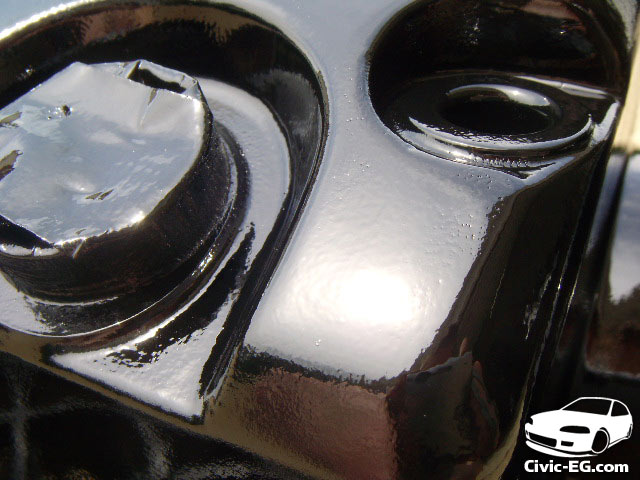
notice the tiny pinholes. It could have been in the casting, or I may have held the can too close when I was spraying.

The area in this inner lip is hard to get with the paint. It's a little rough looking because applying the wet coat here could have resulted in a run on the more visible areas around it.
Here's what you need from left to right:
Wax & Grease remover
Self Etching Primer (great for bare metal)
Engine Enamel Black
Engine Enamel Clear
and sand paper, file, wire brush, tape (not pictured)
All the above, plus some elbow grease is going to help create this:
from this:
Here we have an old dirty corroded valve cover.
Look close at all the casting marks. Your paint isn't going to look smooth at all if you just paint over these.
Here is another pic after smoothing them.
You can use files to get the worst of the larger marks, then some low grit sand paper (180 or 240 is good) to finish them smooth.
To get all the corrosion off of the surface (a problem if you like in areas that use road salt), I used a sanding wheel. The wire brush is also good in tight areas but if it if too stiff it can add deep scratches to the surface so watch out.
After the whole valve cover is smoothed & sanded and there is no corrosion left, it is time to give it a good cleaning with wax & grease remover.
After you've cleaned it, mask off the areas you don't want painted.
Next apply light coats of the Self Etching Primer. The pic was taken after several light coats. Several light coats is the way to do it, not one heavy coat that will take forever to dry and possibly run.
After the primer is dry, you can block sand the surface of the letters. I forgot to get a pic of this step. You could wait and block sand after you paint your color as well.
Applying light coats of color. Be sure to use a paint that can withstand the temperatures. Even if your light coats look splotchy, it is better than going on too thick and having it run. Light coats may take longer and look dull or splotchy, but the end result is what matters.
I've got a few light coats applied.
For the final color coat, do a "wet coat" which is a little heavier than your light coats. This will help to fill in any overspray areas or blotchy areas for a smooth finish. But not too thick or it could run. If it runs, wait until it dries, wet sand the run smooth, and then do another coat of color. I'm using an enamel paint which takes something like 7 days to cure before you can re-apply more coats. So a run will really slow down your progress.
After the color coat has dried, you can block sand the letters carefully. Use a somewhat low grit to get through the paint (320) then work your way up (400, 600, 800, etc) on the bare metal surface of the letters. The higher grit you go up to, the less visible your sanding marks will be.
Then Lay down the clear just as you did the color, except you can do more coats. This way if you end up with orange peel, you will have more clear to wetsand to get a mirror smooth finish.
The results:
notice the tiny pinholes. It could have been in the casting, or I may have held the can too close when I was spraying.
The area in this inner lip is hard to get with the paint. It's a little rough looking because applying the wet coat here could have resulted in a run on the more visible areas around it.
Do Not PM me your technical questions. Post them in the forum! 
My 1992 SOHC Turbo Hatch
My Youtube Channel: 6th Gear Garage
My 1992 SOHC Turbo Hatch
My Youtube Channel: 6th Gear Garage