- Tue Sep 02, 2008 3:18 pm
#68051
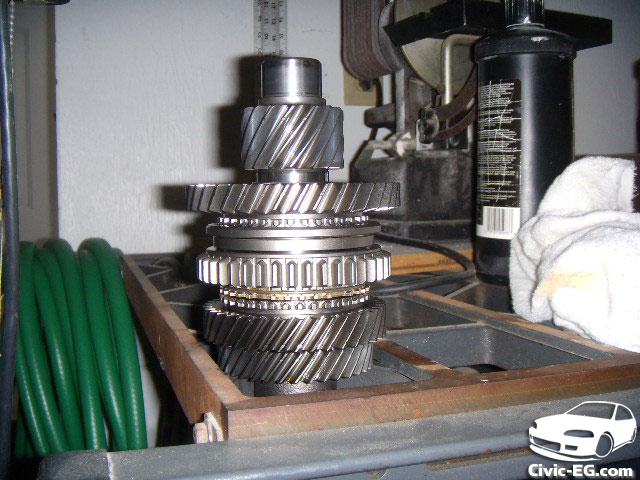
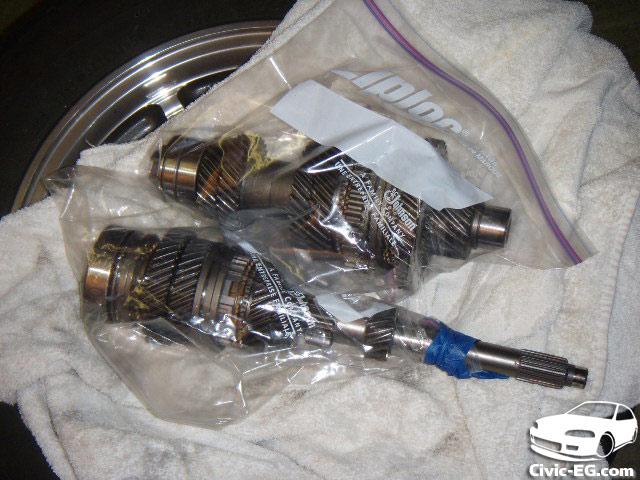
While I had my transmission apart replacing the 3rd gear synchro set (on the mainshaft) I noticed there were some worn parts on the countershaft as well. Only 3rd gear was grinding on my transmission, but while it is apart is a good time to replace everything that looks suspect.
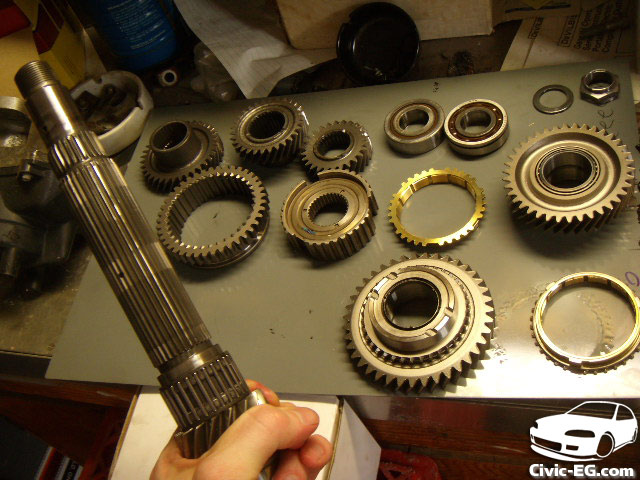
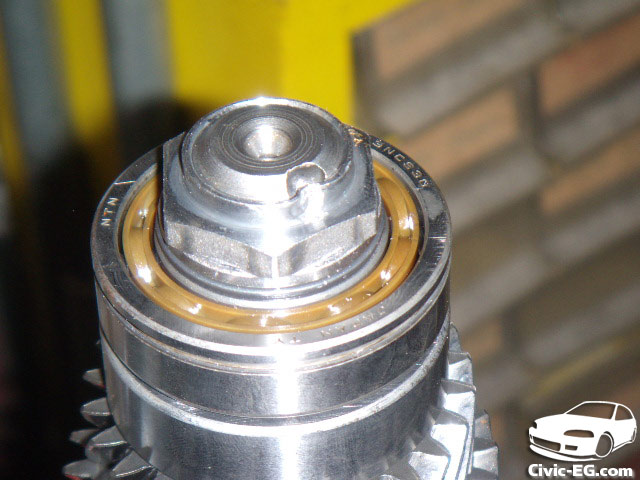
Rebuilding a countershaft or mainshaft is not very complicated. You just have to be careful and pay attention. It is a lot like building a huge sandwich... you have your bottom bun, ham, salami, cheese, lettuce, tomato, pickes, mayo, top bun. Those things must go in a certain order. The countershaft must be pot together exactly as it was or you'll have big problems. You'll need a clean work area with enough space to lay each part out in the order you removed it. Then all you have to do is pick up each one in order and put it on the countershaft, just like building a big heavy metal sandwich. When installing the new parts, a thin coat of oil should be applied, don't put them on the countershaft dry. Also don't drop anything on the floor. Very tight tolerances and precise teeth make this work. it could be easy to damage these parts, so pick a good work space to start because you don't want to move everything once you start taking it apart.
This thread is just to help you get familiar with the parts & assembly of the countershaft. Before doing this yourself, have a manual in front of you. By reading on, you agree that I am not responsible for any damage you do to your vehicle.
First I'm going to take it apart.

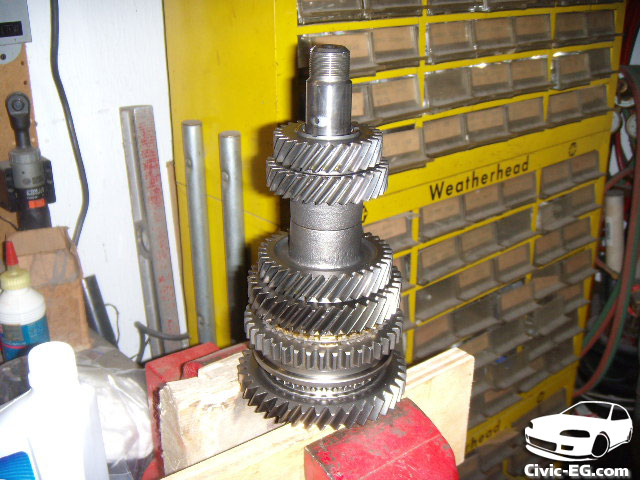
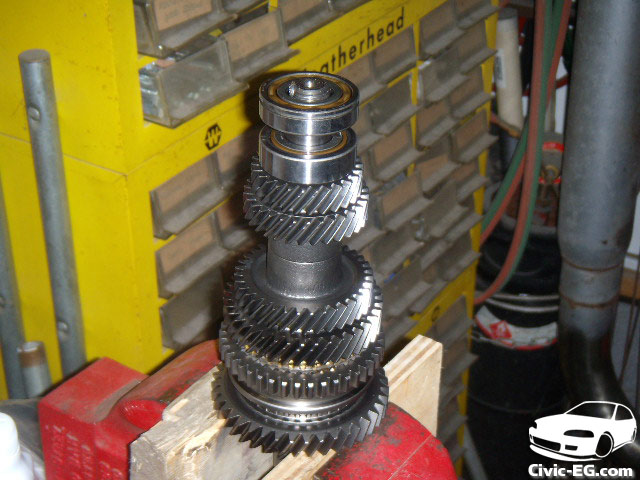
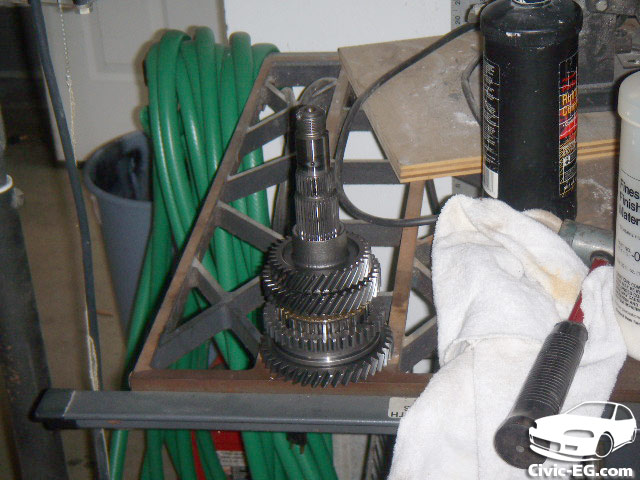
mount the countershaft in a vise but use 2 pieces of wood so you don't damage the countershaft.
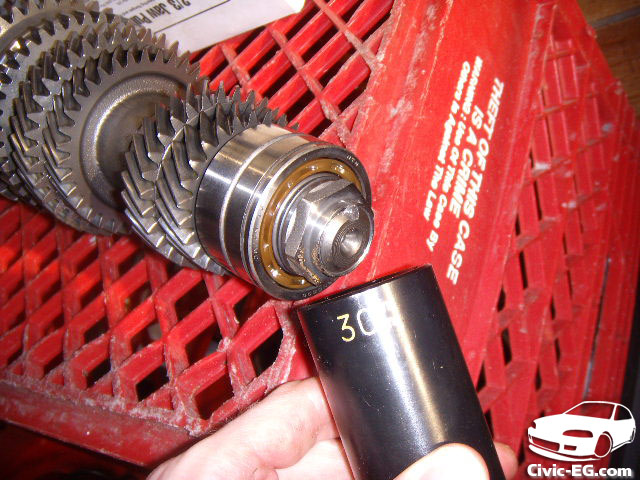
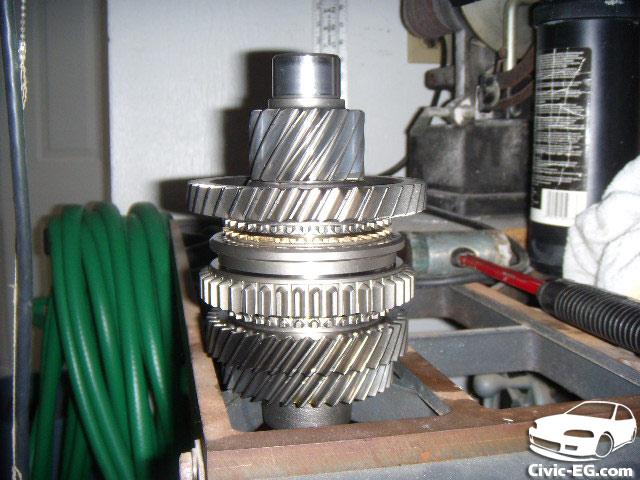
Use an impact wrench & 30mm socket on the nut on the end. Like an axle nut, the edge is punched in to prevent it from backing out. Usually you're not going to re-use an axle when you remove it for a torn cv boot or clicking. In this case punch the side back out so that when you spin it off, you don't gouge the countershaft (expensive to replace).
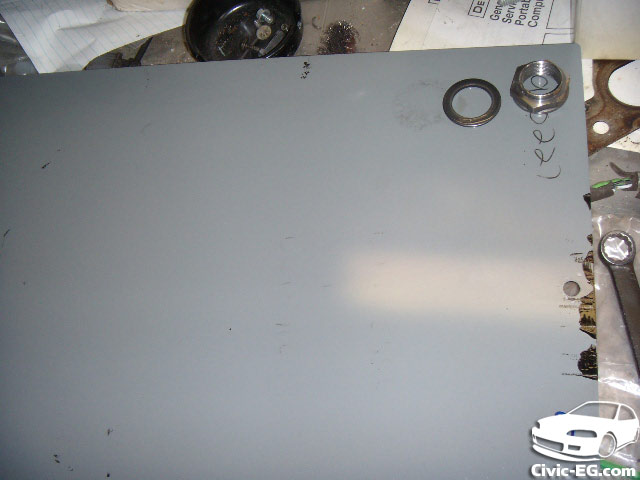
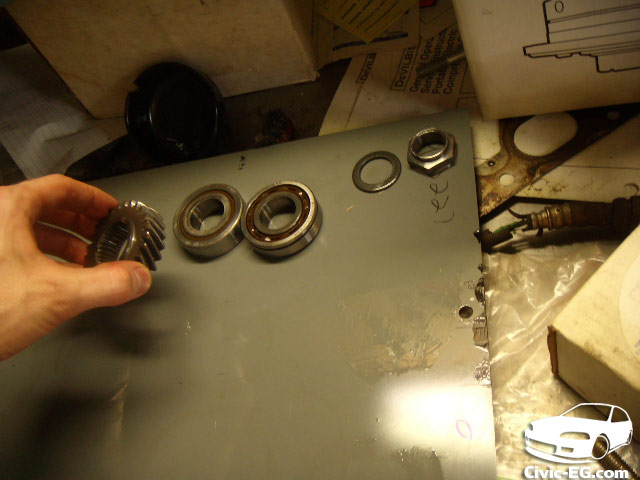
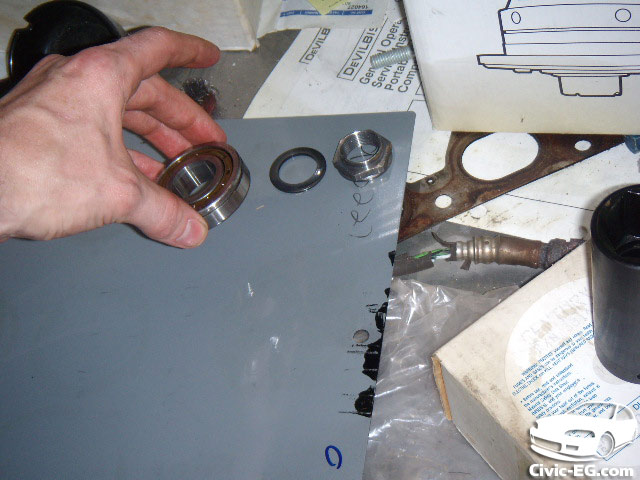
Set the nut & washer aside.
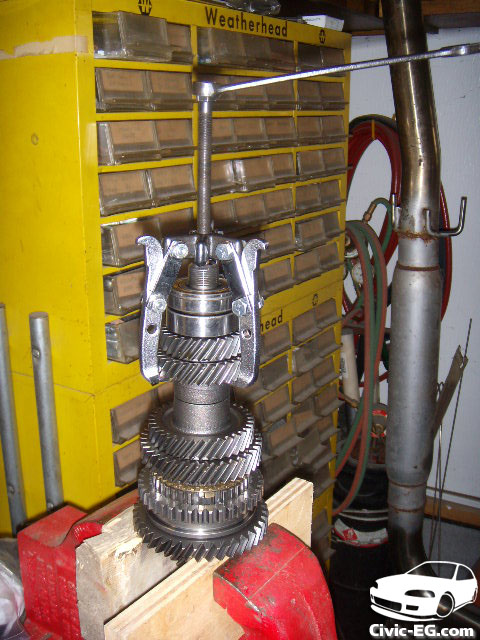
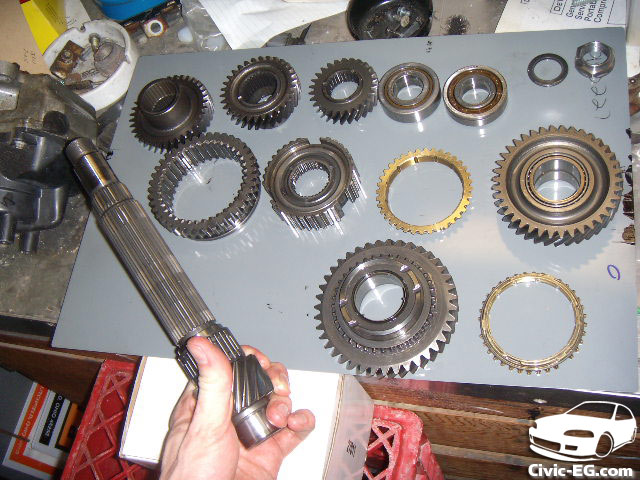
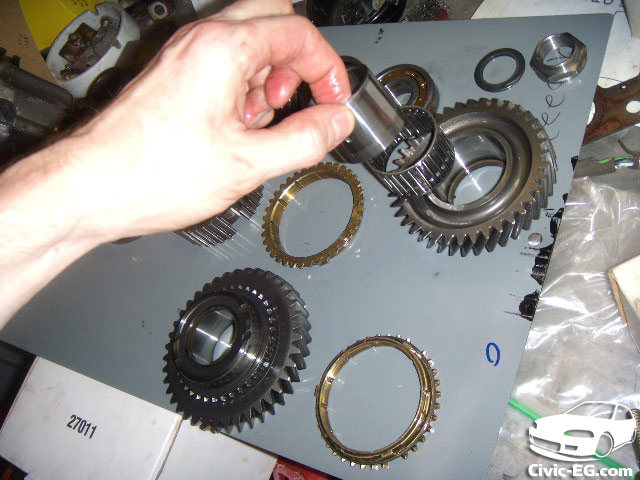
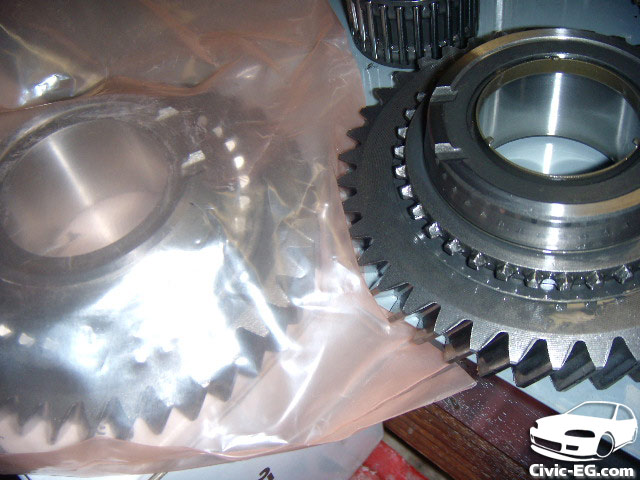
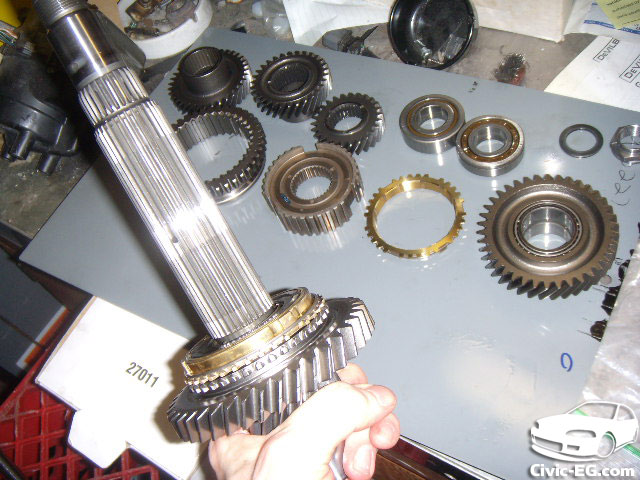
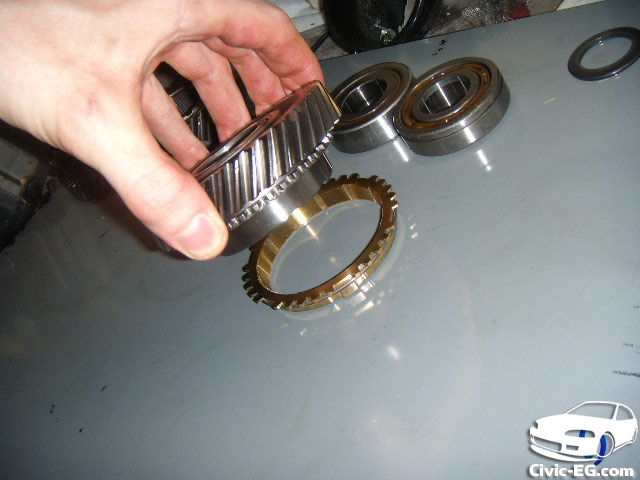
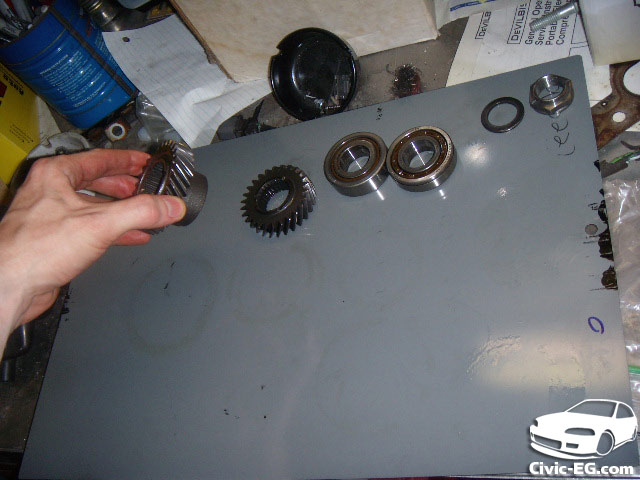
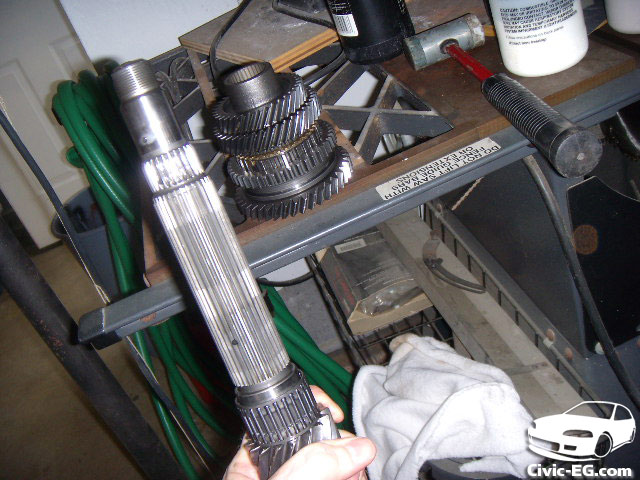
You'll need a puller to get the pressed gears apart. I'm able to grab under 4th gear. With a bearing type puller (recommended), you can get in smaller spaces such as between 4th and 5th. The type I'm using you can rent for free from Autozone (with deposit).
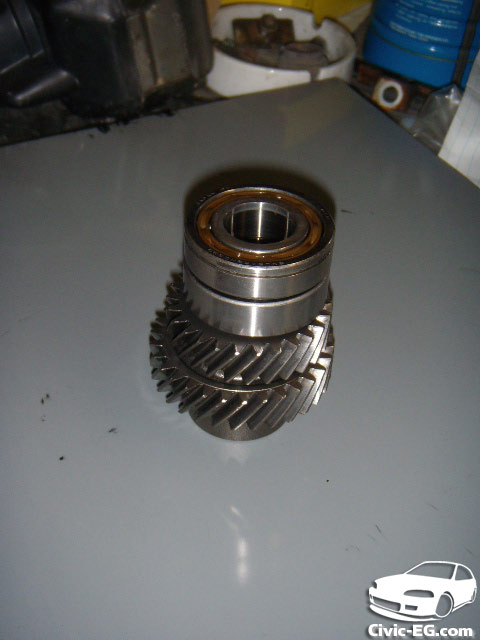
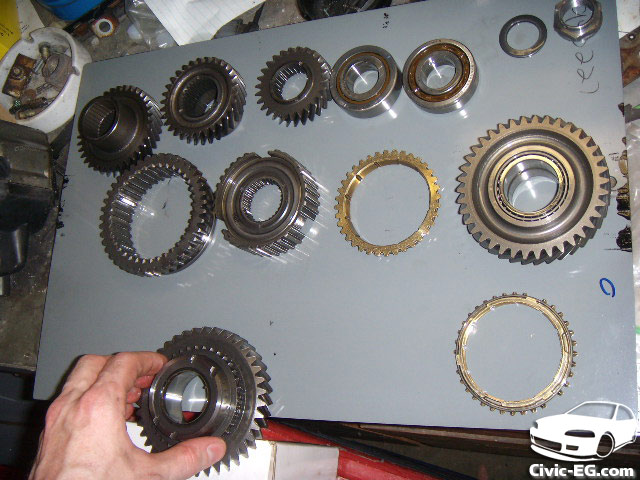
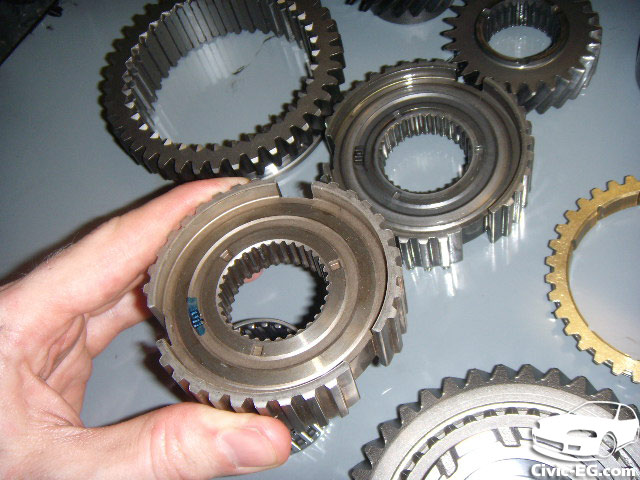
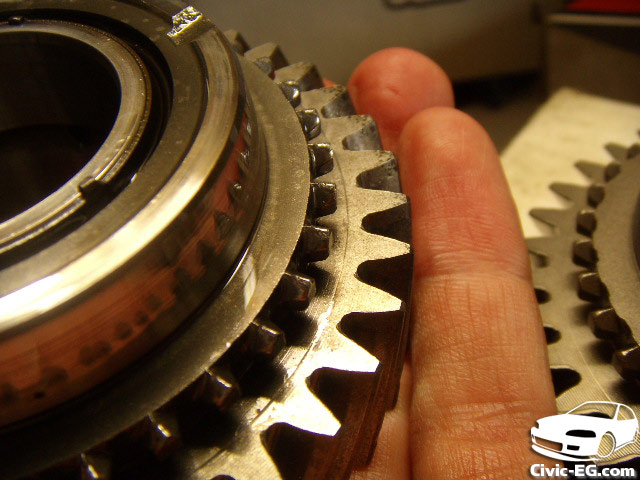
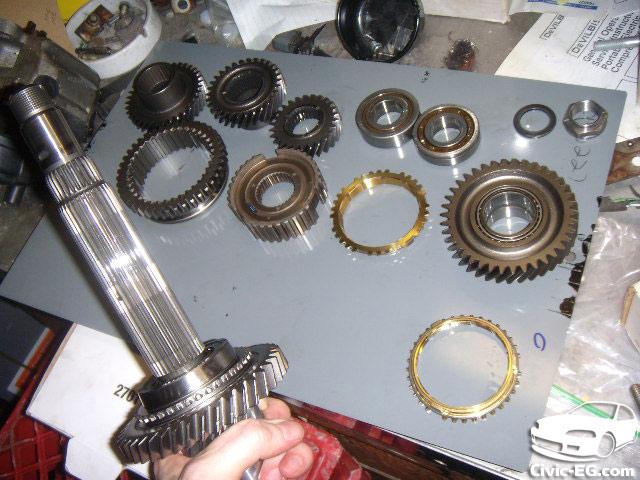
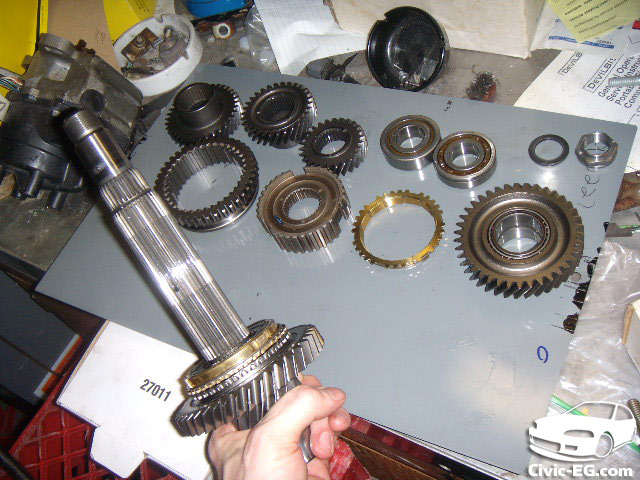
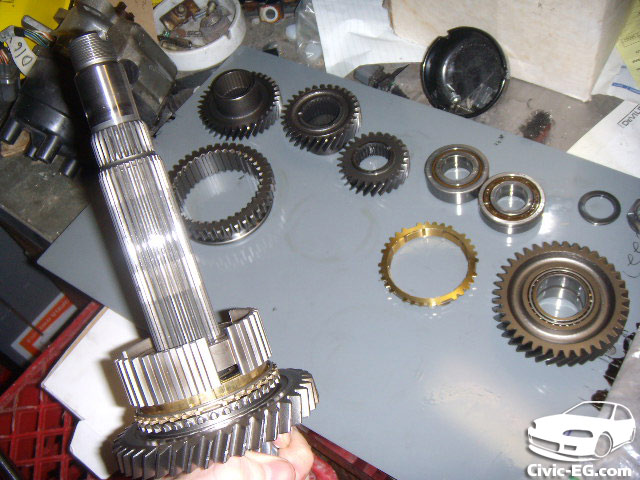
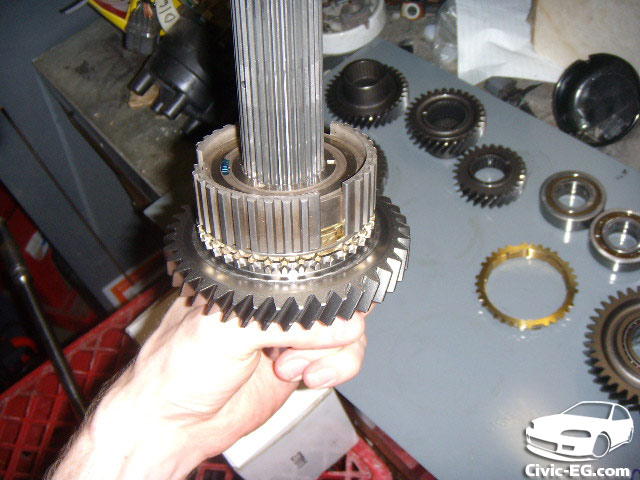
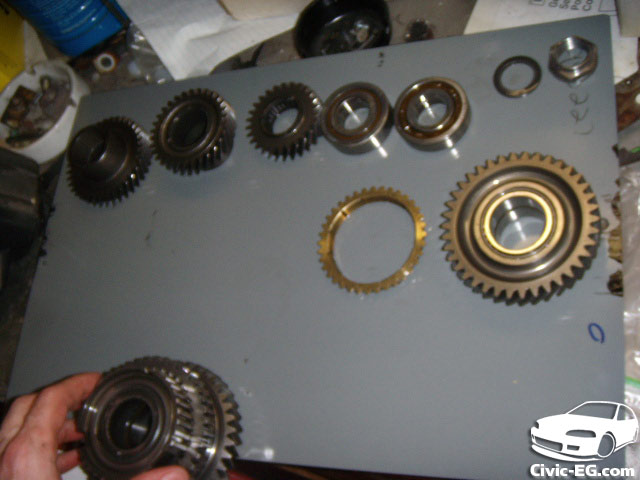
4th, 5th, and the 2 ball bearings are now removed.
I set them in the order they were removed so everything goes back together in the correct order.
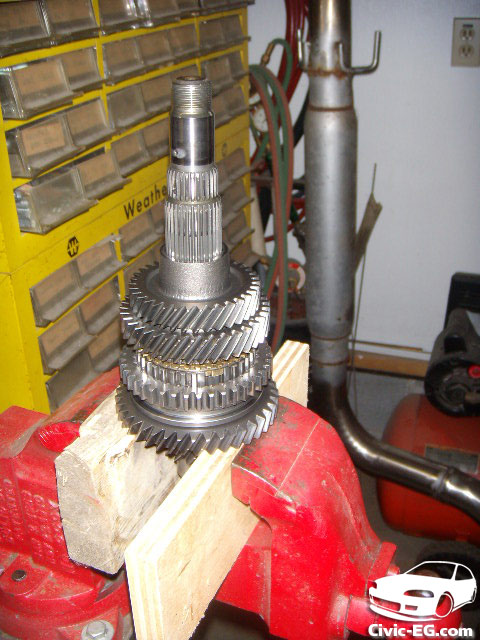
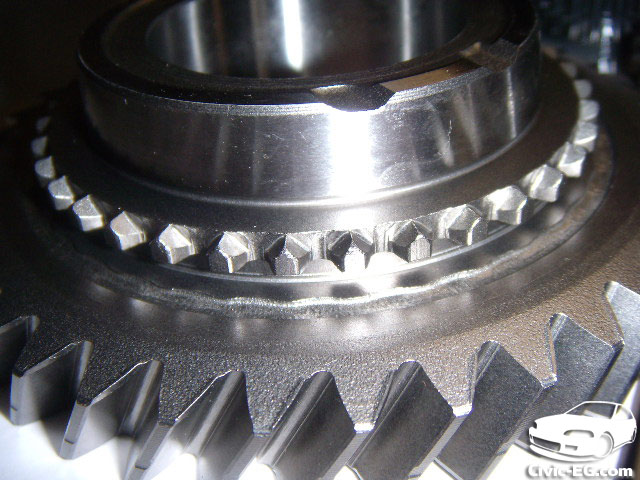
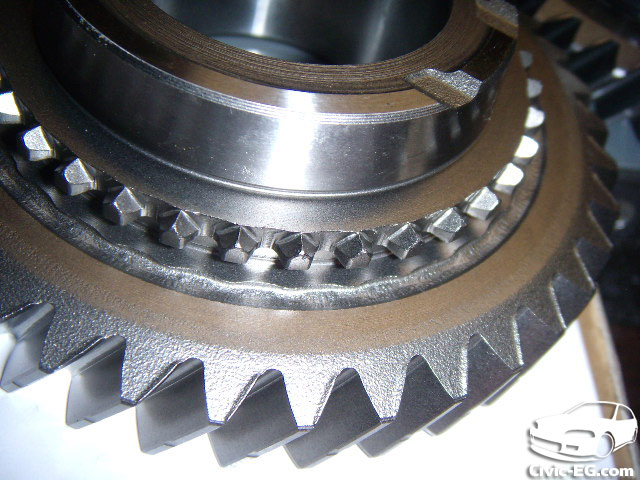
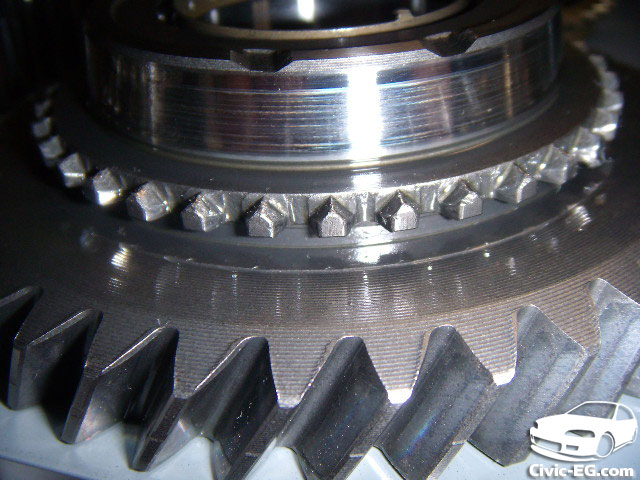
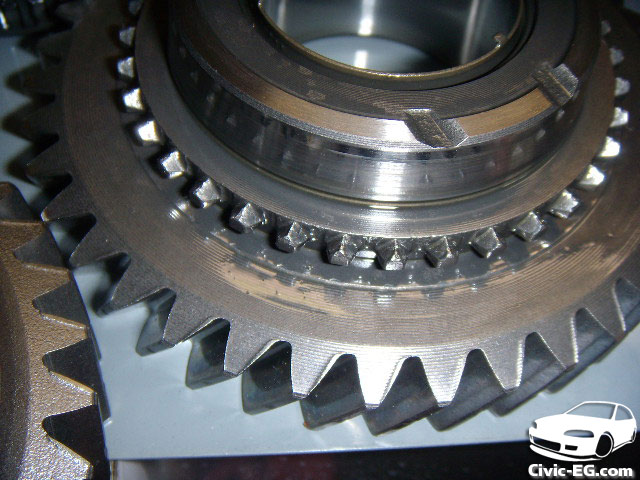
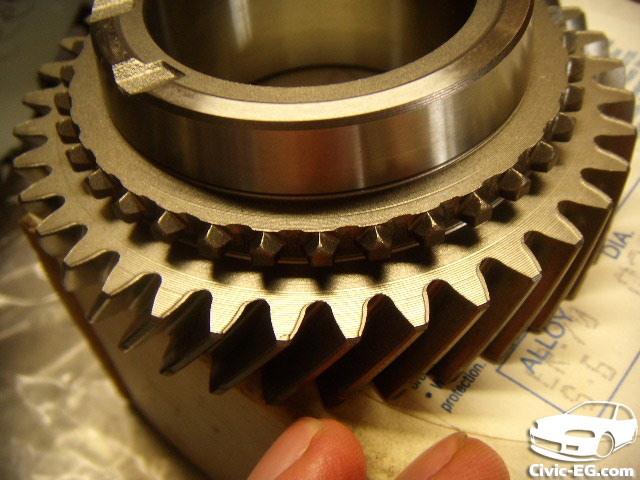
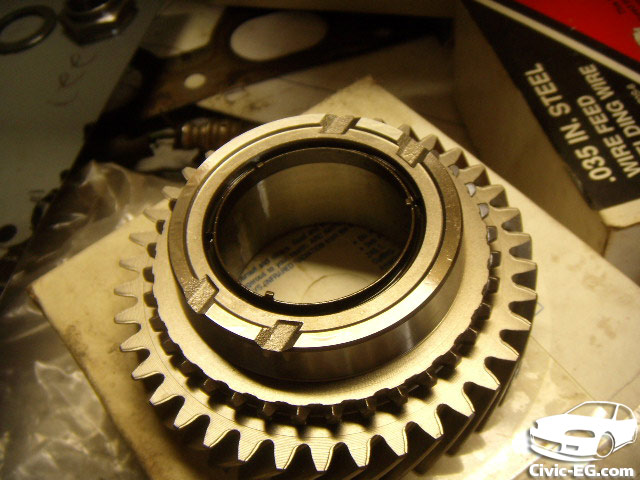
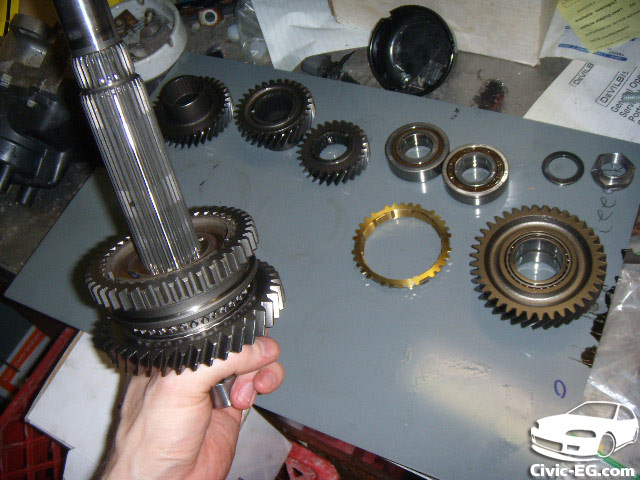
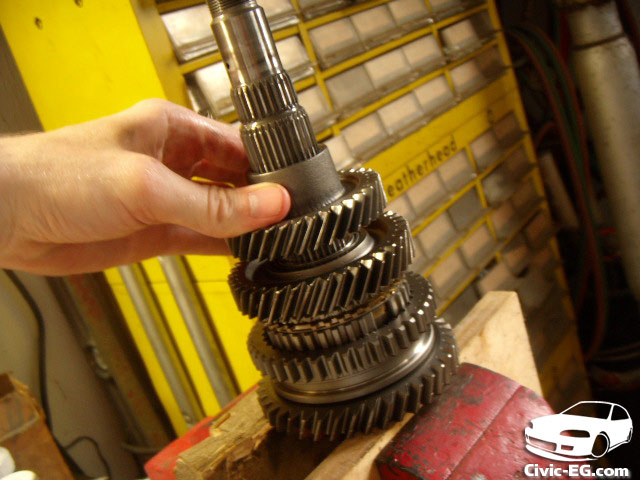
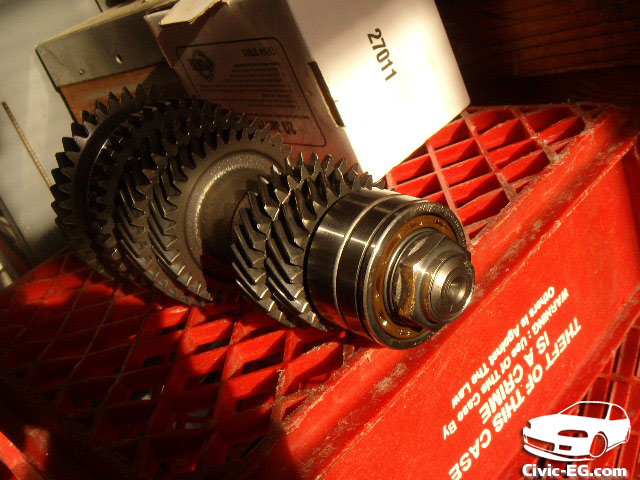
Here's what's left after. The next gear is 3rd and it is also pressed on.
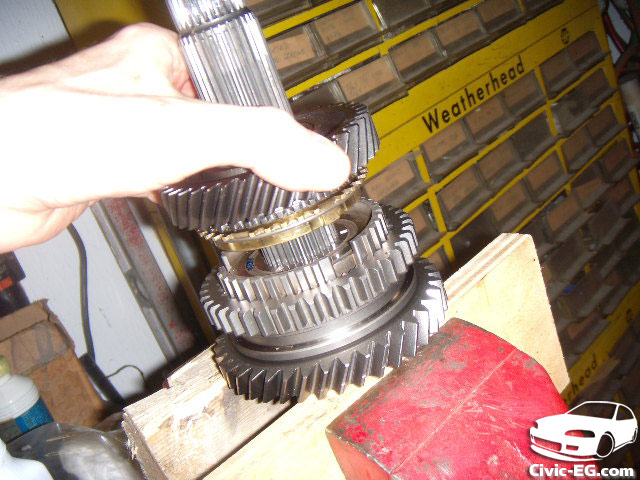
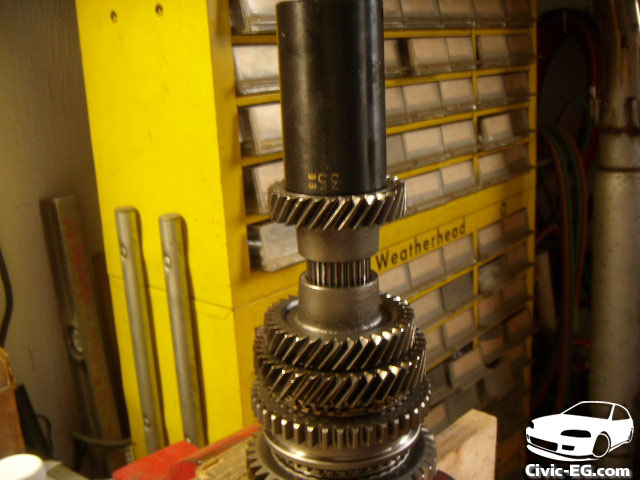
You could use a hydraulic shop press with ease, but we don't all have those handy.

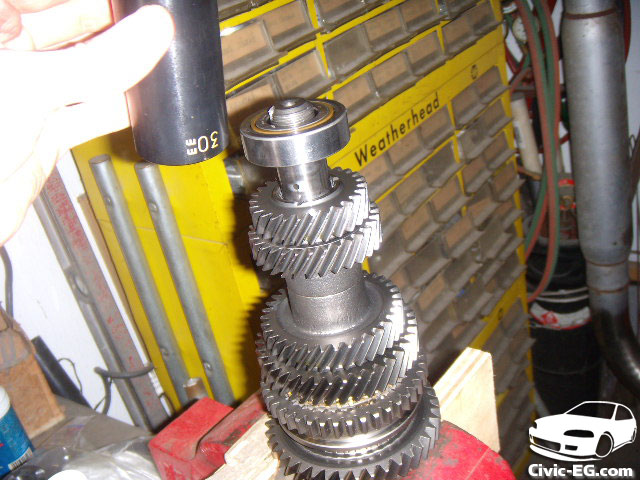
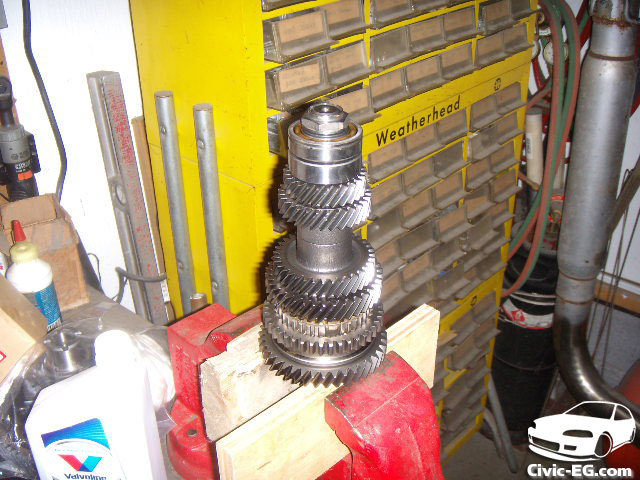
I used the metal table of my craftsman table saw. You could also put the countershaft between 2 big steel blocks of the same height. A smooth flat clean surface is important.
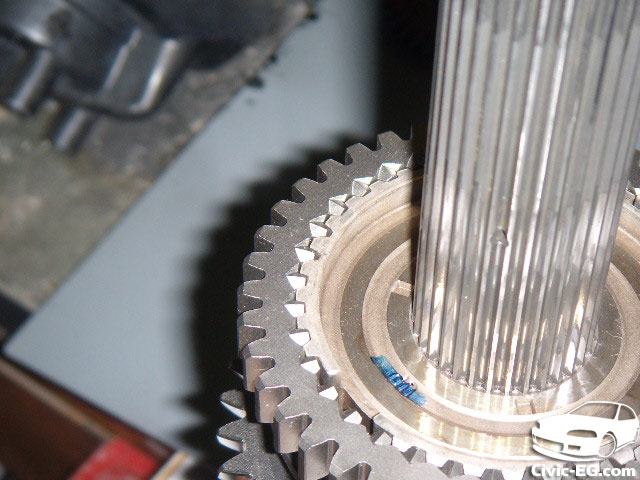
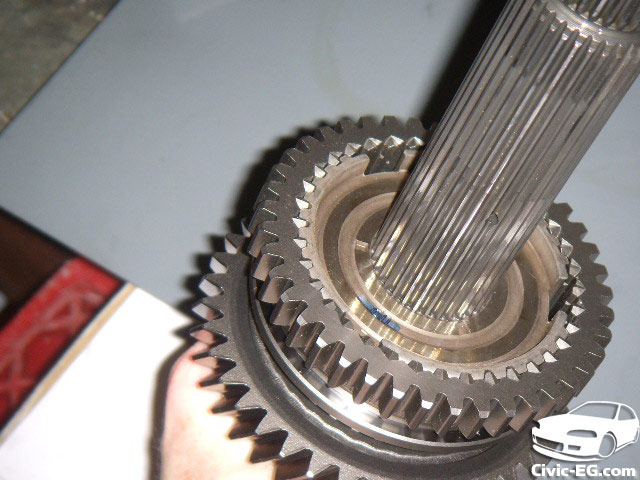
Hit the top of the countershaft straight on with a mallet. The countershaft will start to slide through all of the gears. Whatever you do, do not let it fall through and hit the floor. Keep your other hand on the countershaft or put a box & pillow under it if you don't have a free hand.
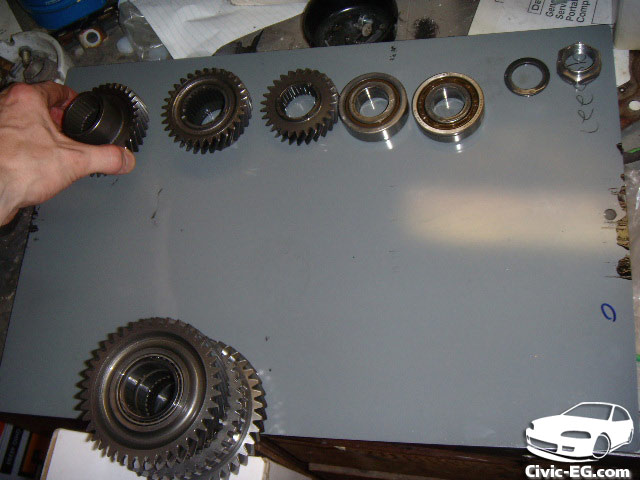
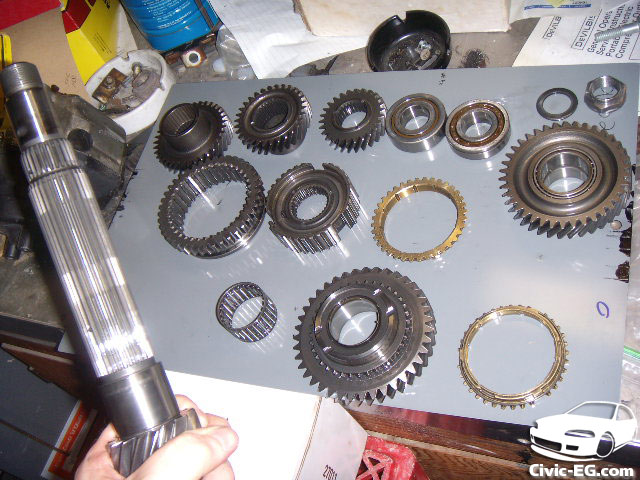
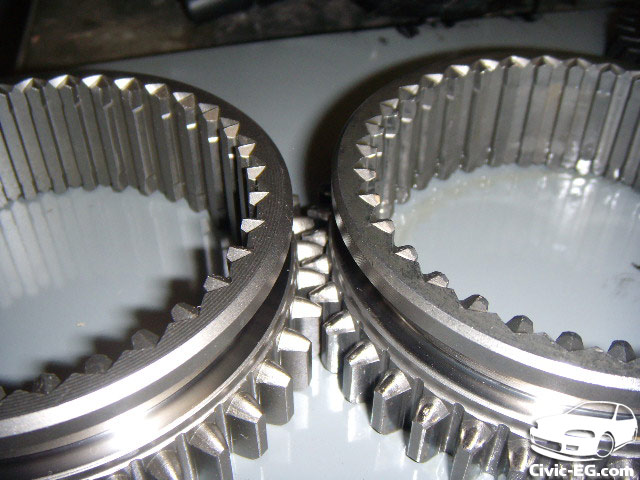
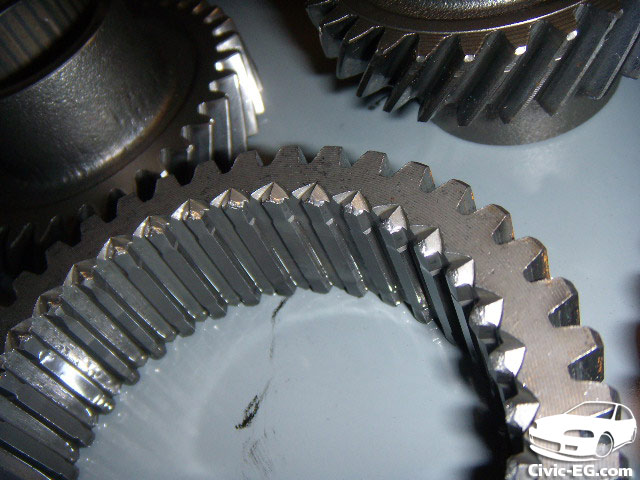
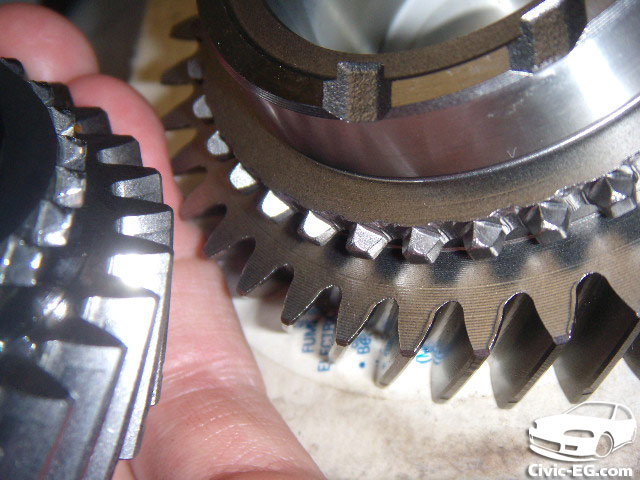
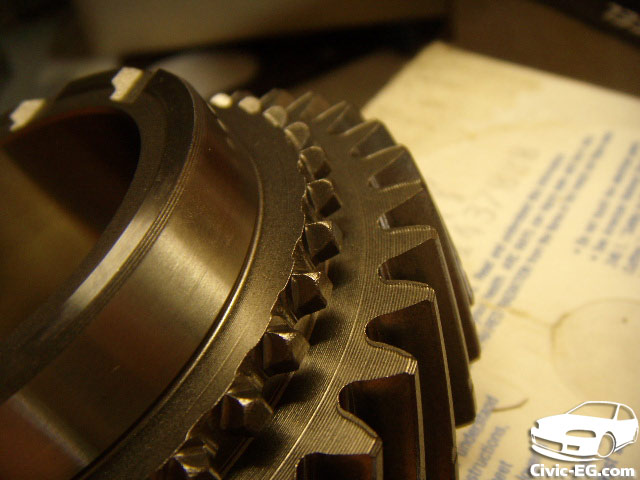
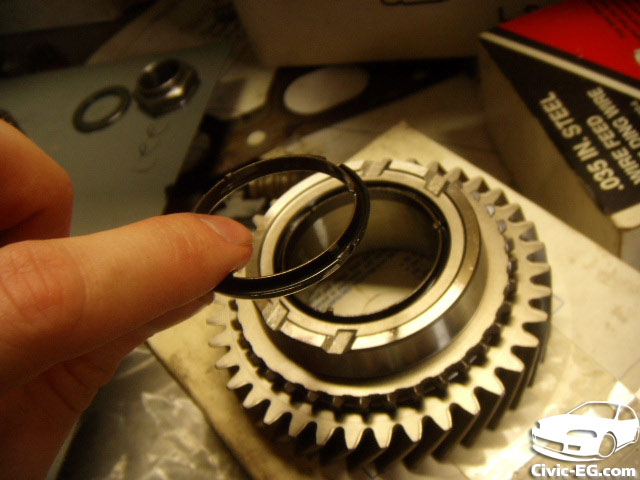
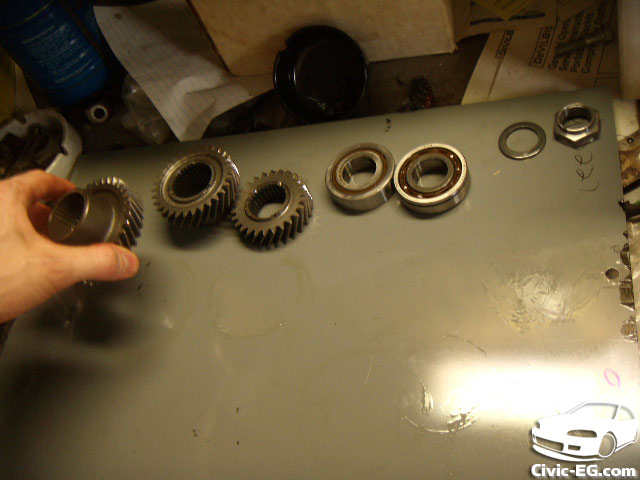
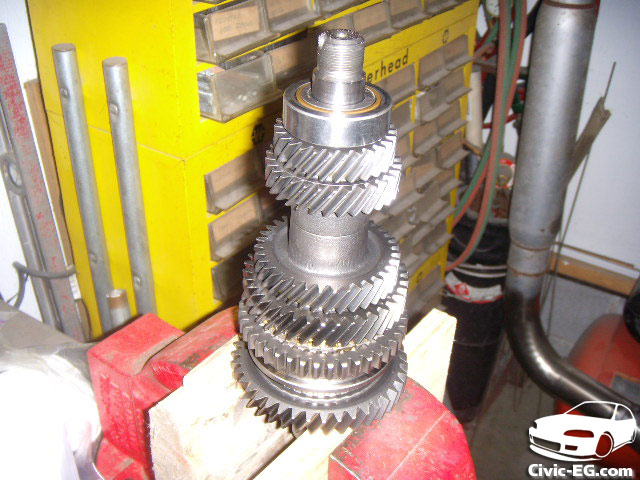
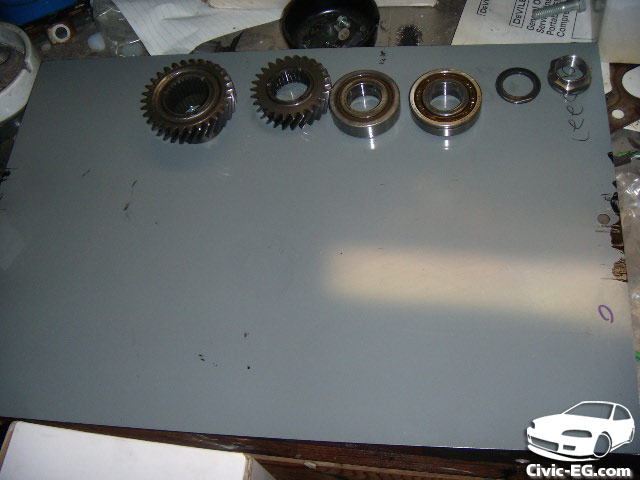
Keeping things in order... 3rd gear
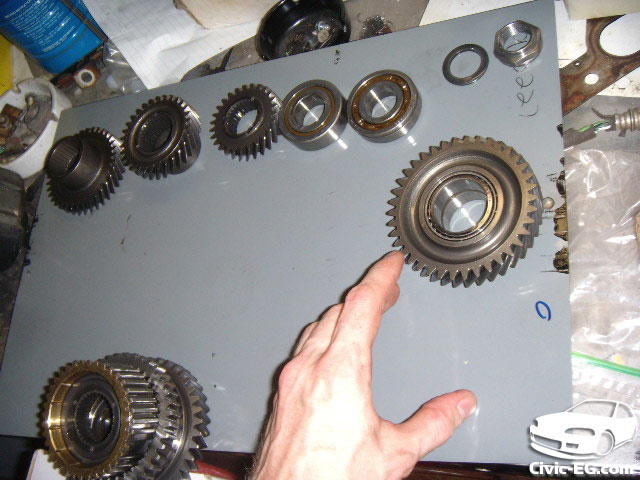
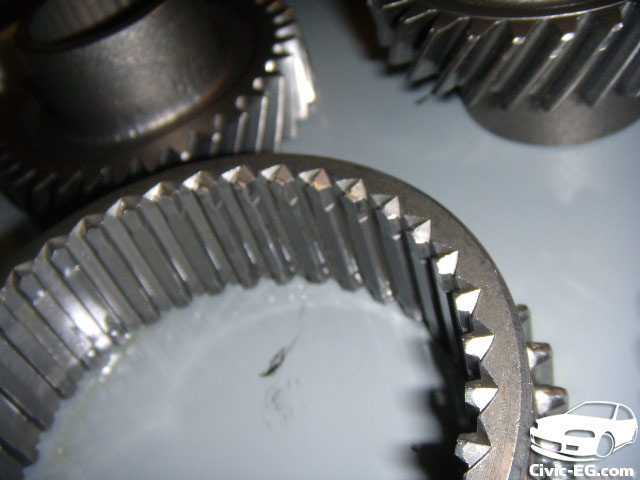
2nd gear
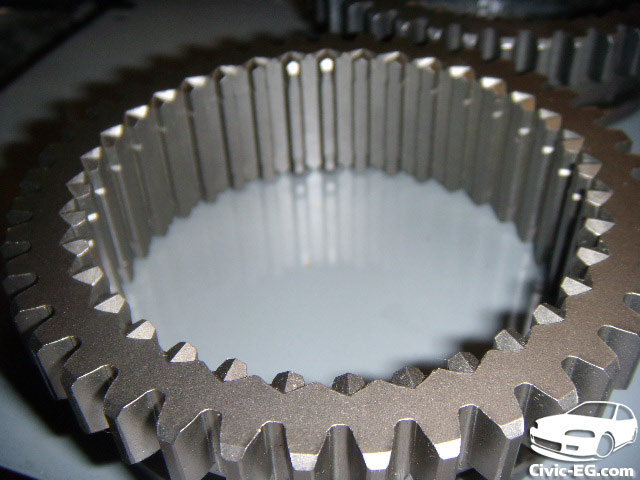
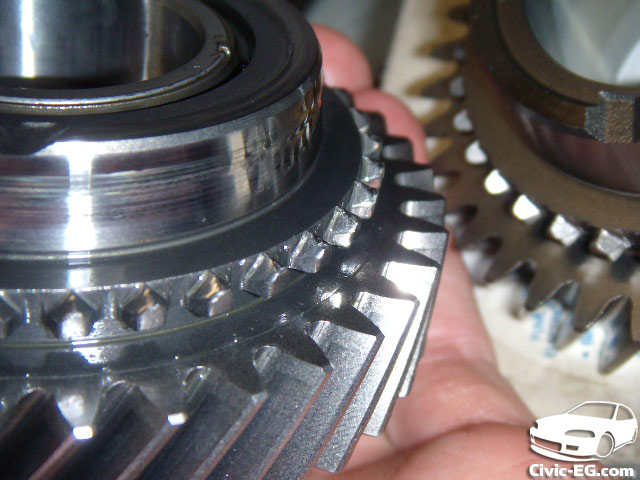
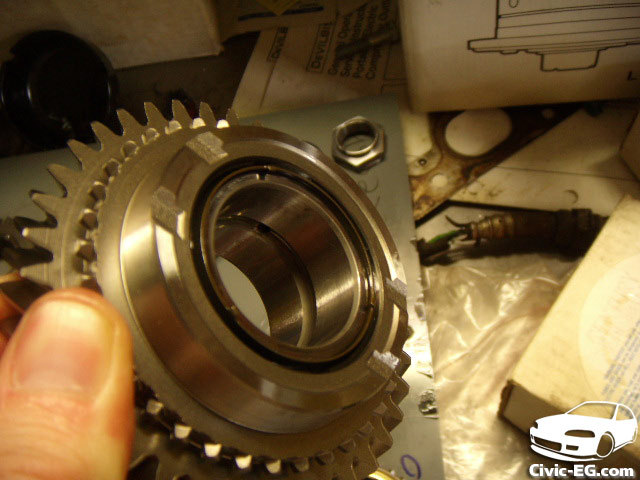
2nd gear synchro
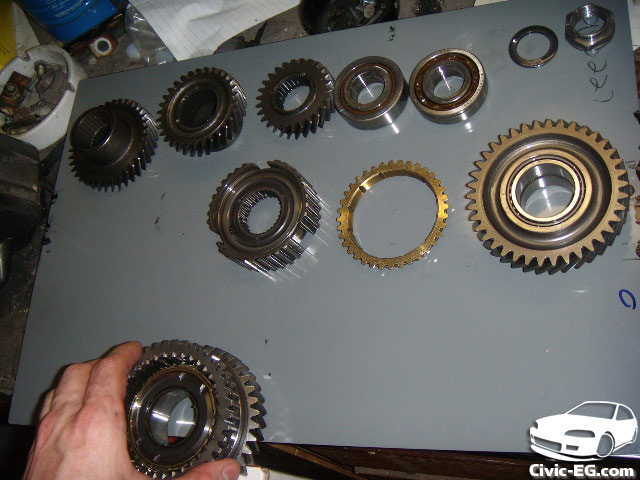
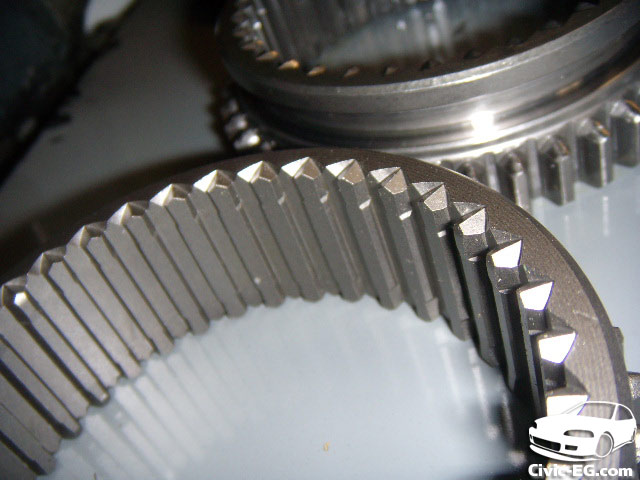
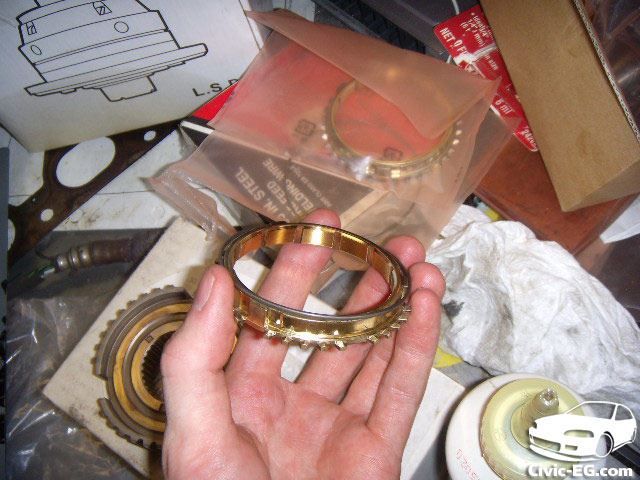
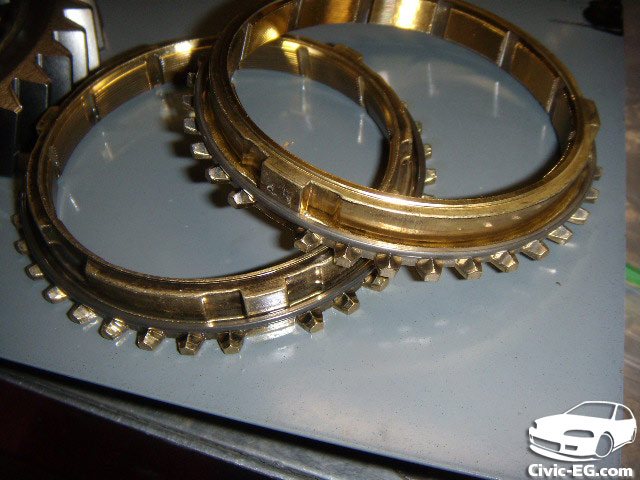
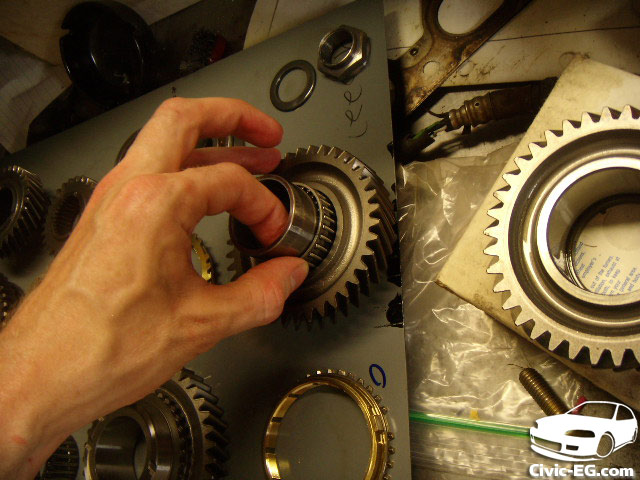
1st/2nd synchro hub
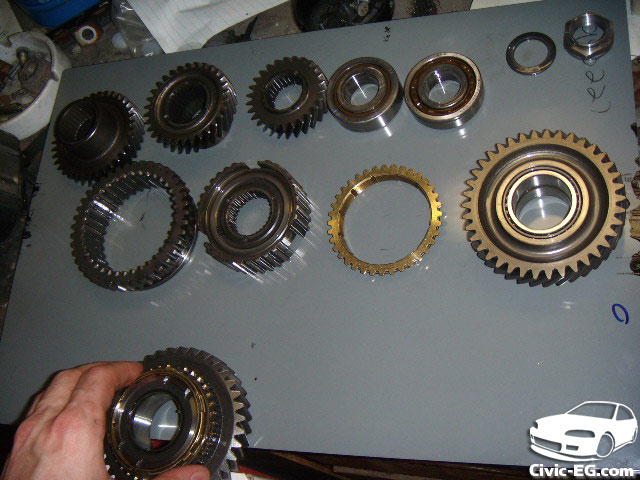
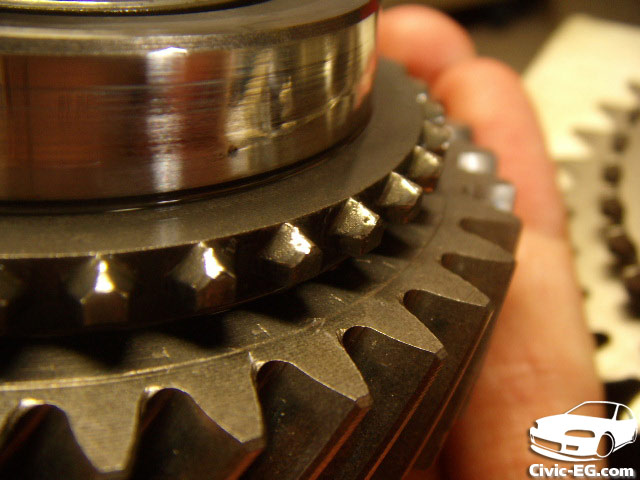
1st/2nd synchro sleeve
Rebuilding a countershaft or mainshaft is not very complicated. You just have to be careful and pay attention. It is a lot like building a huge sandwich... you have your bottom bun, ham, salami, cheese, lettuce, tomato, pickes, mayo, top bun. Those things must go in a certain order. The countershaft must be pot together exactly as it was or you'll have big problems. You'll need a clean work area with enough space to lay each part out in the order you removed it. Then all you have to do is pick up each one in order and put it on the countershaft, just like building a big heavy metal sandwich. When installing the new parts, a thin coat of oil should be applied, don't put them on the countershaft dry. Also don't drop anything on the floor. Very tight tolerances and precise teeth make this work. it could be easy to damage these parts, so pick a good work space to start because you don't want to move everything once you start taking it apart.
This thread is just to help you get familiar with the parts & assembly of the countershaft. Before doing this yourself, have a manual in front of you. By reading on, you agree that I am not responsible for any damage you do to your vehicle.
First I'm going to take it apart.
mount the countershaft in a vise but use 2 pieces of wood so you don't damage the countershaft.
Use an impact wrench & 30mm socket on the nut on the end. Like an axle nut, the edge is punched in to prevent it from backing out. Usually you're not going to re-use an axle when you remove it for a torn cv boot or clicking. In this case punch the side back out so that when you spin it off, you don't gouge the countershaft (expensive to replace).
Set the nut & washer aside.
You'll need a puller to get the pressed gears apart. I'm able to grab under 4th gear. With a bearing type puller (recommended), you can get in smaller spaces such as between 4th and 5th. The type I'm using you can rent for free from Autozone (with deposit).
4th, 5th, and the 2 ball bearings are now removed.
I set them in the order they were removed so everything goes back together in the correct order.
Here's what's left after. The next gear is 3rd and it is also pressed on.
You could use a hydraulic shop press with ease, but we don't all have those handy.
I used the metal table of my craftsman table saw. You could also put the countershaft between 2 big steel blocks of the same height. A smooth flat clean surface is important.
Hit the top of the countershaft straight on with a mallet. The countershaft will start to slide through all of the gears. Whatever you do, do not let it fall through and hit the floor. Keep your other hand on the countershaft or put a box & pillow under it if you don't have a free hand.
Keeping things in order... 3rd gear
2nd gear
2nd gear synchro
1st/2nd synchro hub
1st/2nd synchro sleeve
Do Not PM me your technical questions. Post them in the forum! 
My 1992 SOHC Turbo Hatch
My Youtube Channel: 6th Gear Garage
My 1992 SOHC Turbo Hatch
My Youtube Channel: 6th Gear Garage