- Fri Oct 19, 2007 11:39 pm
#26986
This should be the same on any EG coupe, sedan or hatch, correct me if I'm wrong.
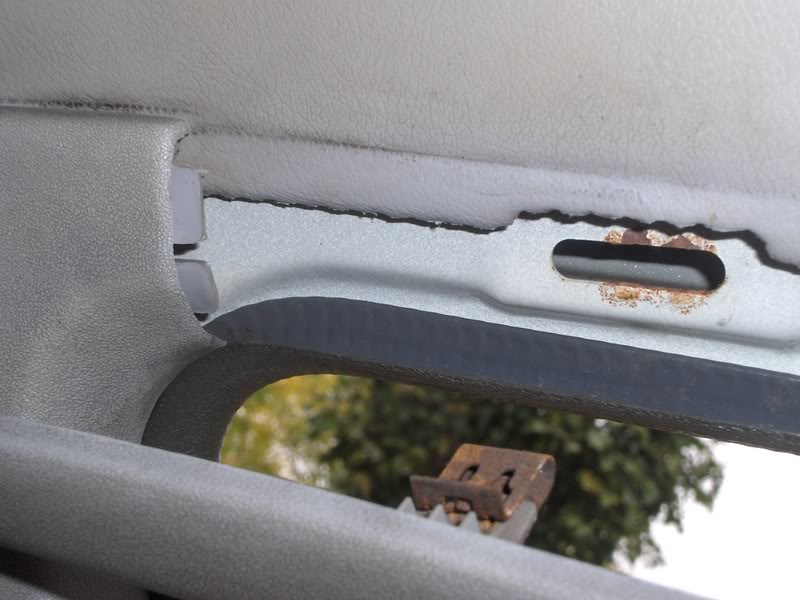
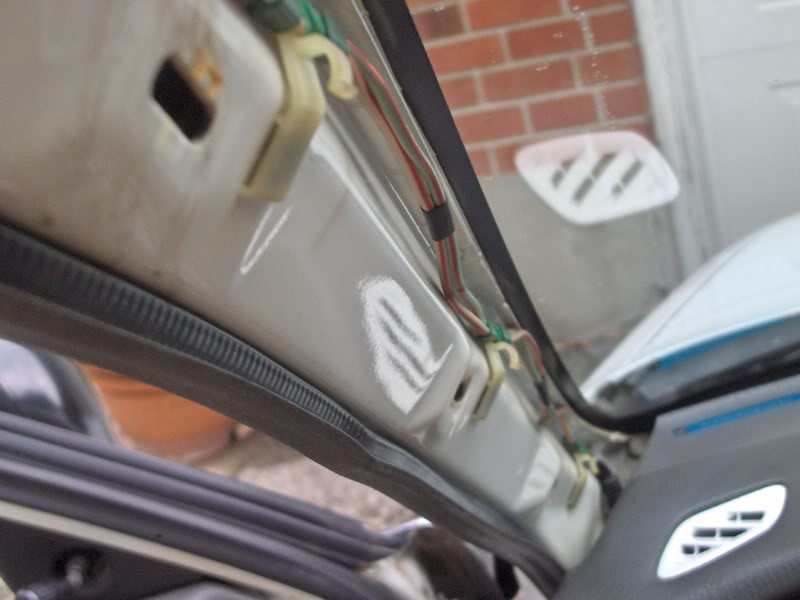
You want to start by removing your stock pillar. This is held on by five very large clips that are only coming out with a lot of force. Grind your teeth and pull you panzy.
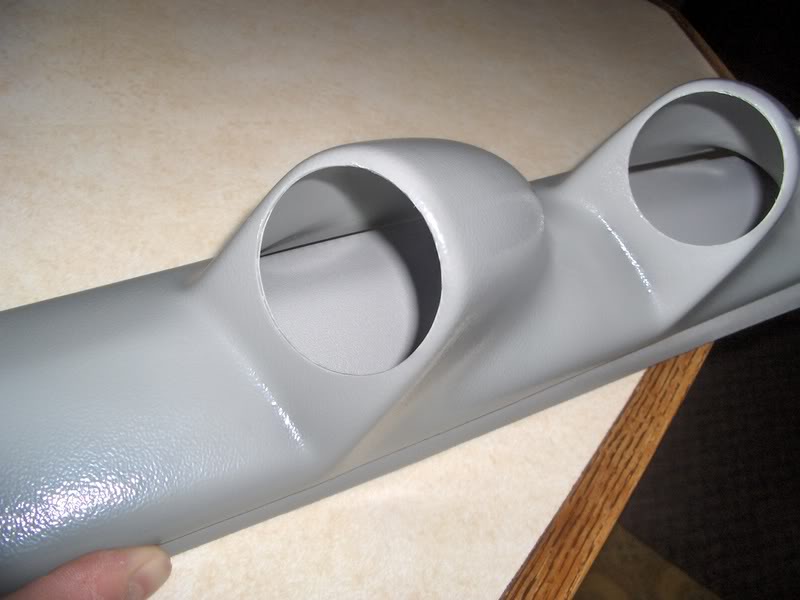
Now you've got that sucker out, on your driveway in Fall, it'd look like this:
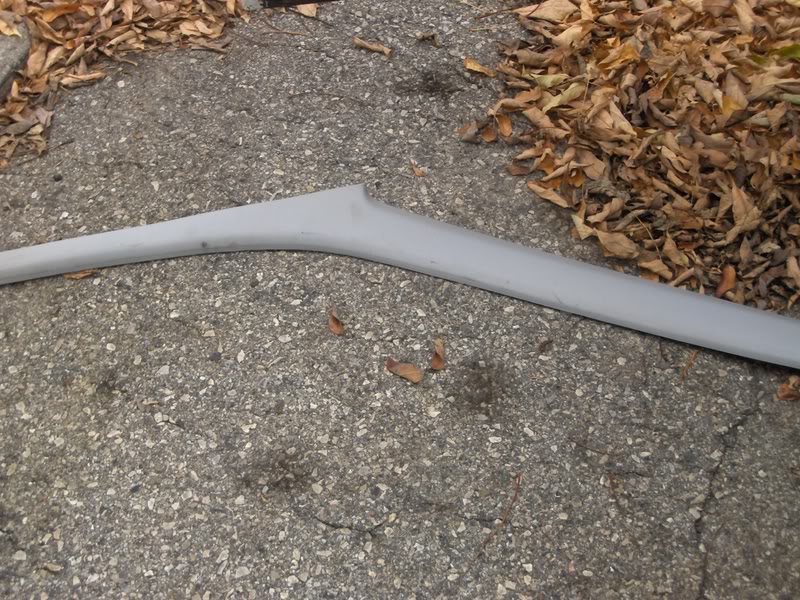
Notice the dirt, grease and grime all over my pillar, some rubbing alcohol or lighter fluid should take care of that along with some elbow grease:
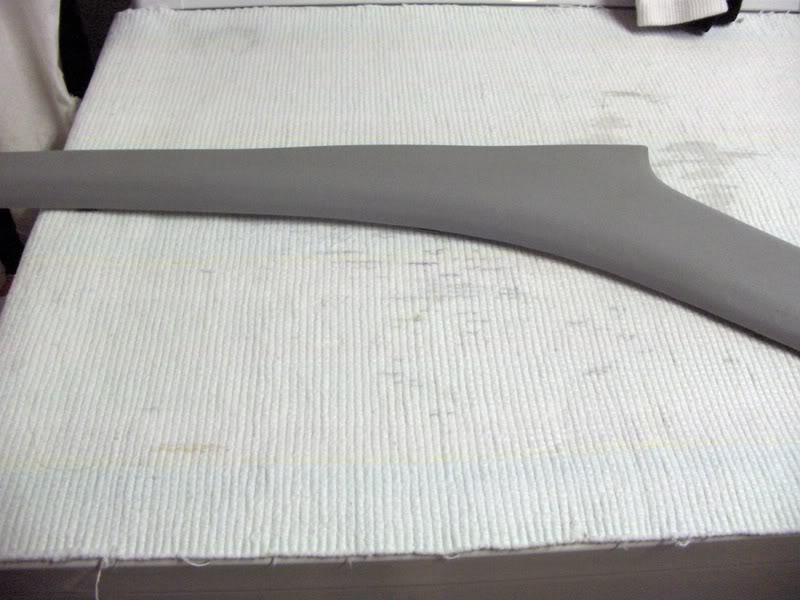
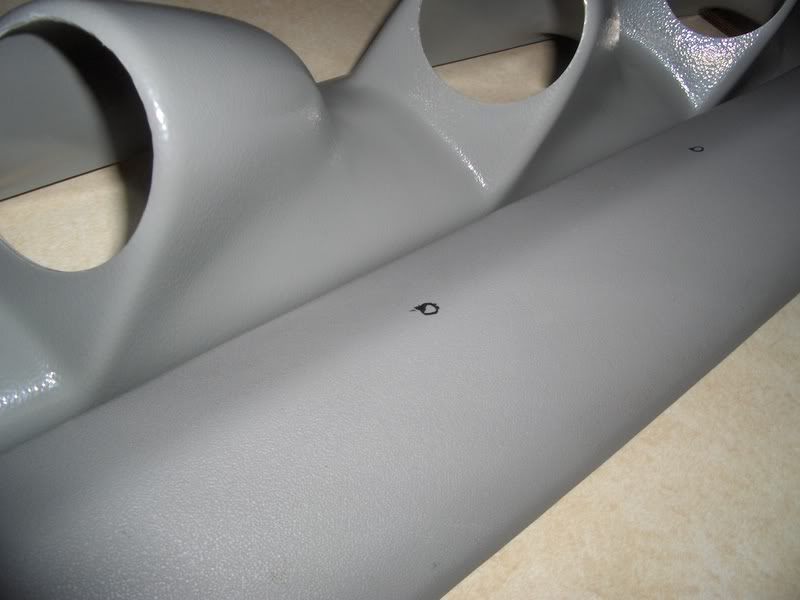
You're going to want to take your new pillar and place it on top of your stock pillar to adjust what fitment you want. At this time, using a marker of some sort, mark on the stock pillar where you are going to make holes for your wires/tubes to pass through:
After drilling your holes (ensure they are big enough for your wire braid and/or hoses to pass through) choose some convenient places to screw the new pillar onto your stock one. If you'd like, you can get the coloured grommets to put over the screw heads to try to hide them, for now I don't have them, but I chose silver screws with relatively small heads so they won't be too intrusive. *Note, my third screw at the bottom is about a 1/2" too low, it interferes with the dash and has now caused some disfiguration of the side of my dash where the pillar meets it. It's no big deal, just be wary of where you are drilling, if I did this a second time, I would have taken them time to check that my holes weren't interfering with anything*
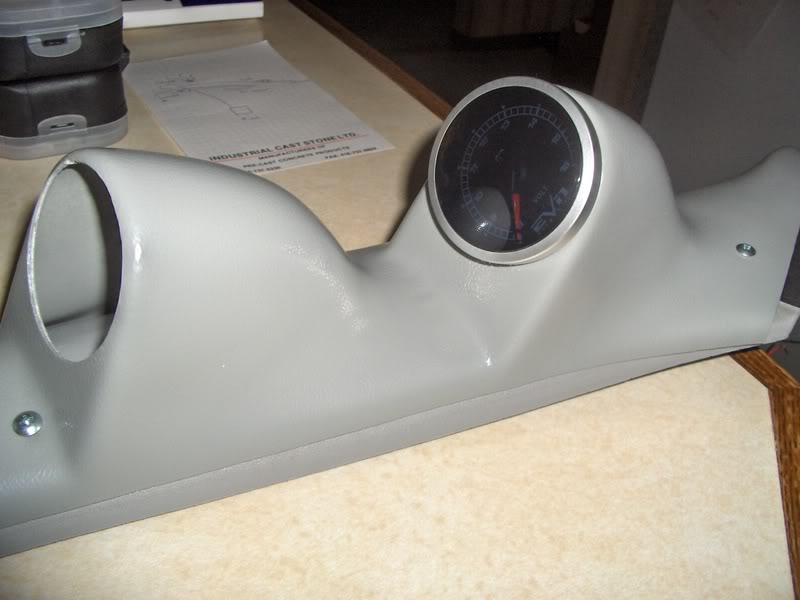
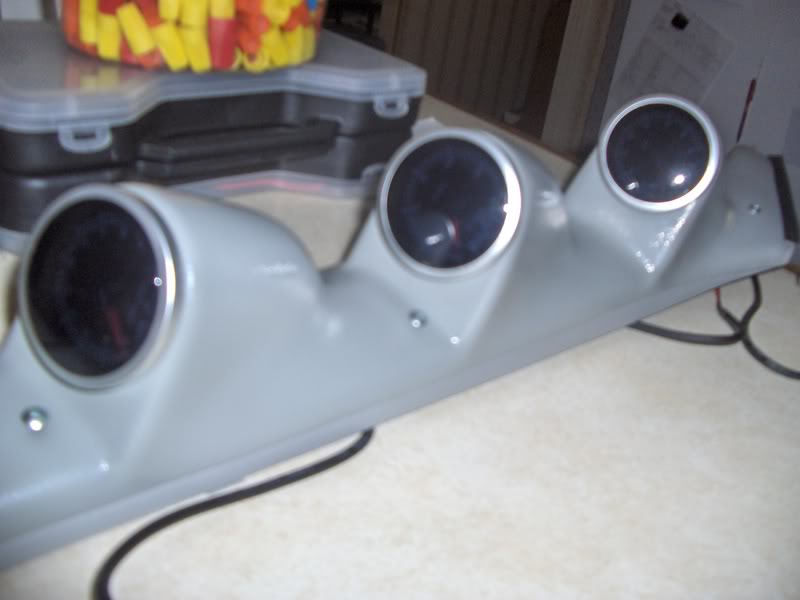
Next you'll be inserting your gauges and feeding your wires/hoses through the holes you have made to the back of your stock pillar.
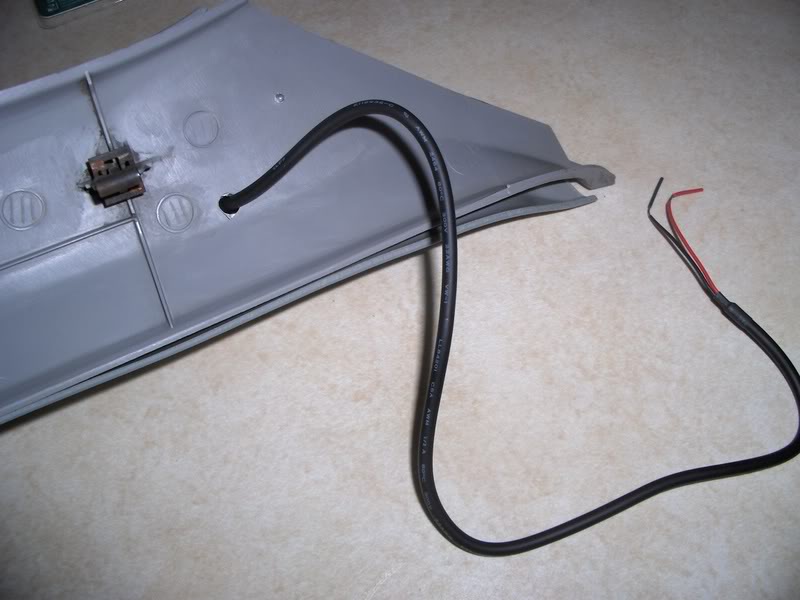
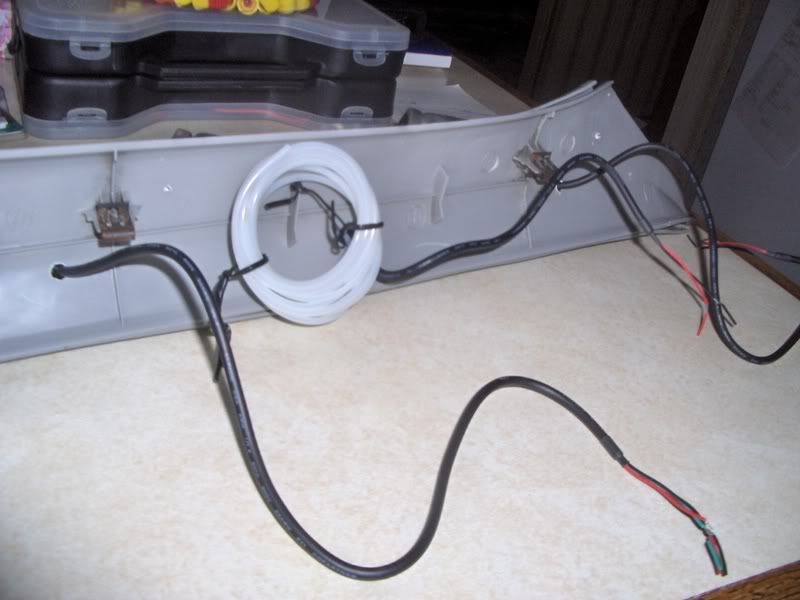
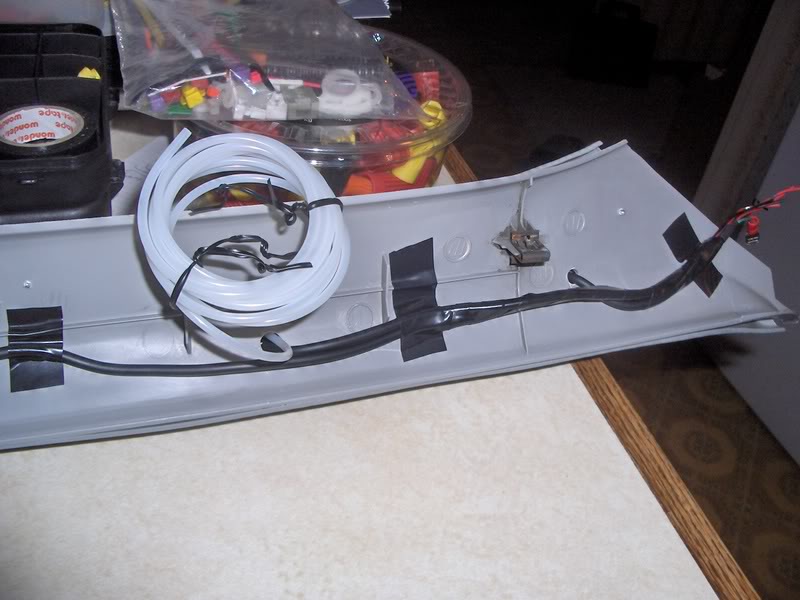
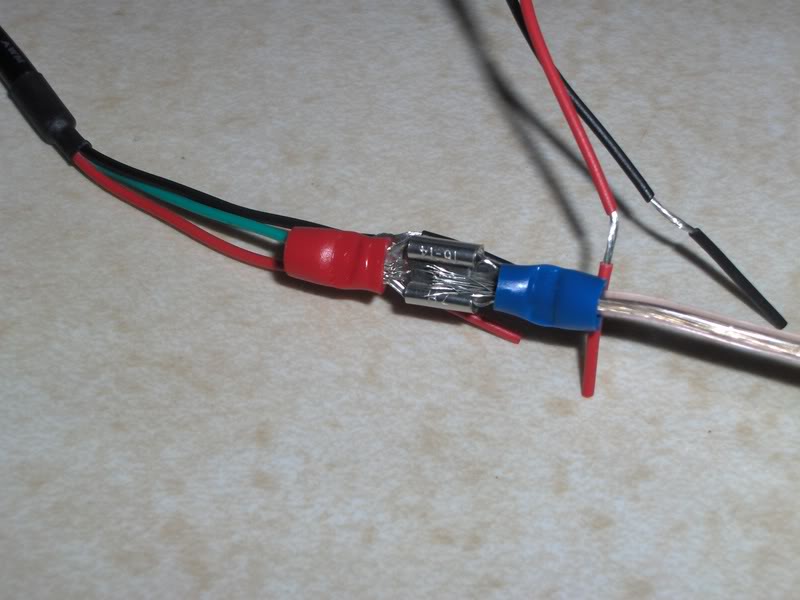
I braided them with some electrical tape to keep them under control and easier to work with, it'll also aid when putting the pillar back into the car so wires aren't getting trapped and possibly cut. I grouped all of the + wires and joined them into a single wire along with the - wires. On all my final wires I put female and male disconnects so if I ever needed to take the gauge pod out to fix/replace a gauge I could easily do this without removing ALL of my wiring.

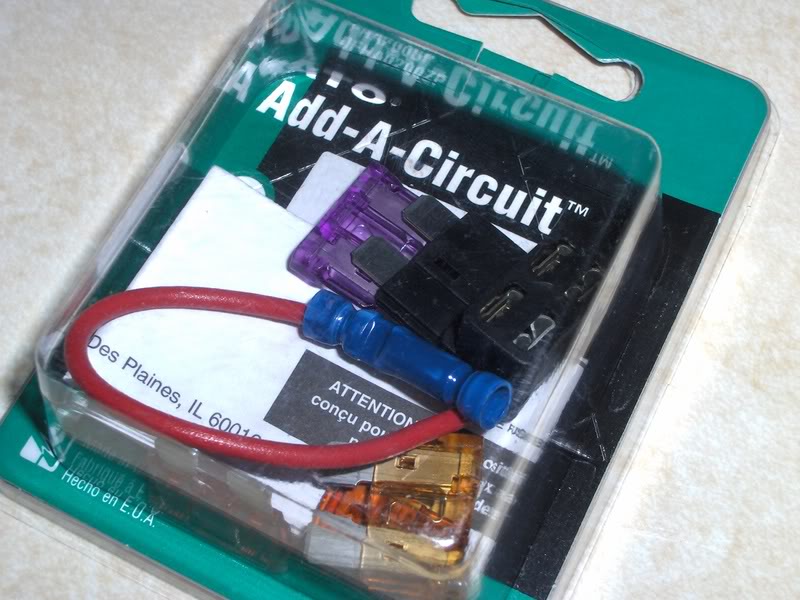
Here's what I picked up from part source in order to power the gauges. You can hook this up to your in-dash fuse box very easily. It replaces the slot of one existing fuse (Under 10A) and it comes with new fuses for the accessory. You simply plug both fuses into the new adapter and it comes with a power wire which you just crimp onto your accessory.
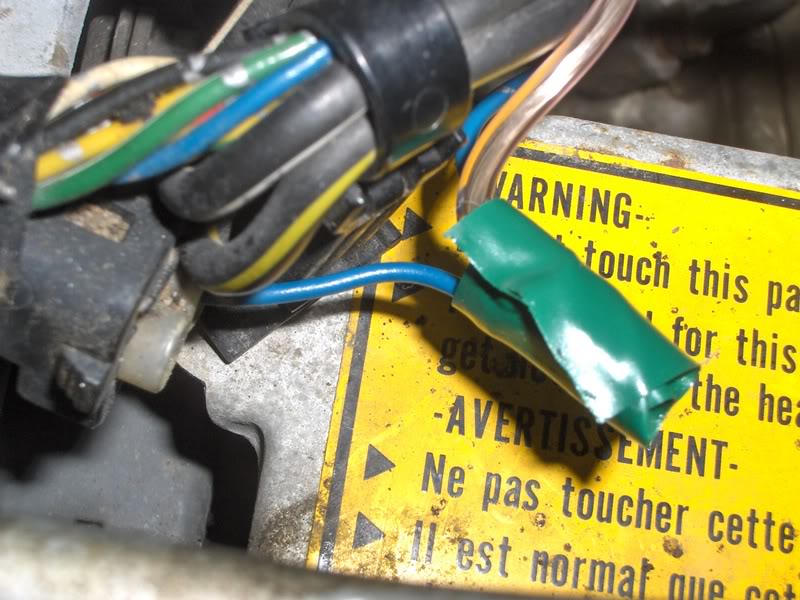
Under the hood, we connect our tach wire from the gauges to our engine tach test wire (Thanks ChicagoMike for helping me clarify which wire this was). It's a blue wire that leads to an adapter on the driverside of your bay. It will be a single wire apart from the group of wires next to it. I spliced into that and connected my wire to my tach gauge.
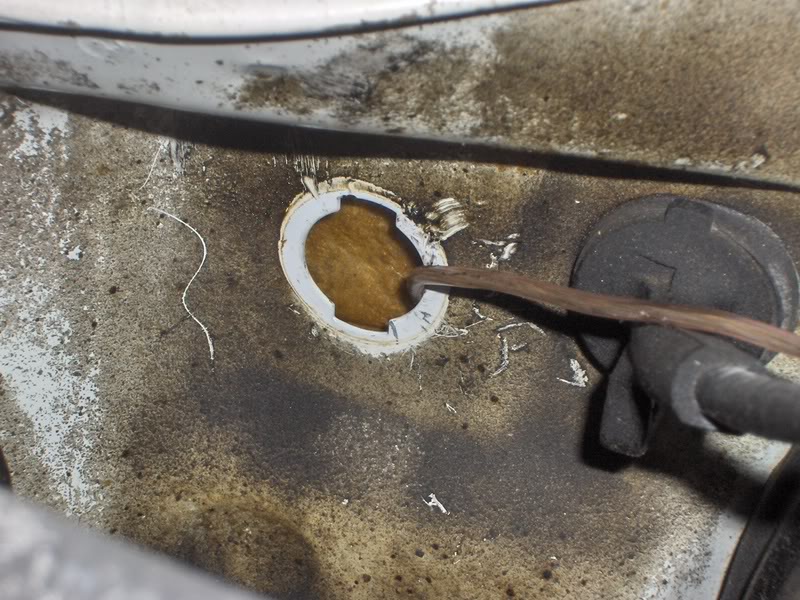
I ran that wire through a hole in the firewall to underneath the dash. Unfortunately when I popped the grommet off it fell somewhere and I'll have to go replace it now. I'm sure somehow you can modify it to allow the wire to pass through, or you could just scrap it altogether and pray your engine doesn't catch fire .
.
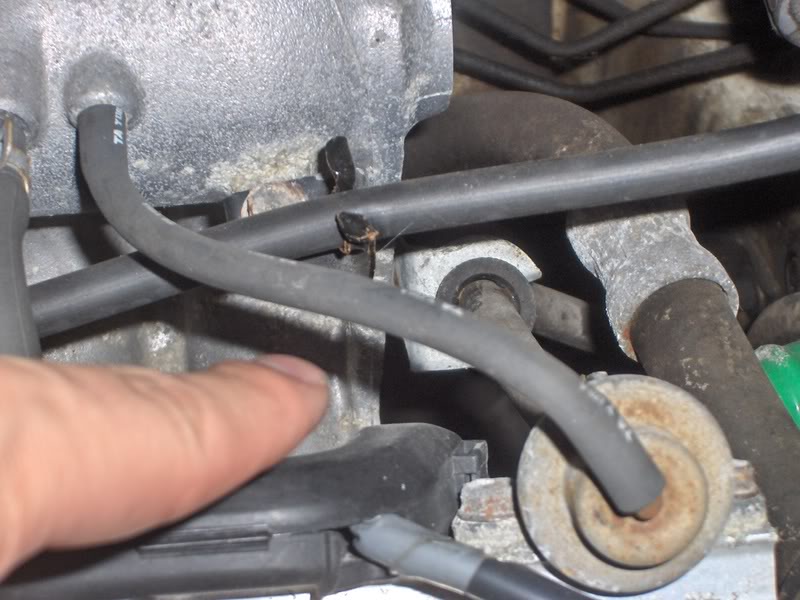
Still to be done, I have to splice one of my lines to attach my vacuum gauge sensor. It came with a t-connector to replace the current of the existing line and allow you to connect your sensor tubing. I chose the line that runs between the Intake Manifold and the fuel rail.
The stock pillar just pops back into place with the new pillar screwed on top of it. You may have to slide it up or down to allow all of the clips to meet their designated holes, but after a bit of frustration and some sweating I finally got it slammed back in.
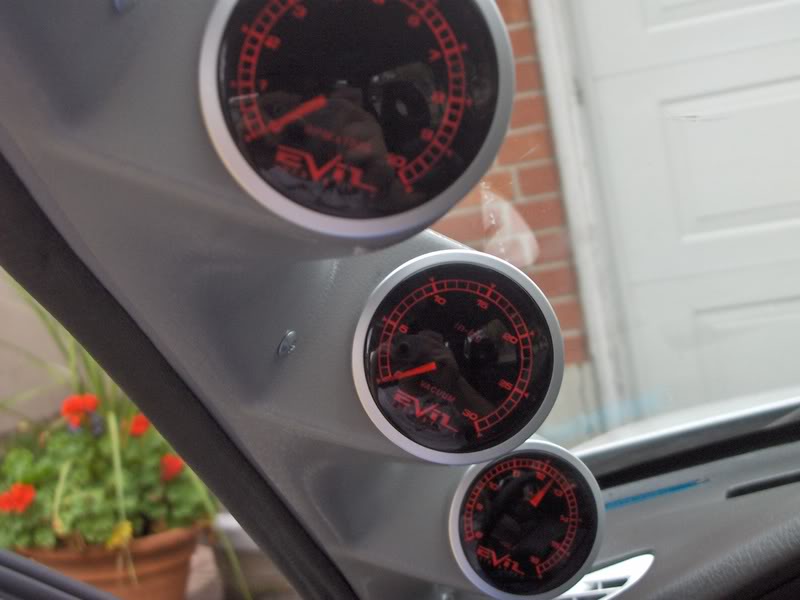
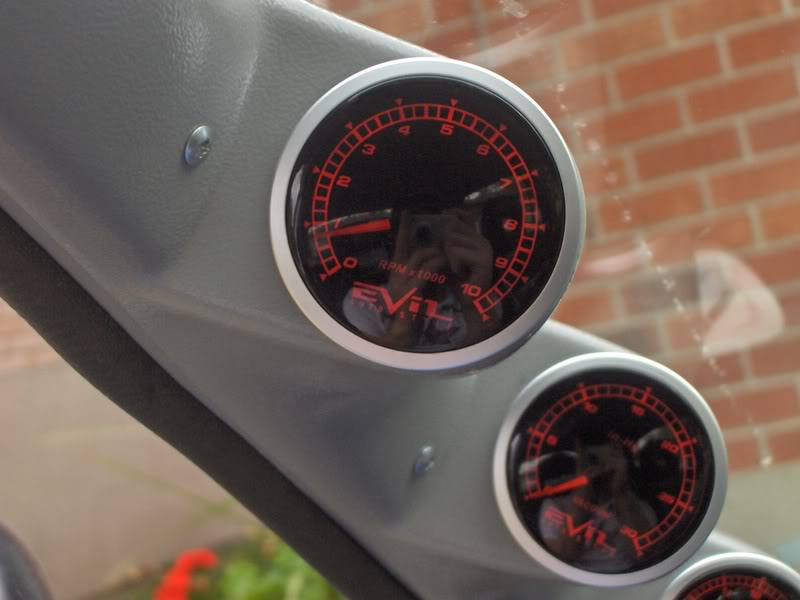
Don't forget of course to ground the gauges on a screw or bolt that attaches to the frame. Since I removed my running light fuses (I don't want running lights) I just put the add-a-circuit adapter into the running light relay fuse slot and now when my key is in the second position the gauges will have power. (Check out that idle rpm )
)
You want to start by removing your stock pillar. This is held on by five very large clips that are only coming out with a lot of force. Grind your teeth and pull you panzy.
Now you've got that sucker out, on your driveway in Fall, it'd look like this:
Notice the dirt, grease and grime all over my pillar, some rubbing alcohol or lighter fluid should take care of that along with some elbow grease:
You're going to want to take your new pillar and place it on top of your stock pillar to adjust what fitment you want. At this time, using a marker of some sort, mark on the stock pillar where you are going to make holes for your wires/tubes to pass through:
After drilling your holes (ensure they are big enough for your wire braid and/or hoses to pass through) choose some convenient places to screw the new pillar onto your stock one. If you'd like, you can get the coloured grommets to put over the screw heads to try to hide them, for now I don't have them, but I chose silver screws with relatively small heads so they won't be too intrusive. *Note, my third screw at the bottom is about a 1/2" too low, it interferes with the dash and has now caused some disfiguration of the side of my dash where the pillar meets it. It's no big deal, just be wary of where you are drilling, if I did this a second time, I would have taken them time to check that my holes weren't interfering with anything*
Next you'll be inserting your gauges and feeding your wires/hoses through the holes you have made to the back of your stock pillar.
I braided them with some electrical tape to keep them under control and easier to work with, it'll also aid when putting the pillar back into the car so wires aren't getting trapped and possibly cut. I grouped all of the + wires and joined them into a single wire along with the - wires. On all my final wires I put female and male disconnects so if I ever needed to take the gauge pod out to fix/replace a gauge I could easily do this without removing ALL of my wiring.
Here's what I picked up from part source in order to power the gauges. You can hook this up to your in-dash fuse box very easily. It replaces the slot of one existing fuse (Under 10A) and it comes with new fuses for the accessory. You simply plug both fuses into the new adapter and it comes with a power wire which you just crimp onto your accessory.
Under the hood, we connect our tach wire from the gauges to our engine tach test wire (Thanks ChicagoMike for helping me clarify which wire this was). It's a blue wire that leads to an adapter on the driverside of your bay. It will be a single wire apart from the group of wires next to it. I spliced into that and connected my wire to my tach gauge.
I ran that wire through a hole in the firewall to underneath the dash. Unfortunately when I popped the grommet off it fell somewhere and I'll have to go replace it now. I'm sure somehow you can modify it to allow the wire to pass through, or you could just scrap it altogether and pray your engine doesn't catch fire
.Still to be done, I have to splice one of my lines to attach my vacuum gauge sensor. It came with a t-connector to replace the current of the existing line and allow you to connect your sensor tubing. I chose the line that runs between the Intake Manifold and the fuel rail.
The stock pillar just pops back into place with the new pillar screwed on top of it. You may have to slide it up or down to allow all of the clips to meet their designated holes, but after a bit of frustration and some sweating I finally got it slammed back in.
Don't forget of course to ground the gauges on a screw or bolt that attaches to the frame. Since I removed my running light fuses (I don't want running lights) I just put the add-a-circuit adapter into the running light relay fuse slot and now when my key is in the second position the gauges will have power. (Check out that idle rpm