- Sat Mar 09, 2013 6:38 pm
#328173
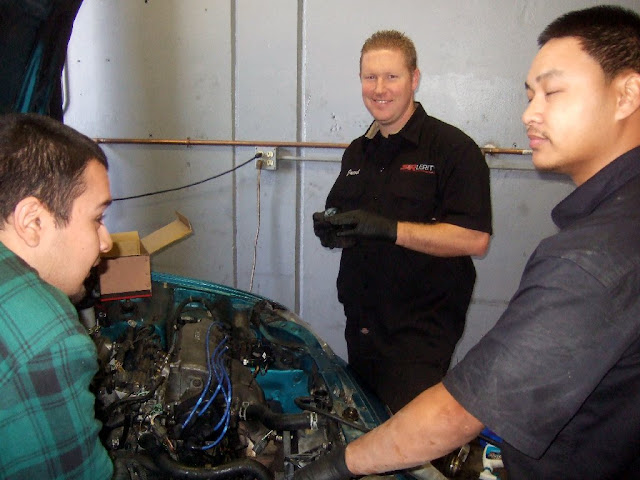
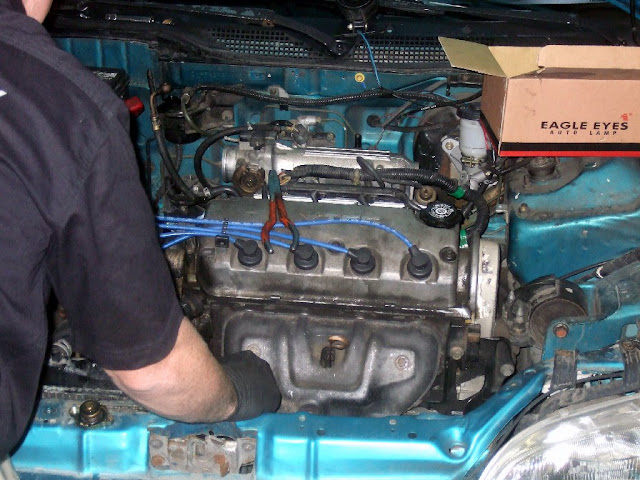
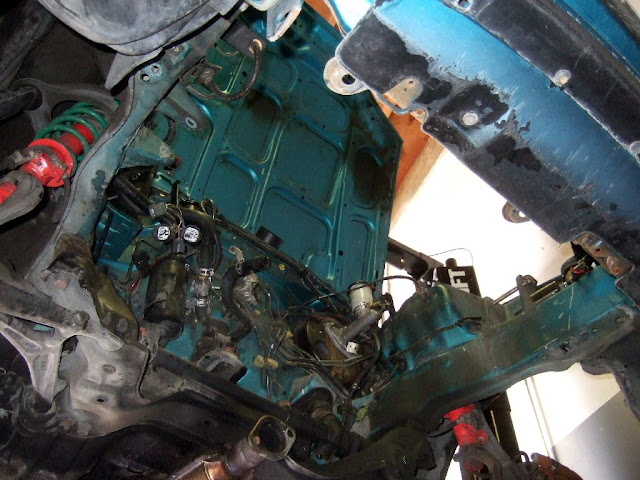
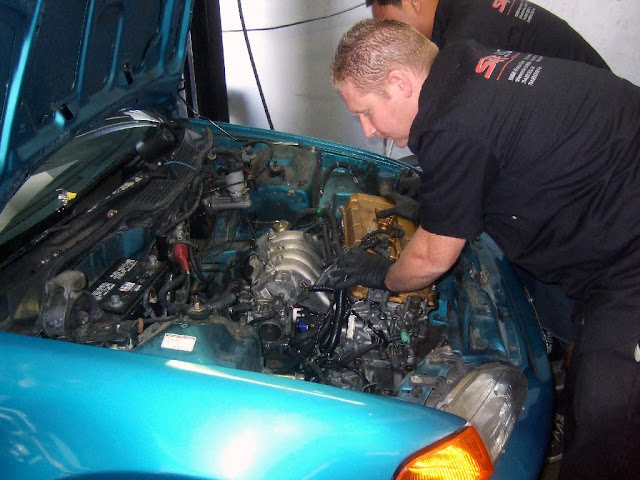
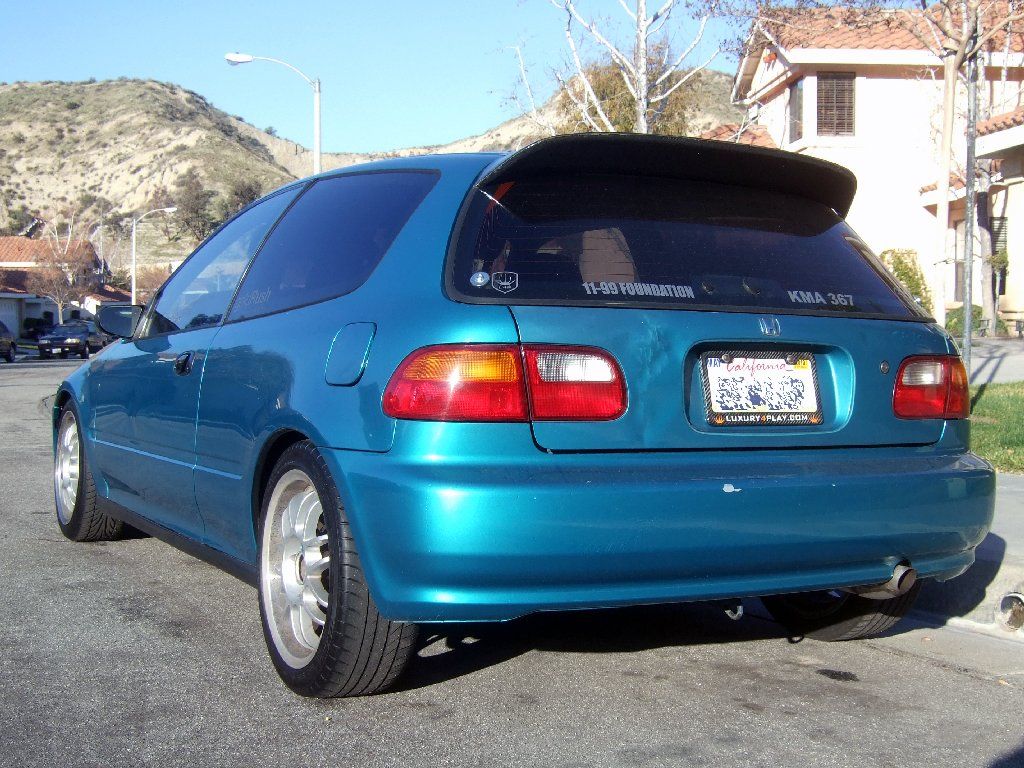
Roughly about 2 weeks after picking up the EG, I decided to call up a friend who owns a Honda / Acura performance shop in Hawaiian Gardens, CA (Import Life Performance) and told him I wanted to go with a B18C1 motor for the "Engraved EG" project. So he started putting together a motor for me and ordered a bunch of brand new Honda / Acura parts.
I then started to do some searching online to see what parts I wanted and needed for the "Engraved EG" project. Here are some of the parts I picked up.......
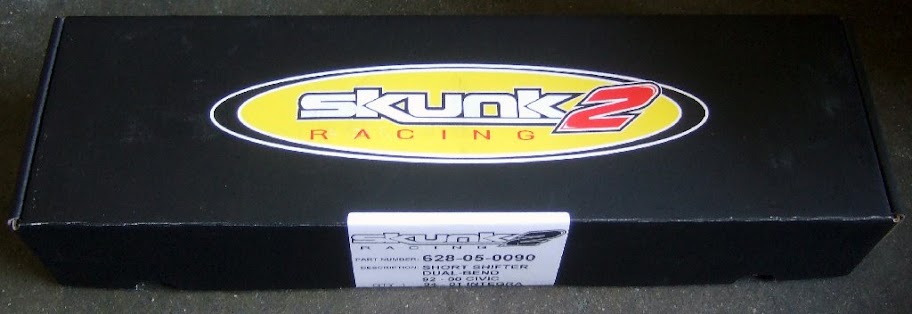
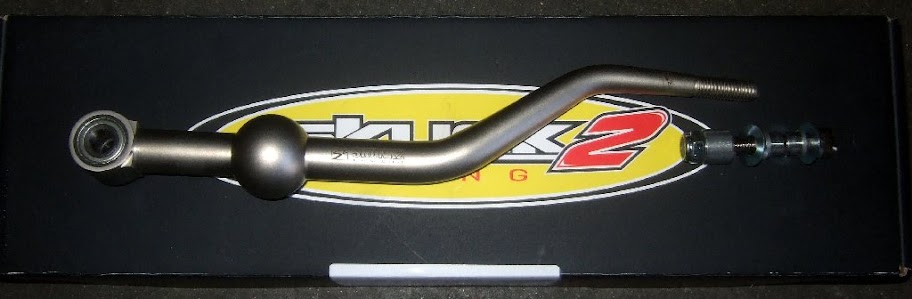
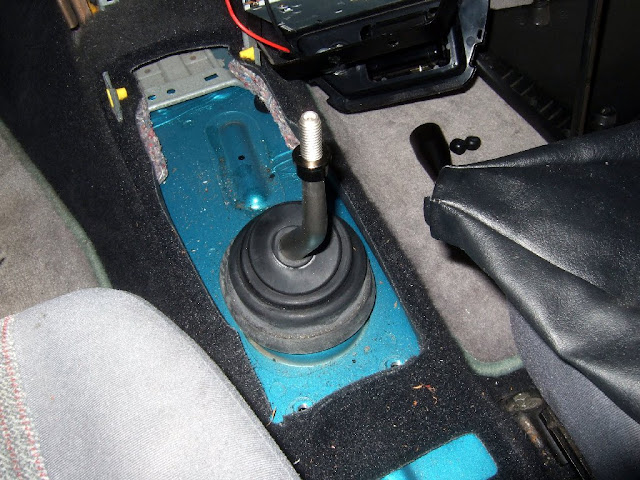
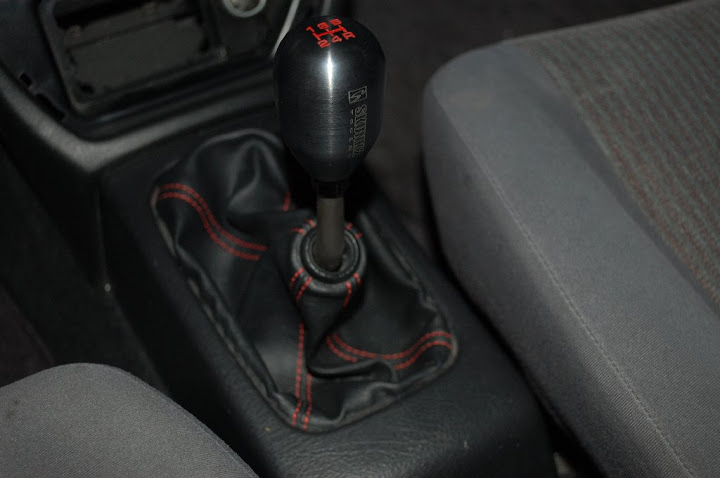
- Skunk2 Racing: Dual Bend Short Throw Shifter
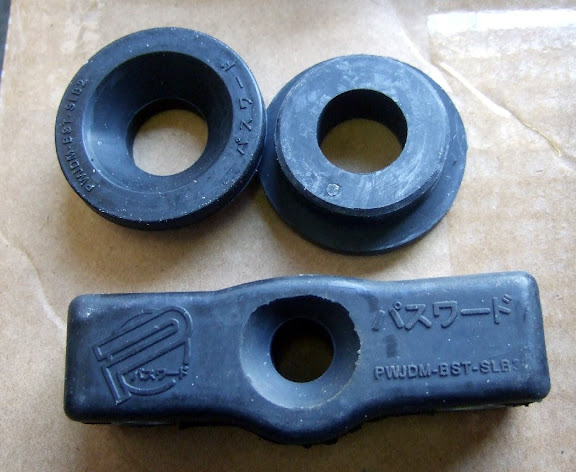
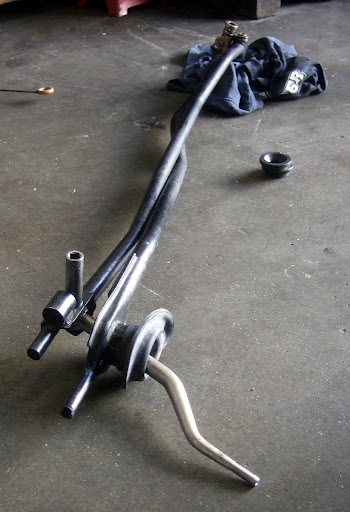
- Password JDM: Hardened Shift Linkage Bushing Kit
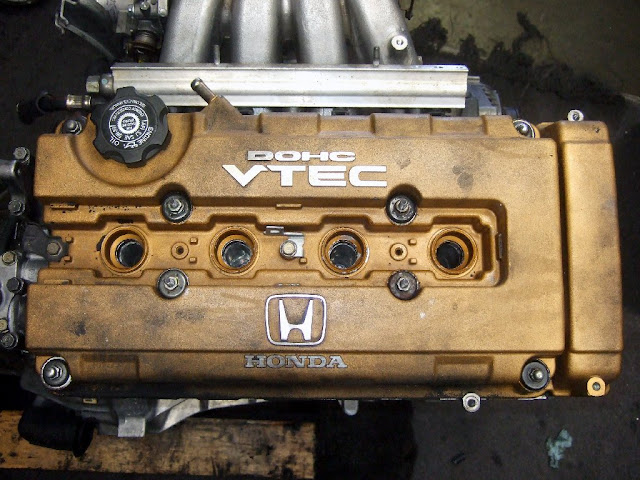
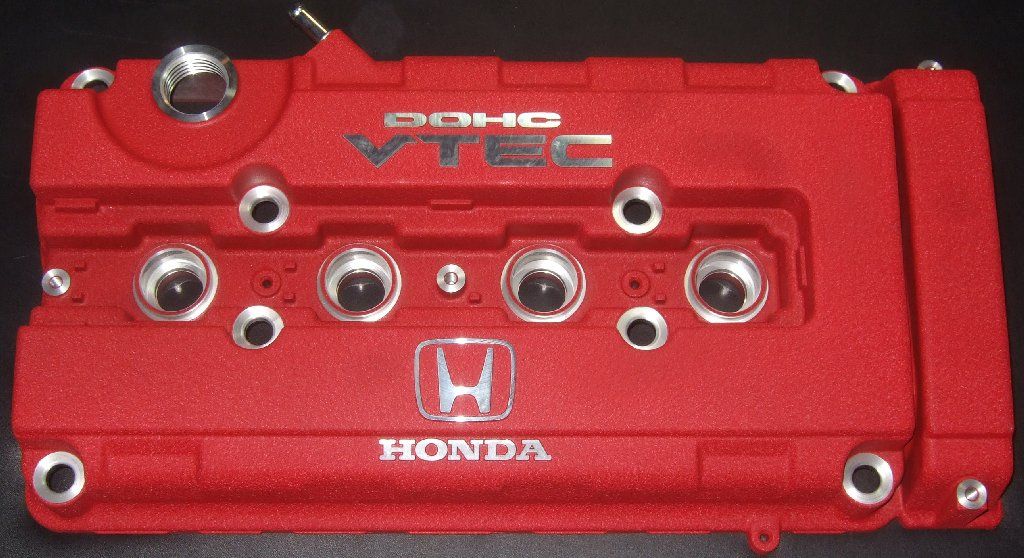
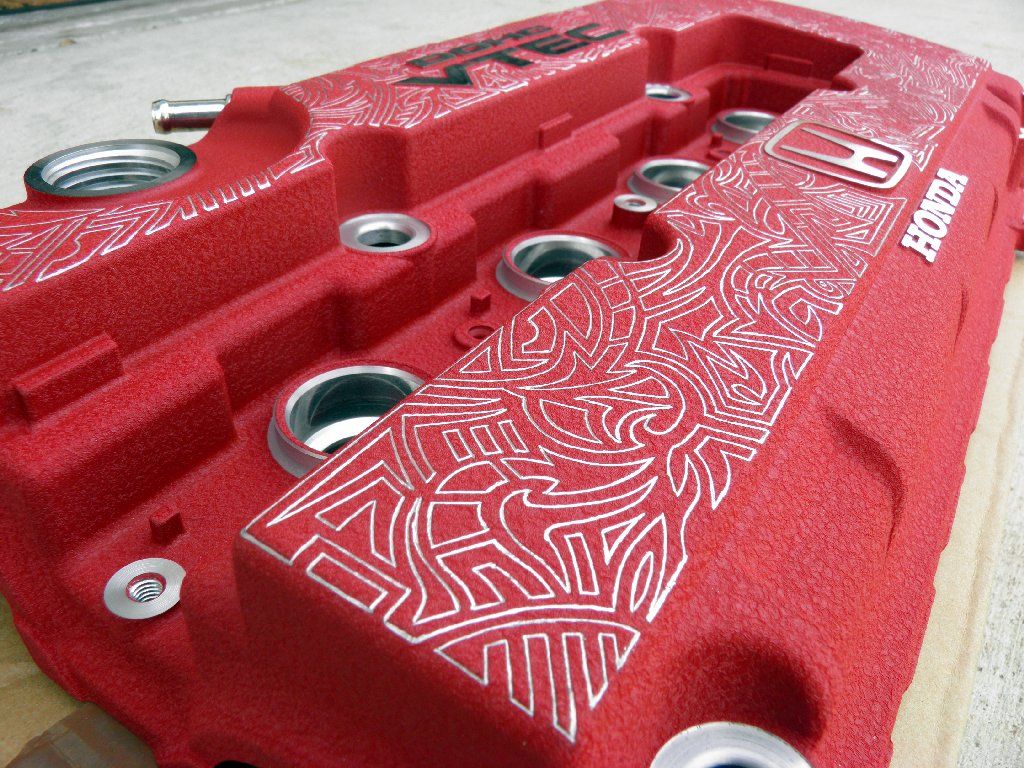
- ITR Valve Cover
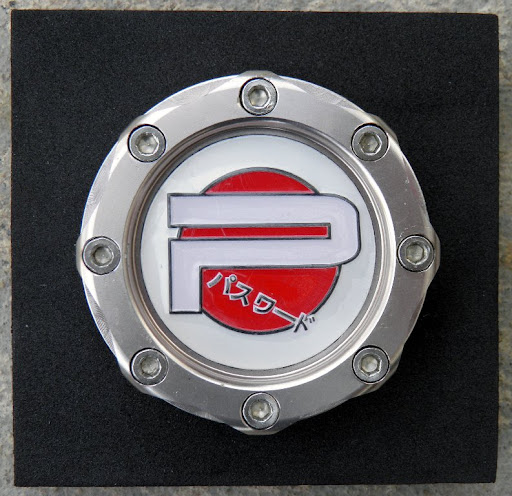
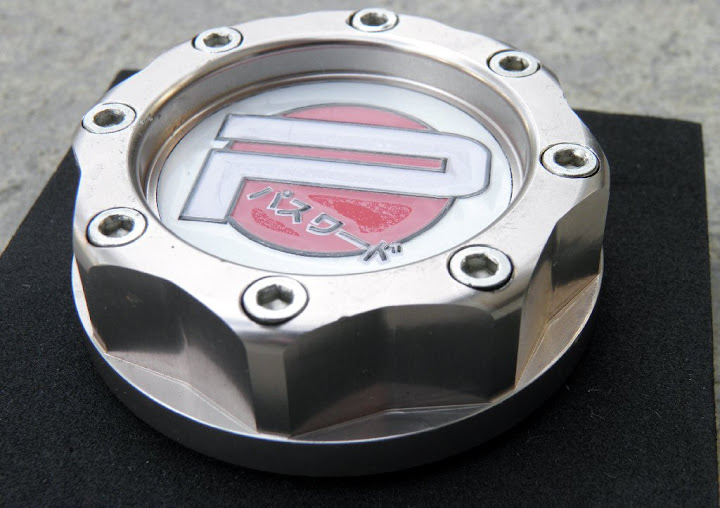
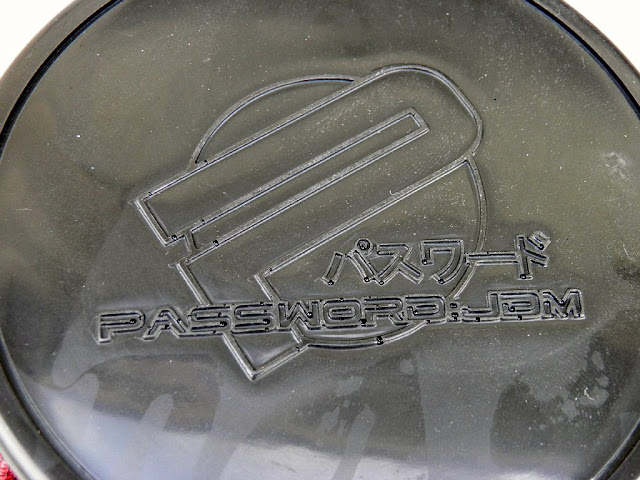
- Password JDM: Billet Aluminum Theft Proof Oil Cap
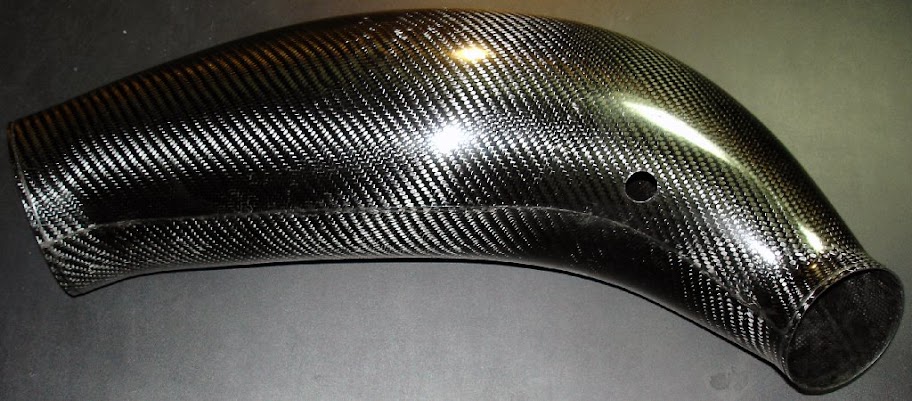
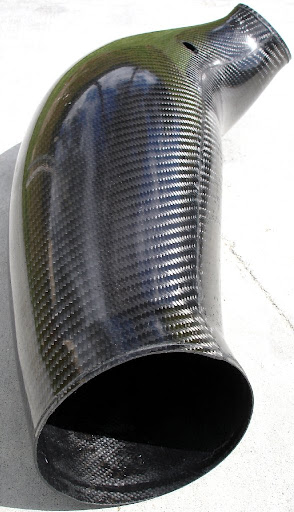
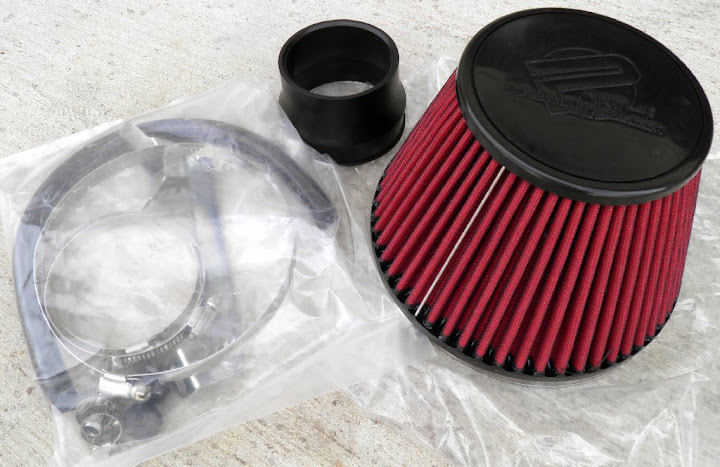
- Password JDM: Dry Carbon Fiber PowerChamber Intake
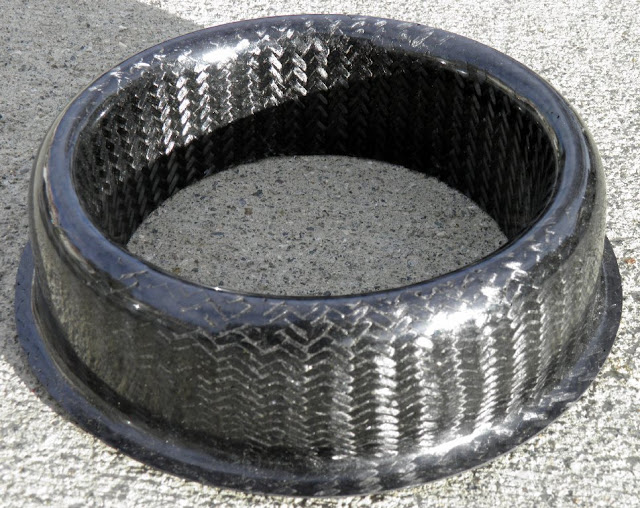
- Password JDM: Dry Carbon Fiber Velocity Stack
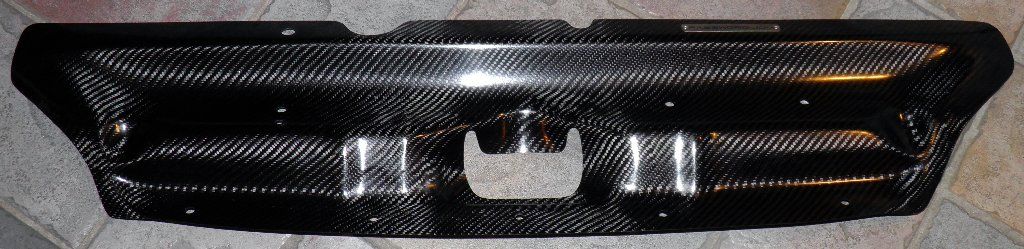
- Password JDM: Dry Carbon Fiber Cooling Plate
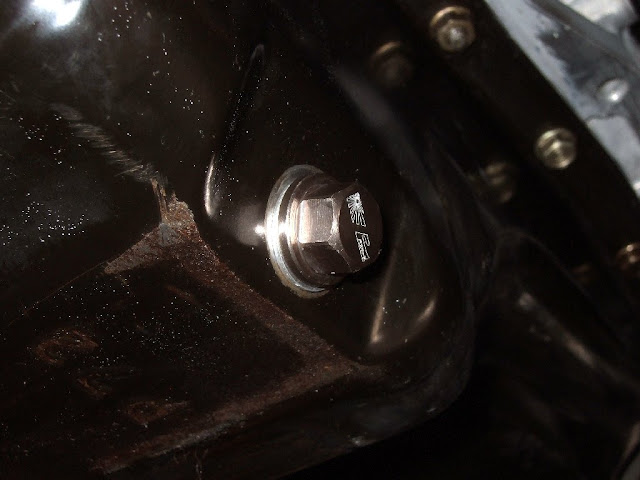
- Password JDM: Magnetic Oil and Trans Drain Plugs
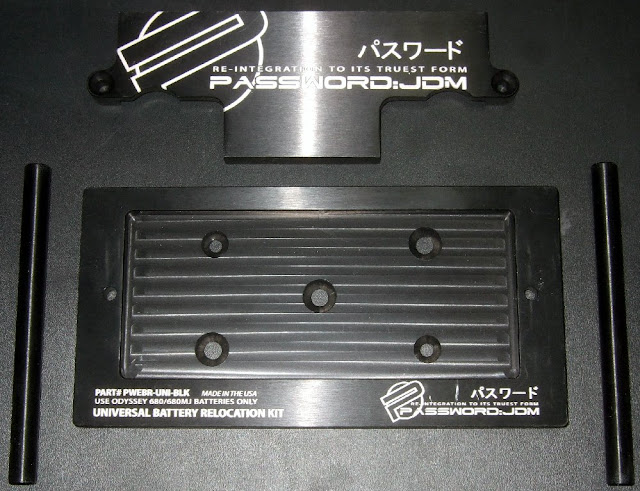
- Password JDM: Odyssey Battery Relcator
- JDM Headlights
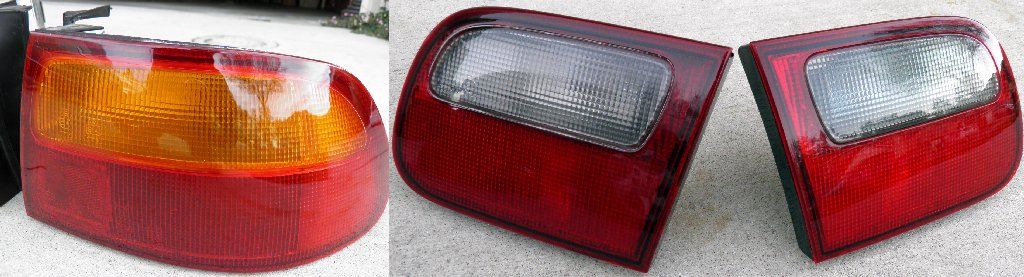
- JDM Tail Lights
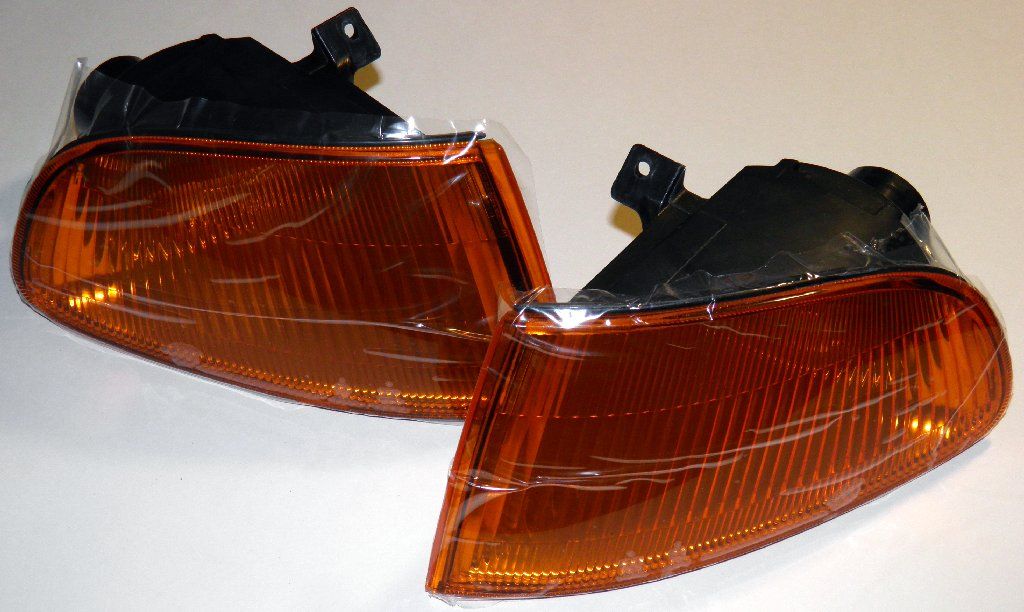
- Password JDM: Amber Corners
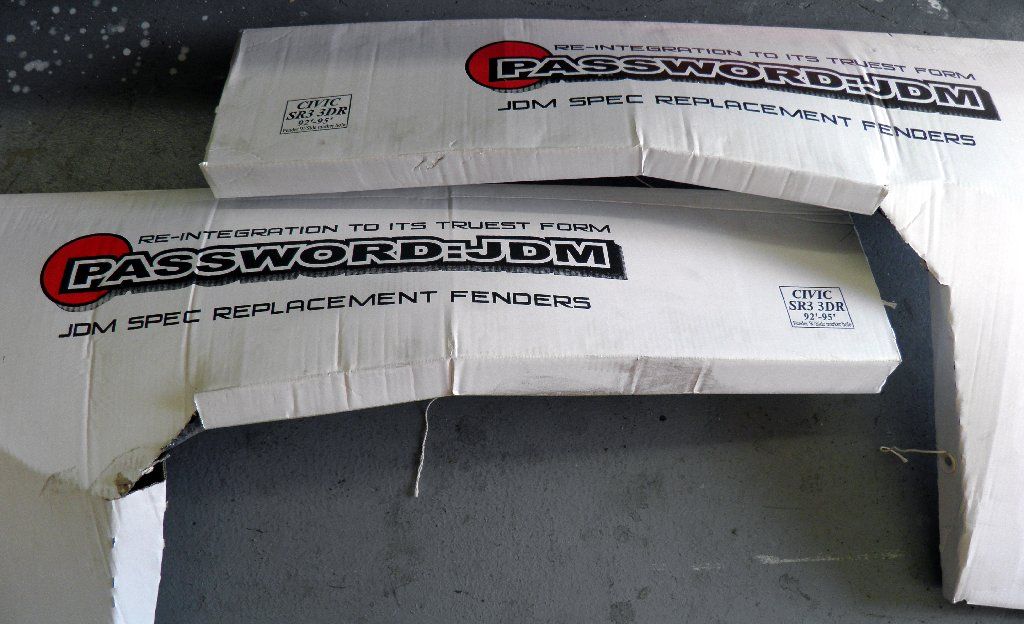
- Password JDM: JDM Spec Replacement Fenders
- Password JDM: Amber Fender Markers
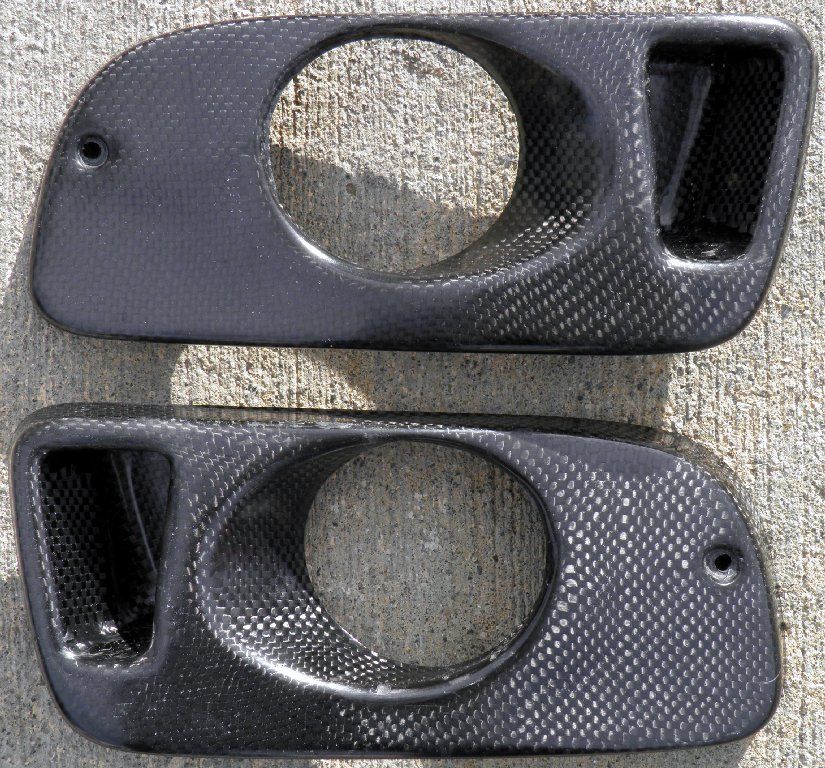
- Password JDM: Dry Carbon Fiber Fog Light Covers
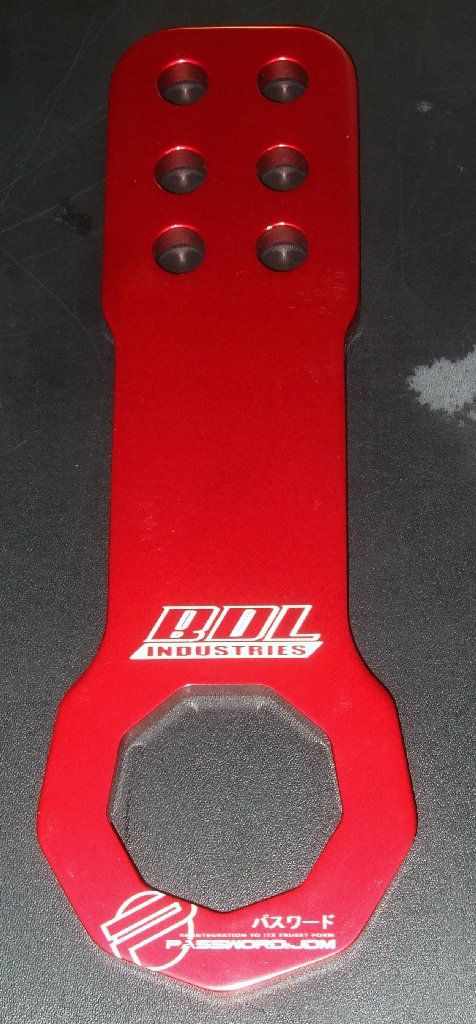
- Password JDM: Front Tow Hook (Red Billet Aluminum)
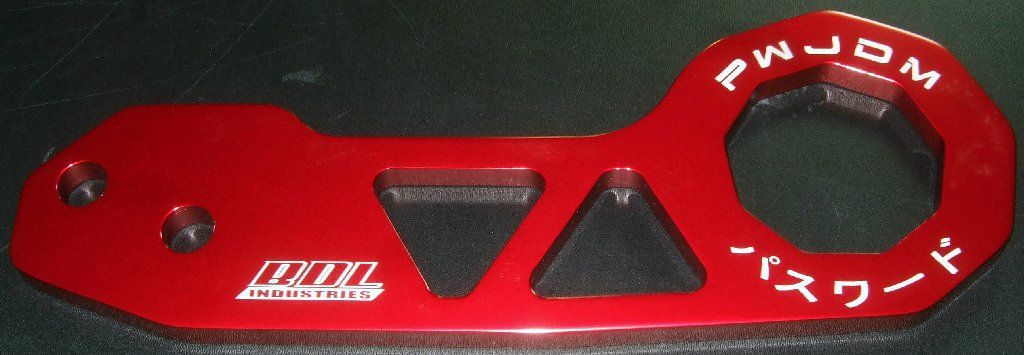
- Password JDM: Rear Tow Hook (Red Billet Aluminum)
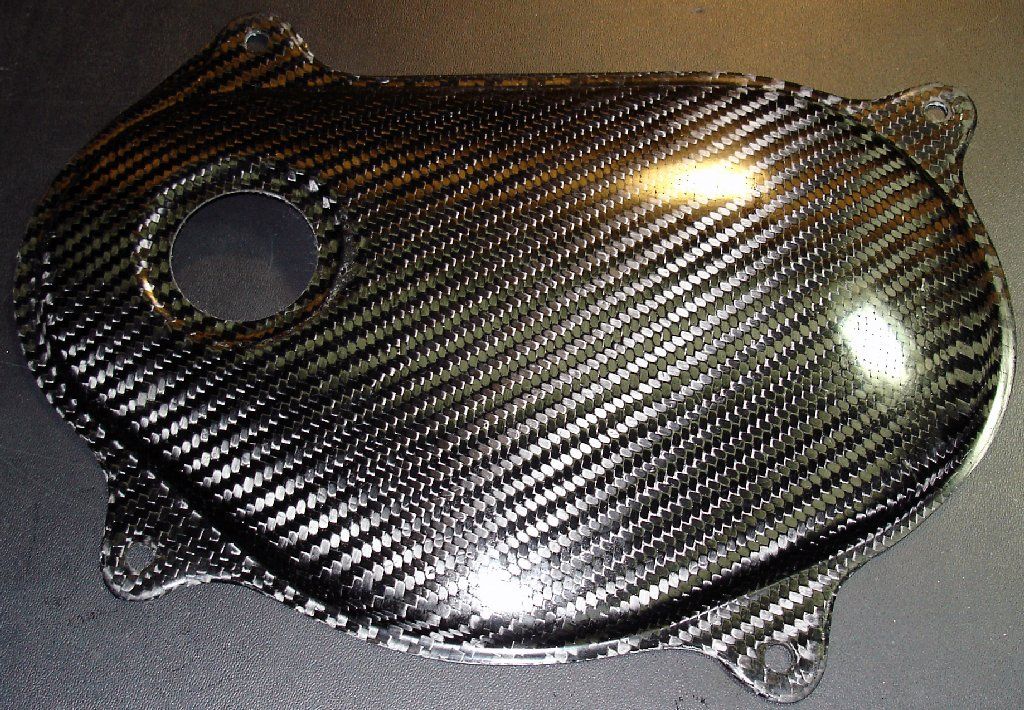
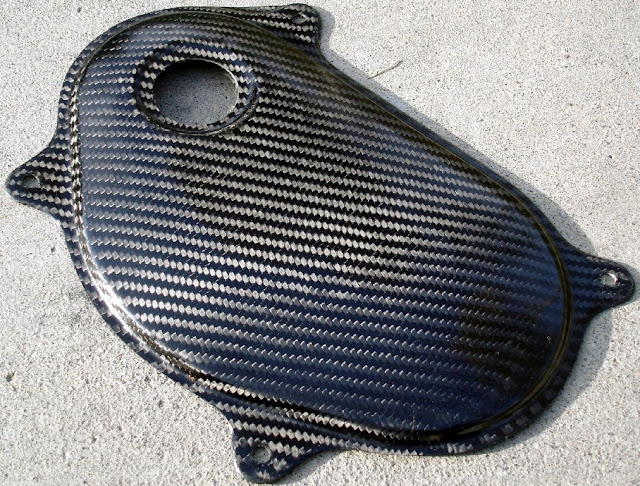
- Password JDM: Dry Carbon Fiber Fuel Pump Cover
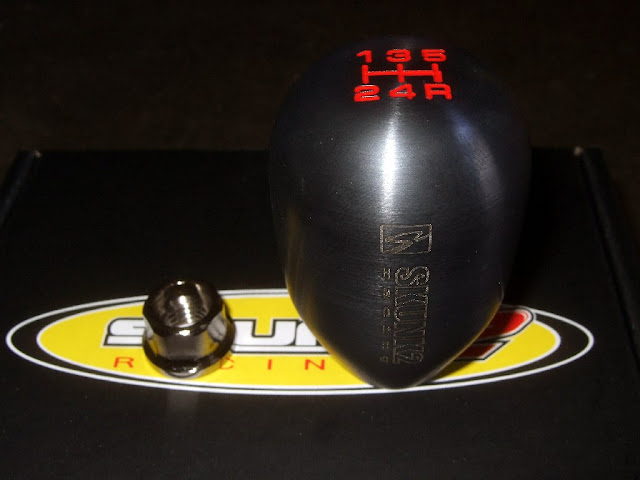
- Skunk2 Racing: Gunmetal Weighted Shift Knob
- Password JDM: Leather Shift Boot with Red Stitching
- Broadway Mirror
- Password JDM: 3 Point Front Strut Tower Bar (Black)
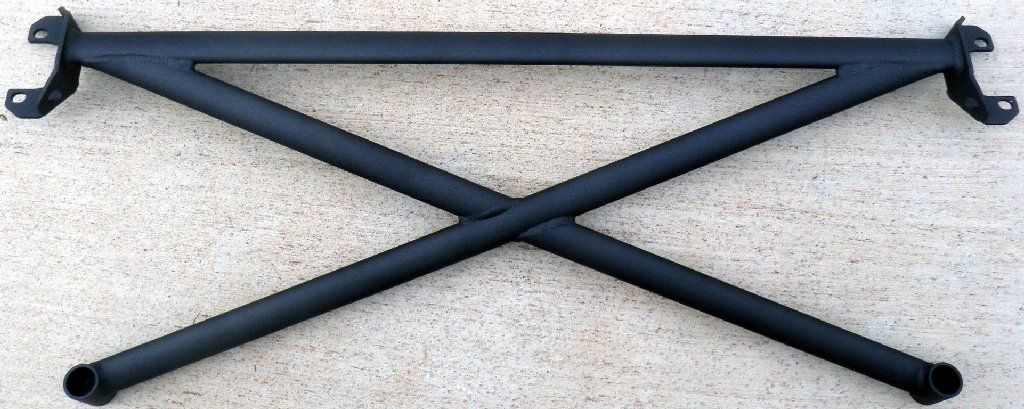
- Password JDM: 4 Point Rear Strut Tower Bar (Black)
ITR Valve Cover

 Password JDM: Billet Aluminum Theft Proof Oil Cap
 Password JDM: Dry Carbon Fiber PowerChamber Intake
 PowerChamber Air Filter and Hardware

 Password JDM: Dry Carbon Fiber Velocity Stack
 Password JDM: Dry Carbon Fiber Cooling Plate
 Password JDM: Odyssey Battery Relcator
 JDM Headlights
 JDM Tail Lights
 Password JDM: Amber Corners
 Password JDM: JDM Spec Replacement Fenders
 JPassword JDM: Dry Carbon Fiber Fog Light Covers
 Password JDM: Front Tow Hook (Red Billet Aluminum)
 Password JDM: Rear Tow Hook (Red Billet Aluminum)
 Password JDM: Dry Carbon Fiber Fuel Pump Cover
 Password JDM: 4 Point Rear Strut Tower Bar (Black)


 U can pm me the charge of cost.