
- Tue Jun 15, 2010 4:41 am
#200459
original post http://www.d-series.org/forums/diy-foru ... build.html
well first let me start that i'm not genius and there maybe easier ways to do this or not. but this is how i've been rebuilding heads since i first got into the game and i haven't had a head failure. other than my head being oil starve but that had nothing to to do with me rebuilding my head. it was oil passages and oil pump blockage/taking a dump. it's pretty straight forward easy once you've done it several times. and quick in my opinion. so here goes.
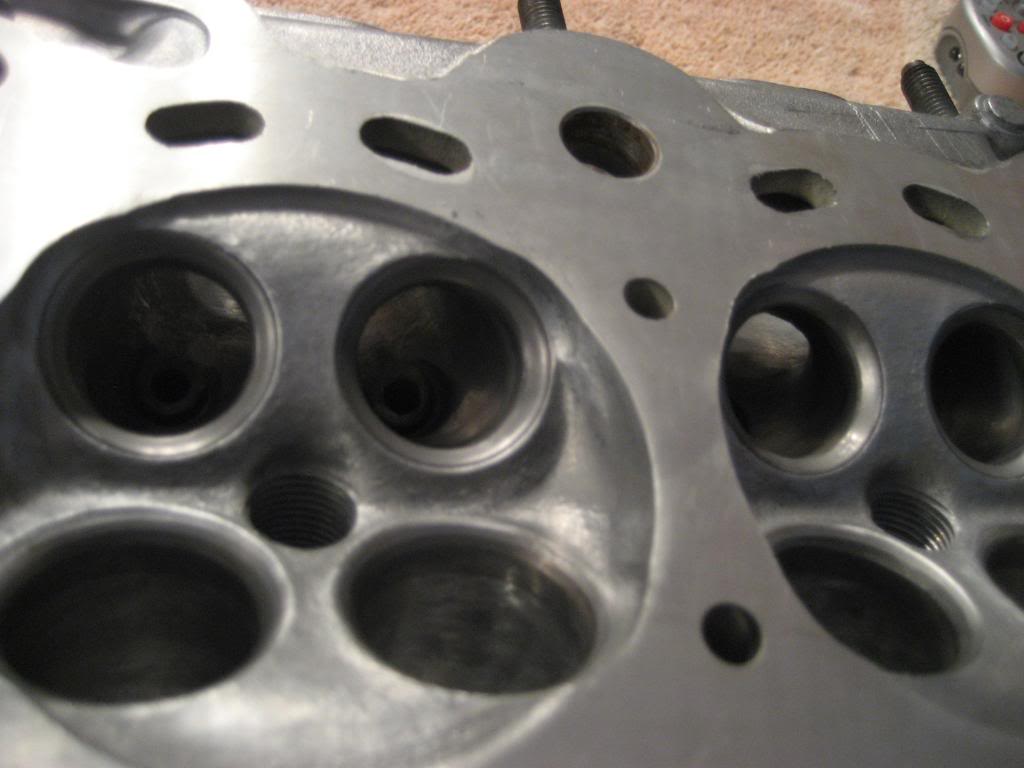
this part of the rebuild is the reassembling part, after you either took it to the machine shop, got it clean, fixed and bent valves, etc. in my case i had it hot tank, then port and polish took it back to the machine shop had it re hot tank, bead blast, valves grind, valve seat regrind and decked.
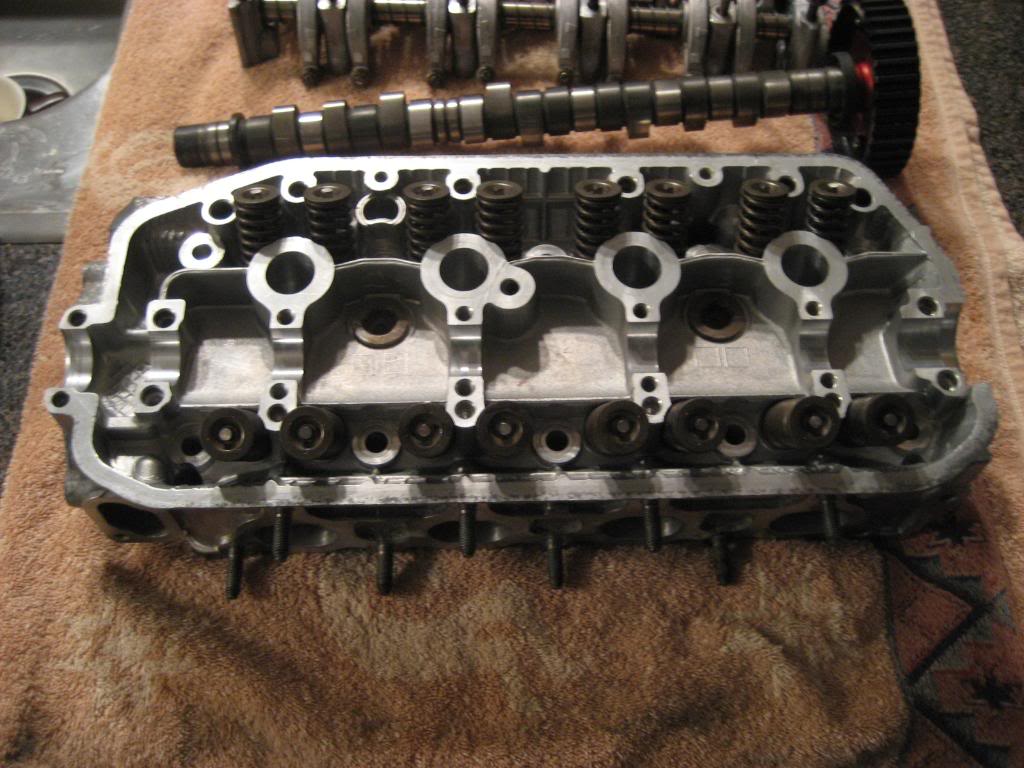
i want to stated this a D16a6 head with a 272 Delta regrind cam and a Edlebrock Cam gear. everything else is OEM. this head is the same as a D15b2 and a D15b7. but it's the same across all heads..
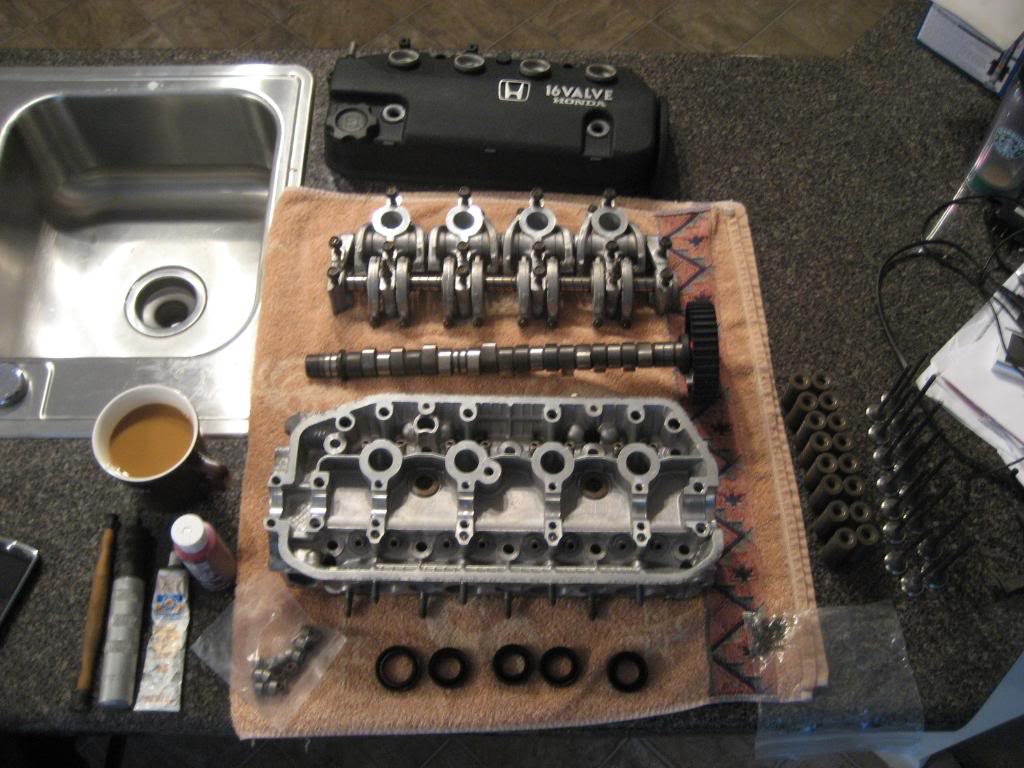
first yourself a clean area.(don't want dirt or grim in your rebuild) lay everything out where it's reachable area.
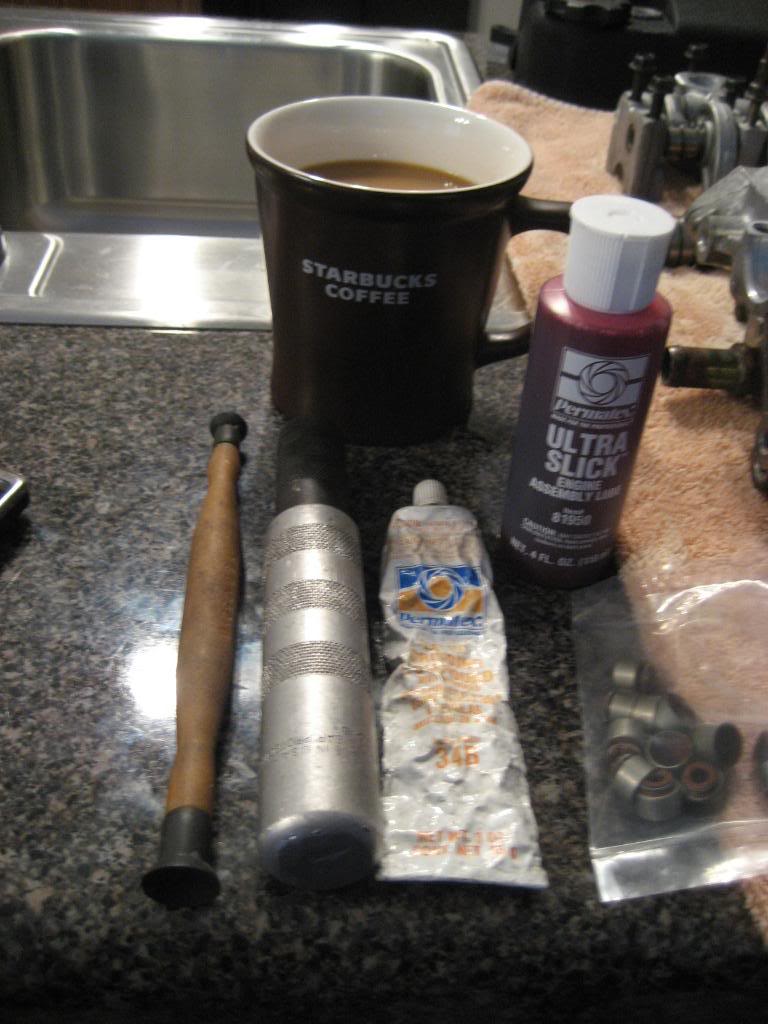
engine, lapper, valve grinding compound, Lisle valve keeper removal/installer(a thread with video to show you how to use this tool:http://www.d-series.org/forums/diy-forum/102307-diy-valve-removal-install-lisle-valve-keeper-remover-part-36200-a.html) and of course coffee the nectar of the gods.
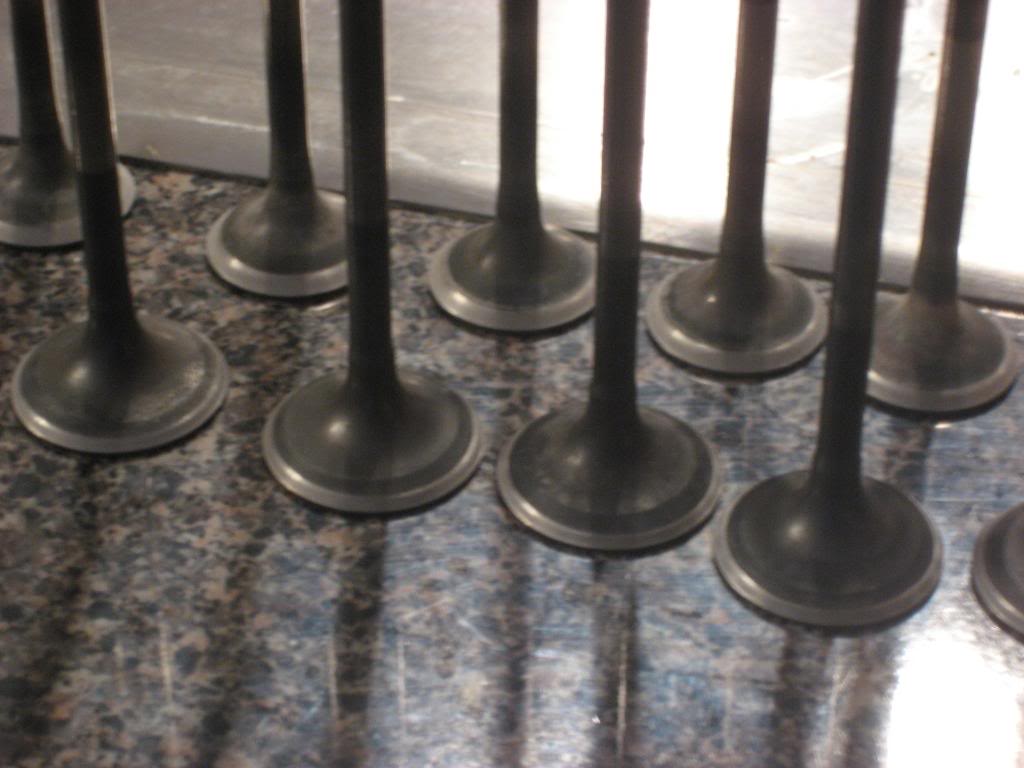
valves, spring, spring seats and retainers in a spot you're not reaching so far.

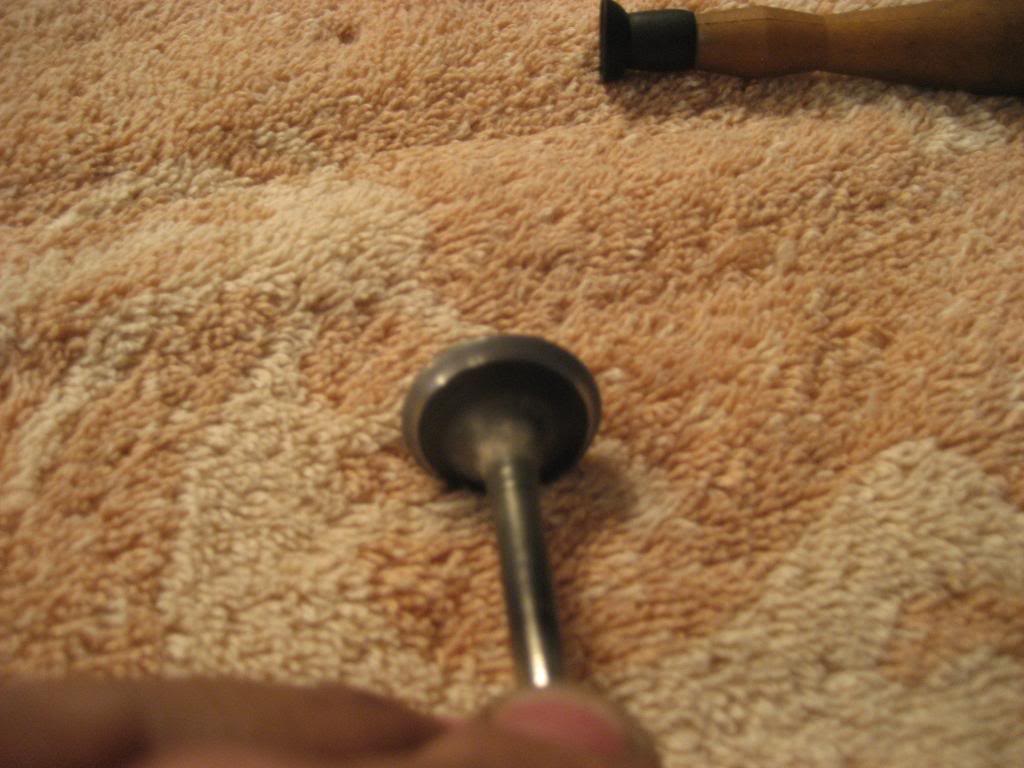
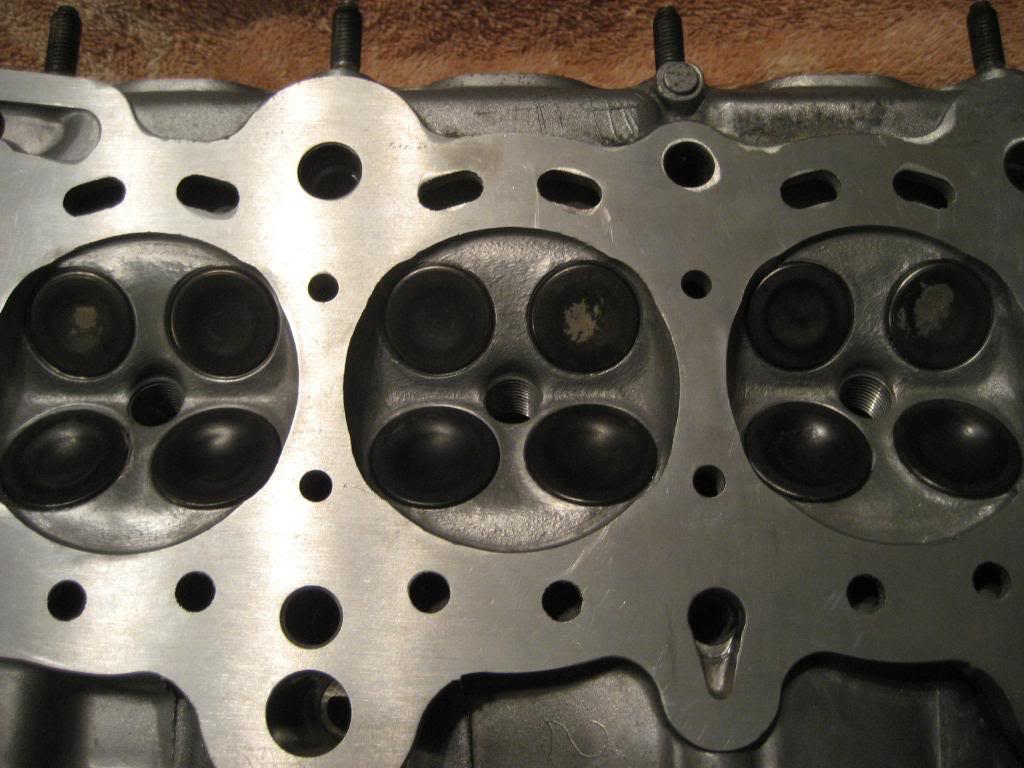
now take some compound and place on the valve seat and the valve edge(sorry for got to take pic.) then set valve in place and with valve lapper stuck to the valve lap the valve.
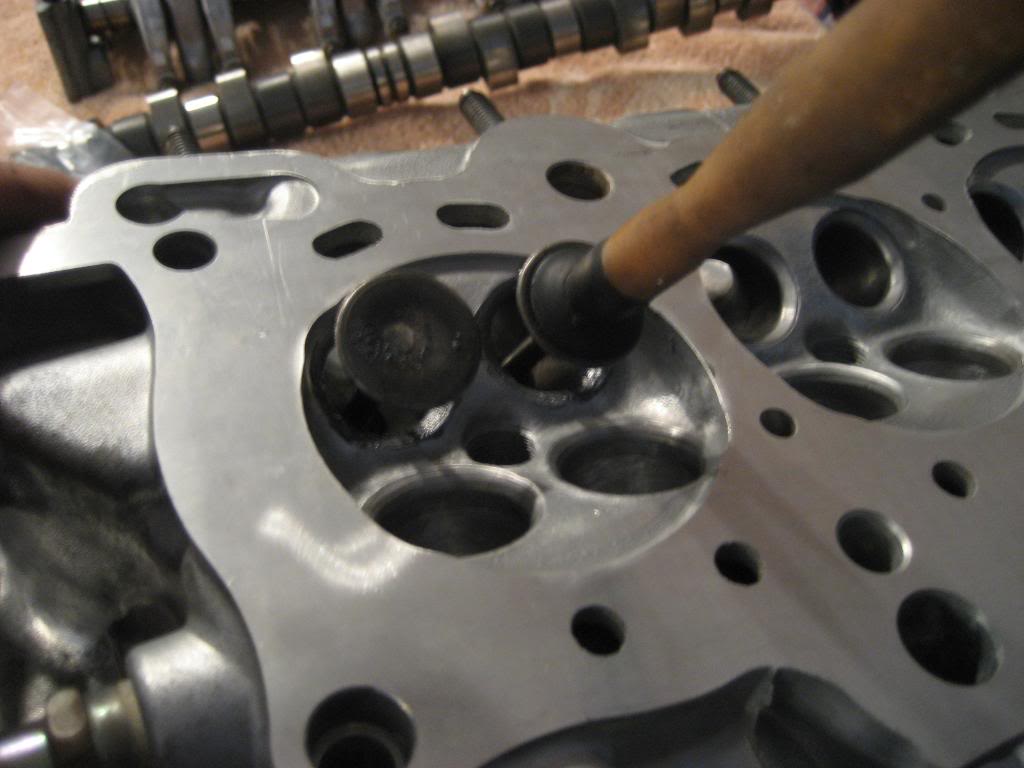
place the lapper between your hands this. while doing this motion you'll feel it being very gritty till you feel it's a very smooth motion.

now after you finish lapping wipe off with a dry clean rag the extra compound from the valve and valve seat. you will notice that there's a thin grey line full around the valve and valve seat where they made contact. if you see the line completely around the valve and valve seat then off to the next one. if you see some skips redo it and if you still see skips in the compound then you might have a bigger problem.
now it important that when you lap the valve and the valve seat that you keep that valve where you lapped it. so i was told so what i do is lap from left to rightin the way the head looks up and the i place the valve on the other side of where i had the other valve on sequence to where i lap it.
now off to the next part. if you have oem valve seals the grey goes to the intake and the black to the exhaust. and if you're like me and bought ebay speical they're all the same color it doesn't matter where it goes.
now place them in a reachable area and get yourself a 3/8 socket. it fits of the valve seal nice snugg not to tight like a 9mm or to lose like a 10mm.
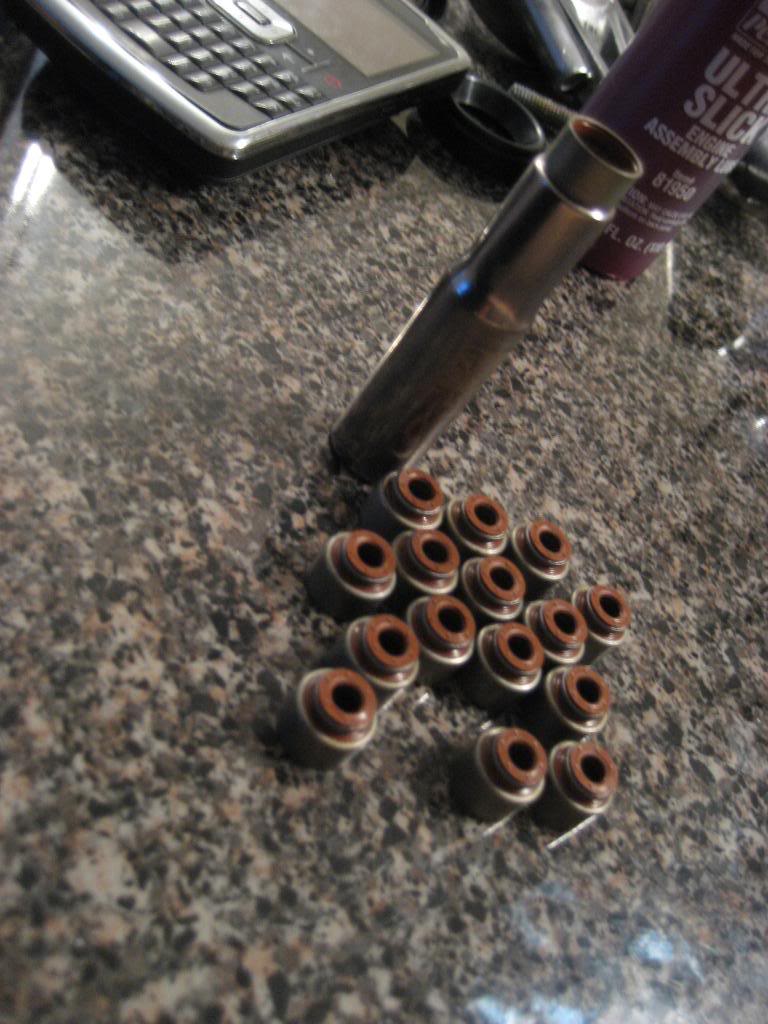
now place the spring seat down first before you put on the seal. so i put them all on at one time so you won't forget. the first time i did my head i didn't. i ruined the seal taking it off that i had to buy a new set and that was expensive.
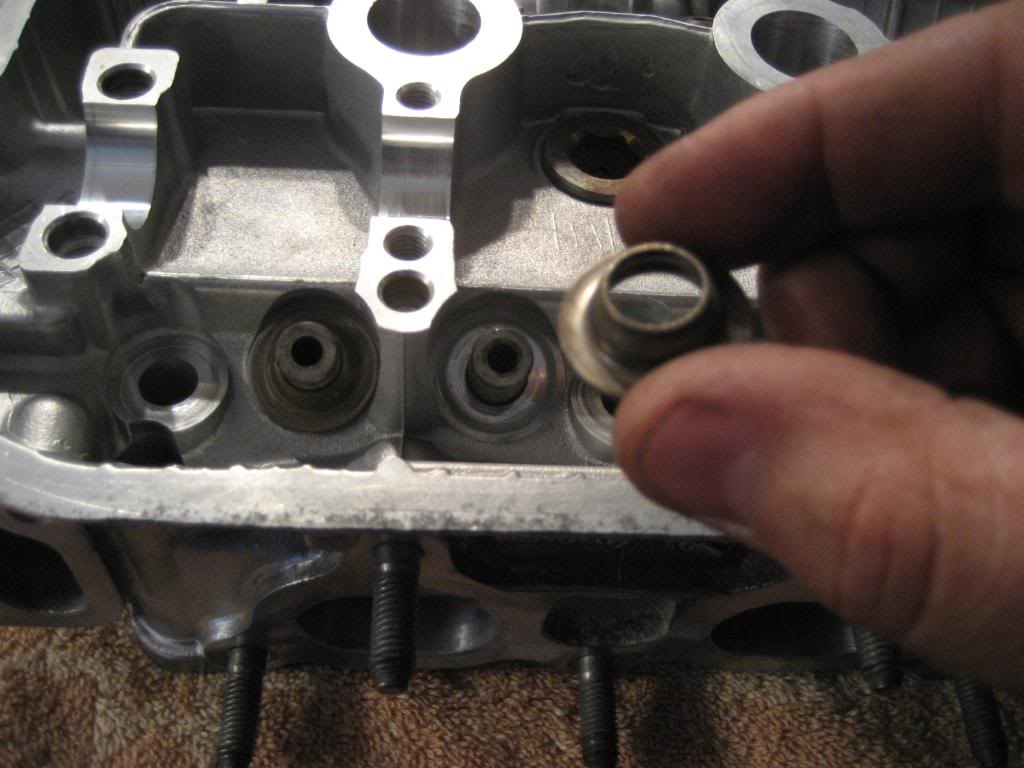
then place the valve seal on with your fingers then place the 3/8 socket over the valve seal and put it down slowly. don't force it you'll feel the small clicks of it locking into it's grooves.
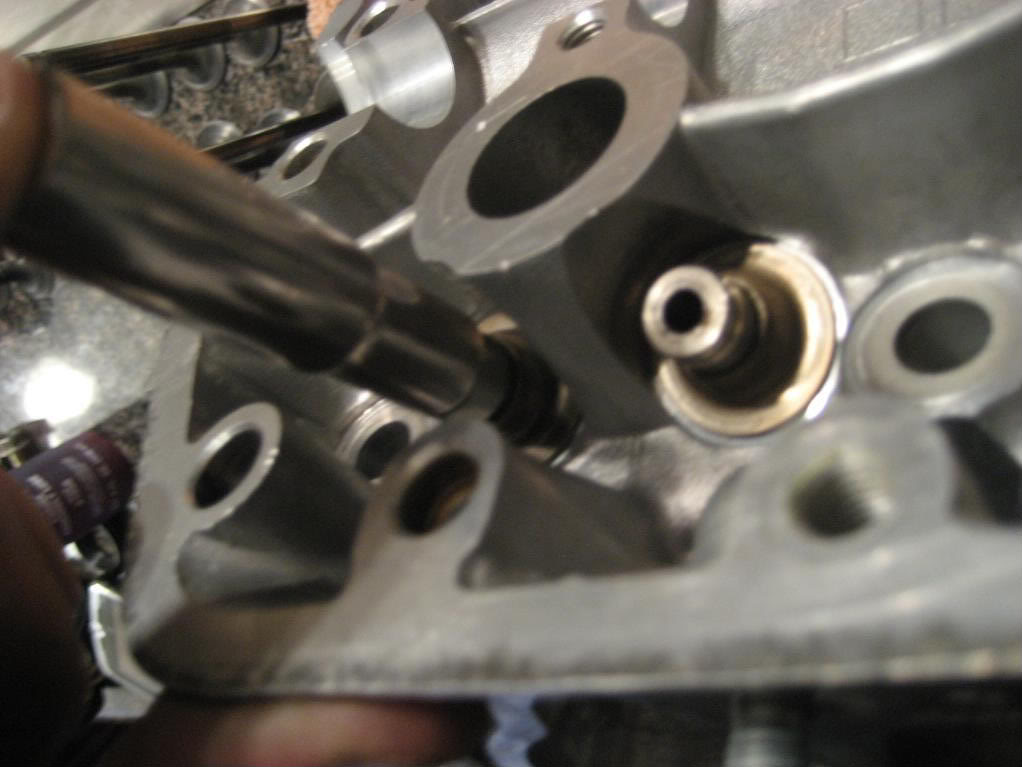
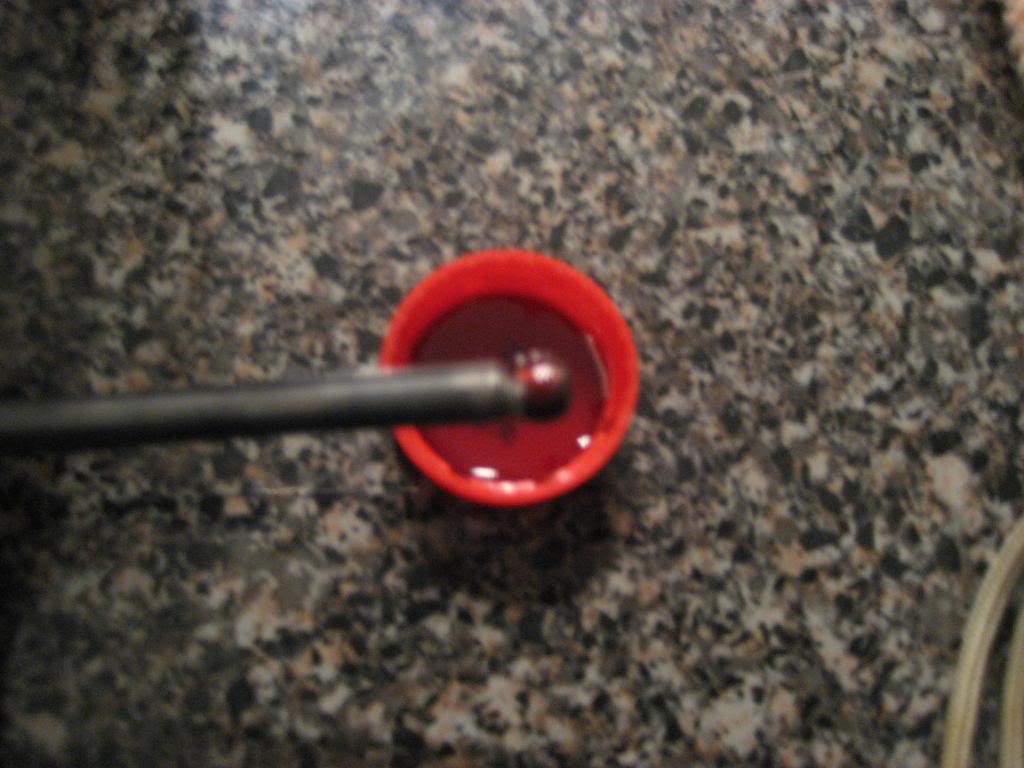
now that you finish with the seals. time for the valves. pour some engine lube in a clean soda cap. now take the valve to it's according valve seat you grinded, then dip the valve into the lube you don't need alot. and when you insert the valve. spin it back and forth up and down without passing the seal. after you feel it's lubed push it beyond the seal.(sorry for no pic on it)
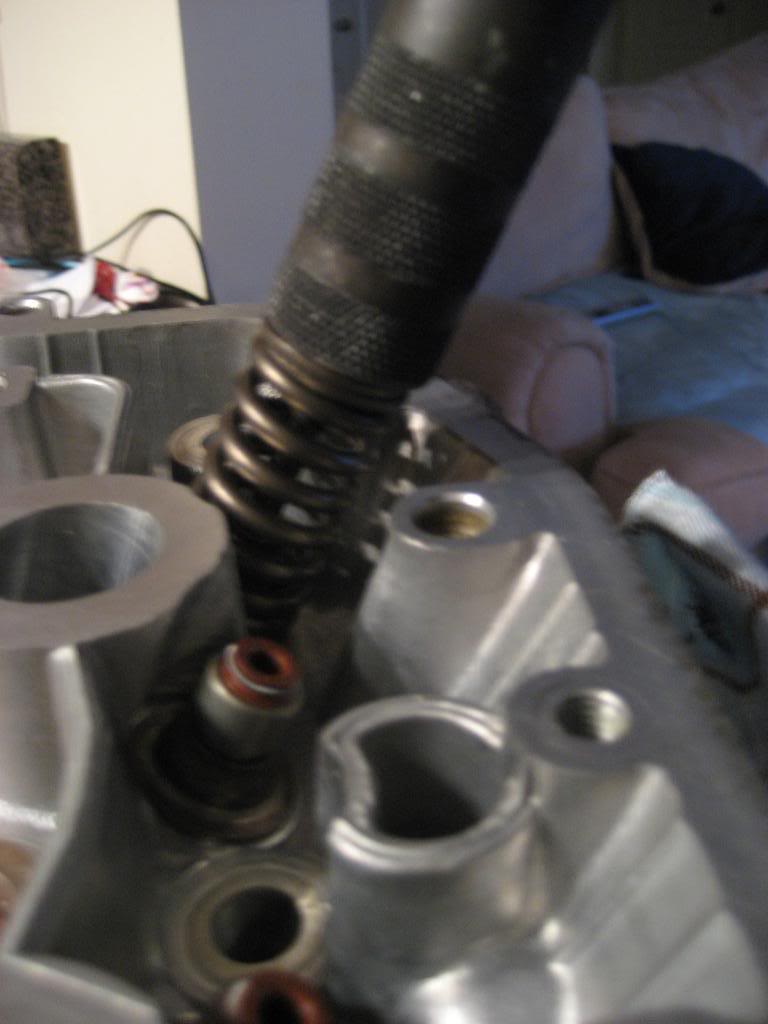
now when you're going to place the spring on make sure the tight wound of the spring goes down.
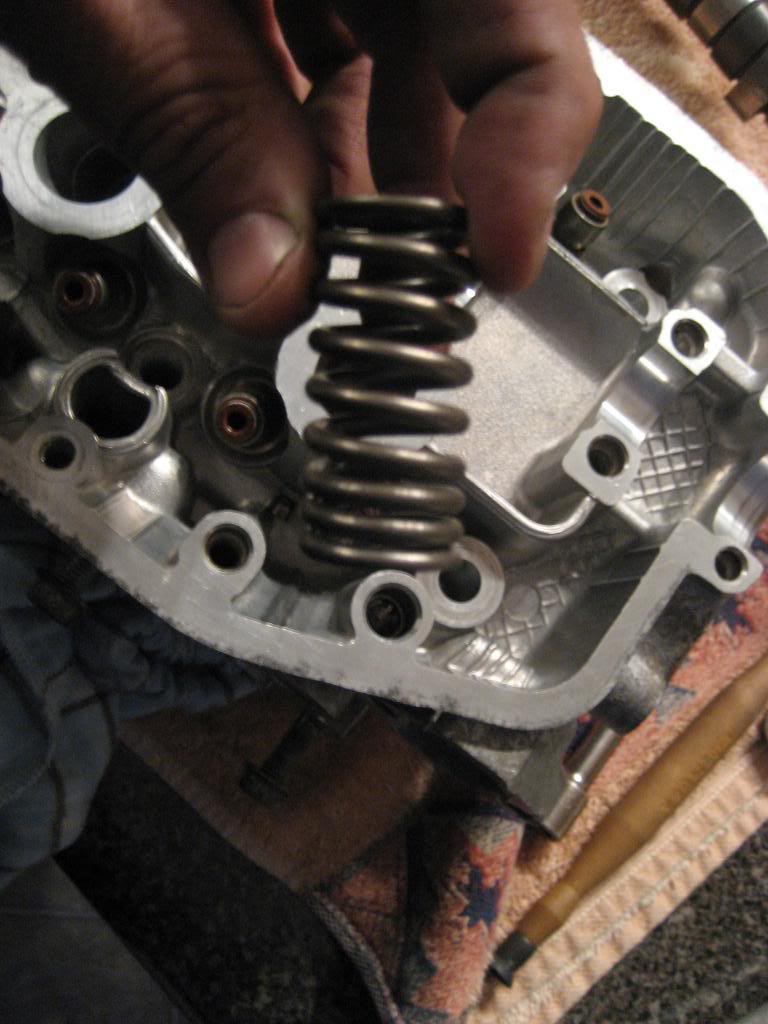
then place the retainer and valve keepers on. make sure you have a clean rag to keep the lave from opeing when you're going to compress the spring to lock the keepers in place.
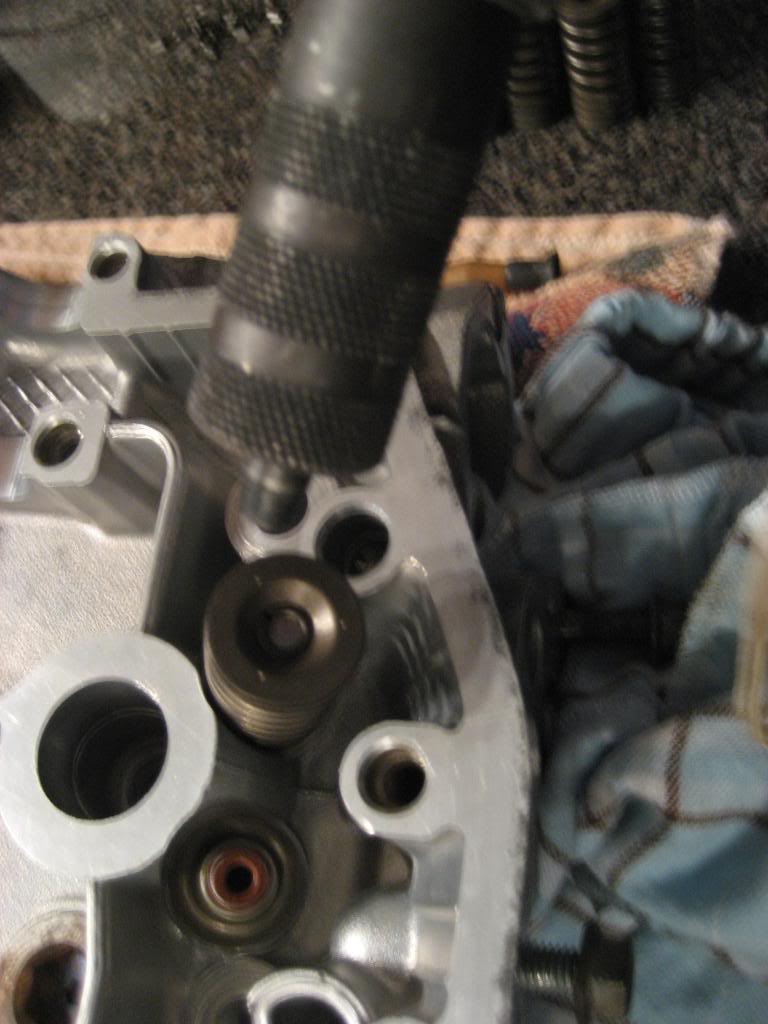
push down. sometime it takes a couple of try if the valve isn't firmly secure from opening.
first one done.
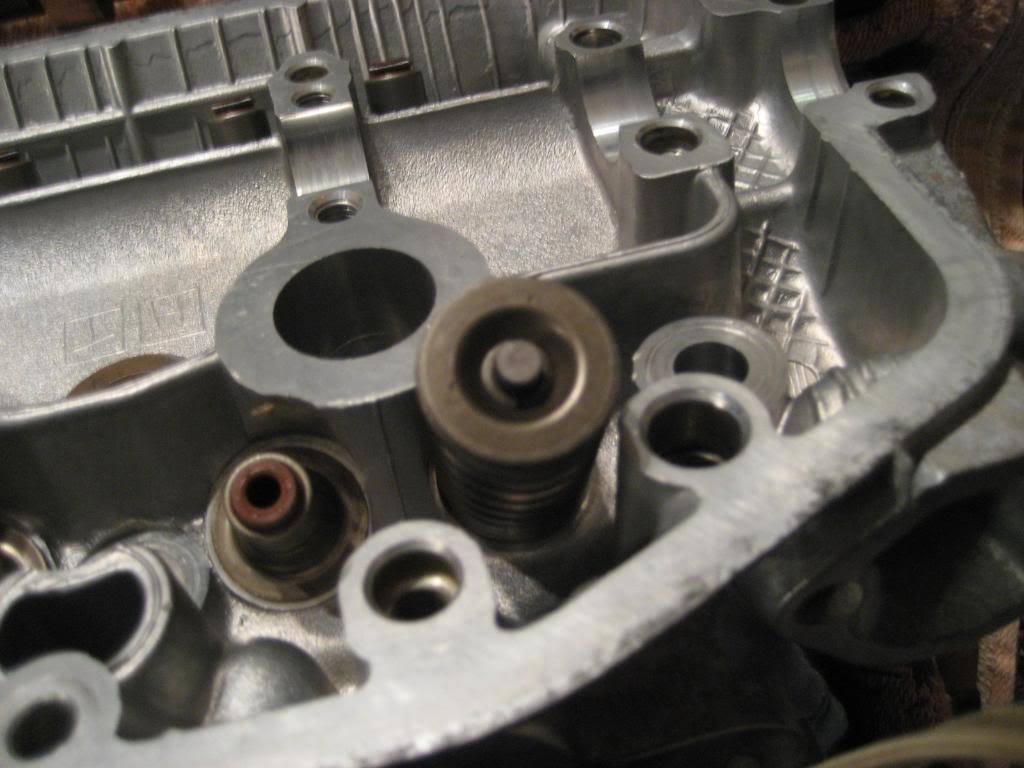
ok now that you've done all them go back with ba dead blow hammer and tap each spring/retainer over the top to make sure they set/seat correctly. don't freaking blast them like you're trying to drive a mason nail thru concret just a firm tap or two. then again there's always the two tap rule.
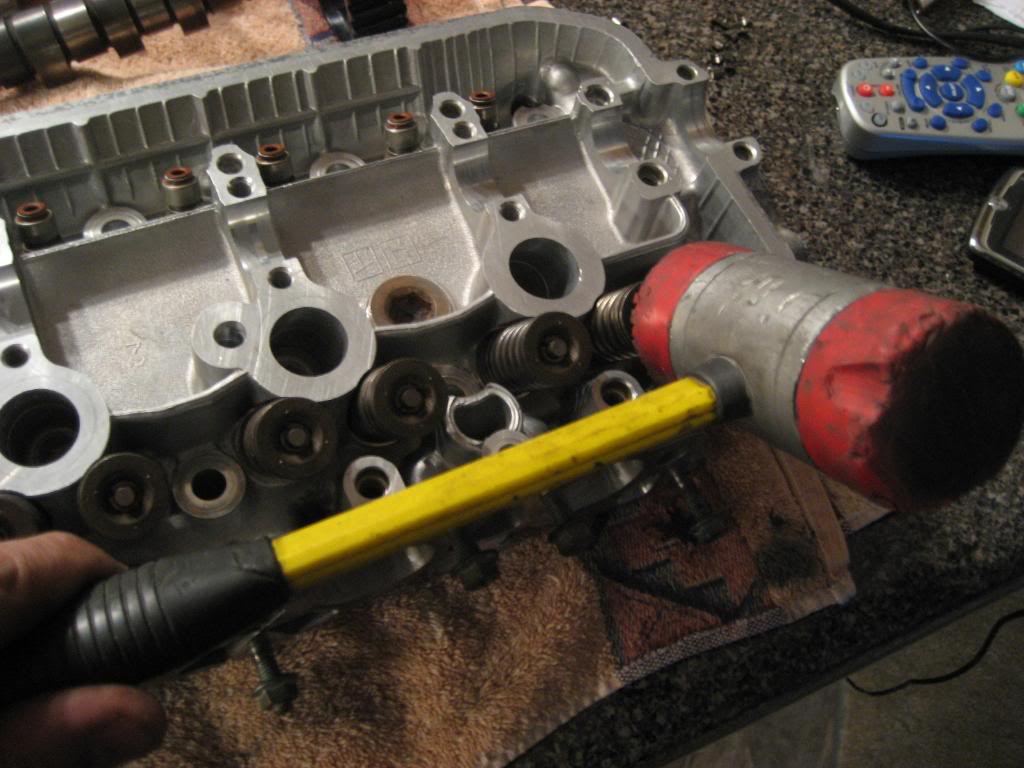
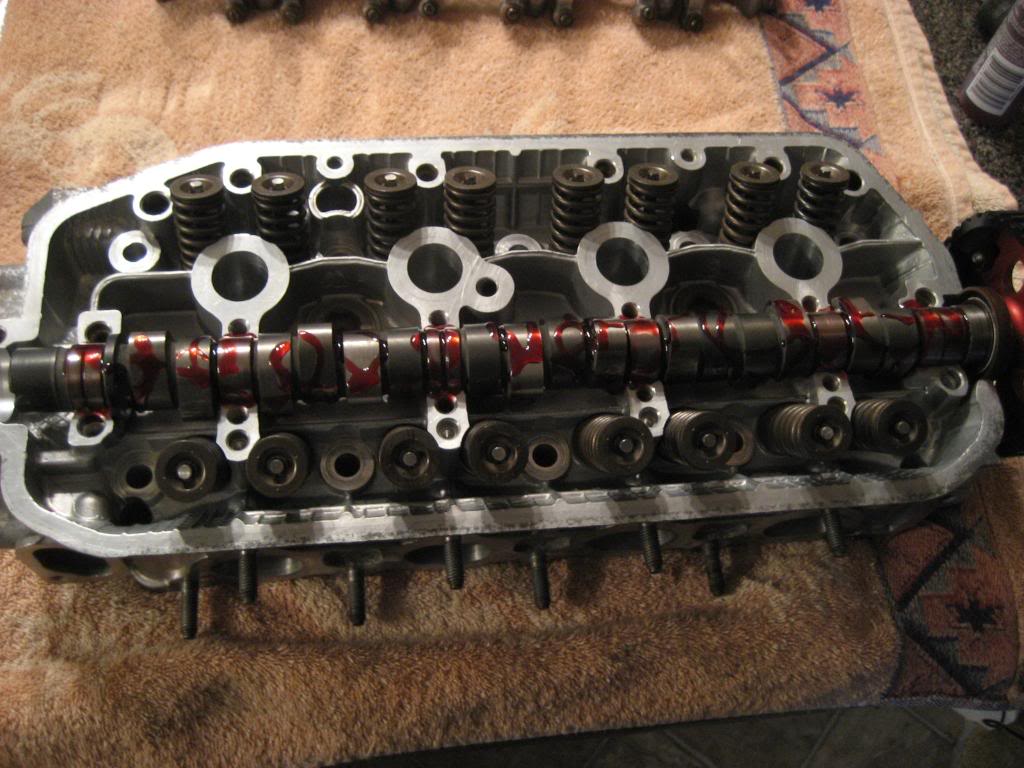
now if you did everything correctly. here's what it looks like finish.
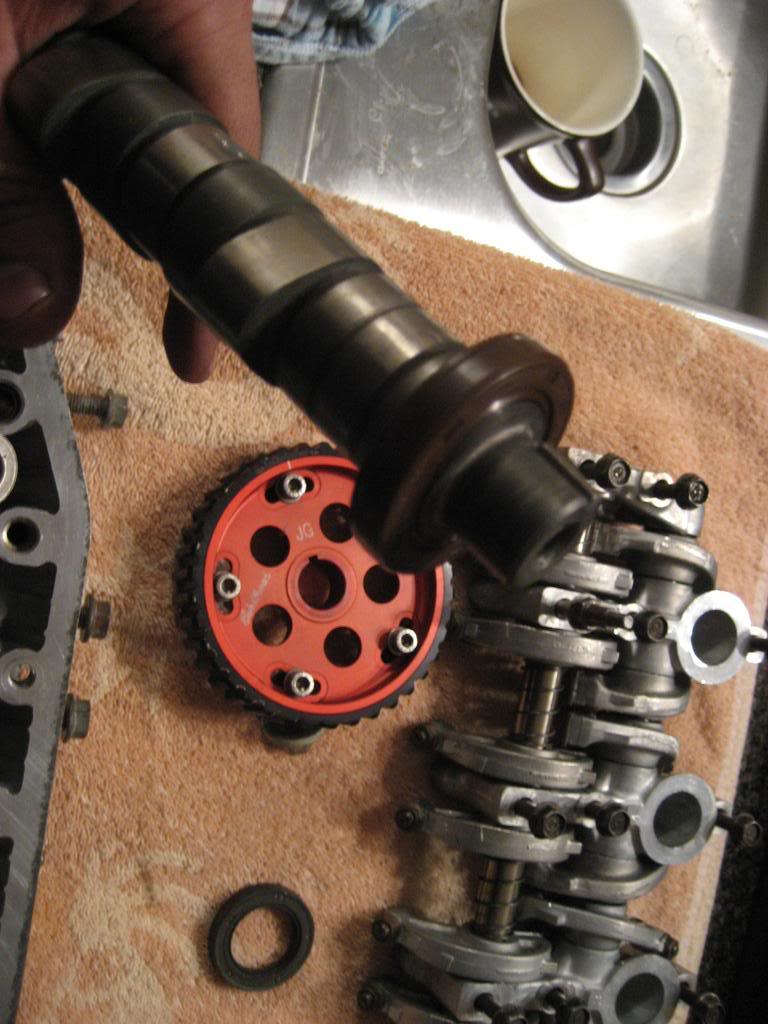
now you replace the cam seal.. do have to well if you've done all this work why not.
now start putting lube on the cam head journels
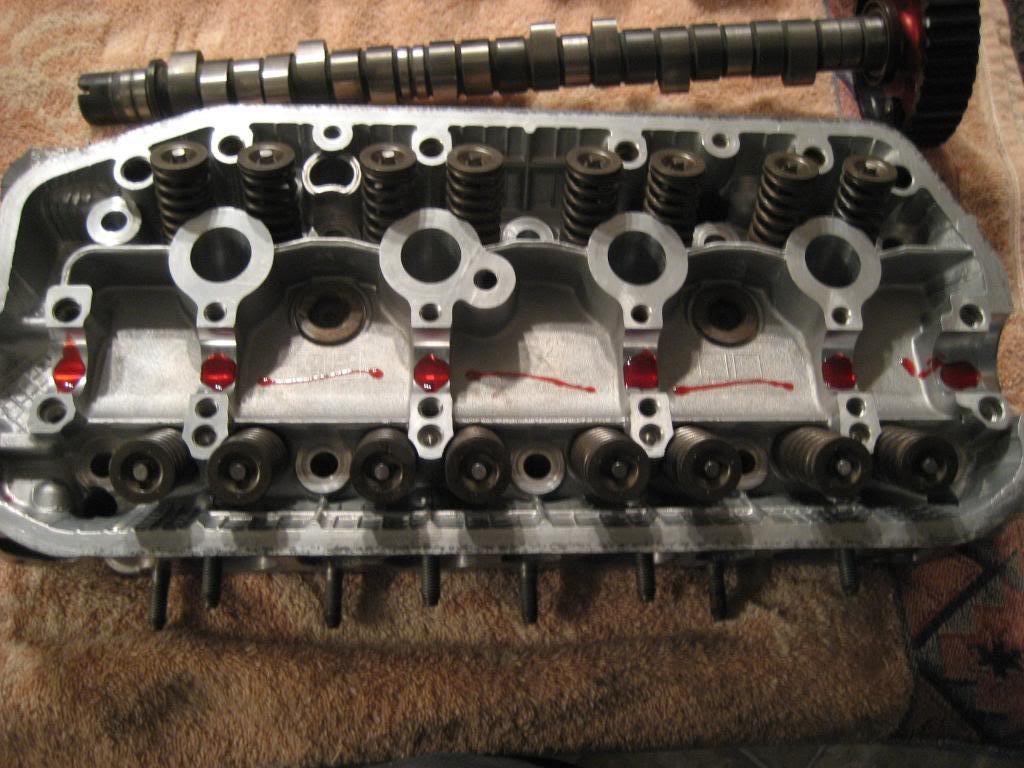
then place the cam over it and please don't skip on the assembly lub. i would rather put a shit load of lube then not enough. this a little lub. drench it like if it was going to be inserterd in your arse and you wanted it to slid up in you quick. lol.
now check the seals under the rockers to make sure: A - so you can replace them and B - so you can replace them.
yeah i know i wasn't paying attention, in fact the ebay special didn't come with these gaskets so again you need to go to the honda dealer and pick up these seals here's are the parts number.
thanks fireant and fuse for poing it out.
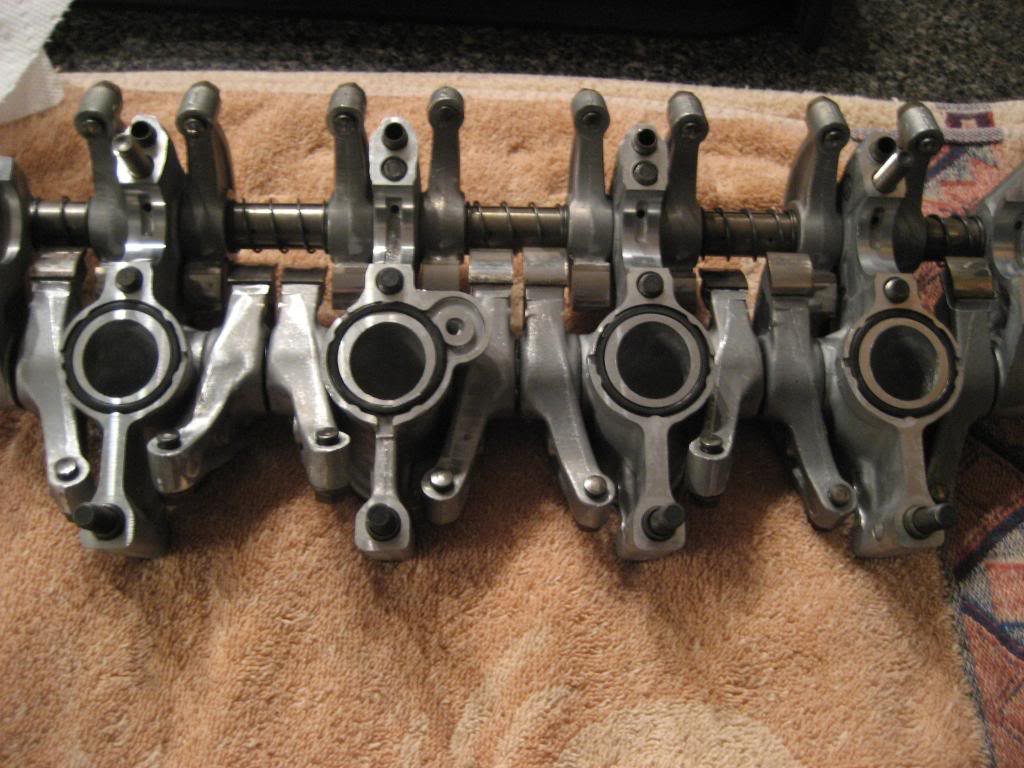
now put the rocker set on tighten bolts in sequence...
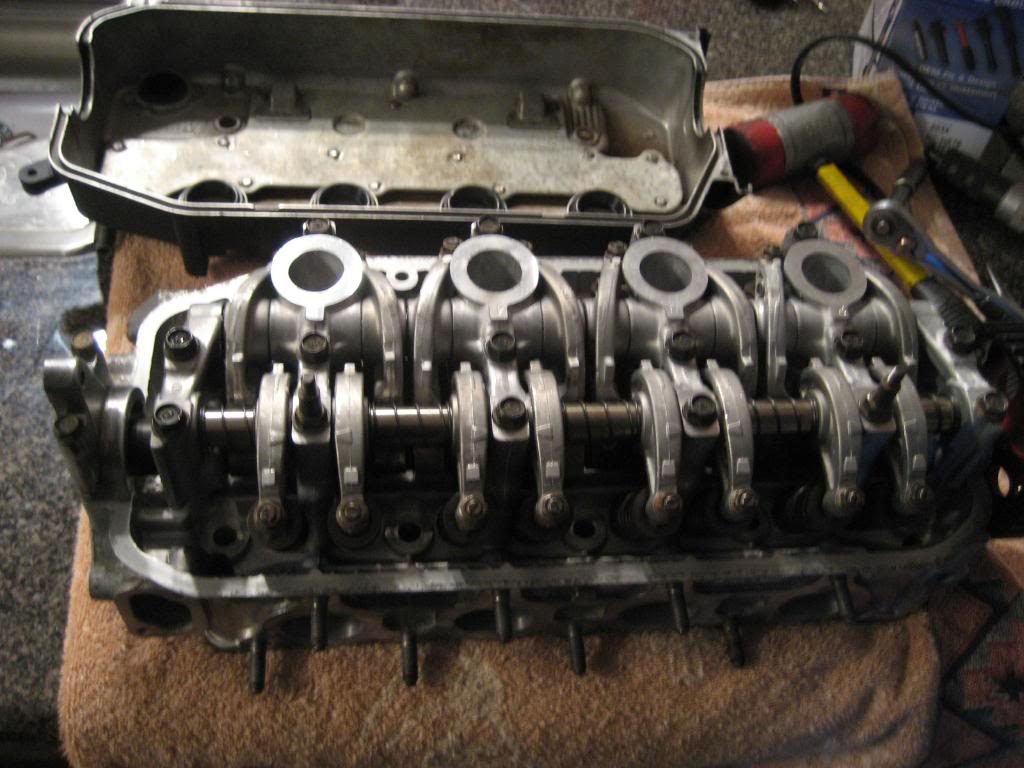
[QUOTE=remoer;1827417]now place require valve cover gaskets..
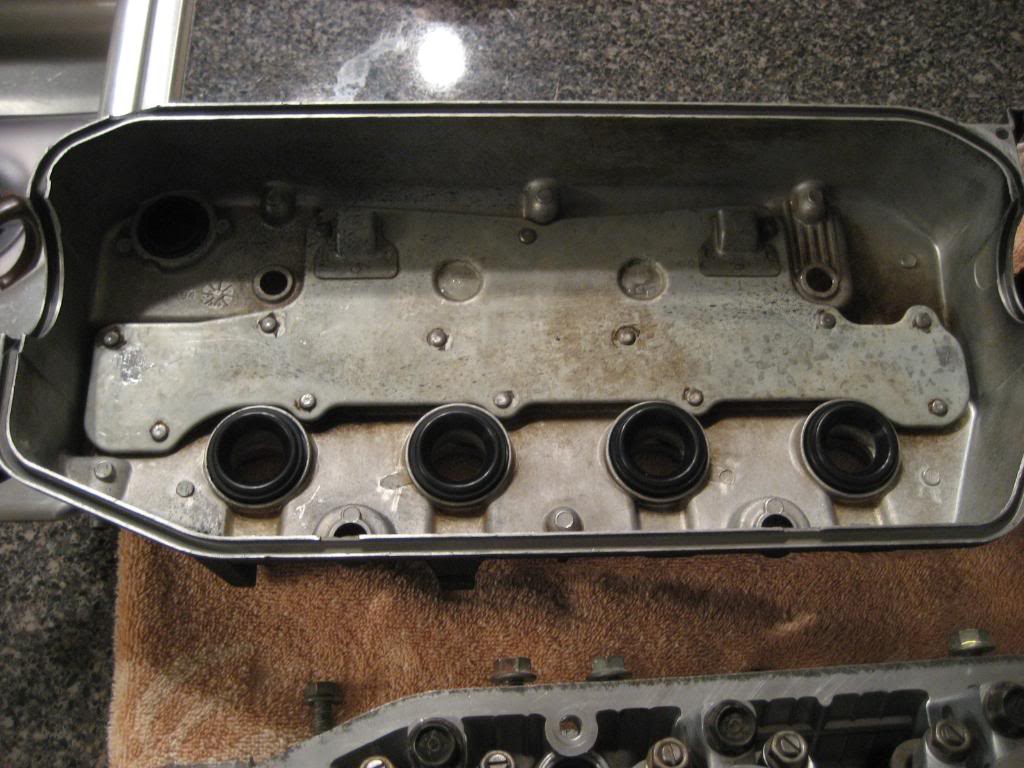
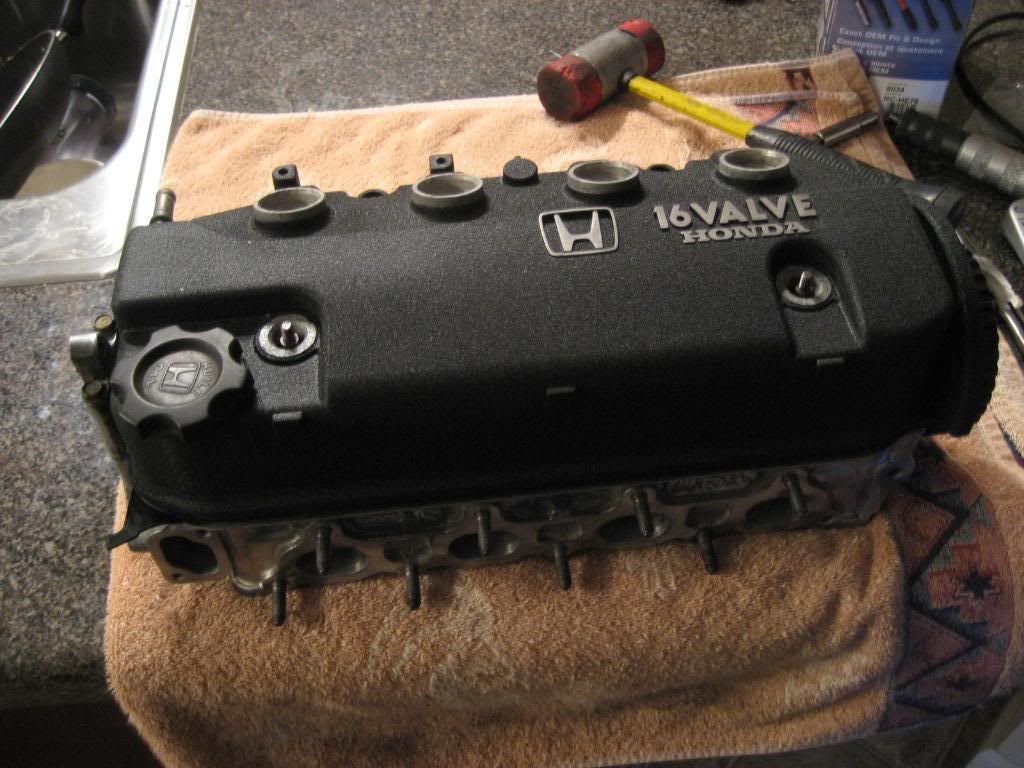
place cover and you're done...

if done correctly you've just done you're first head rebuild.... plase if i did something wrong or not by "how you build head" don't be a dick just make a comment in helping.
all credit goes to remoer on d-series.com
i used this guide and as far as im concerend its dead on

well first let me start that i'm not genius and there maybe easier ways to do this or not. but this is how i've been rebuilding heads since i first got into the game and i haven't had a head failure. other than my head being oil starve but that had nothing to to do with me rebuilding my head. it was oil passages and oil pump blockage/taking a dump. it's pretty straight forward easy once you've done it several times. and quick in my opinion. so here goes.
this part of the rebuild is the reassembling part, after you either took it to the machine shop, got it clean, fixed and bent valves, etc. in my case i had it hot tank, then port and polish took it back to the machine shop had it re hot tank, bead blast, valves grind, valve seat regrind and decked.
i want to stated this a D16a6 head with a 272 Delta regrind cam and a Edlebrock Cam gear. everything else is OEM. this head is the same as a D15b2 and a D15b7. but it's the same across all heads..
first yourself a clean area.(don't want dirt or grim in your rebuild) lay everything out where it's reachable area.
engine, lapper, valve grinding compound, Lisle valve keeper removal/installer(a thread with video to show you how to use this tool:http://www.d-series.org/forums/diy-forum/102307-diy-valve-removal-install-lisle-valve-keeper-remover-part-36200-a.html) and of course coffee the nectar of the gods.
valves, spring, spring seats and retainers in a spot you're not reaching so far.
now take some compound and place on the valve seat and the valve edge(sorry for got to take pic.) then set valve in place and with valve lapper stuck to the valve lap the valve.
place the lapper between your hands this. while doing this motion you'll feel it being very gritty till you feel it's a very smooth motion.
now after you finish lapping wipe off with a dry clean rag the extra compound from the valve and valve seat. you will notice that there's a thin grey line full around the valve and valve seat where they made contact. if you see the line completely around the valve and valve seat then off to the next one. if you see some skips redo it and if you still see skips in the compound then you might have a bigger problem.
now it important that when you lap the valve and the valve seat that you keep that valve where you lapped it. so i was told so what i do is lap from left to rightin the way the head looks up and the i place the valve on the other side of where i had the other valve on sequence to where i lap it.
now off to the next part. if you have oem valve seals the grey goes to the intake and the black to the exhaust. and if you're like me and bought ebay speical they're all the same color it doesn't matter where it goes.
now place them in a reachable area and get yourself a 3/8 socket. it fits of the valve seal nice snugg not to tight like a 9mm or to lose like a 10mm.
now place the spring seat down first before you put on the seal. so i put them all on at one time so you won't forget. the first time i did my head i didn't. i ruined the seal taking it off that i had to buy a new set and that was expensive.
then place the valve seal on with your fingers then place the 3/8 socket over the valve seal and put it down slowly. don't force it you'll feel the small clicks of it locking into it's grooves.
now that you finish with the seals. time for the valves. pour some engine lube in a clean soda cap. now take the valve to it's according valve seat you grinded, then dip the valve into the lube you don't need alot. and when you insert the valve. spin it back and forth up and down without passing the seal. after you feel it's lubed push it beyond the seal.(sorry for no pic on it)
now when you're going to place the spring on make sure the tight wound of the spring goes down.
then place the retainer and valve keepers on. make sure you have a clean rag to keep the lave from opeing when you're going to compress the spring to lock the keepers in place.
push down. sometime it takes a couple of try if the valve isn't firmly secure from opening.
first one done.
ok now that you've done all them go back with ba dead blow hammer and tap each spring/retainer over the top to make sure they set/seat correctly. don't freaking blast them like you're trying to drive a mason nail thru concret just a firm tap or two. then again there's always the two tap rule.
now if you did everything correctly. here's what it looks like finish.
now you replace the cam seal.. do have to well if you've done all this work why not.
now start putting lube on the cam head journels
then place the cam over it and please don't skip on the assembly lub. i would rather put a shit load of lube then not enough. this a little lub. drench it like if it was going to be inserterd in your arse and you wanted it to slid up in you quick. lol.
now check the seals under the rockers to make sure: A - so you can replace them and B - so you can replace them.
yeah i know i wasn't paying attention, in fact the ebay special didn't come with these gaskets so again you need to go to the honda dealer and pick up these seals here's are the parts number.
thanks fireant and fuse for poing it out.
now put the rocker set on tighten bolts in sequence...
[QUOTE=remoer;1827417]now place require valve cover gaskets..
place cover and you're done...
if done correctly you've just done you're first head rebuild.... plase if i did something wrong or not by "how you build head" don't be a dick just make a comment in helping.
all credit goes to remoer on d-series.com
i used this guide and as far as im concerend its dead on
my build> blue bandit-sold=[
http://civic-eg.com/viewtopic.php?p=203107#203107
taco build!
http://civic-eg.com/viewtopic.php?t=17613

http://civic-eg.com/viewtopic.php?p=203107#203107
taco build!
http://civic-eg.com/viewtopic.php?t=17613


