Post YOUR Hatchback here
User avatar
By HaydenSI
#328473 Question, you said you had a primer layer of the white polymer to make the engraving pop on the body. I may have missed it but how did you make the engraving on the Seibon carbon pieces stand out whereas on the intake, fuel pump cover, etc they seemed more to blend rather than stand out.

The only think I can think of is since its engraved it sits far enough below the un-engraved pieces you sprayed the white polymer over the entire carbon piece after engraving then carefully wet sanded it down and re-polished? I may be wrong though.
By Engraved EG
#328474
HaydenSI wrote:Question, you said you had a primer layer of the white polymer to make the engraving pop on the body. I may have missed it but how did you make the engraving on the Seibon carbon pieces stand out whereas on the intake, fuel pump cover, etc they seemed more to blend rather than stand out.

The only think I can think of is since its engraved it sits far enough below the un-engraved pieces you sprayed the white polymer over the entire carbon piece after engraving then carefully wet sanded it down and re-polished? I may be wrong though.


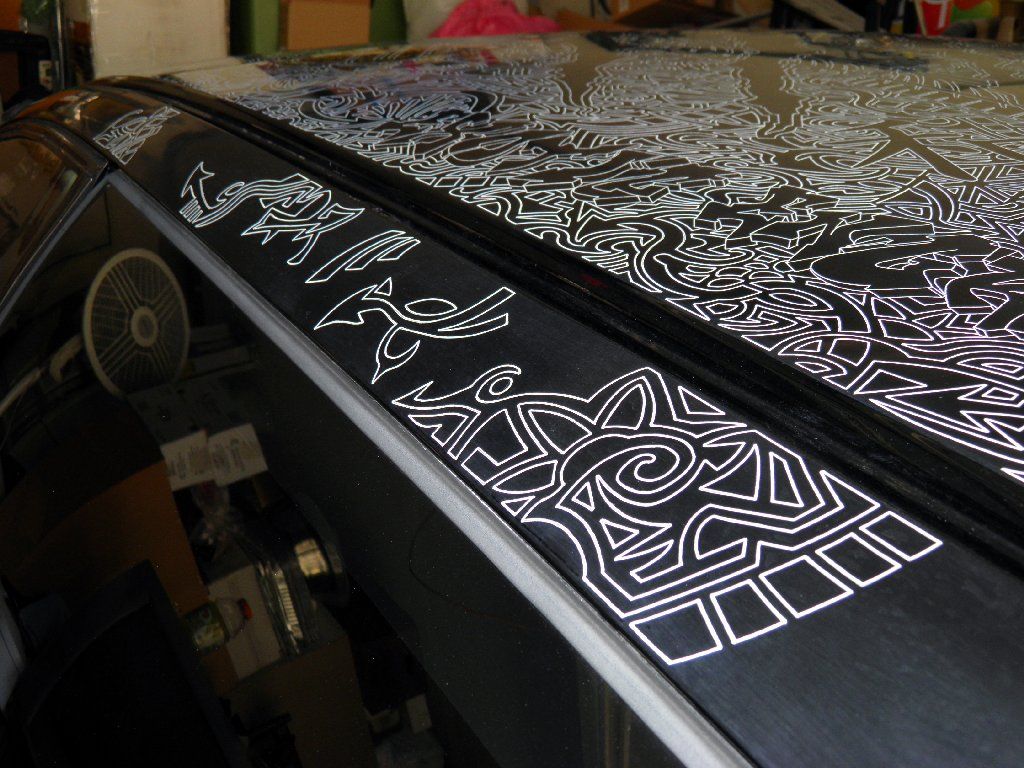
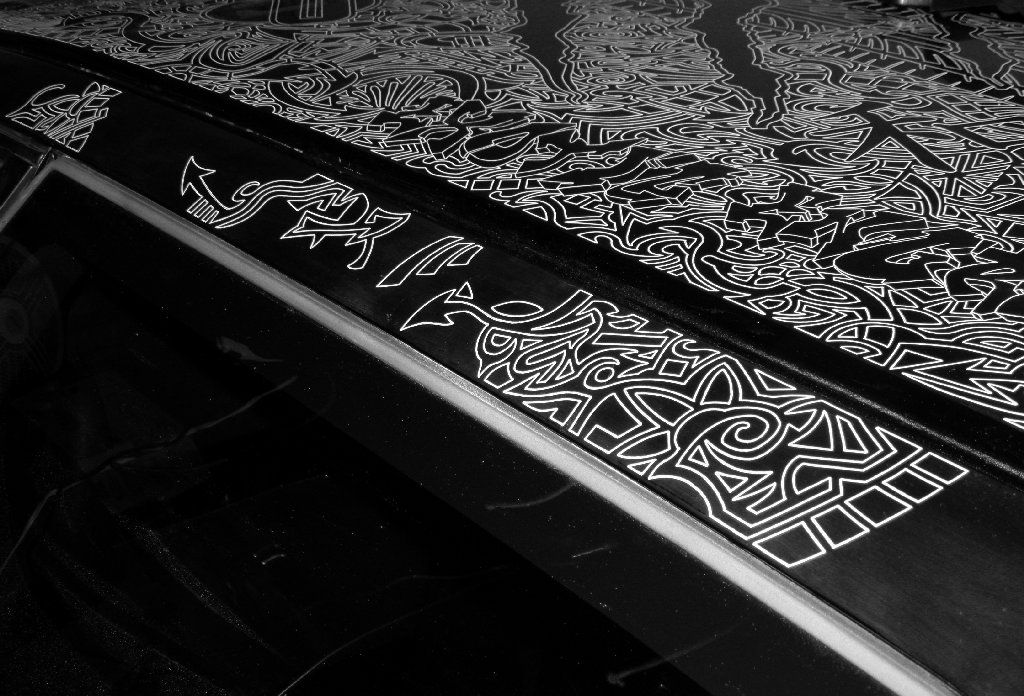
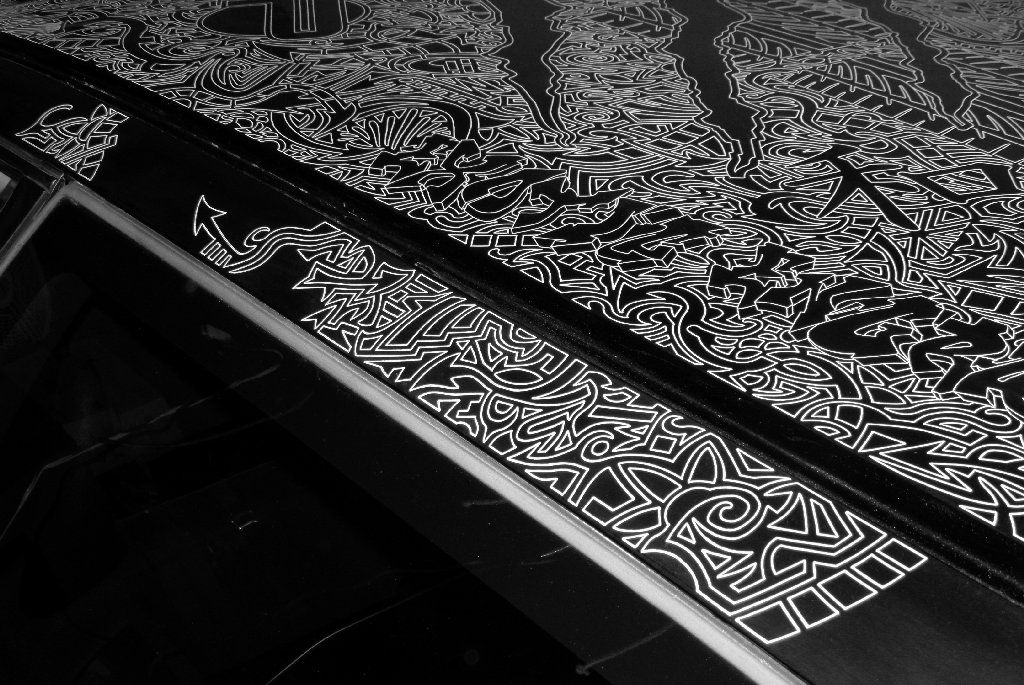
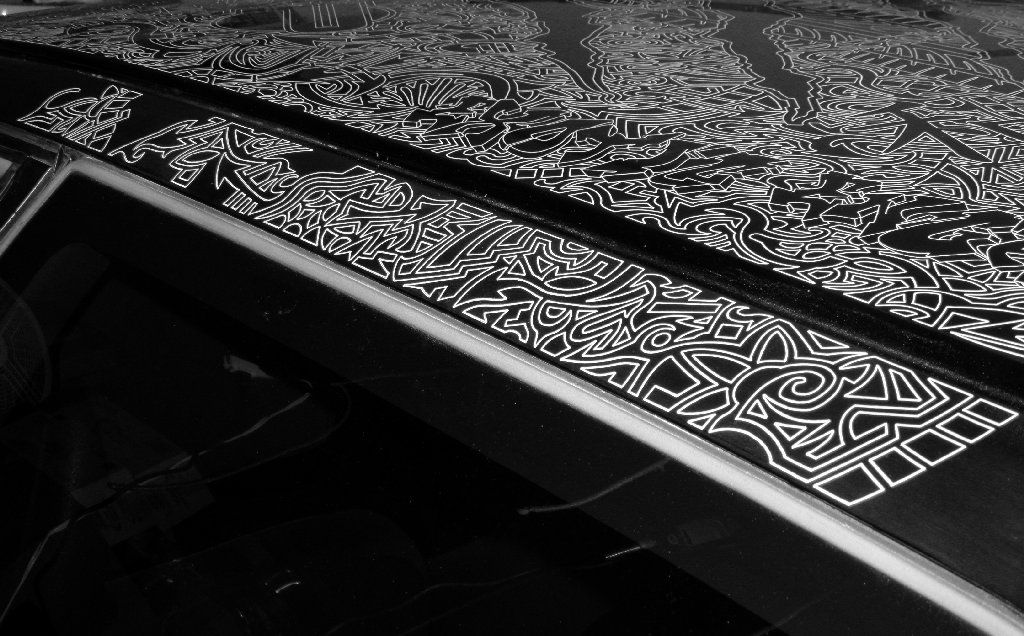
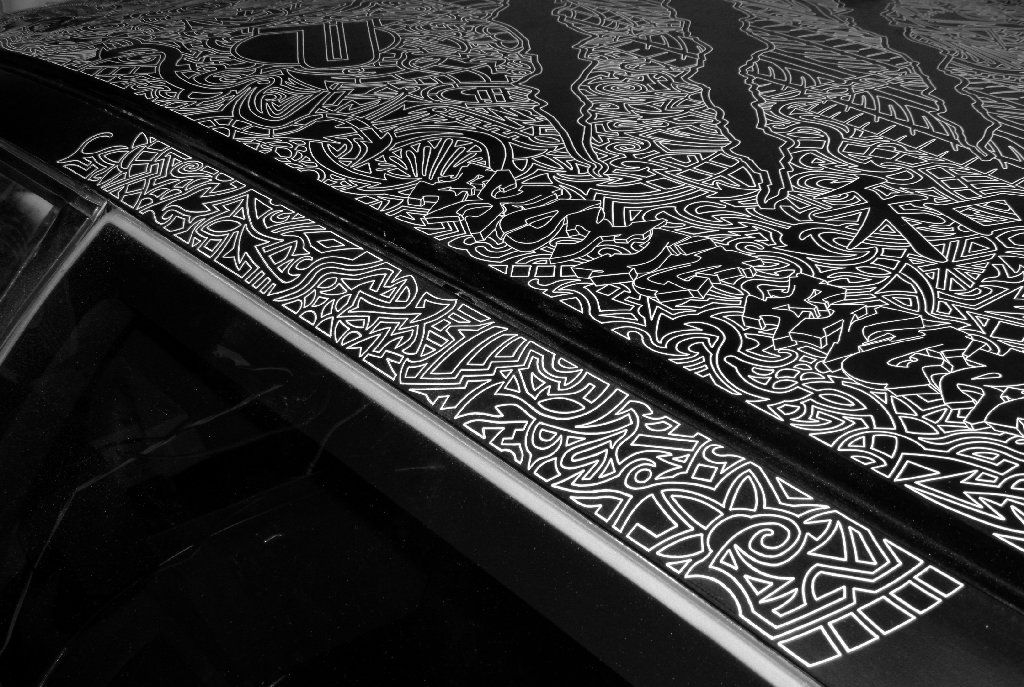
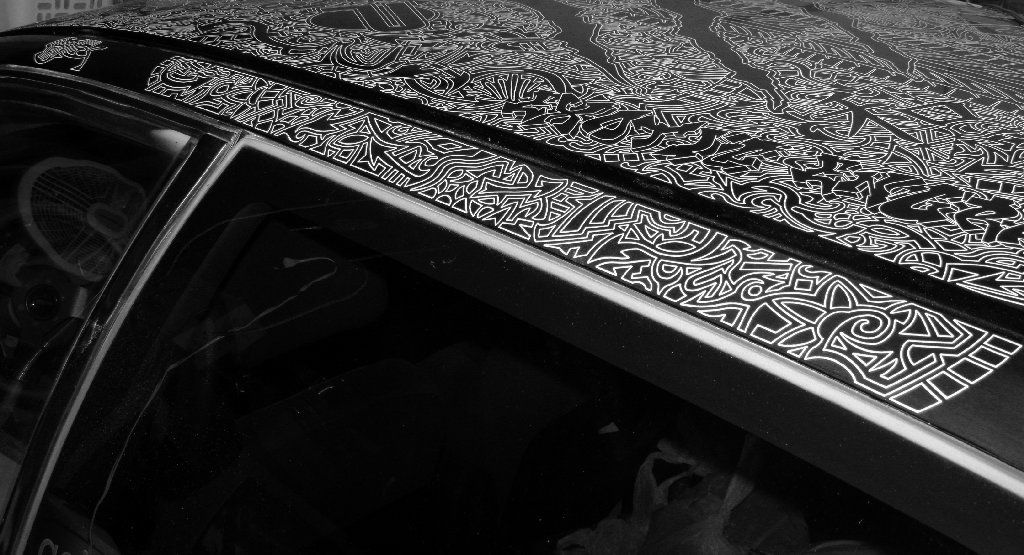
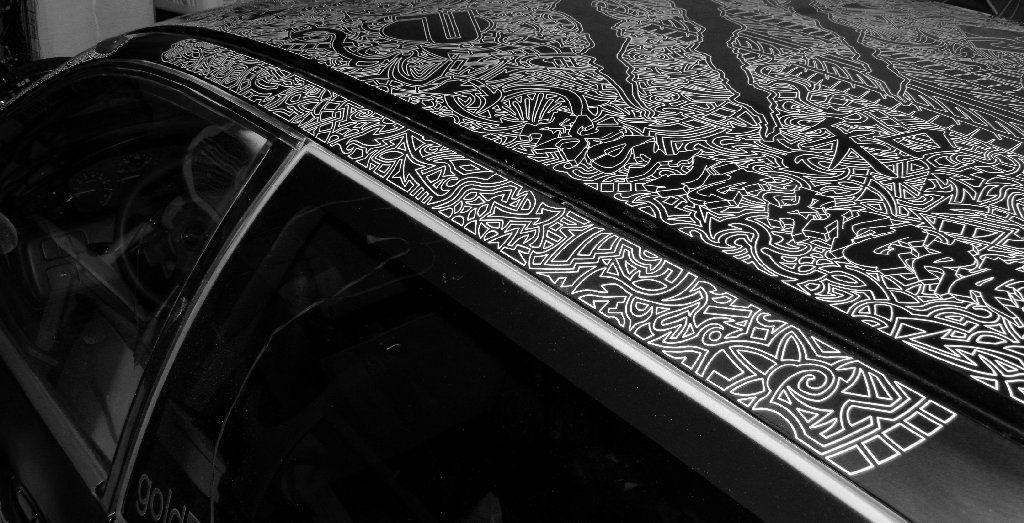
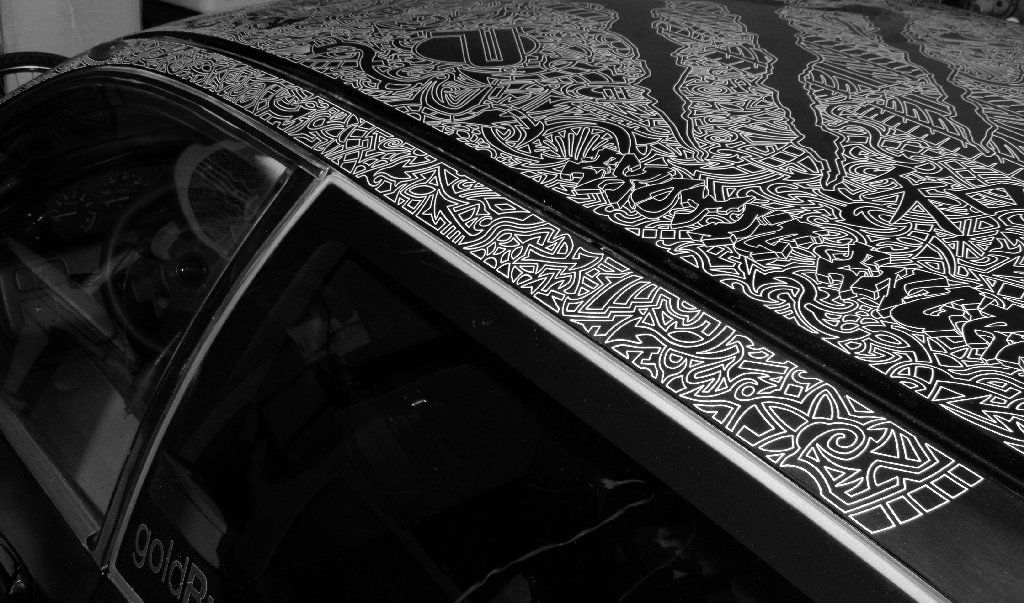
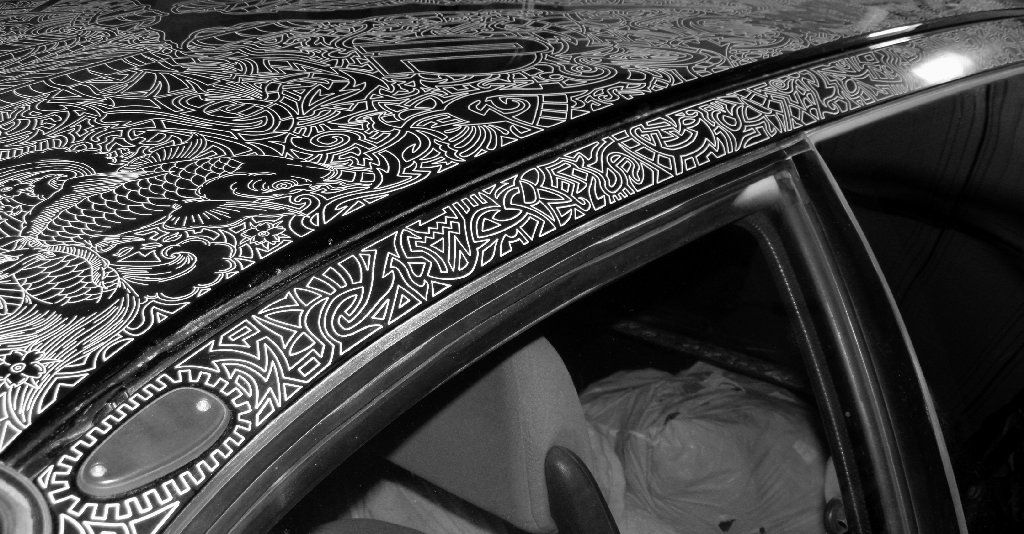
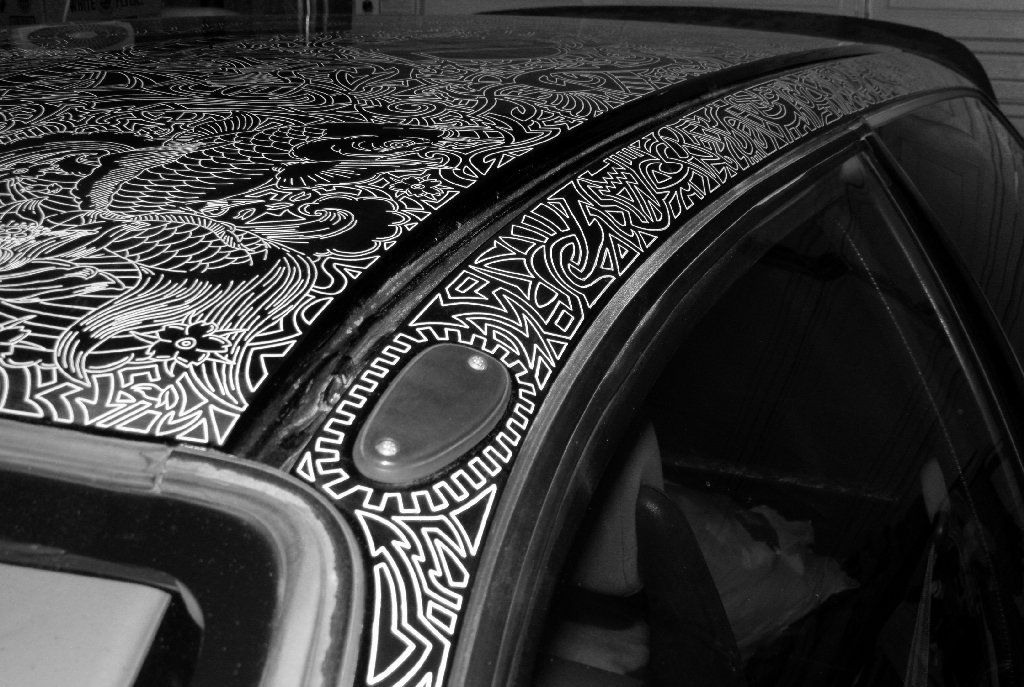
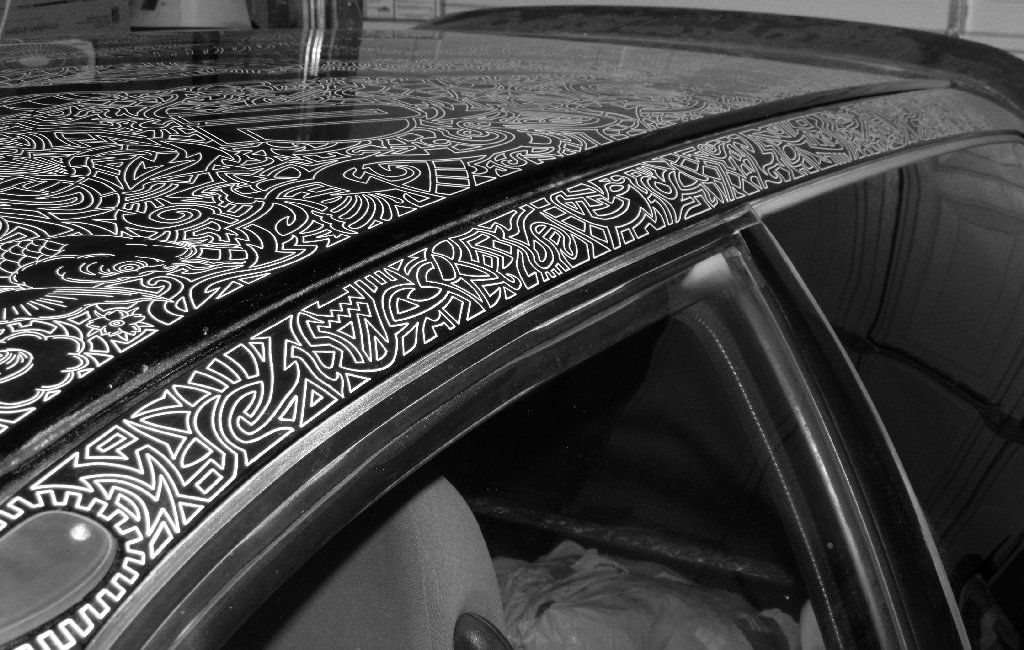
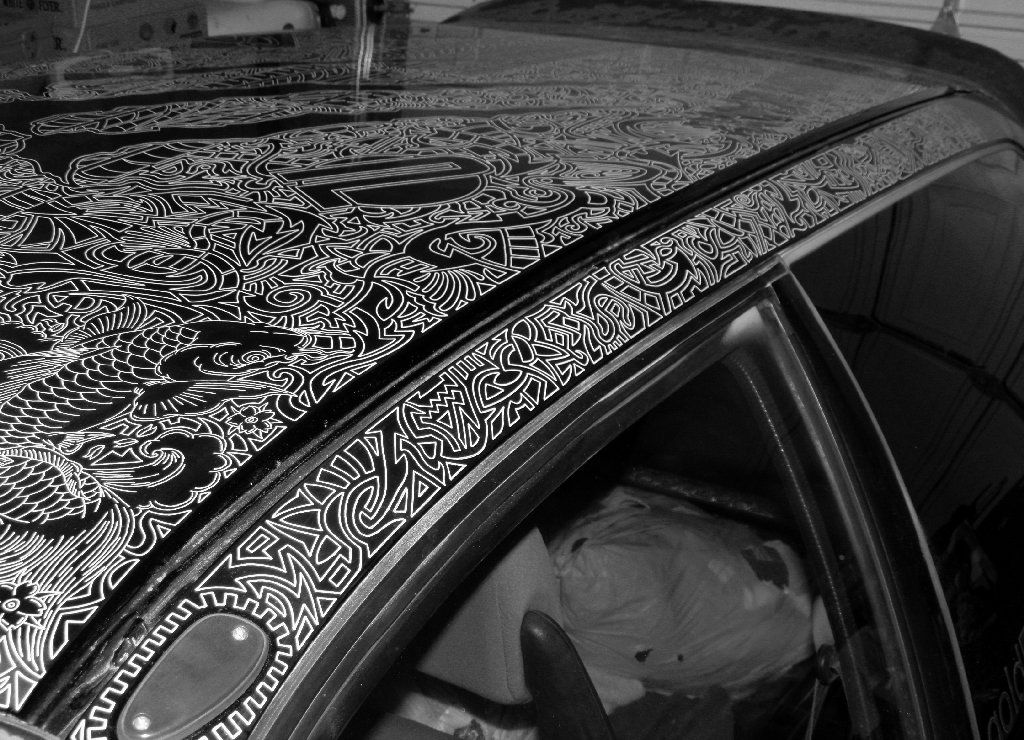
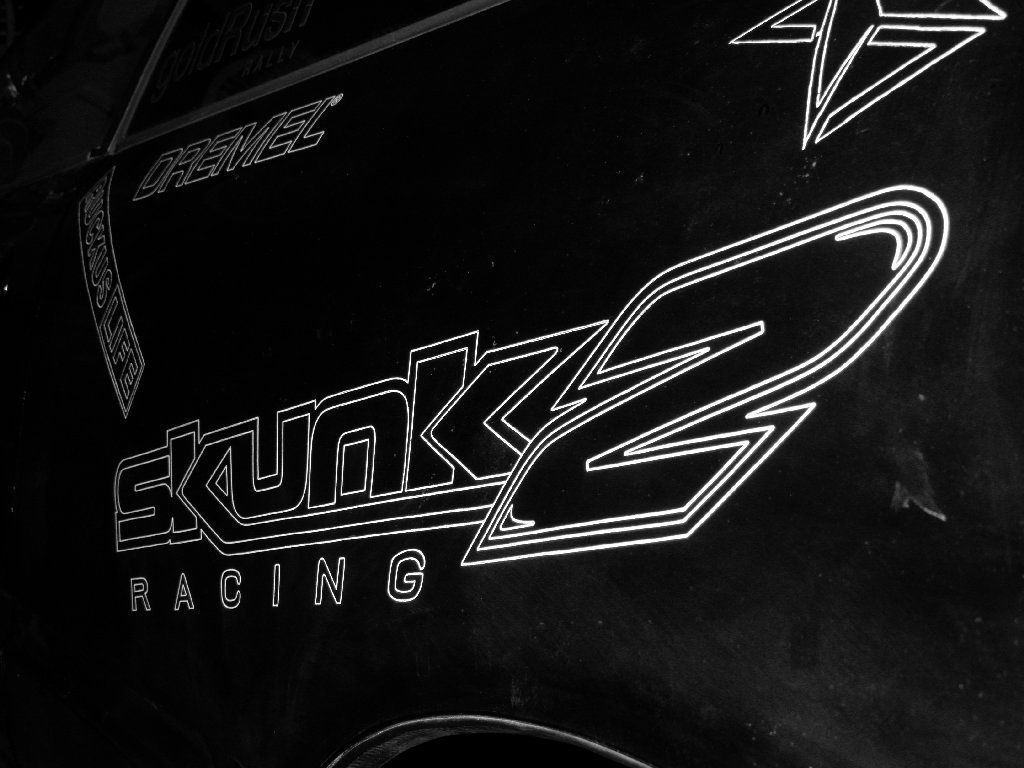
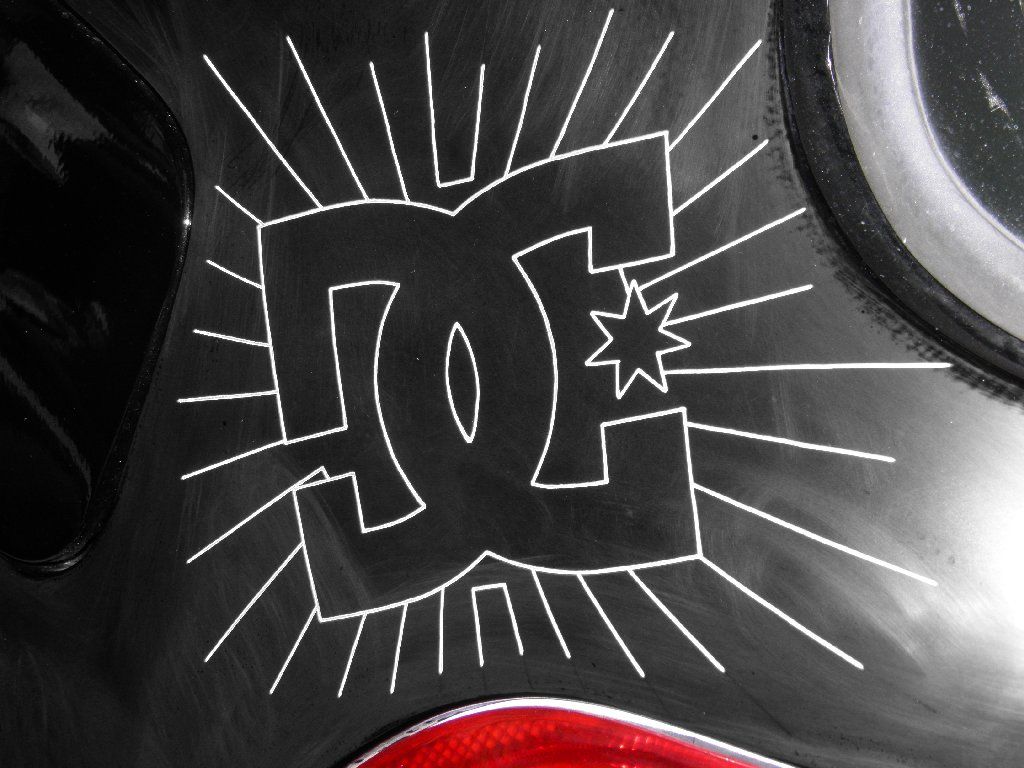
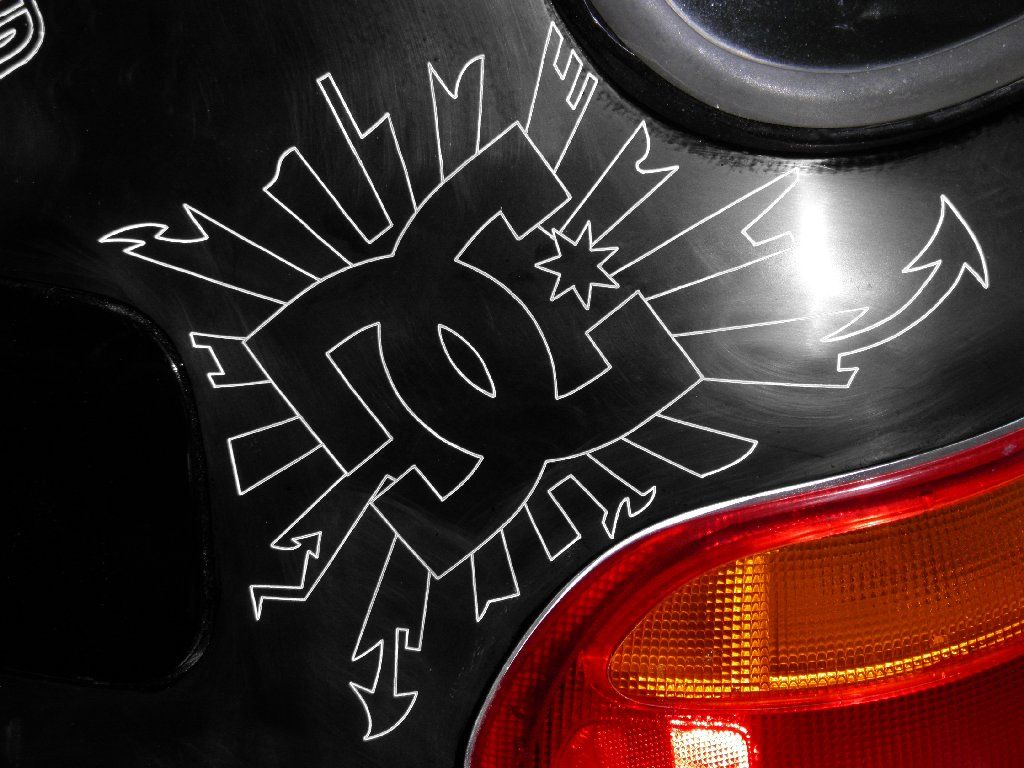
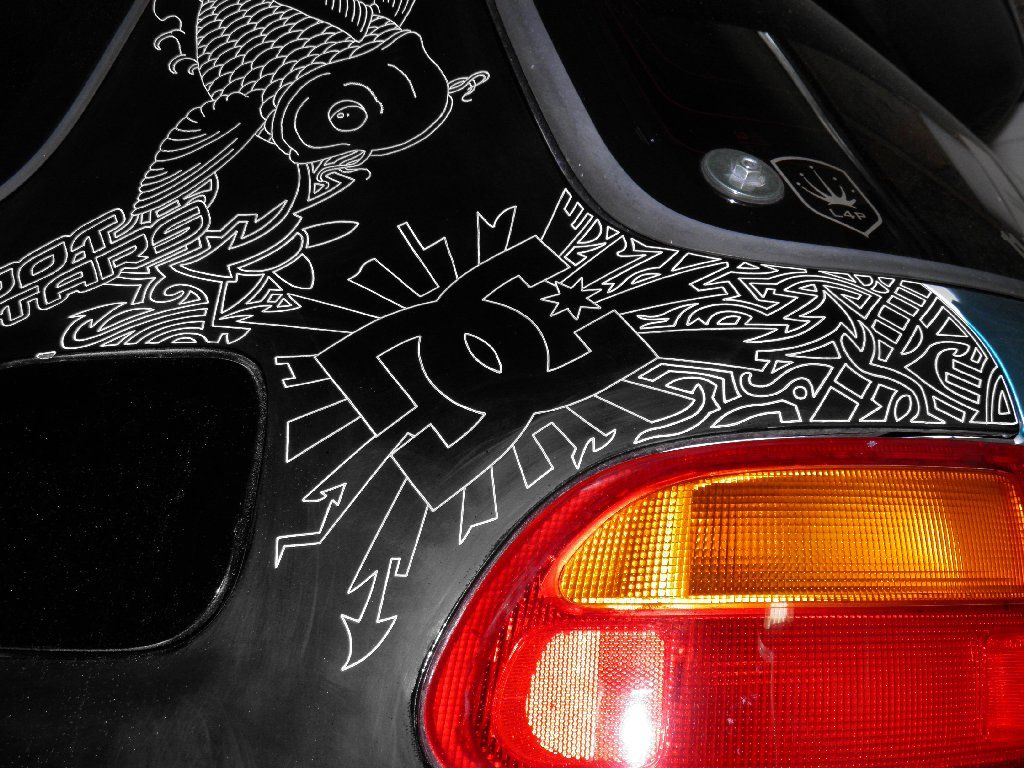
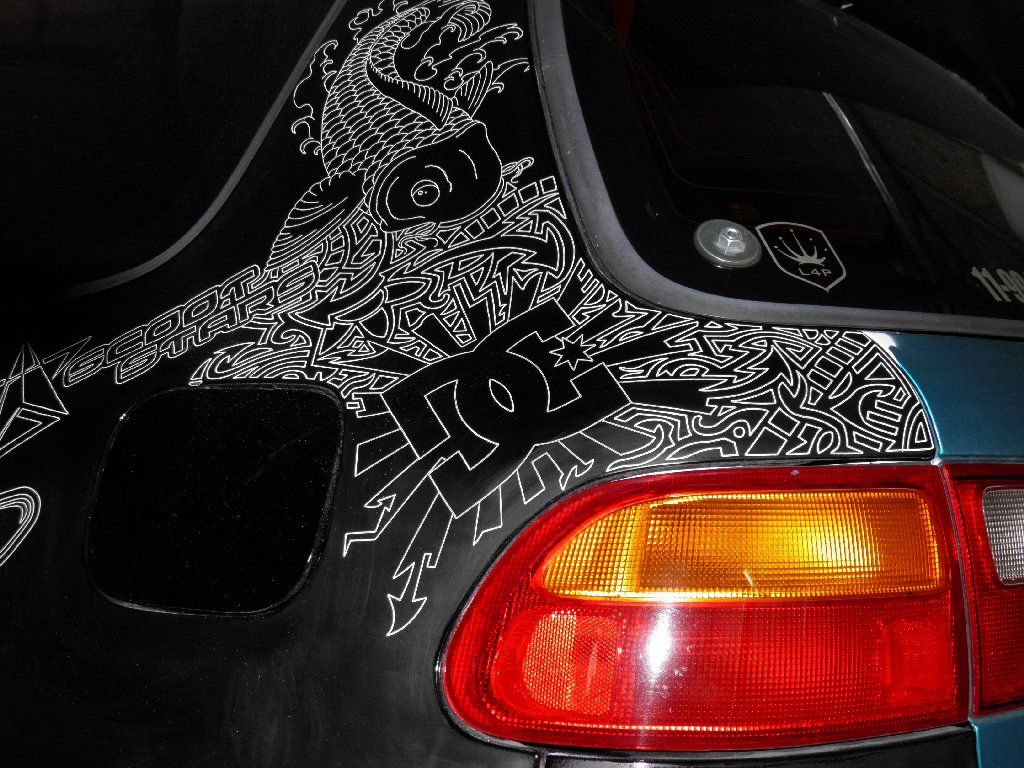
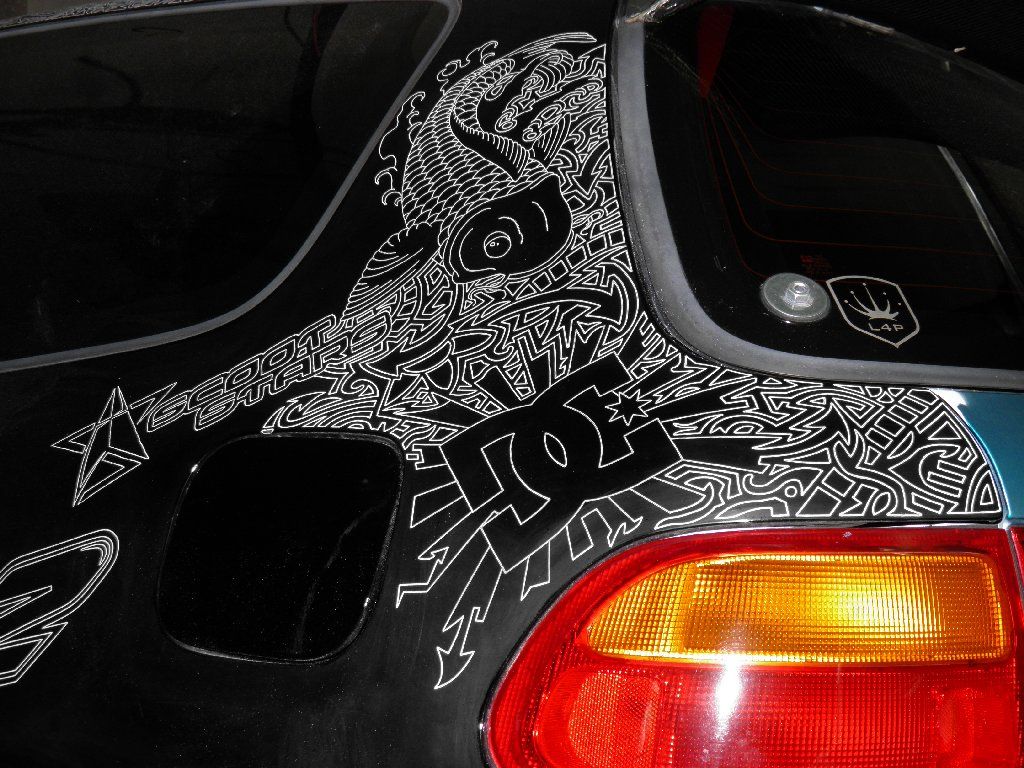
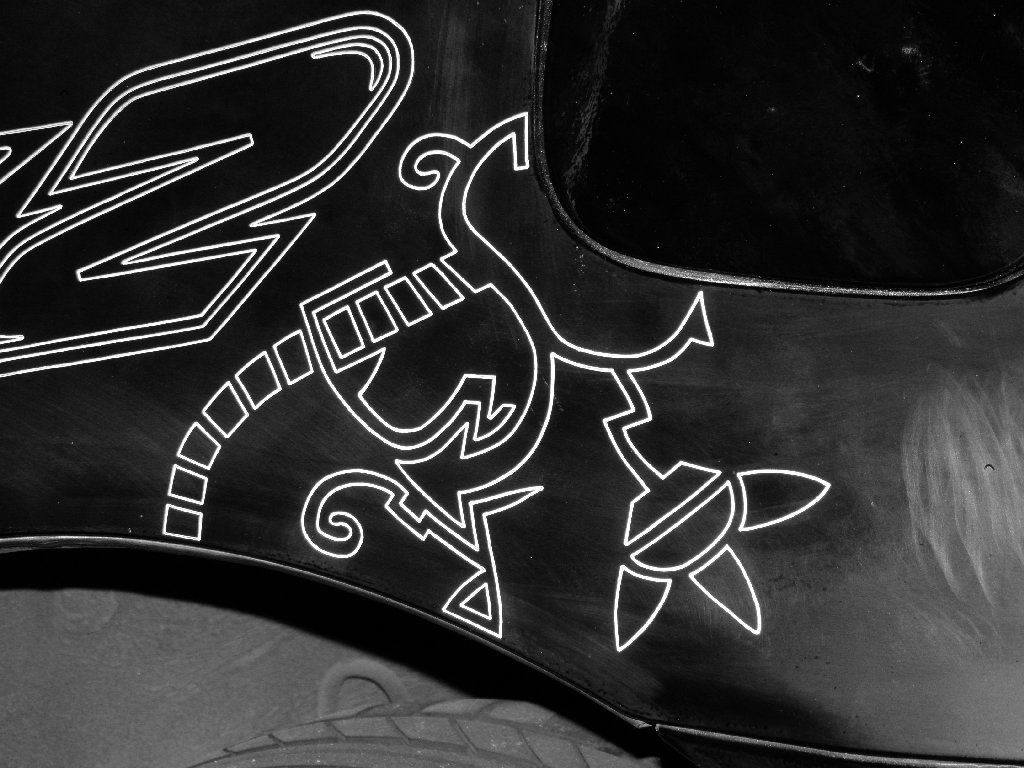
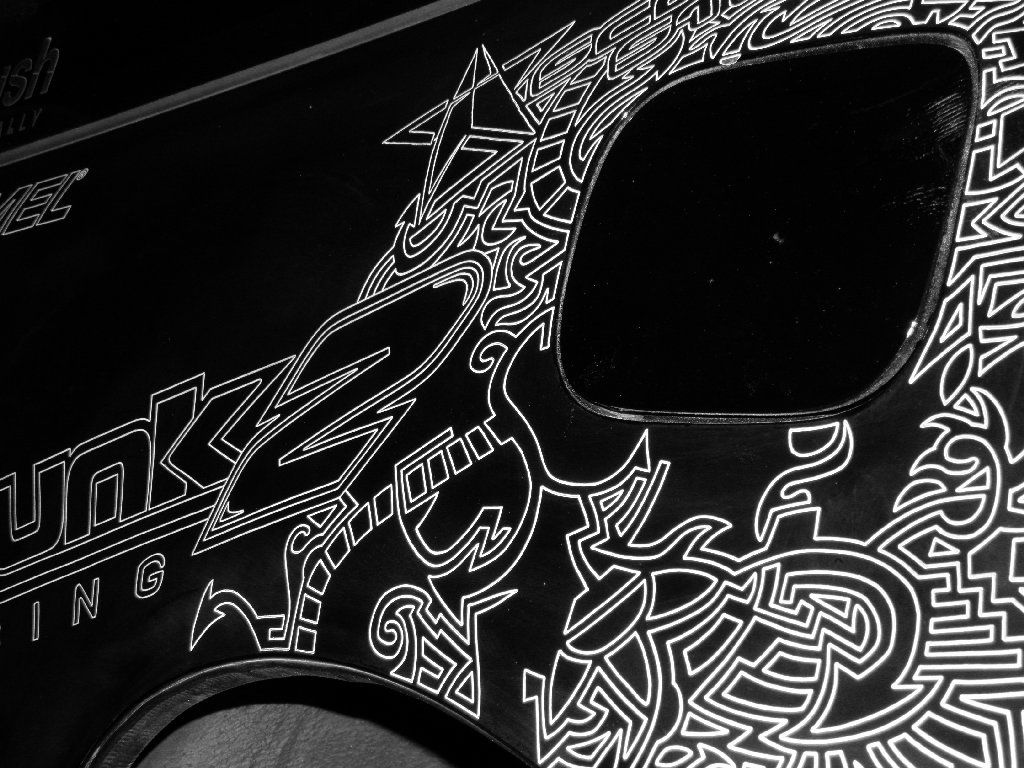
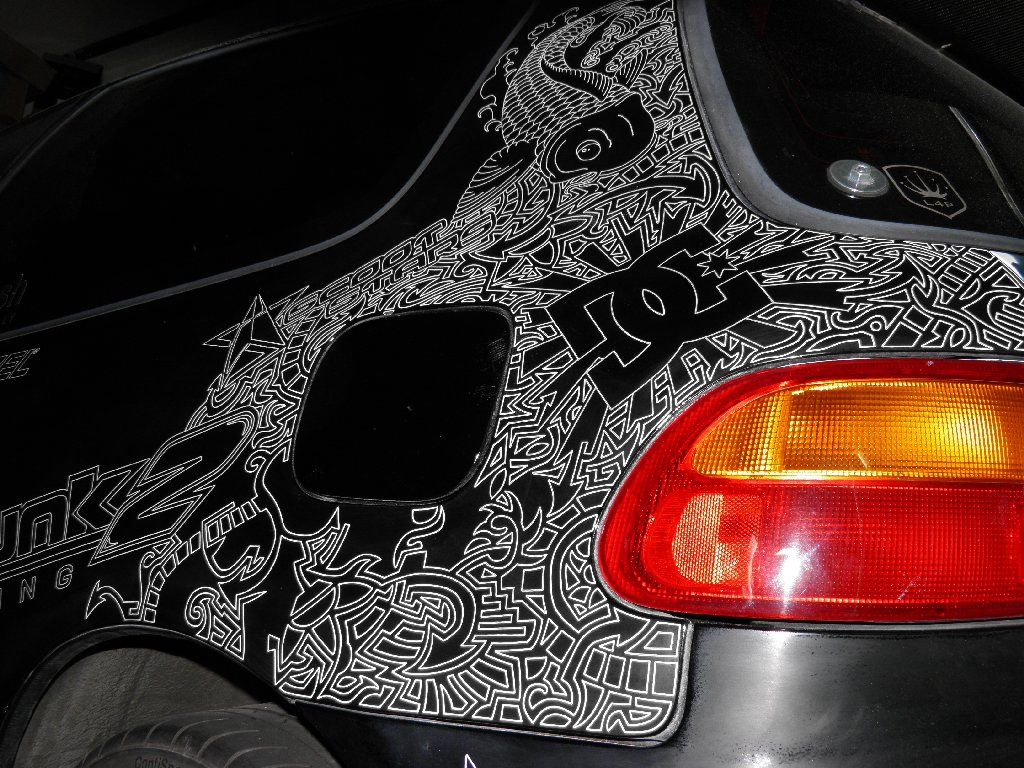
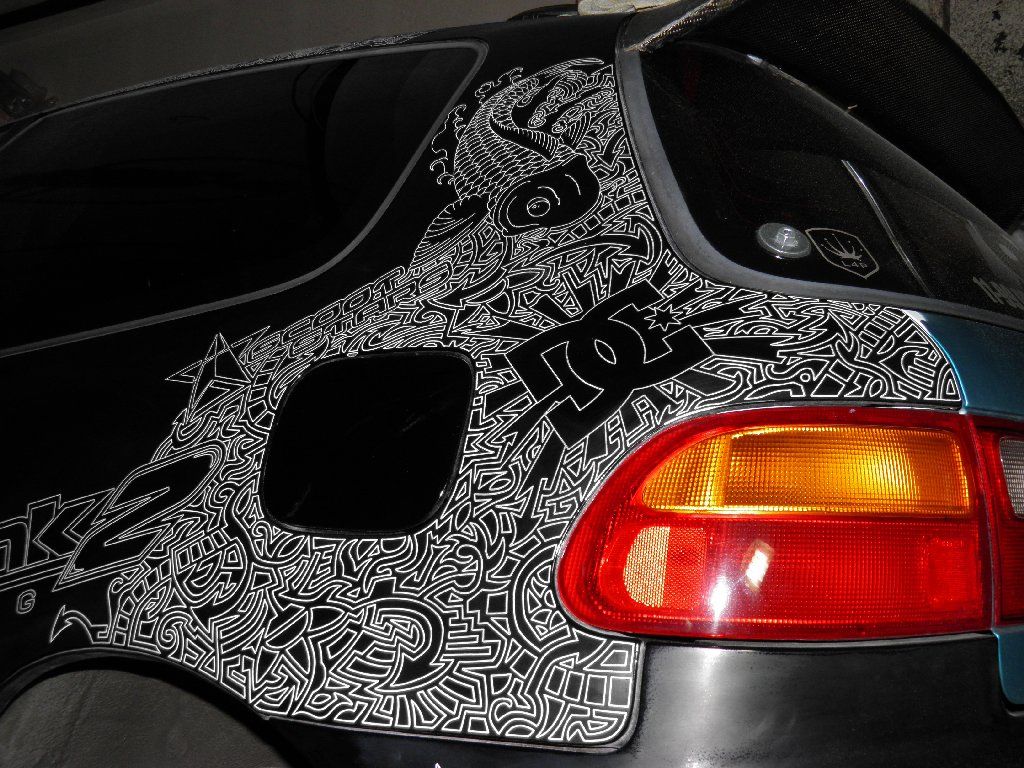
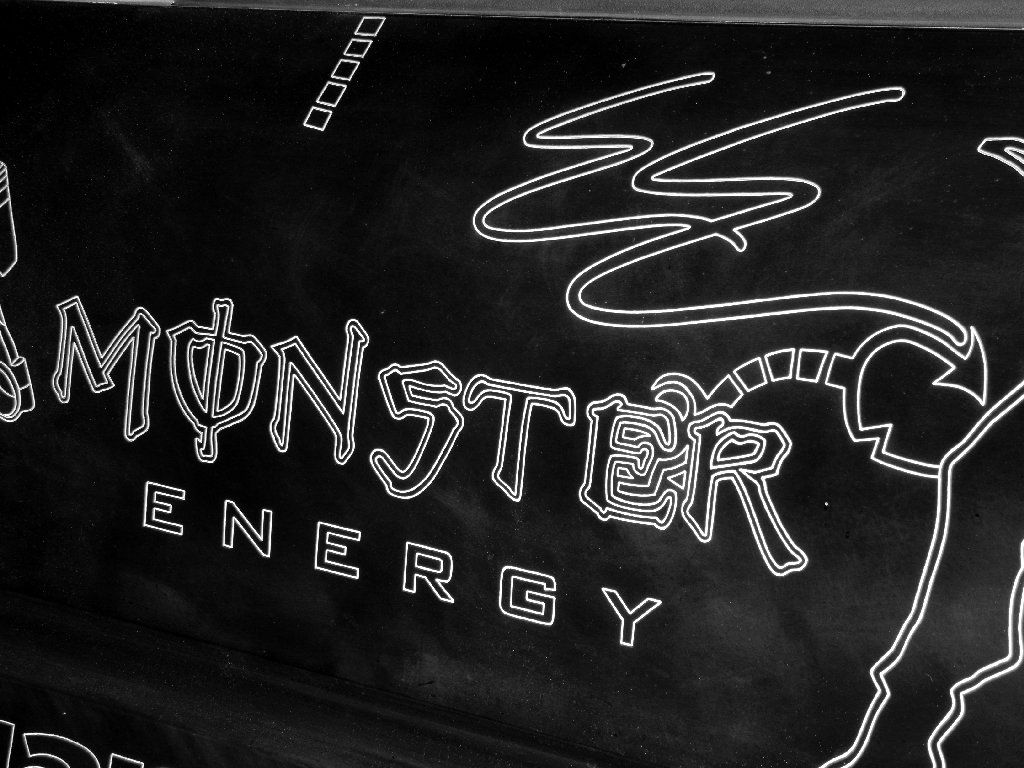
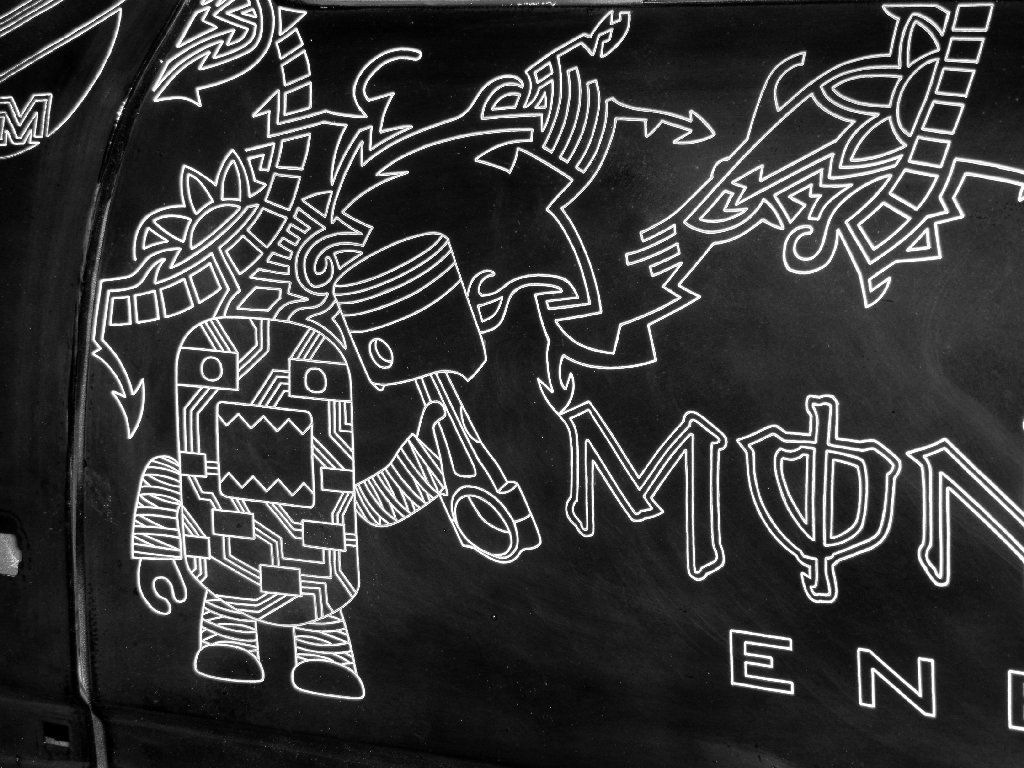
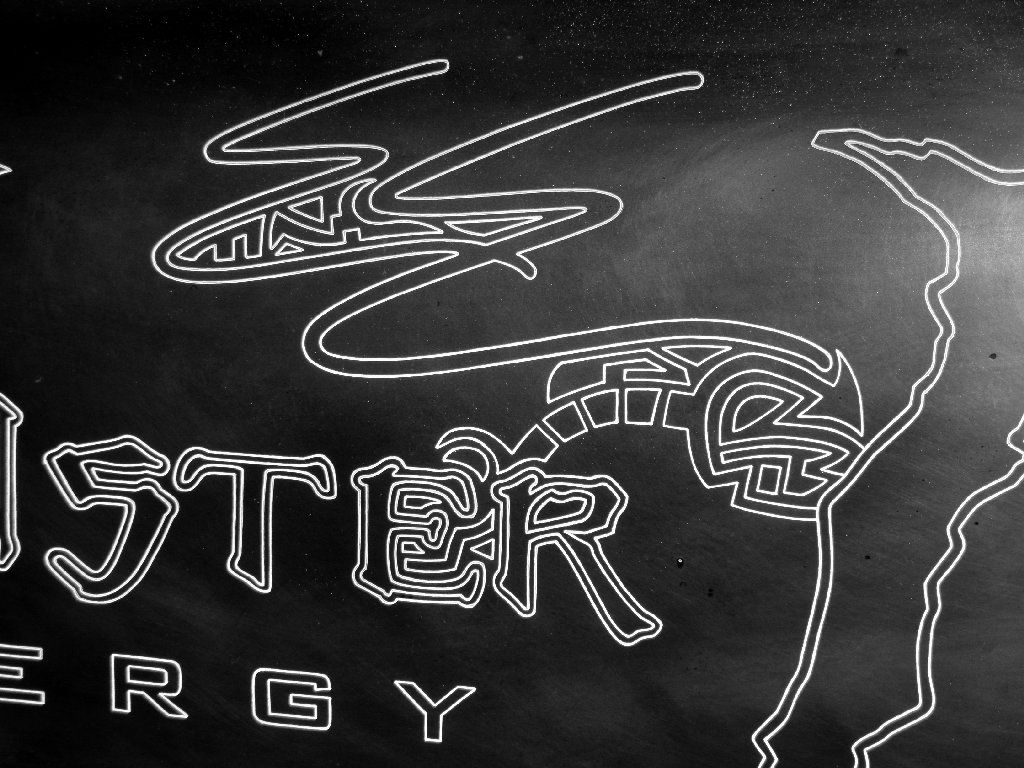
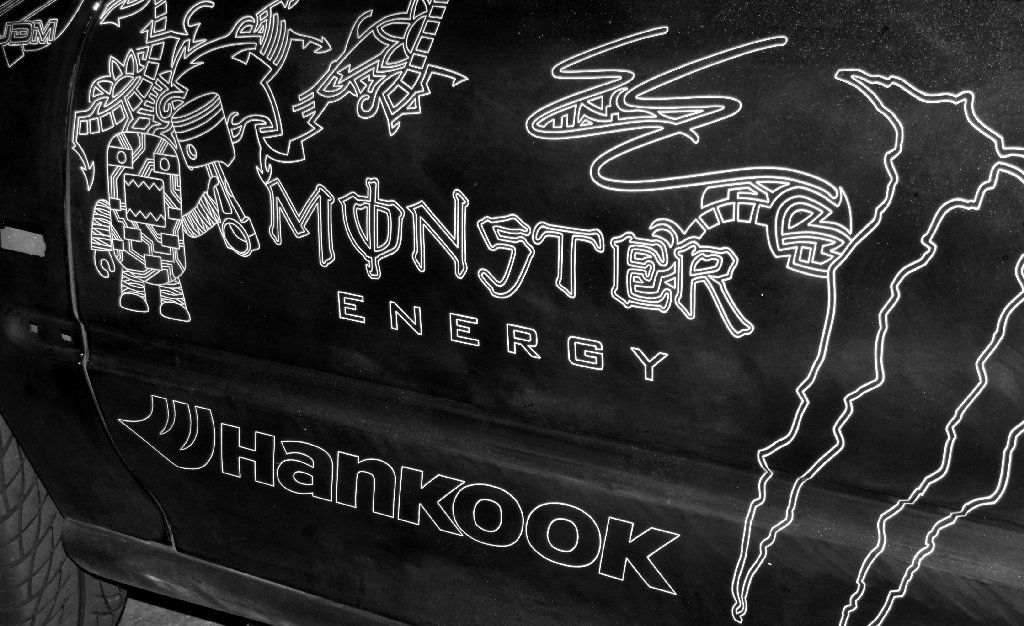
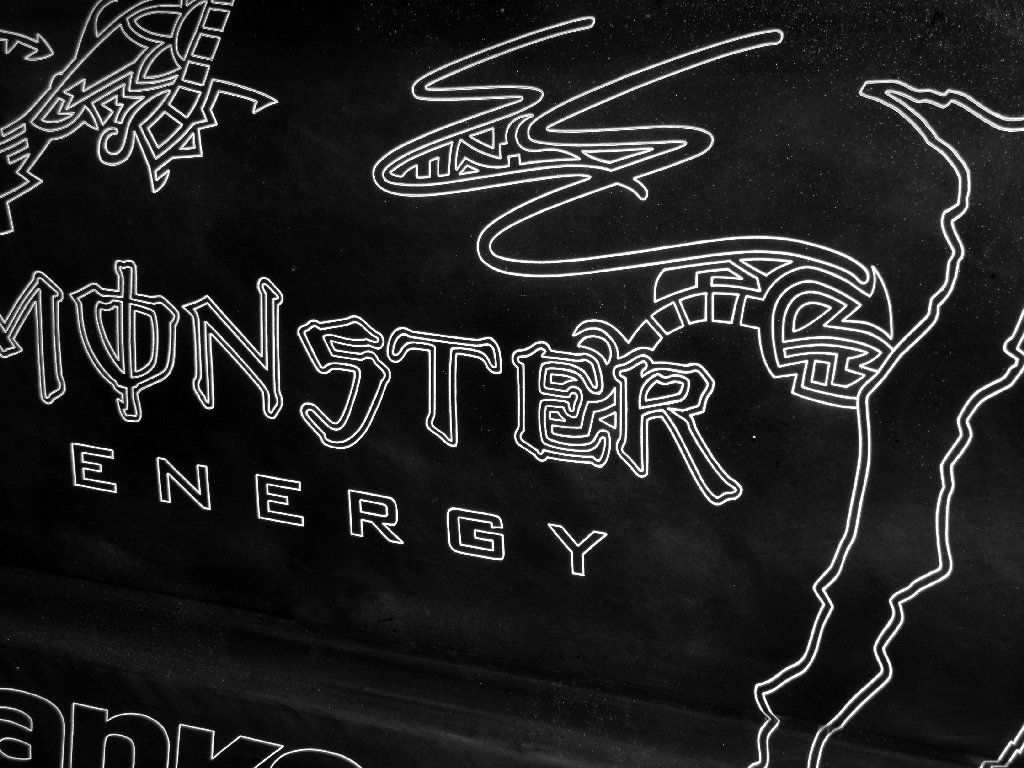
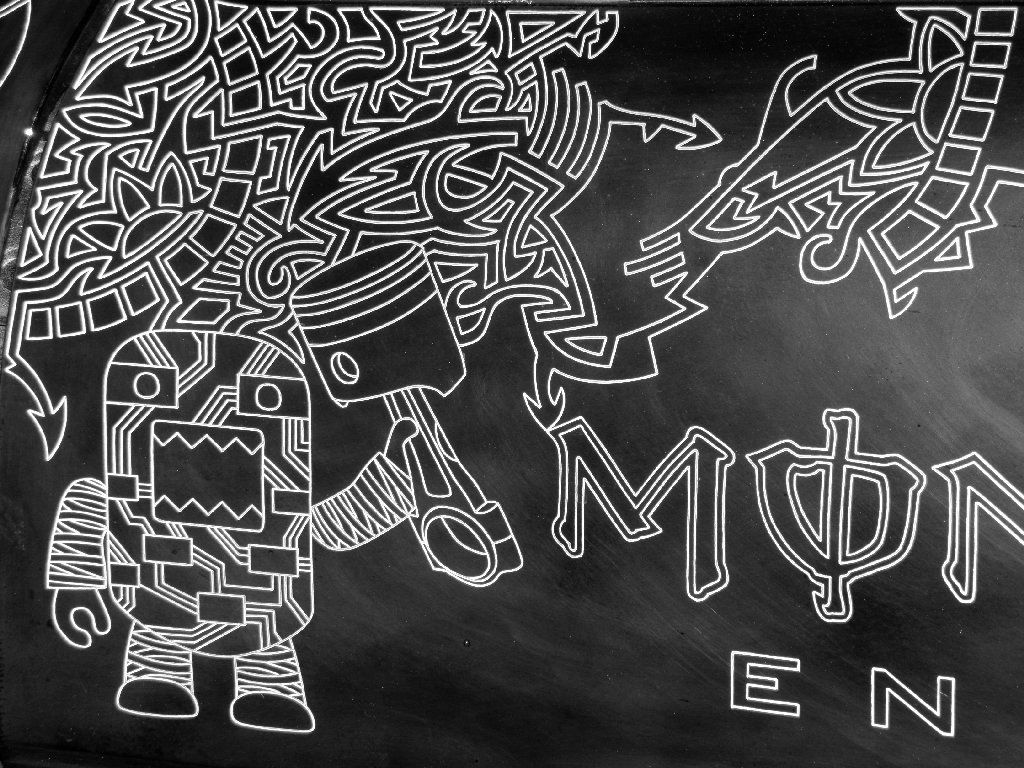
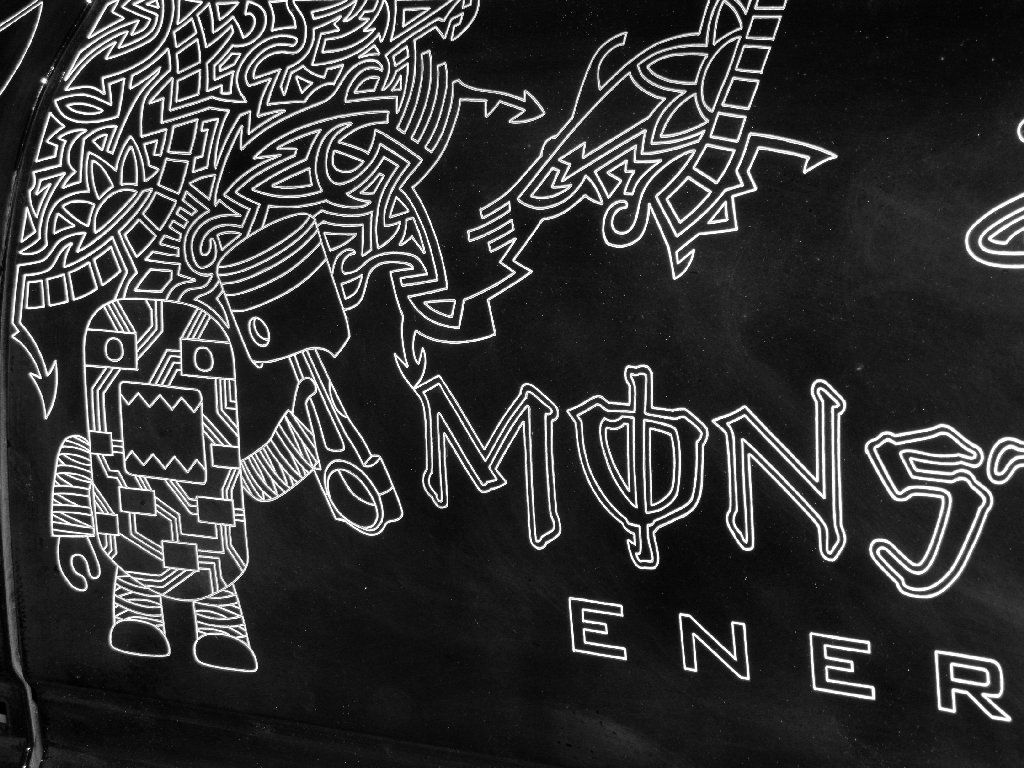
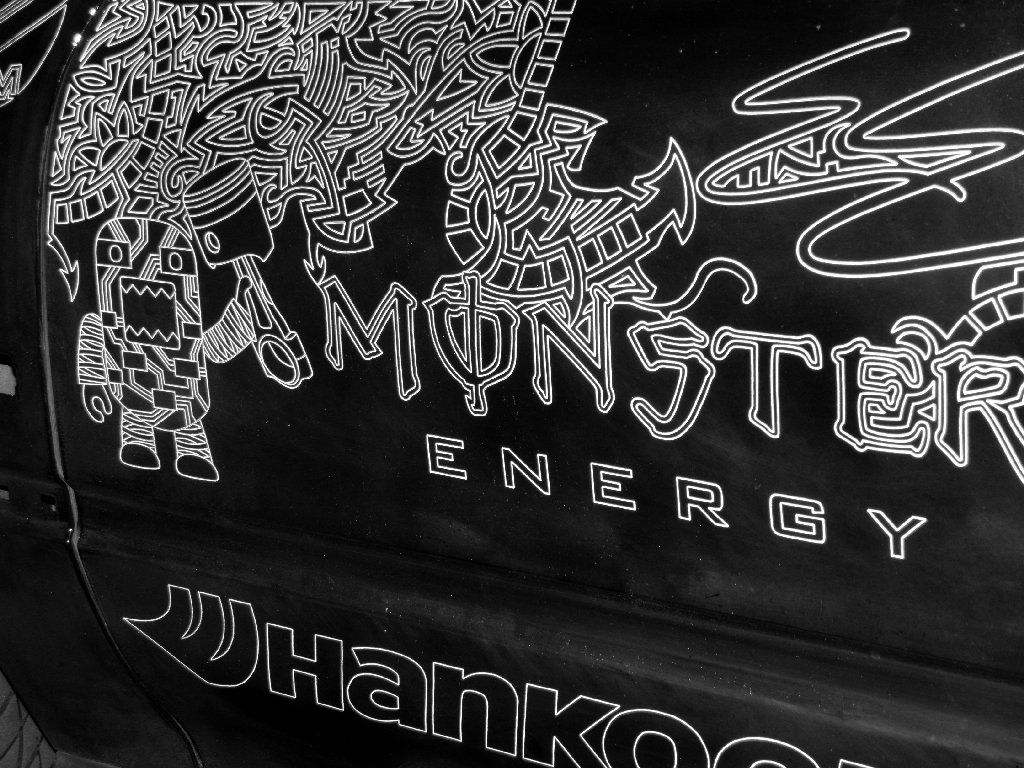
Thanks for the question. The white polyester primer layer is only underneath the paint on the body and bumpers. The carbon parts do not have anything done to them yet other than the hand engraving. The light color you see in some of the pics showing the engraved carbon parts is just the lighting from the flash on the camera getting caught in the engraving portion of each piece. Also, the SEIBON carbon has a pretty thick layer of resin over top of the carbon layer so with a camera flash, the engravings seem to have some sort of white / color to them. The dry carbon Password JDM parts that I engraved are very thin with very little resin layer covering the carbon. Thus making the engravings appear to be more sublte.

I am however adding color to all of the engravings on the car as well as all of the carbon fiber parts on the body once the initial engraving on the car is done. You are correct, the engravings are below the un-engraved surface areas. This is the area where the final color Im adding to the car will stay and everything else can be wet sanded and clear coated, leaving just the engraved portions with color. I hope this info wasnt too confusing and I was able to answer your question. :)
Last edited by Engraved EG on Wed Mar 13, 2013 2:38 am, edited 1 time in total.
User avatar
By reaperstk
#328493 Wwoooowwww...aint NEVER seen something like this. :shock: :shock: i would loove to see this in person.
By Engraved EG
#328495
reaperstk wrote:Wwoooowwww...aint NEVER seen something like this. :shock: :shock: i would loove to see this in person.


Thanks reaperstk, where are you located? Im in California, but will be traveling a lot with this car once its completed. Maybe you can check out the "Engraved EG" at one of the shows the car attends.

"Like" the "Engraved EG" facebook fan page and Ill keep you updated on what shows the car will be attending. https://www.facebook.com/EngravedEg
User avatar
By reaperstk
#328602 I got it on facebook...i live across the country in georgia lol..do really hope it comes down out here. Its mostly evos and subies and high priced cars out here. Never anything creative like that
also u wouldnt mind posting up a vid of u doing a little engraving would you. I would like to try it on a fender since mine is all messed up.
By Engraved EG
#328610
reaperstk wrote:I got it on facebook...i live across the country in georgia lol..do really hope it comes down out here. Its mostly evos and subies and high priced cars out here. Never anything creative like that
also u wouldnt mind posting up a vid of u doing a little engraving would you. I would like to try it on a fender since mine is all messed up.


Actually, yes I would like to bring the car out there. Im planning on bringing this car all over when its completed. I havent been to the east coast in quite a while.

As for the video, this is the one short video clip I have of me working on the "Engraved EG". The camera is zoomed in so people can see the depth of the engravings. Im pretty much huddled over my art while engraving so its kinda hard to get a good angle with a camera to film. Tried filming many times. Hope this video clip is somewhat helpful.

https://www.facebook.com/photo.php?v=61 ... 0273098082
By Engraved EG
#328626 Engraved the DREMEL logo next. I think this logo is important considering all the tools I use for the "Engraved EG" project is DREMEL tools and accessories. :)

Image

Then the Skunk2 Racing logo. I have also been a big fan of Skunk2 Racing products ever since the "Battle of the Import" days at LACR (Palmdale, CA), back in the late 90's. :) I miss those days.

Image
By Engraved EG
#328628 Here is the start of the DC Shoes logo with a Japanese Rising Sun in the background. Located on the driver side rear quarter panel by the tail light.

Image

Finished connecting the lines of the Rising Sun. Now just need to fill in the space around the logo to bring the sun rays out more.

Image
By Engraved EG
#328642 After working on the driver side rear quarter panel for a while, I jumped up to the driver side door. I think it was time to add an iconic Japanese character, so I created my own DOMO.

DOMO holding a piston. The inner parts of his arms and legs are suppose to be lowering springs and the inner part of his body is suppose to be the computer chips inside of an ECU. It may not look like that though. LOL. :lol:

Image