Post YOUR Hatchback here
User avatar
By Uknterror
#325069 Love the determination! Keep it up! :thumb:
User avatar
By Punksz6
#325113 :thumb:
By EG6_rugby
#325502 Ive found that being a perfectionist is hurting my wallet in a since of re buying things. I will be a pro at paint before when it all said an done. I layed another coat and was instantly disatisfied with the way it came out..

my own fault for rushing and trying different methods ive seen online. :(
SO after countless hours of sanding, painting, masking off... ive decided the best way to paint is competely by wetsanding and washing off ALL the dirt left behind.

so i was at a stand still.... half the car painted flat brown and front and rear bumpers still painted gloss almond. Needless to say i went back to gloss almond.

Im a slave to this car
By EG6_rugby
#325615 Finally got some time to shoot the car for the 3rd time. Much more successful.

1st coat. it only took one can to put s base layer down around the whole car (minus front/rear bumper) I also did it this way to check for any chemical reactions before i was to deep into the proccess. lessons learned there

2nd coat. Little thicker
Image
Image

3rd coat. This is when i realized that you dont have to move the clan closer. Just slow down the speed at which you move the can from one side to the other
Image

4th and final coat. i really slowed down. I didnt primer so it took a few good passes to cover the dark paint up. for a single stage paint it came out alright. unless you take it down to bare metal, flaws in the paint will show through. im a little hesitant to put sand and put another coat on because i dont want to lose all the work i completed.
Image

These 2 pics are after 24 hours of drying
Image
Image
By EG6_rugby
#326017 
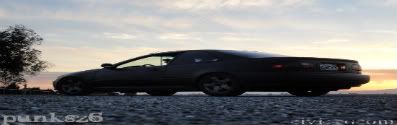
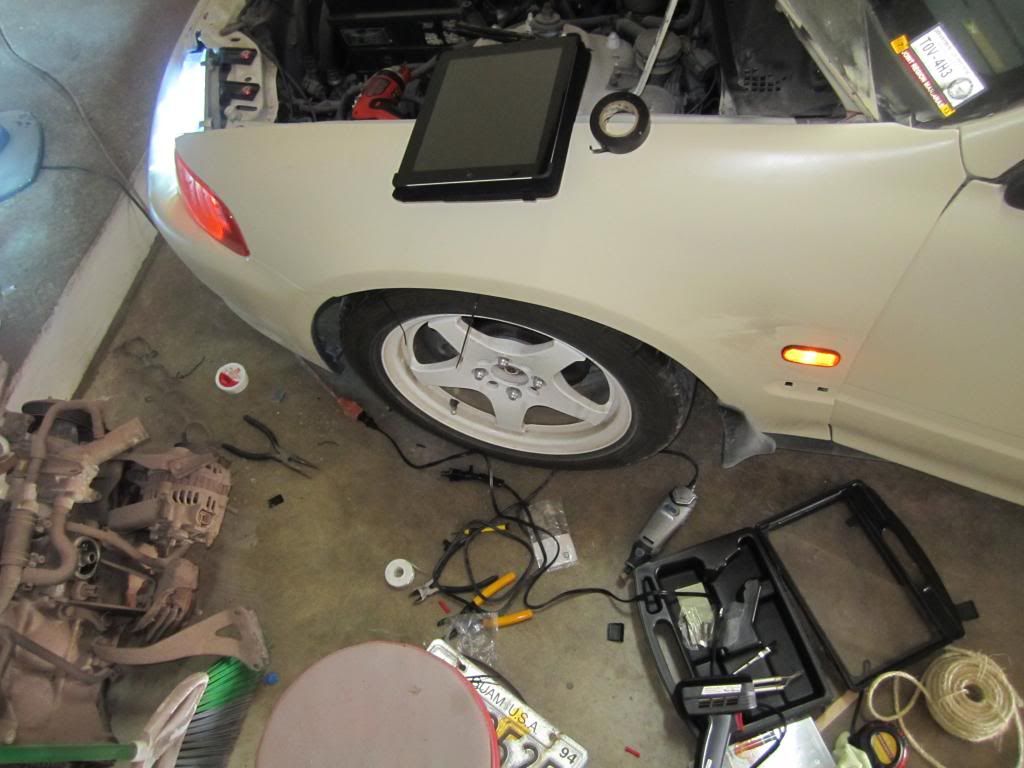
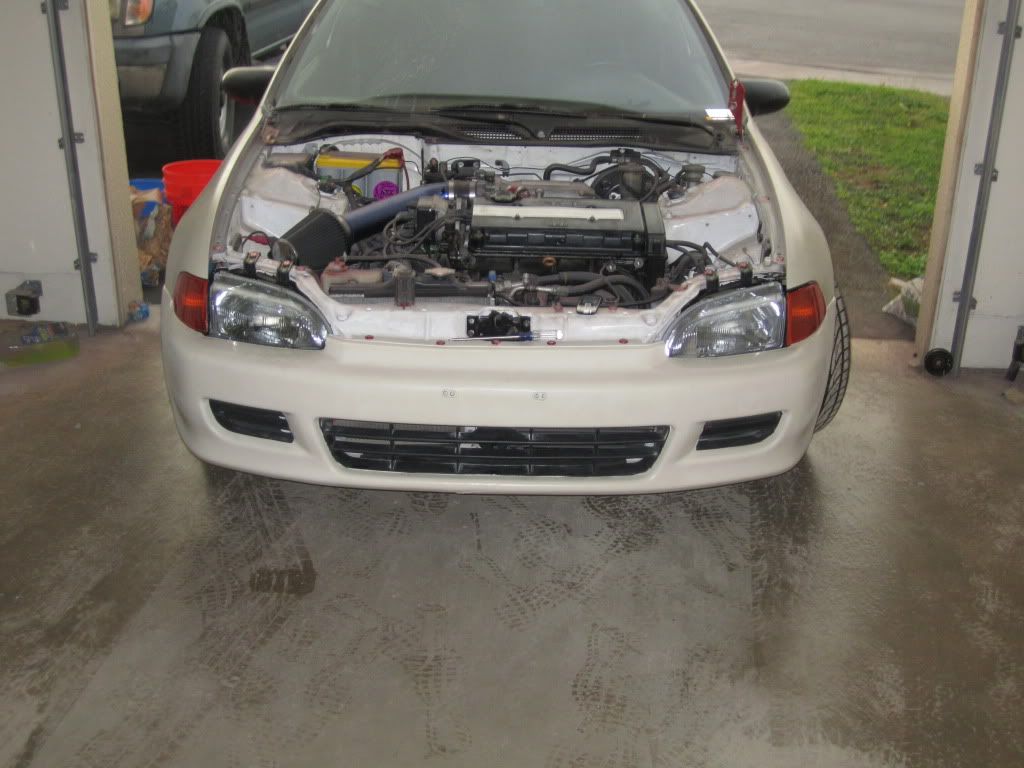
So finally got the car back together (some what) feels like its been forever, at least she had a full tank of gas still :woot:

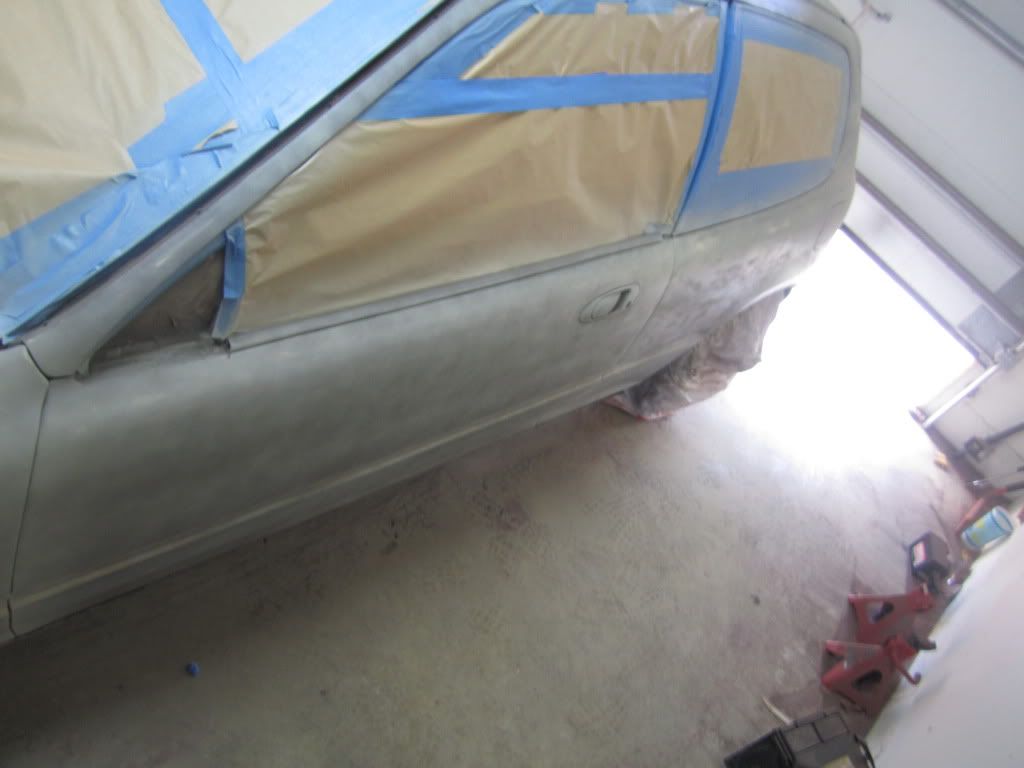
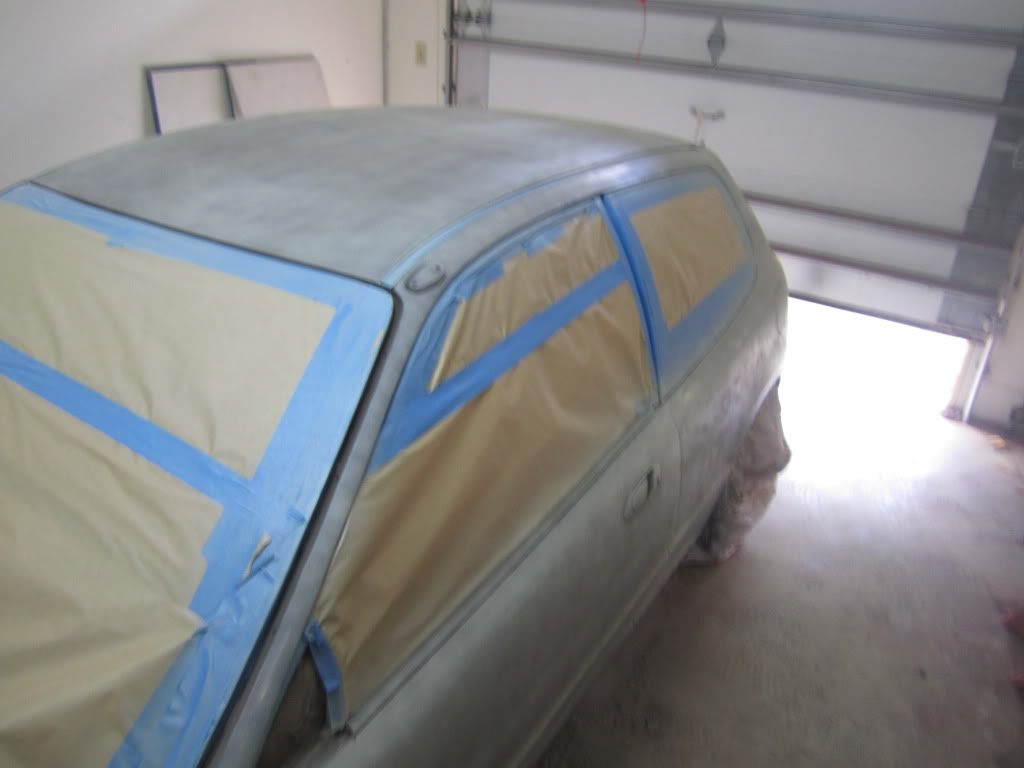
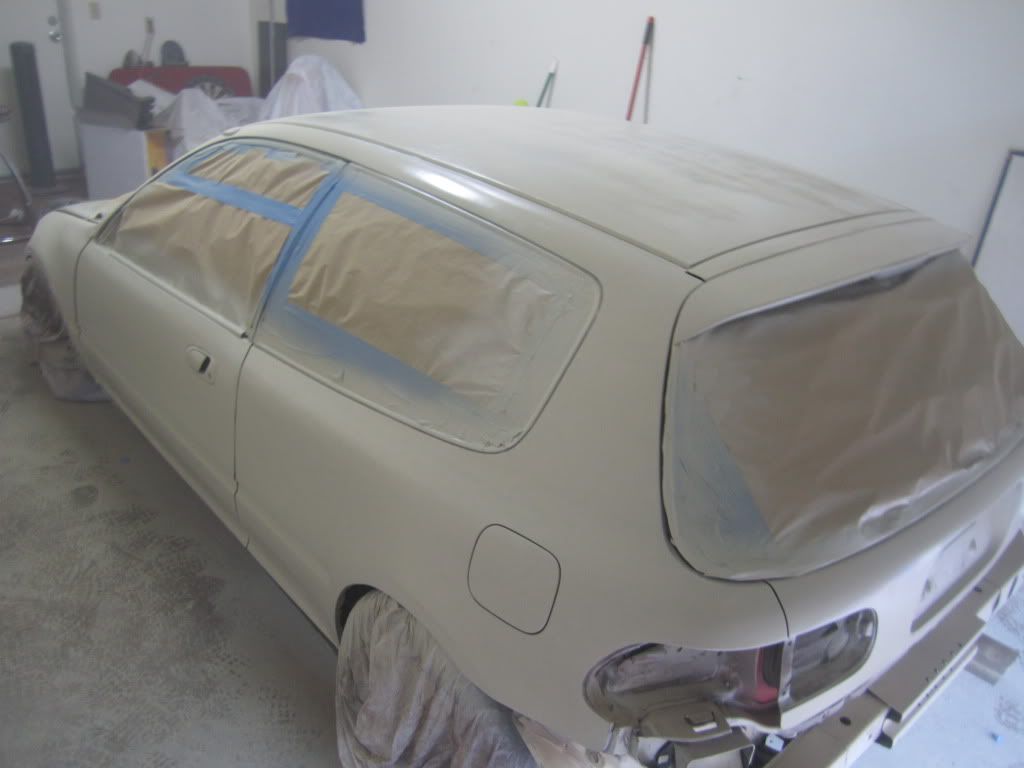
fresh out the paint booth. 2 stage no primer
Image
Image

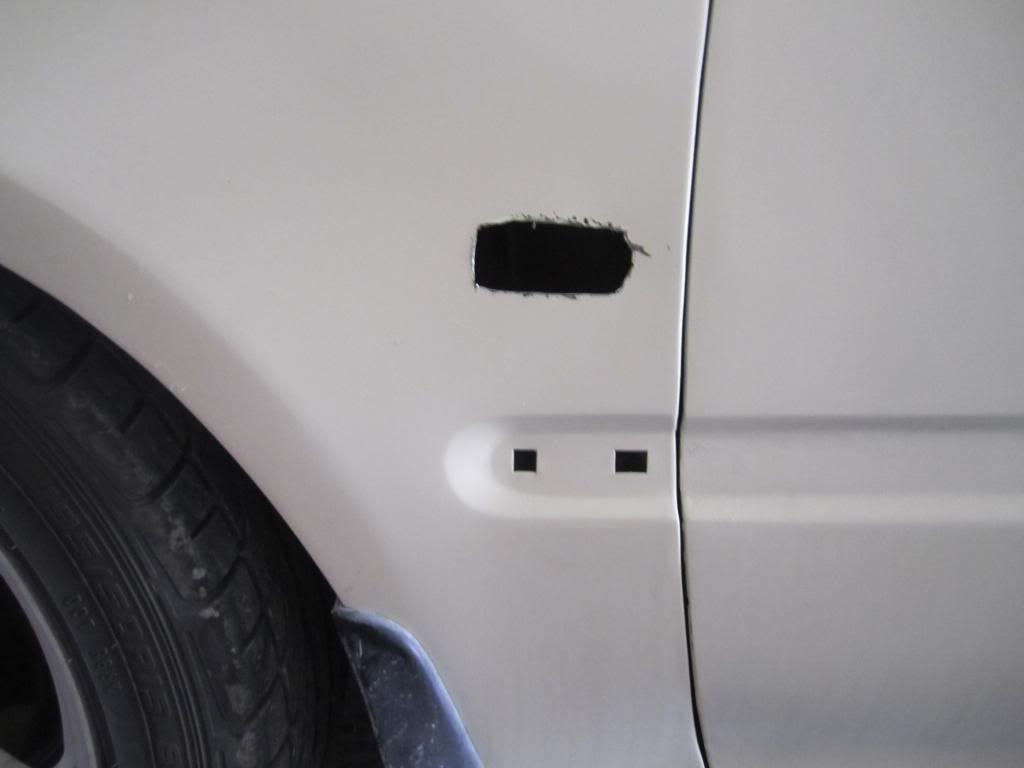
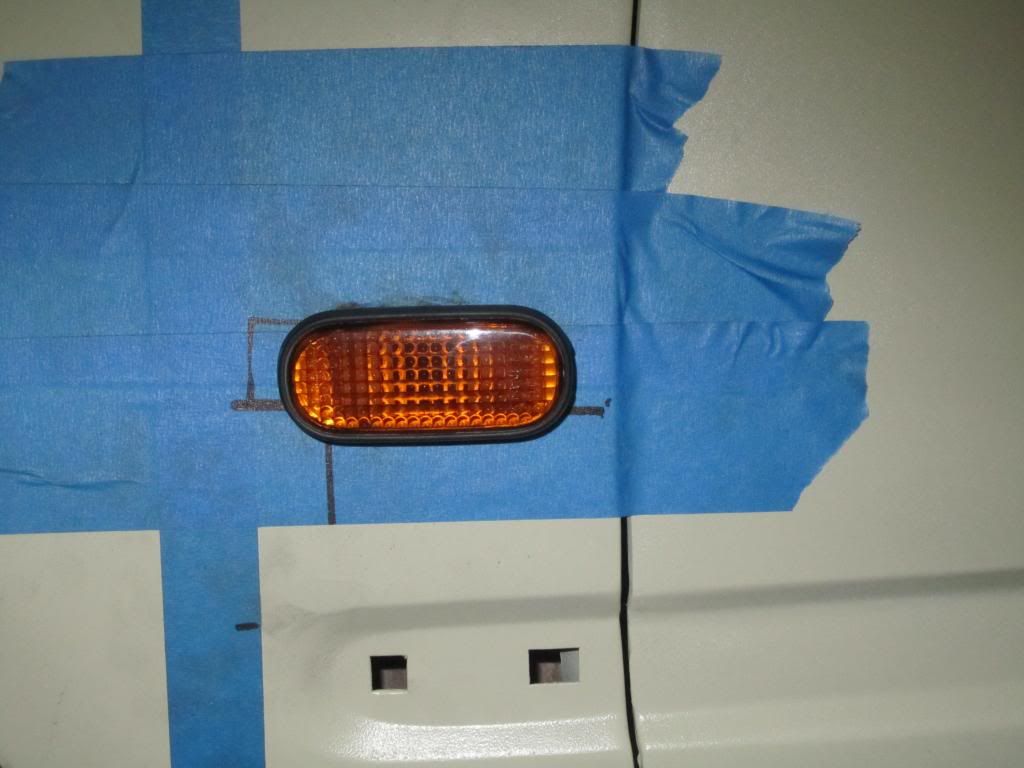
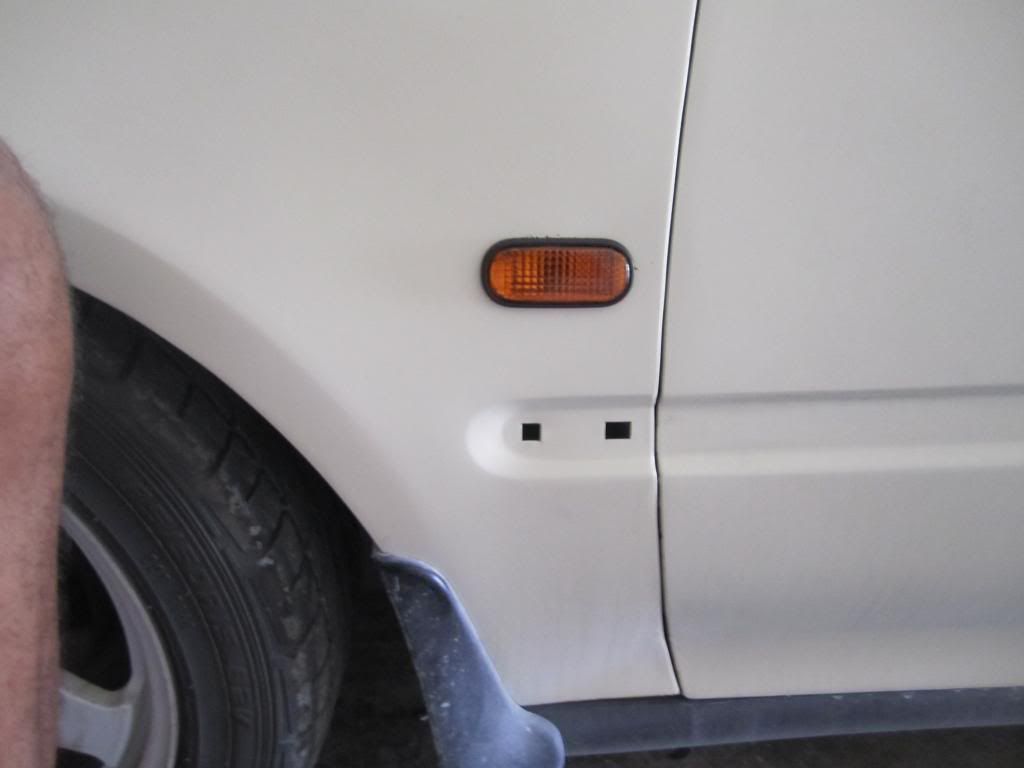
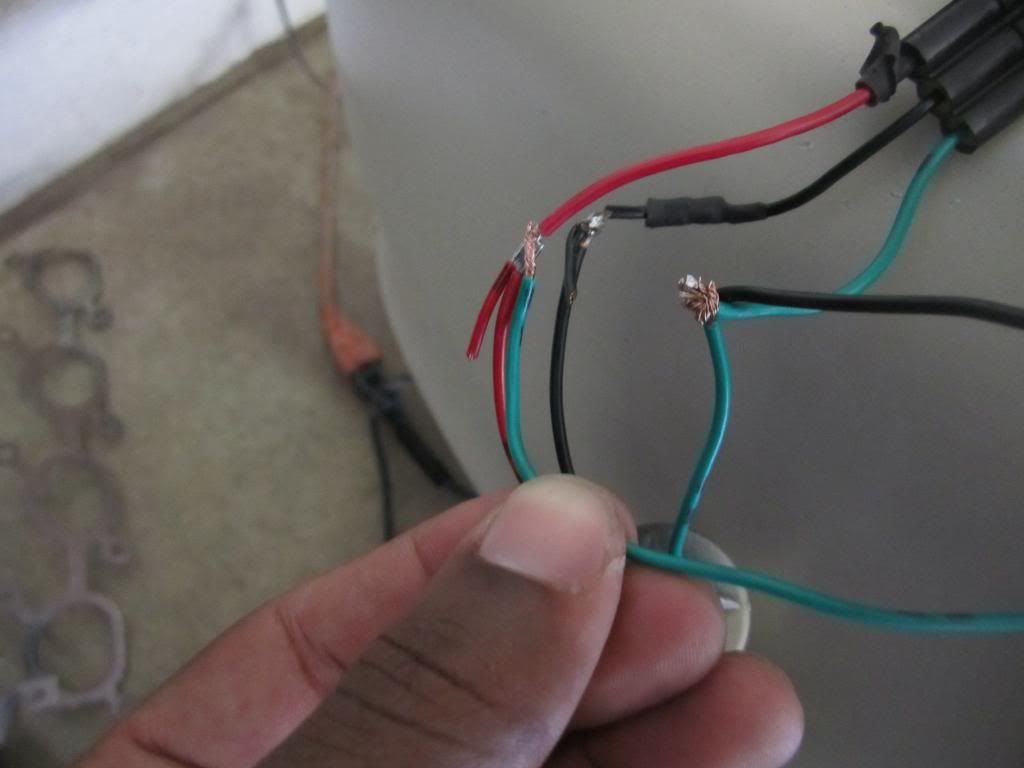
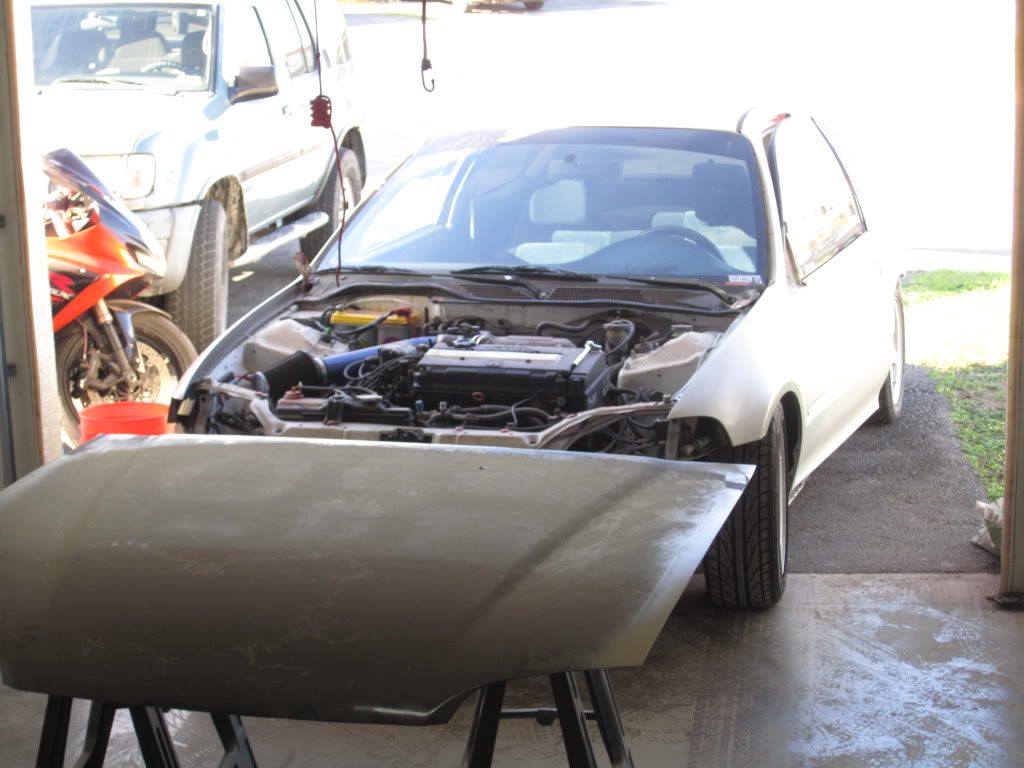
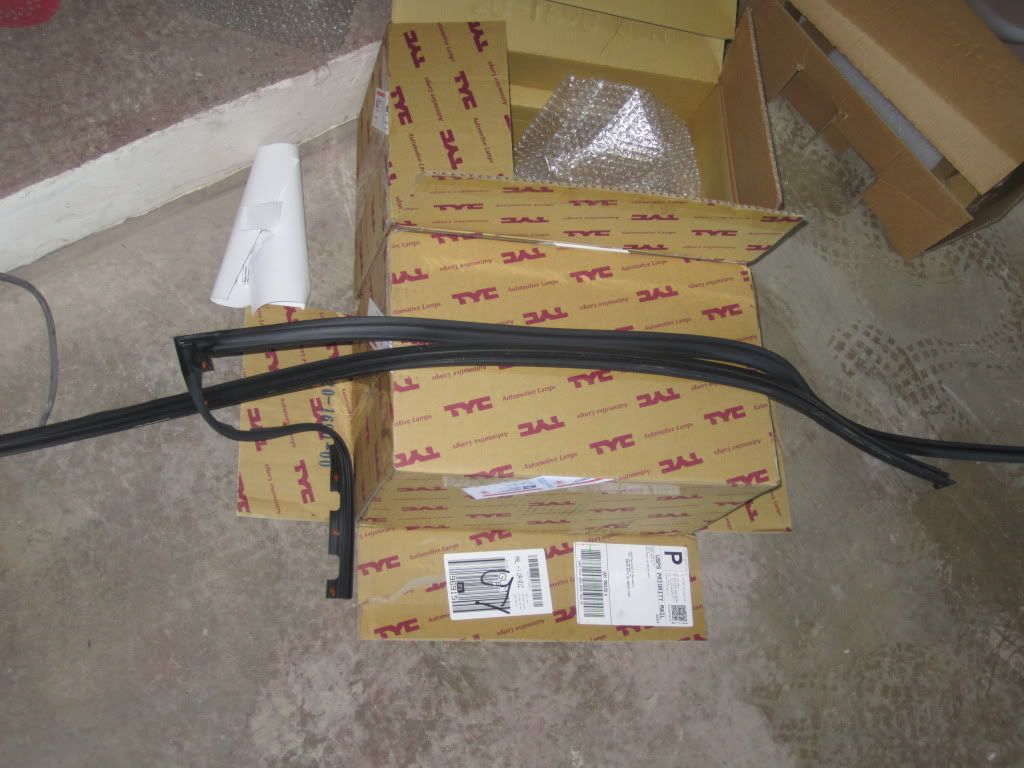
new corner lens and headlamps going in
Image

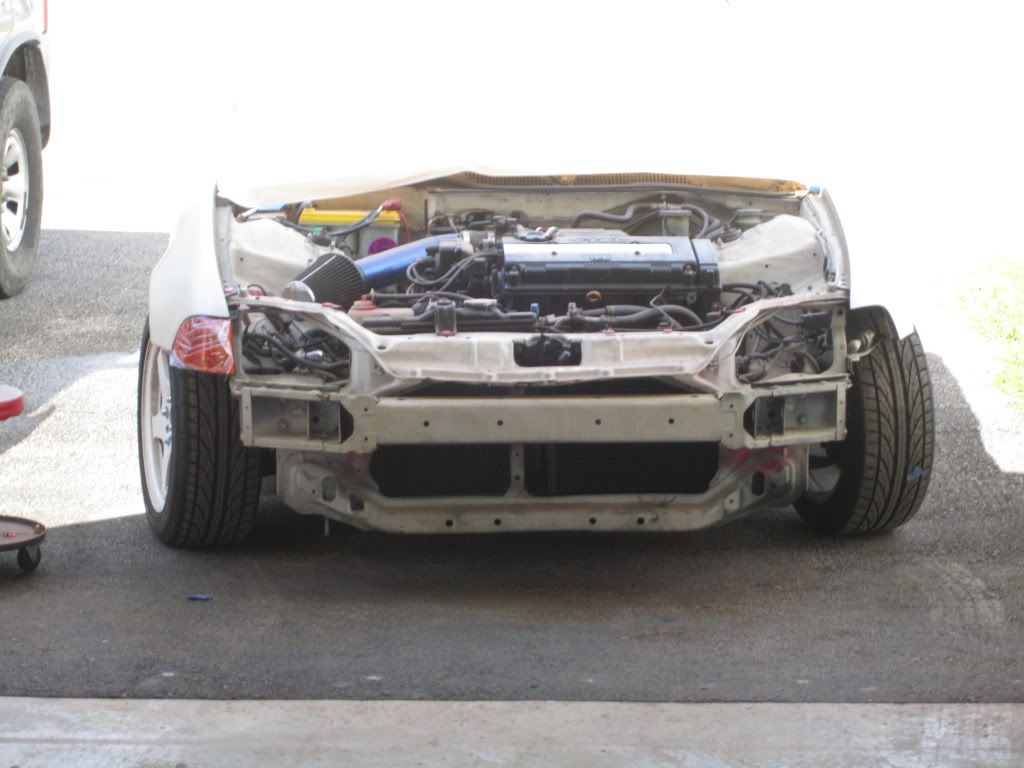
front. rear bumper on.
Image
Image

Image
Image

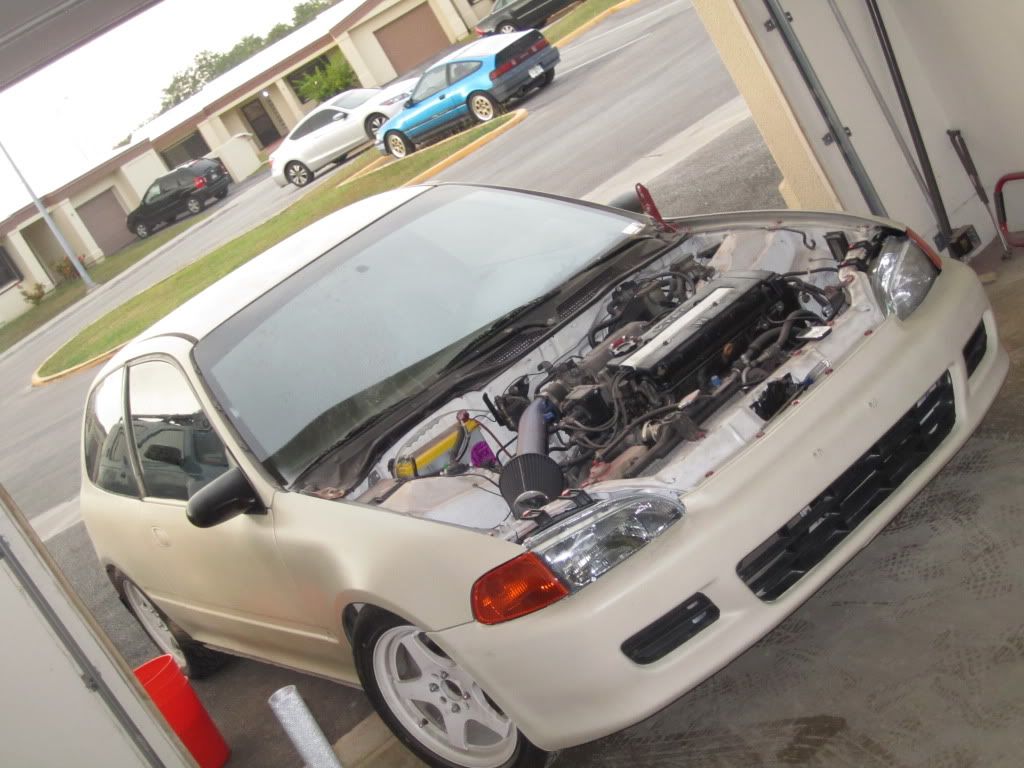
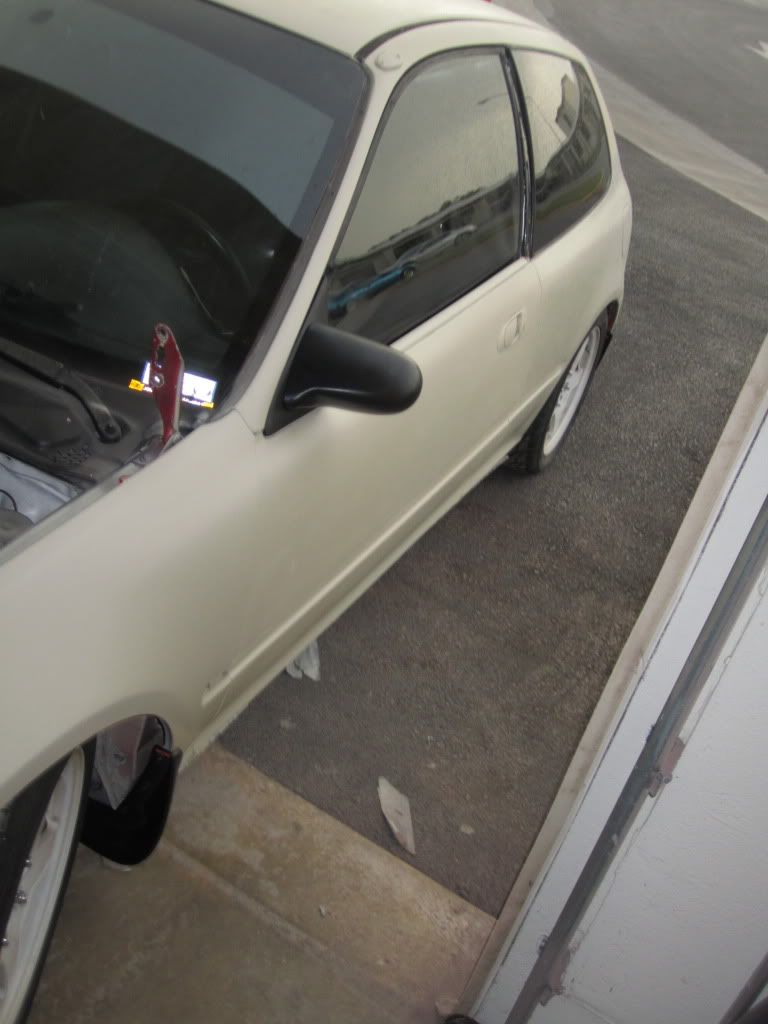
Spoon style mirrors and HOP mud guards
Image

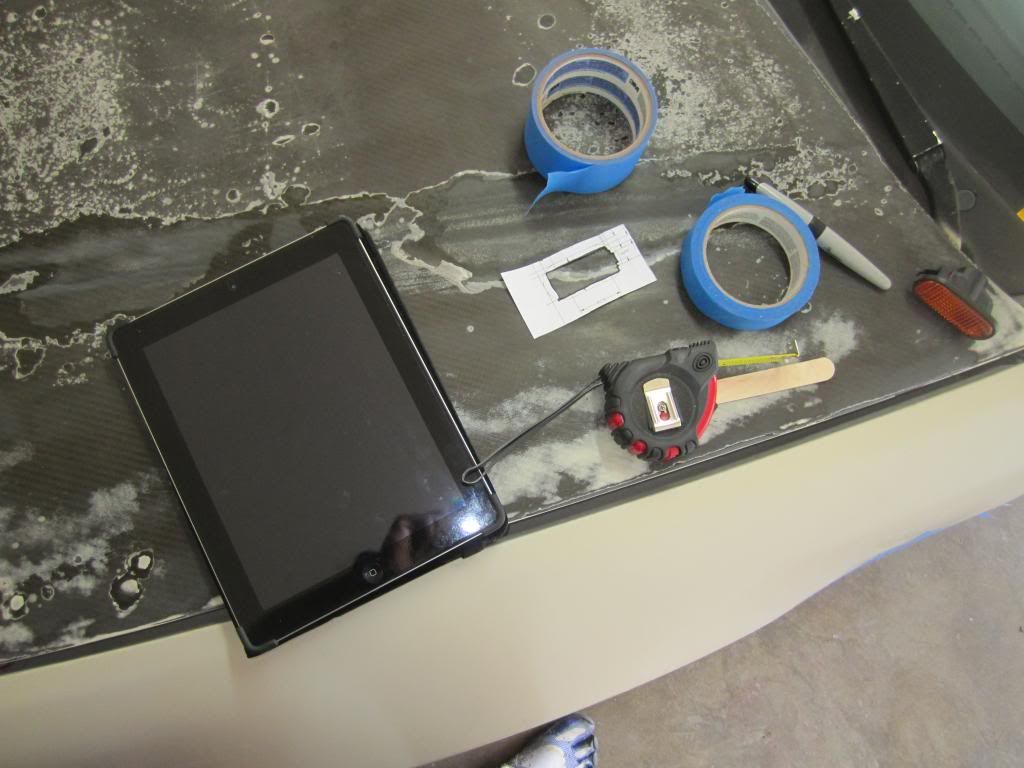
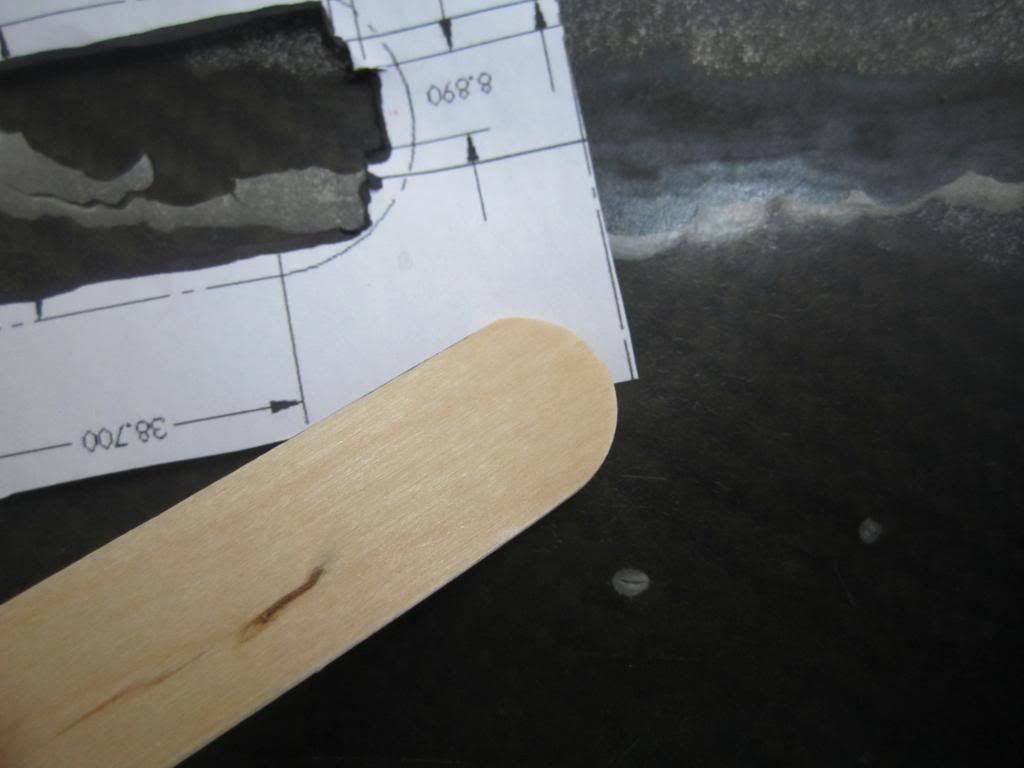
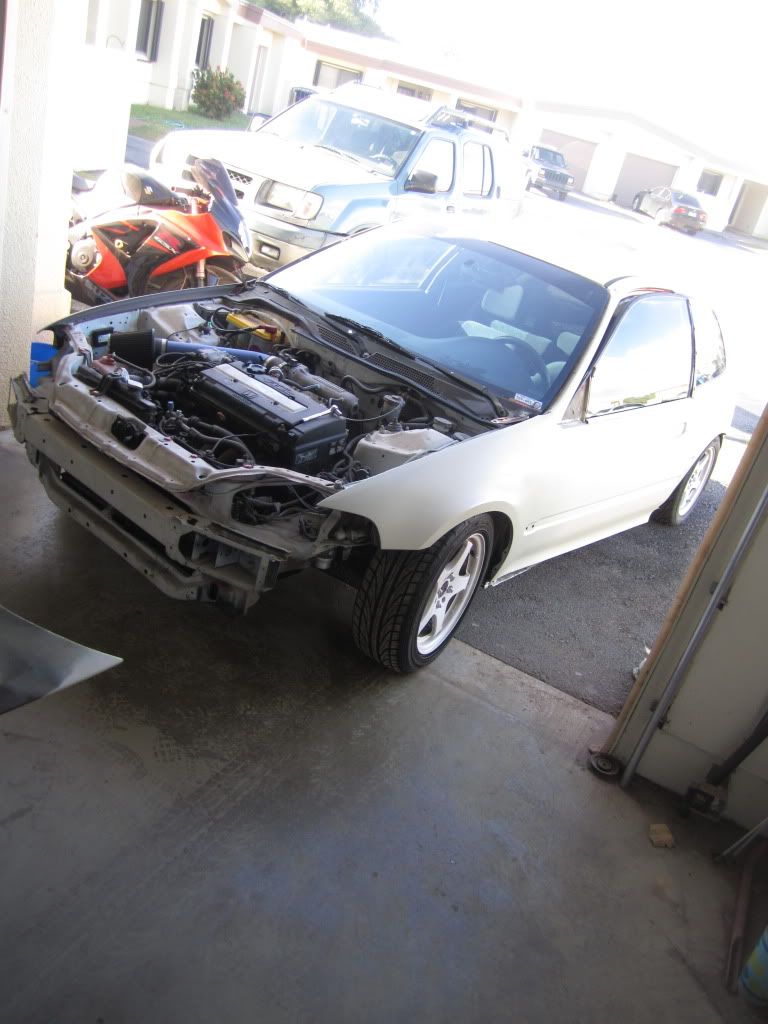
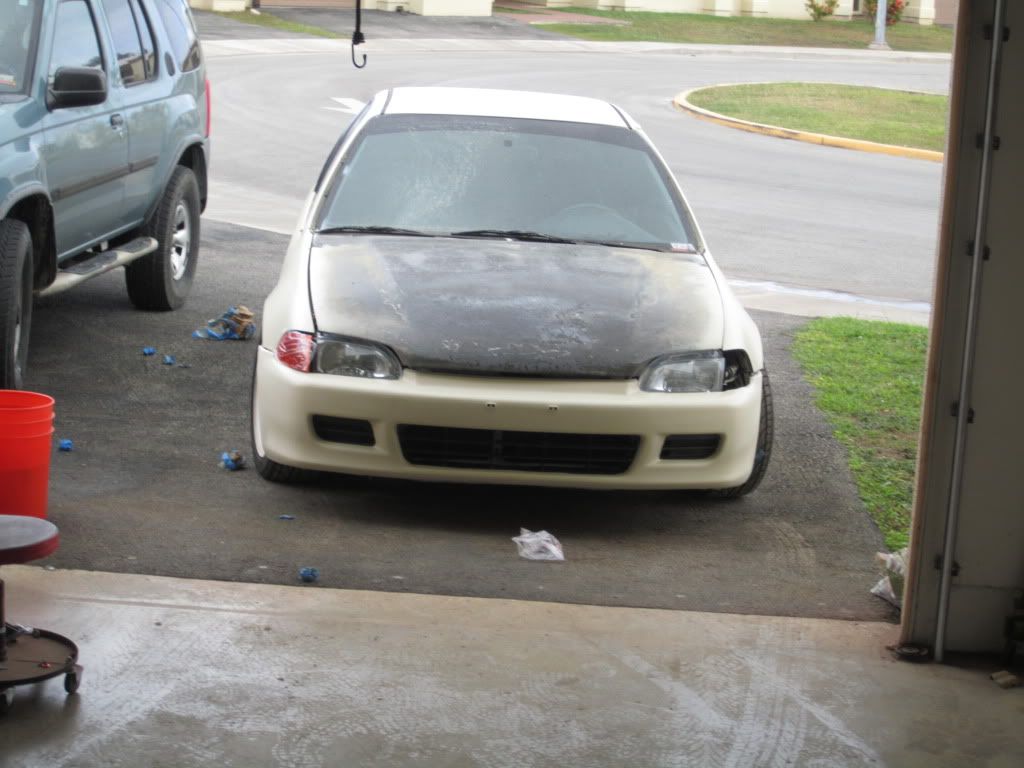
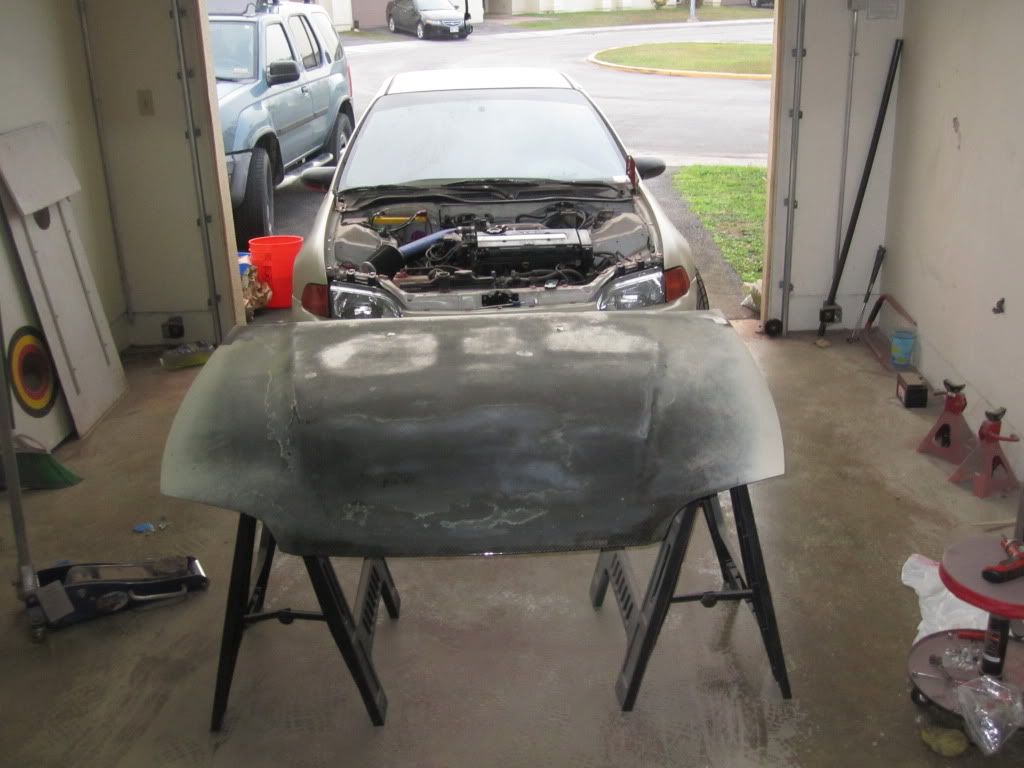
I was going to attempt to wrap the hood since it is already a carbon fiber hood. didnt work out to well since the surface is jacked. probally sandign out and paint it or somthing. IDK you can see the imperfections in the hood.
Image
Image

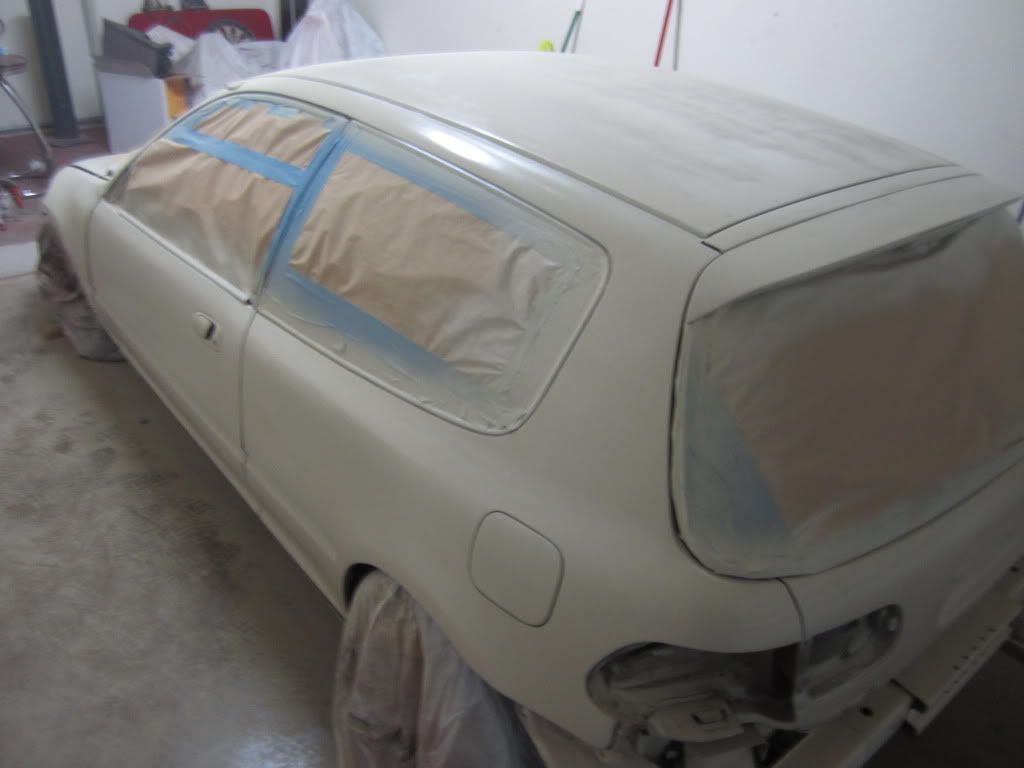
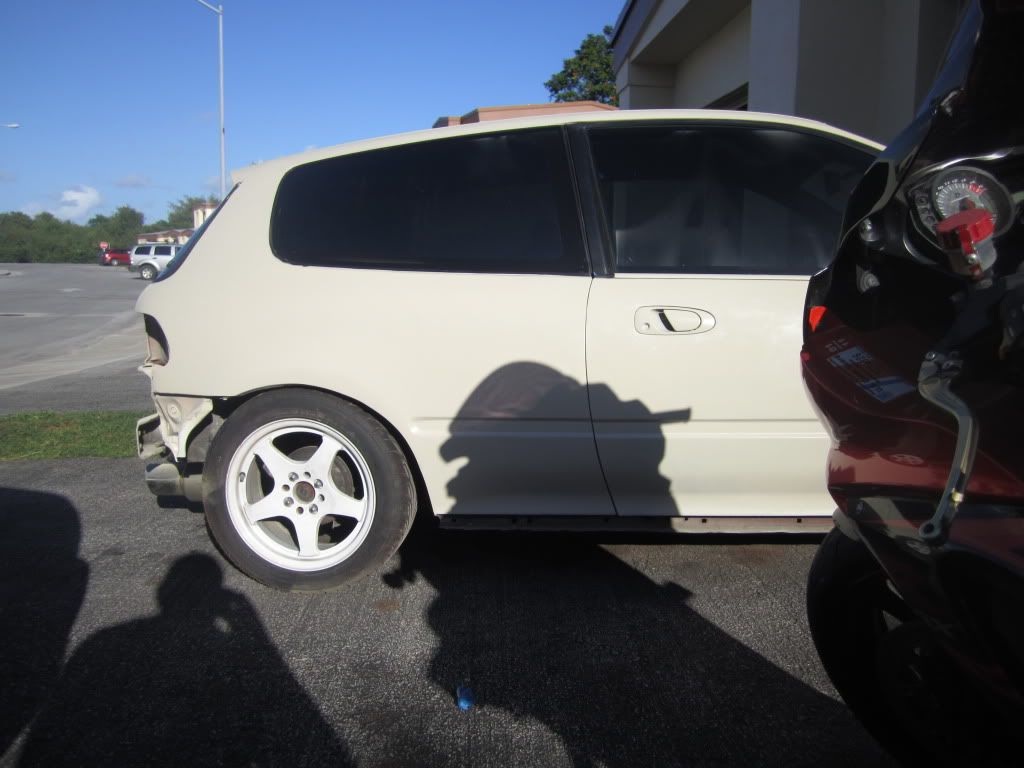
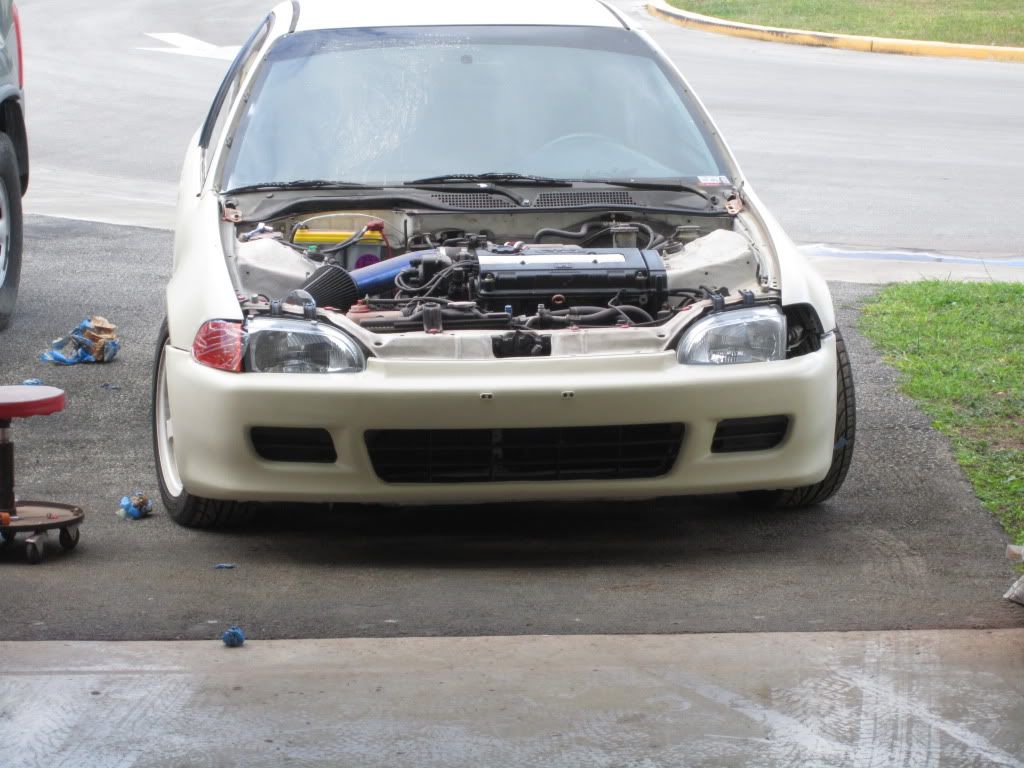
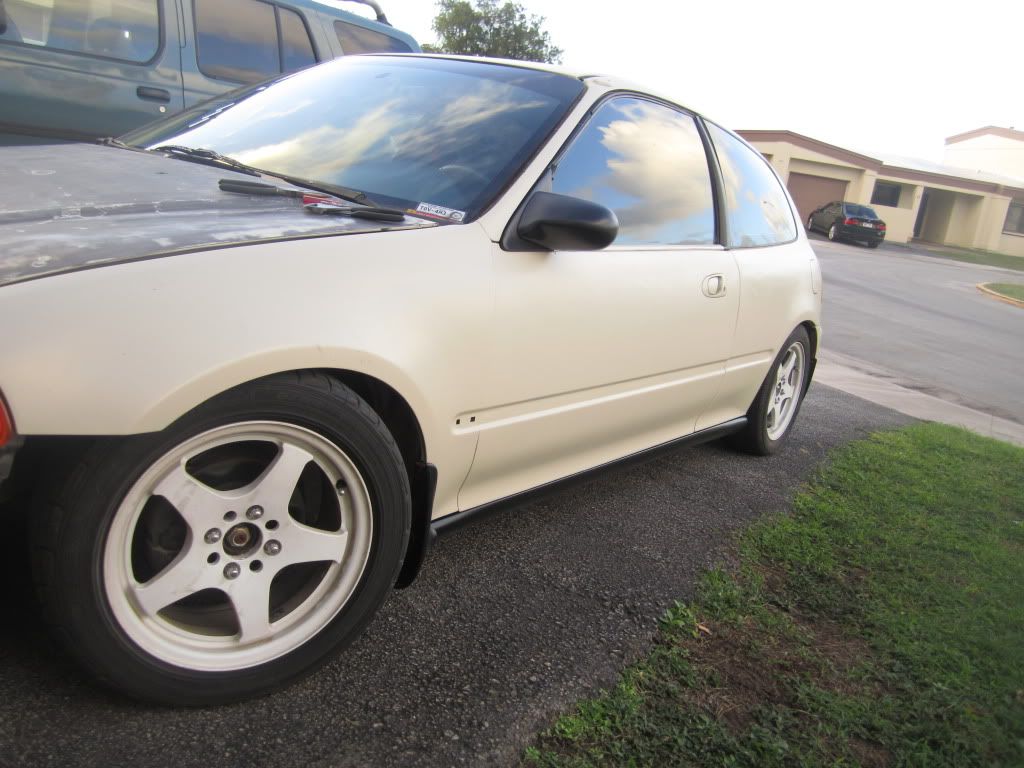
Well finally how she sits right now. minus front bumper. I need to take the clear off since the car doestn have a clear coat. Have to do the same for the rear bumper as well
Image
Image

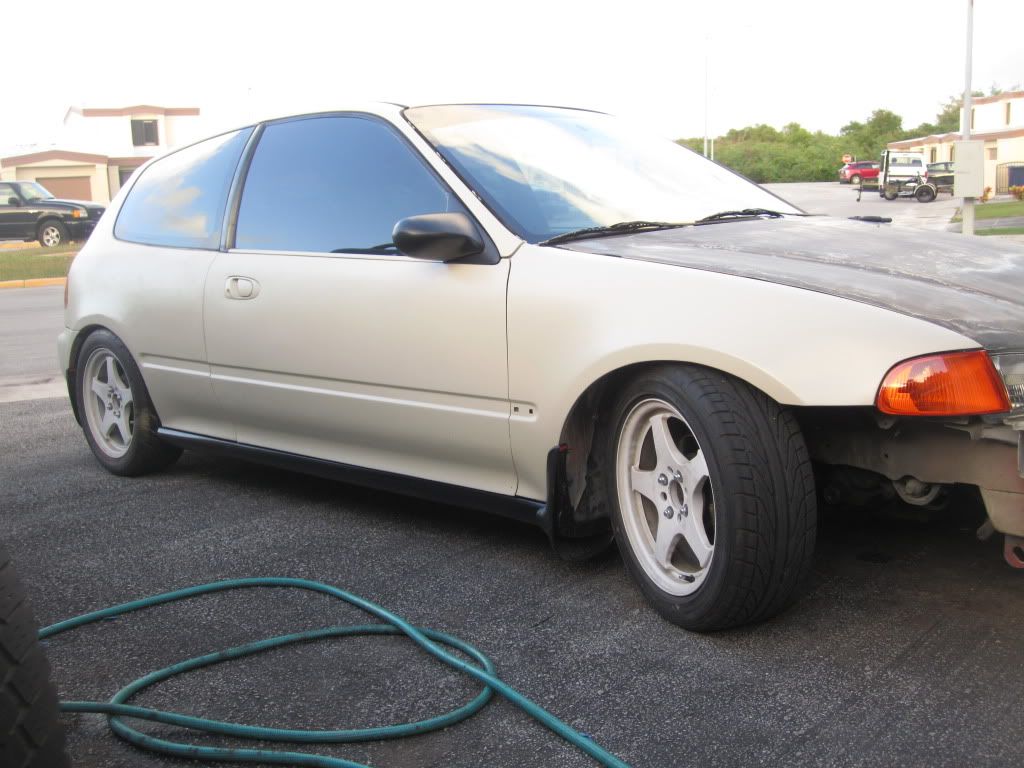
Also fixed the missing pillar and trim. you can see in the driver side pic above. only took a month and a half to get here
Image

Future plans:

getting ready to head back state side this summer so be minimal stuff. new steering wheel, if i sell my gold rotas on the crx i might get the eniki92s. i like those for some reason. install some new front speakers as well. really bout it for now. tired of waiting for stuff to get here in the mail.

Thanks for looking so far
By MG6
#326027 :thumb: paintbooth = home garage?
By EG6_rugby
#326053 Yes sir.. Got A mess to clean up now :thumbdown:
By EG6_rugby
#329209 Havent made any updates to this build in a while. havent been home and plus im gettign ready to move back to the states so havent really done much. I did finally get around to installing my side markers. Not as hard as you would think. just takes time.

Every gargae needs an IPAD. man it makes life so easy instead of hualing the laptop out there or running back and forth to the desktop.
Image

Here is the template i used. little smaller then the side markers i used but it worked. what i pointing at is the line the repesents the panel edge
Image

This was the hardest part. drawing straight lines is a pain, the key i was point out was making sure you line up with the the molding would end not were it slopes up and the cut out for the molding end. If the make since :?
Image
By EG6_rugby
#329211 once i decided i had it where i wanted it i layed the template down then traced out the middle.
Image

just to give you an idea of what it will look like
Image

The scary part
Image

Image
Once i had it cut. had to trim one way or the other depending on how it sat. i started with the long ways first until i gould fit it in just enough to see if it layed straight. then i trimed a little to straighter it out and to finally push it in nice and snug
Image

Image

all in
Image

NOw i bought the wiring harness, dont have to and there are plenty of write ups on how to wire them up. having the harness was easier. I wanted to have the side marker lights on at all times when my corner lamps were one.

Pic of how the wiring harnes should look.

Image

the green going to the red is from the side marker for power, the negative from the side marker goes to the blinker of the corner lense. that will allow it to blink opposite of the corner lense. i used soder so re-wire them back up. much better then tap or crimp ends

pic of them on
Image
By EG6_rugby
#338573 So long story short, I am stuck with 2 cars. my DD 2003 rsx k20a2 swap and my hatch. I needed a car when I moved to Charleston and my HB was still in the middle of the ocean somewhere. I tried to sell it but nobody wanted it so I decided to finally go through with my turbo build.

As if right now- I have unhooked/unpluged everything. have the cams out. I am stuck on the head bolts. I snapped my 14mm deep socket. any tips on how you guys removed them?

Picture time
Image
Image
Image
Image
Image
Image
Image
By EG6_rugby
#338959 Few new tools later finally got the head bolts out. 1/2in drive is your friend for that. popped right off.

Next on the plate, remove oil pan and pull rods/pistons out of the top of block. hopefully once they are removed I wont have to do anything to the walls other then just measure and make sure they are in spec and hone.

Image

Image

Image

Image

Image

Image

Image
By EG6_rugby
#338967 So I had a few minutes before I headed to the bar to watch the redskins not show up against the eagles. I removed the oil pan, pickup, and windage. hopefully in the next day or two I can pull the rods/pistons.

Image

Image
By EG6_rugby
#339075 just a small update. pulled the rod/pistons. time to measure the cyclender walls and check the head for warping. hopefully they are still within spec and I can start ordering parts.

Image

Image

Image
By EG6_rugby
#340373 So finally made my first big purchase towards completing this bottom end build for my turbo. Went through real street performance, their customer service is excellent. I may be missing a gasket i believe go onto the back end of the sump. i have to double check. other then that pick up my baffled oil pan already fitted for oil return line and start putting this beast back together

K542M81AP Wiseco Pistons Integ-Wiseco Pistons Acura Integra LS GSR B18C1 B18A1 B18B1 81mm 9.5-9.8:1

CRS5290H3D Eagle HBeam Rods Ho-Eagle H-Beam Rods Honda Civic Si B16A1 B16A2 5.290

PRO2002T Cometic StreetPro Top-Cometic StreetPro Top End Gasket Kit B16A2 B16A3 B18C5 HONDA Civic Si 94-01

T227RB Gates Racing Timing Bel-Gates Racing Timing Belt Honda Civic Si B16A2 B16A3 B17A1

4B1946H ACL Race Rod Bearings -ACL Race Rod Bearings STD B18A1 B18B1 B16A2 B20B Integra LS Acura
By EG6_rugby
#340794 parts finally came in.
Image

I ordered my moroso baffled oil pan and should be here Saturday. couple more gaskets and i will be ready to put the bottom in back together