How To/Diy: Headgasket Change for B-Series
I know that teal did a Diy on a head gasket change for a d-series.  I thought that maybe the b-series guys who have never done it would appreciate a write up. So here we go.
First thing is the tools you will need.
-10mm socket
-12mm socket
-17mm socket
-13mm socket
-14mm socket
-couple of extensions
-torque wrench (ft lbs)
-rags
-clean place to put head
-2 drain pans (coolant, oil)
-new head gasket
-new valve cover gasket
-new intake/exhaust manifold gaskets
I would also recommend Arp headstuds to anyone who is doing this. They are expensive but worth the price because they are reusable
NOTE: Make sure to set the motor to TDC. Makes things a lot easier
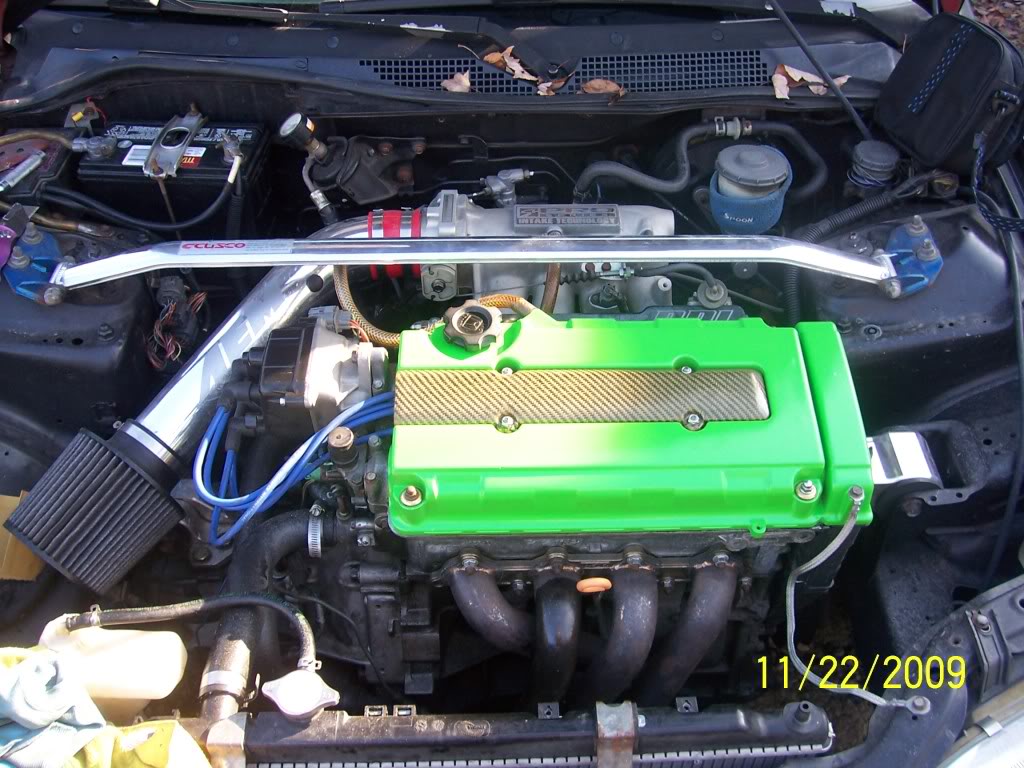
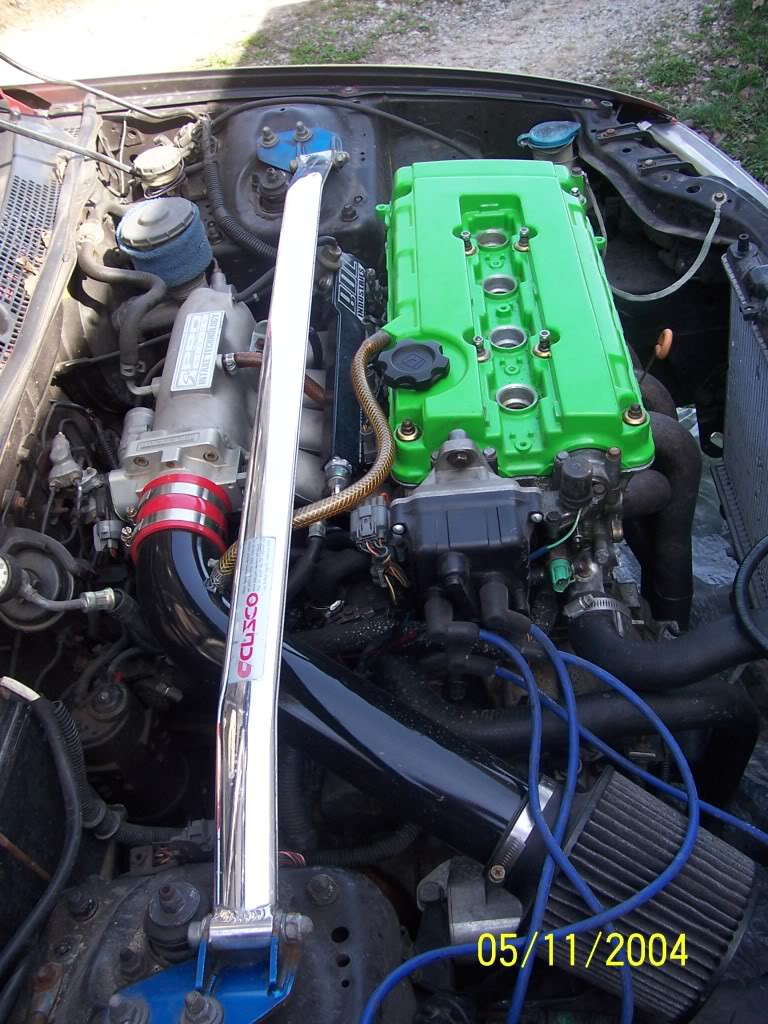
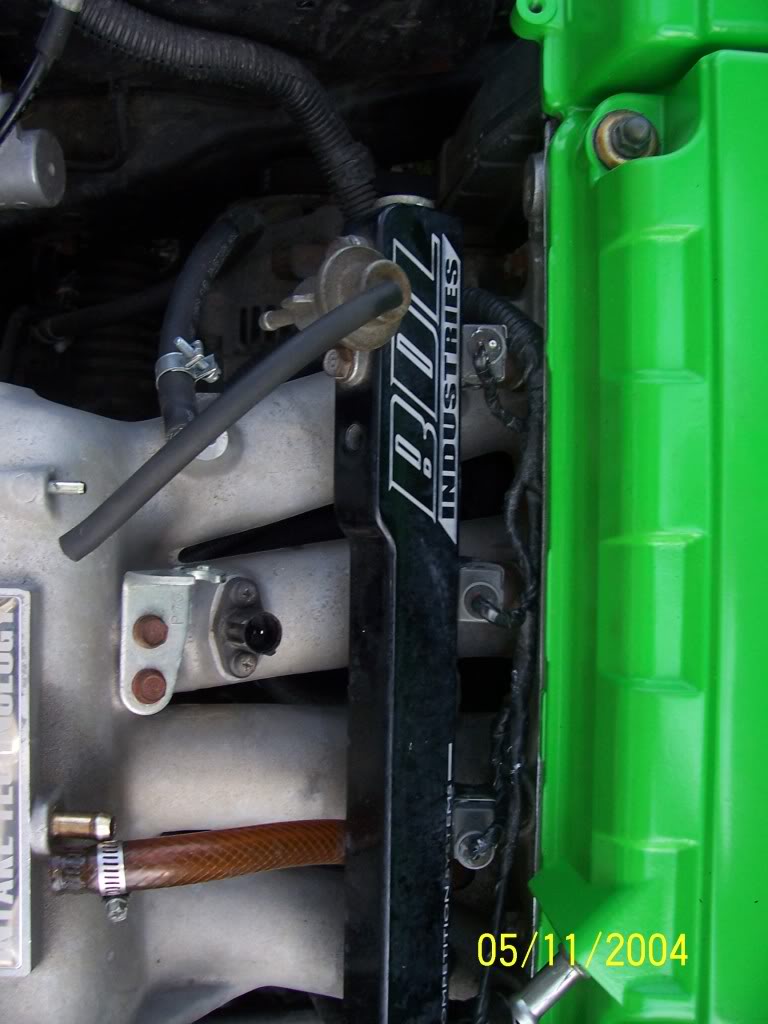
Ok, so first you need to let your motor cool and you would start with something like this
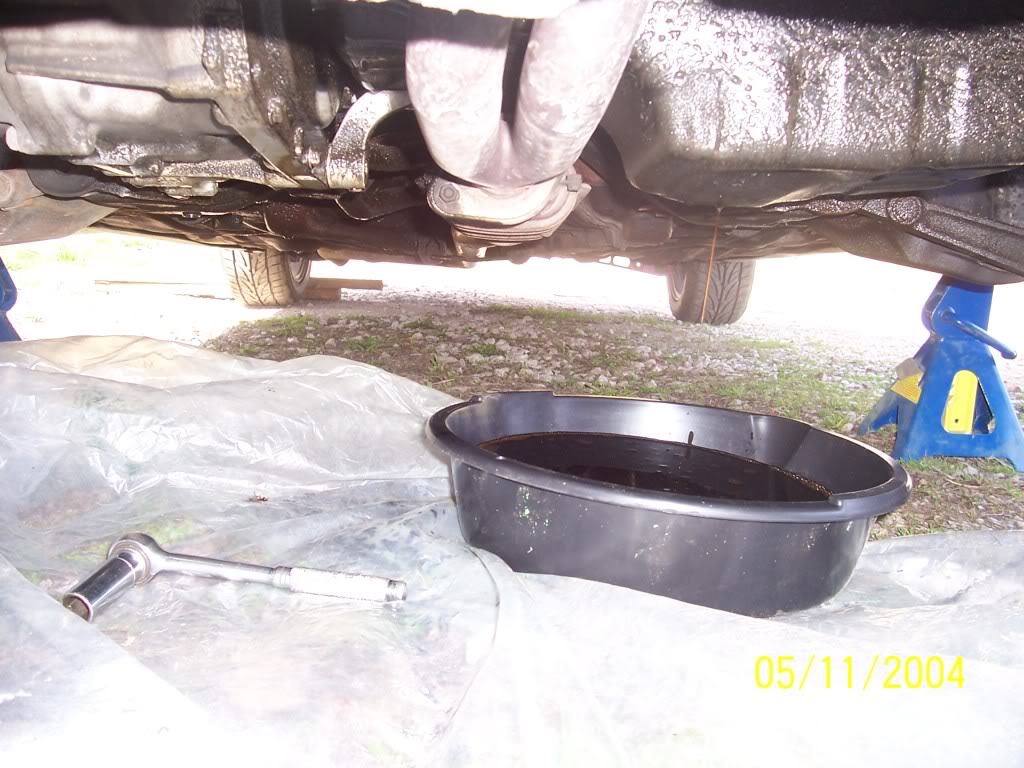
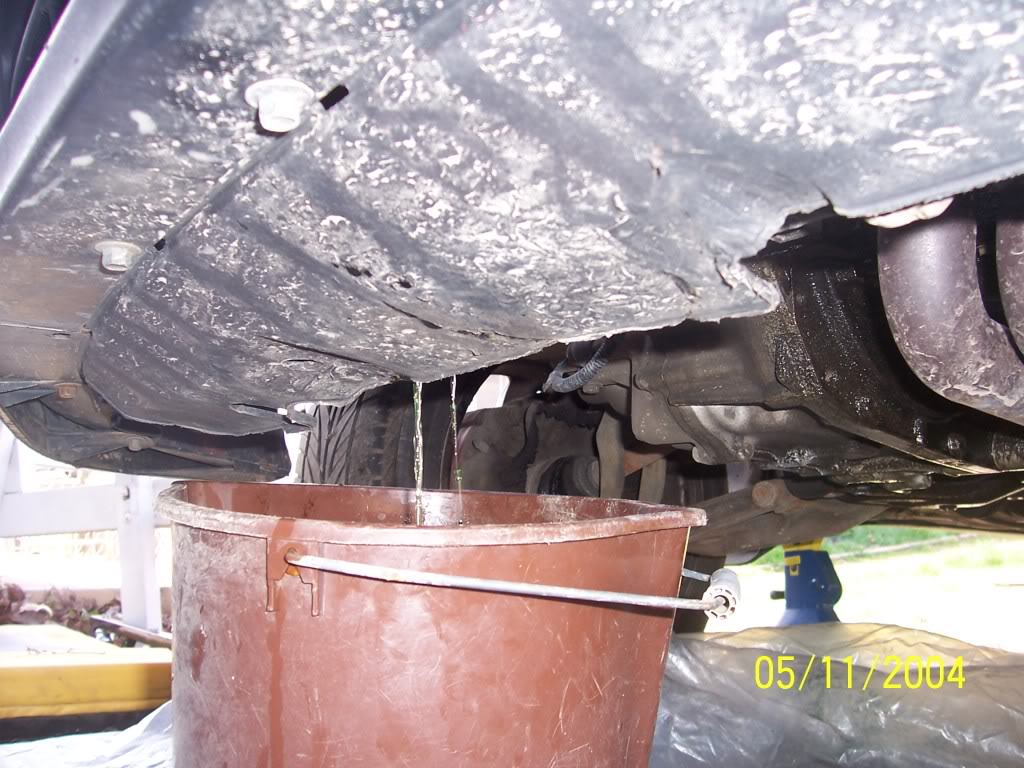
After the motor has cooled you need to drain your coolant. Although you do not need to drain the oil, now is a good time to do an oil change
*I know i got an oil leak, it was fixed as well. My next write up is how to do an oil pan gasket
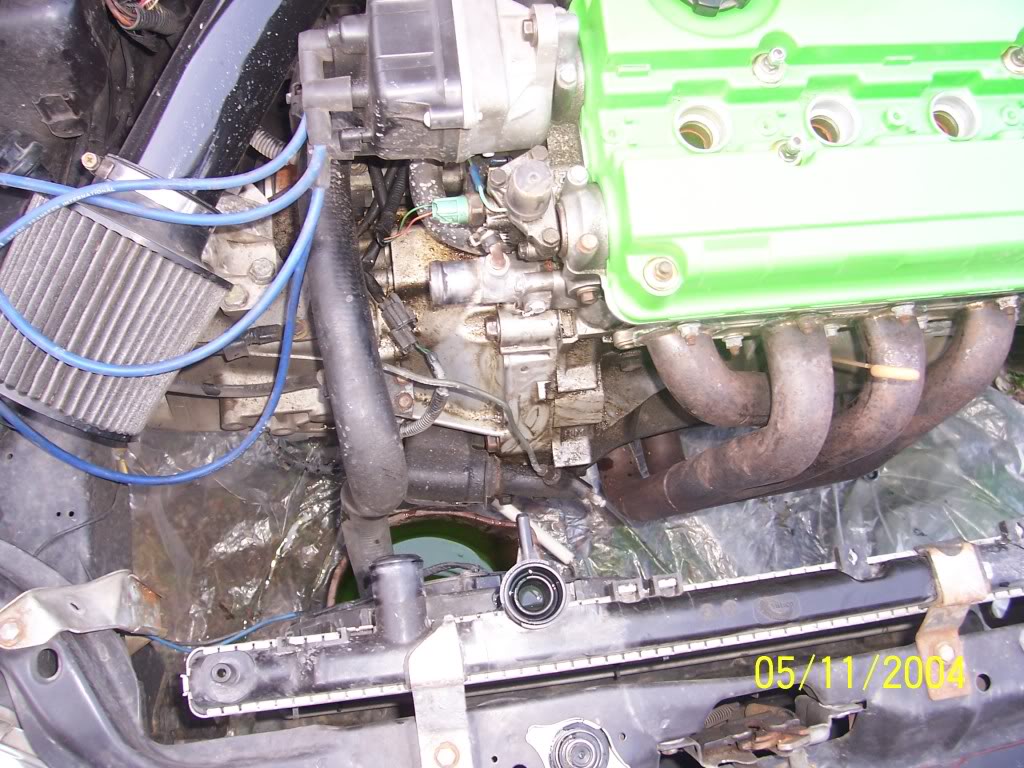
Now i would remove the upper radiator hose from the head and move your overflow bottle
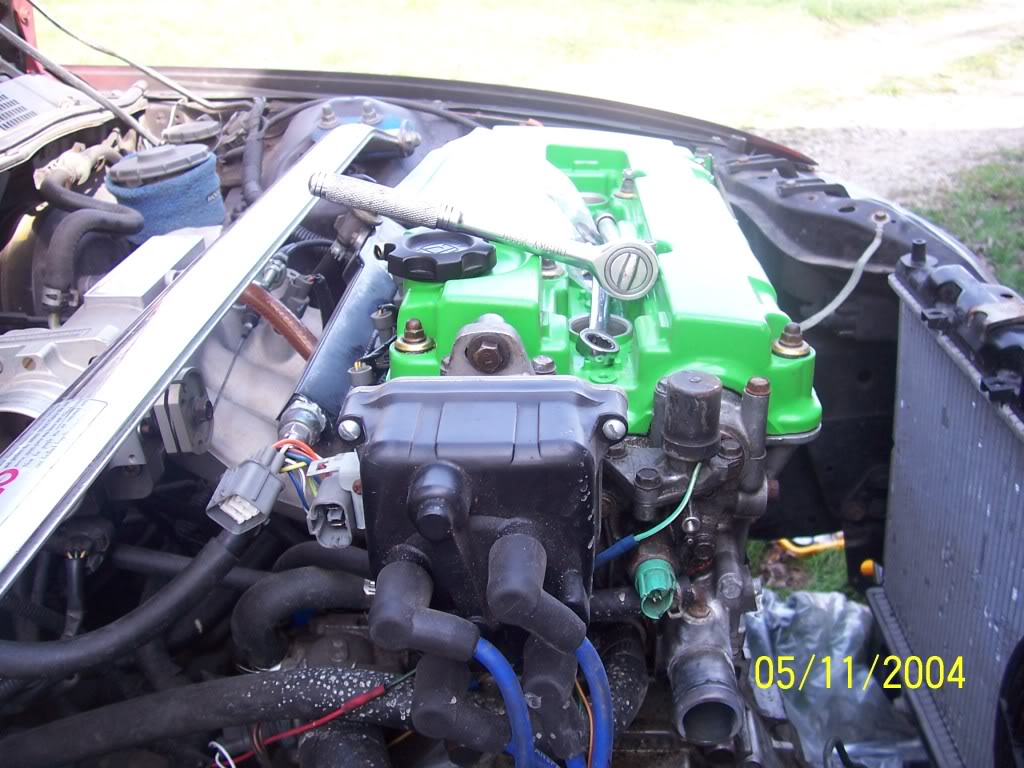
Then you should go to the top of your motor and remove your spark plug wires/intake and distributor.
Next i would remove all the plugs for your sensors on your head.

*vtec pressure switch is broken. I broke it and replaced it
Then i would remove your fuel line from your fuel rail

Then remove the return line from the back of the fuel pressure regulator.
Then remove your pcv valve and your throttle cable. NOTE: I am running a skunk2 manifold. For a stock gsr manifold it might be a little different.
Next, remove the coolant hoses from the intake manifold, there should be one to the iacv and one from the manifold to the thermostat housing. Also remove all your sensors.
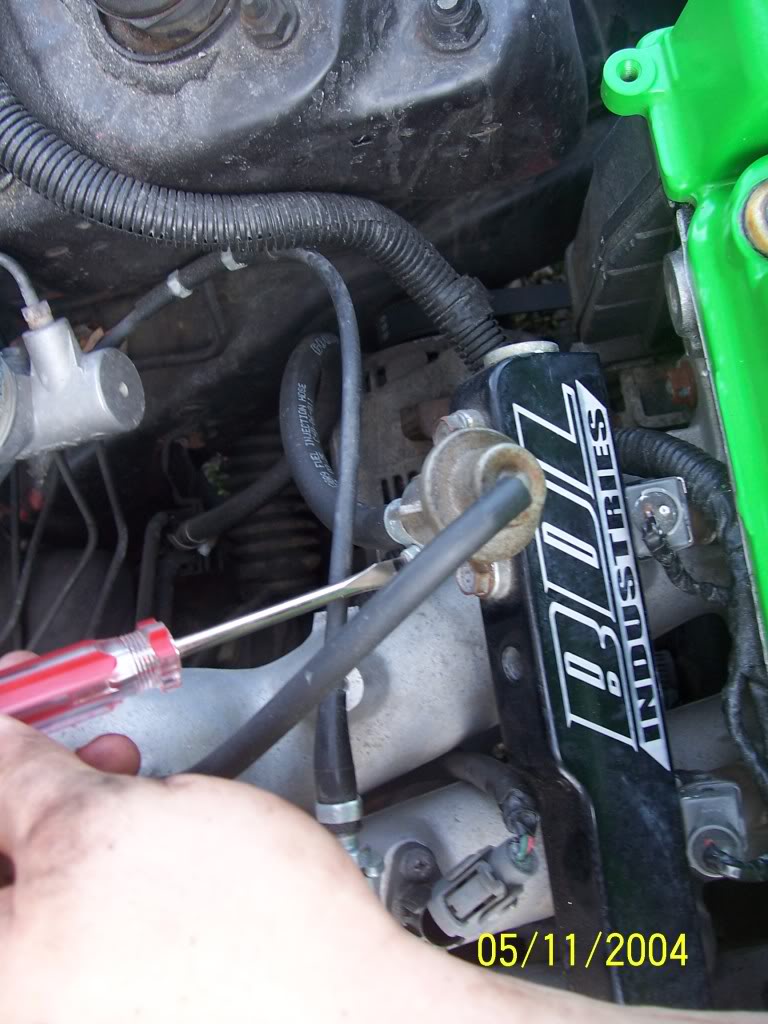
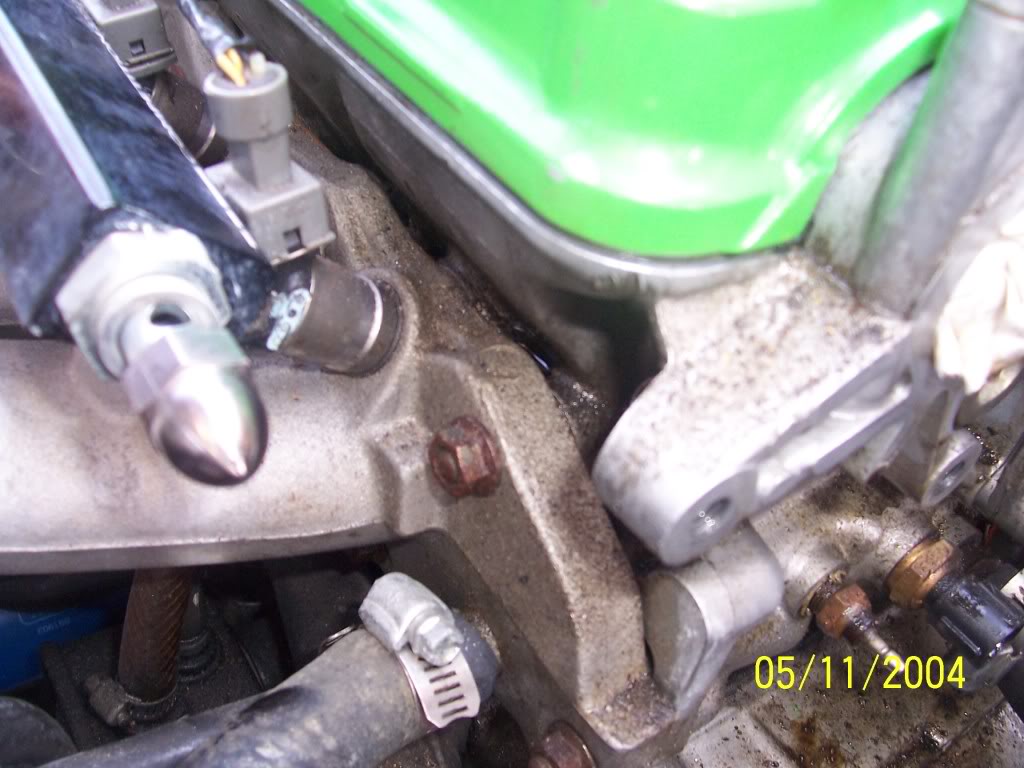
Remove your exhaust manifold now as well. I didnt take pics of it because it is pretty much self explainitory.
Now you can remove the ten 12 mm bolts holding the intake manifold on. For gsr motors, this is a bitch.
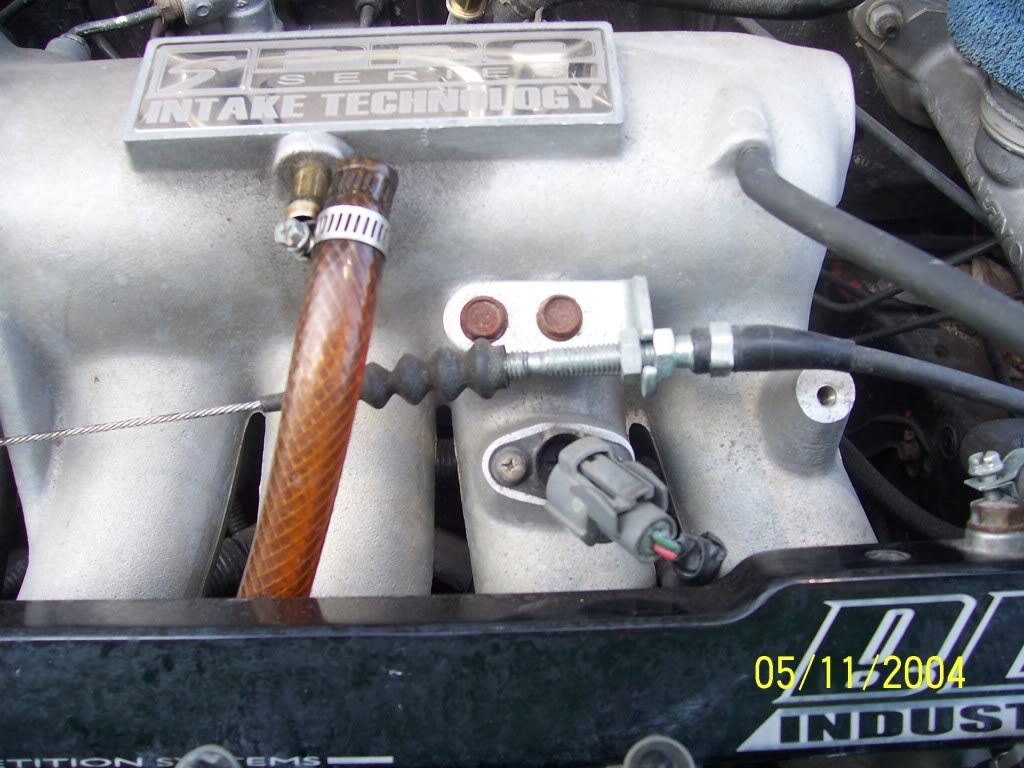
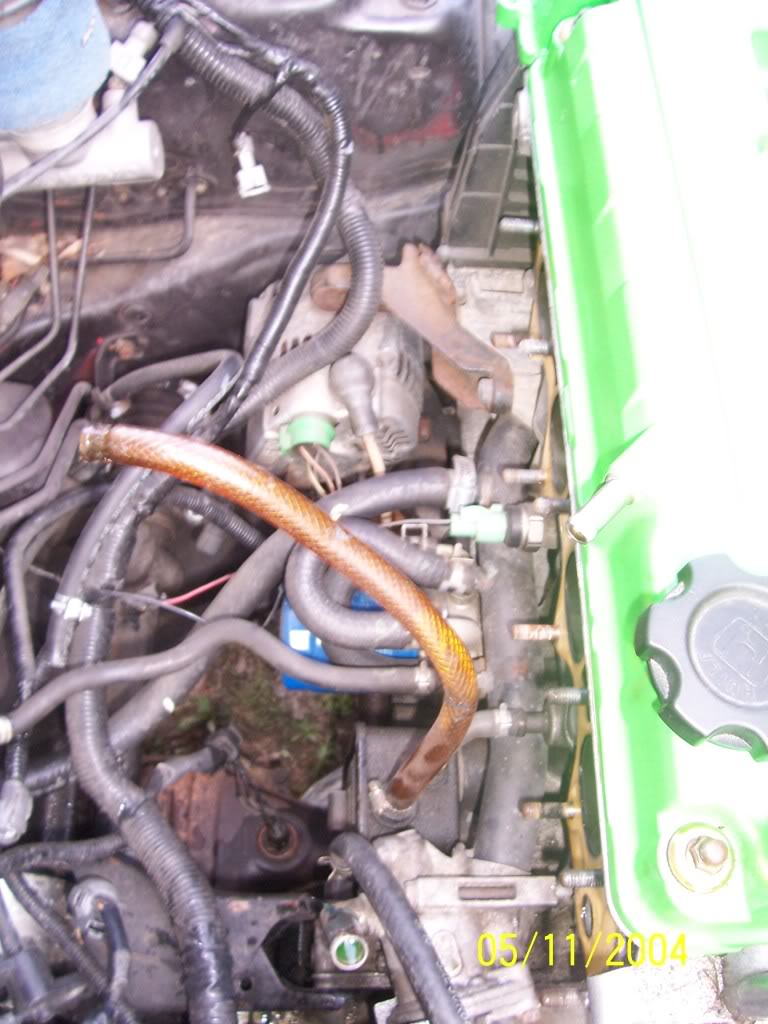
After you remove your intake manifold it should look something like this
*NOTE: Be careful with your tps sensor. They tend to break.
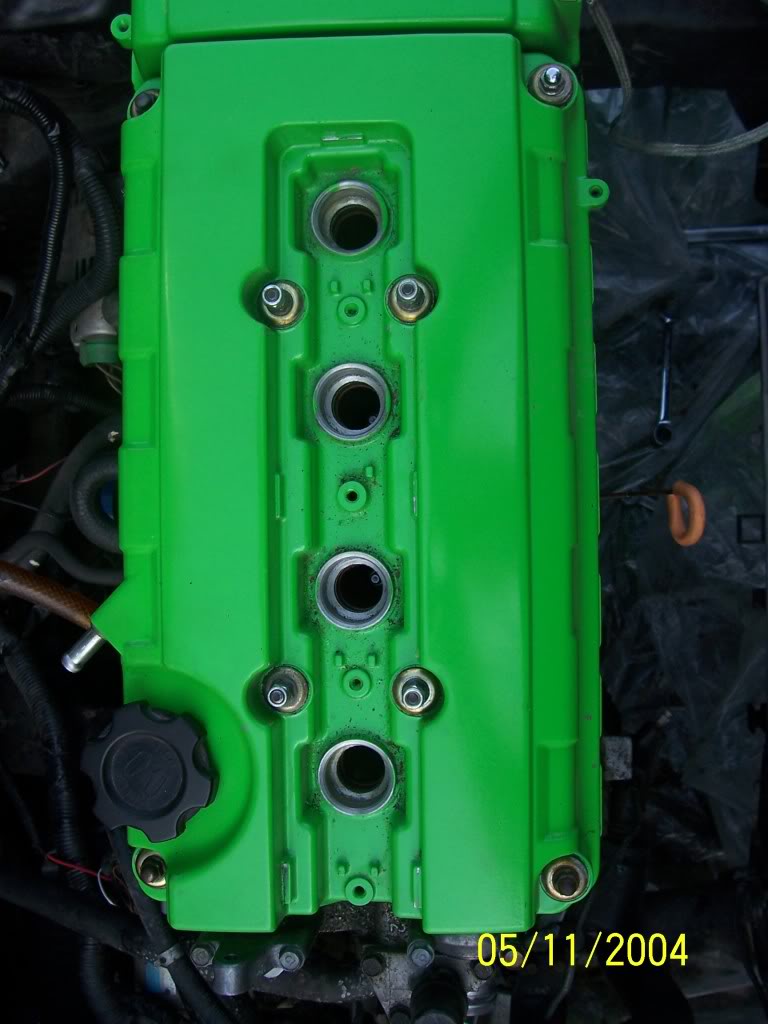
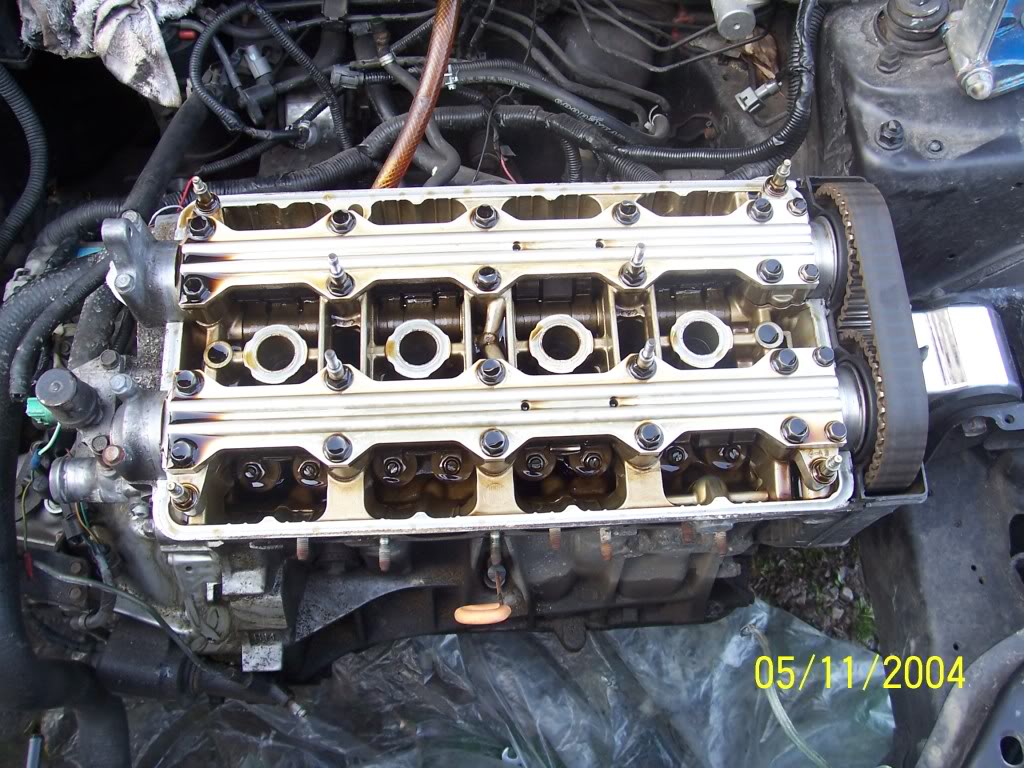
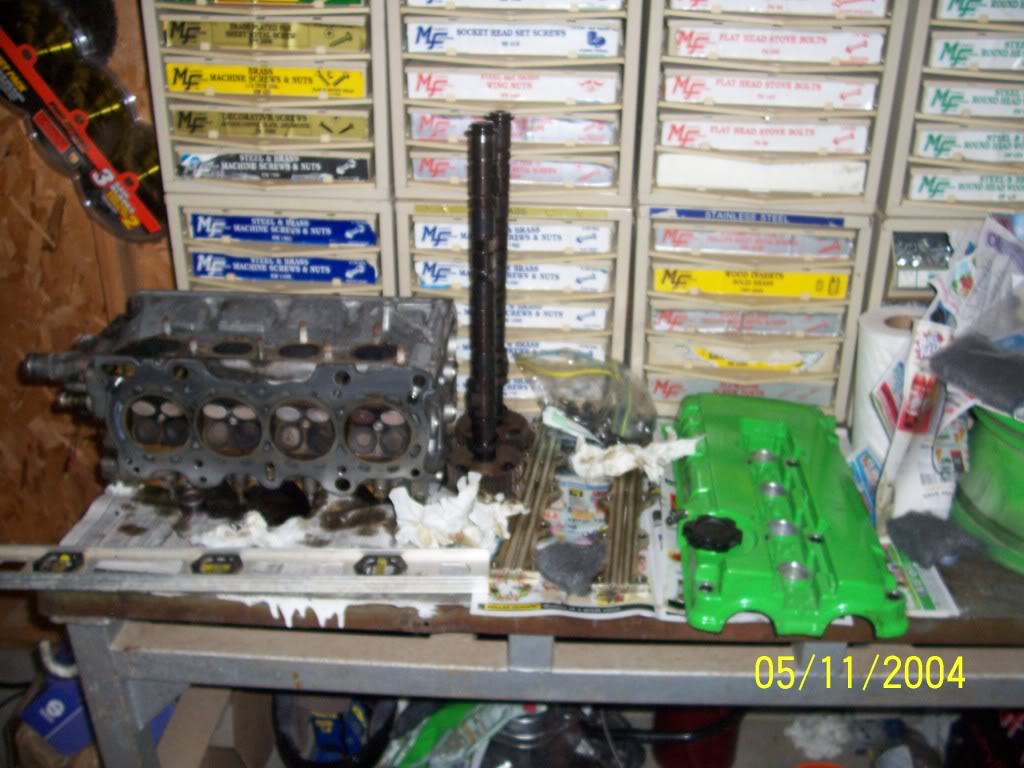
Now remove your valve cover. There are 8 10mm nuts holding it on.
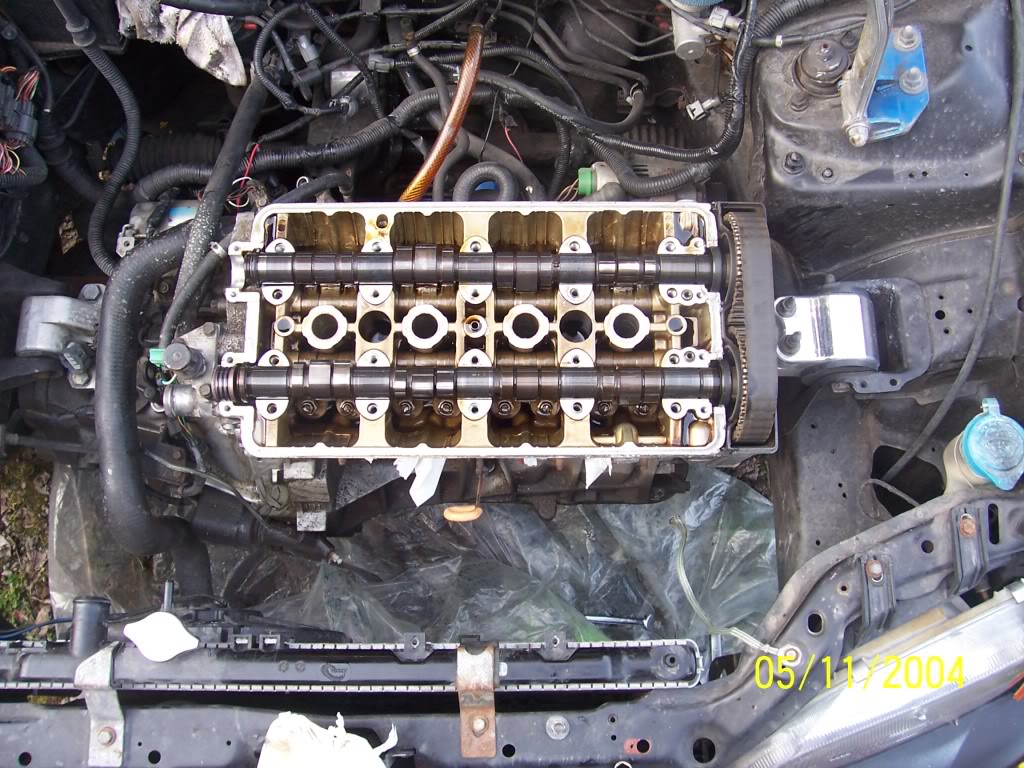
So this is what you should end up with. There are 10-12mm holding the cam caps on and 4-10mm bolts. Be careful. Ive snapped these in the head before. You are going to need a deep 12mm sockets for the middle studs.
To remove the cam caps, i used a rubber mallet and gave em a few taps. Worked fine for me.
IMPORTANT NOTE! Every cam cap has an arrow on it. The arrow points towards the timing belt. If the cam caps are put on wrong. You can blow your motor
This is what you should have now.
*NOTE: My way of doing this does not involve any loosening of the timing belt tensioner. Jeff Evans does it, so i figure i could as well.
To remove your cams, you need to cut the little timing cover piece. One slice worked for me
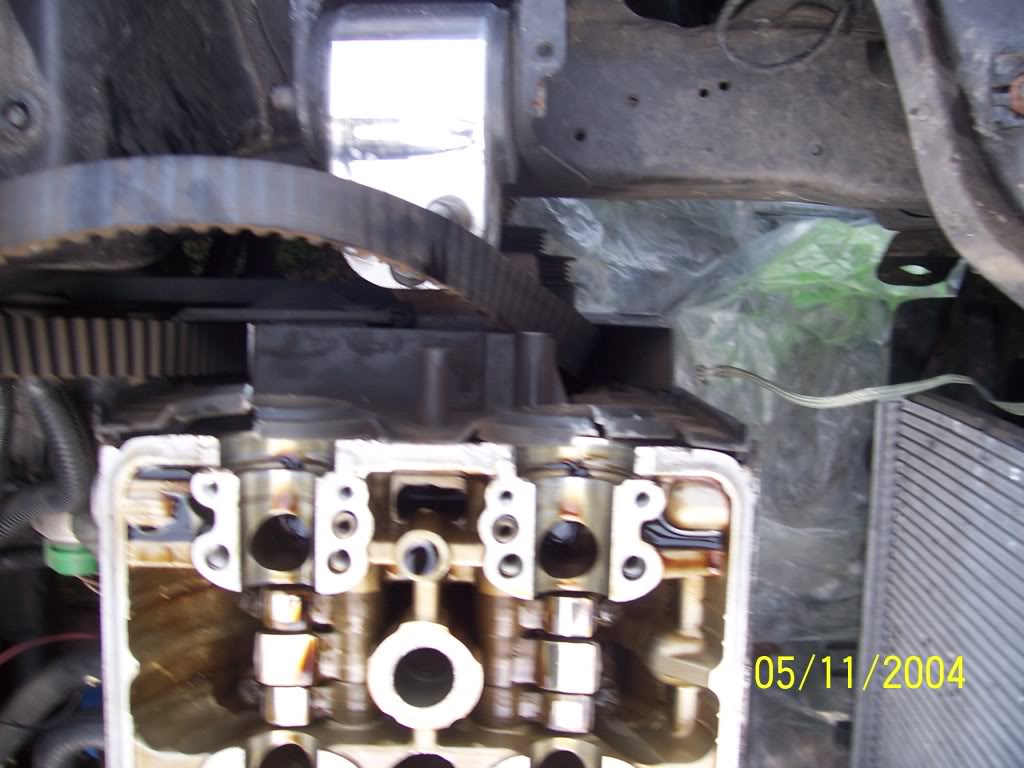
This is how your head should look after removal of the cam. This is reveal the headstuds.

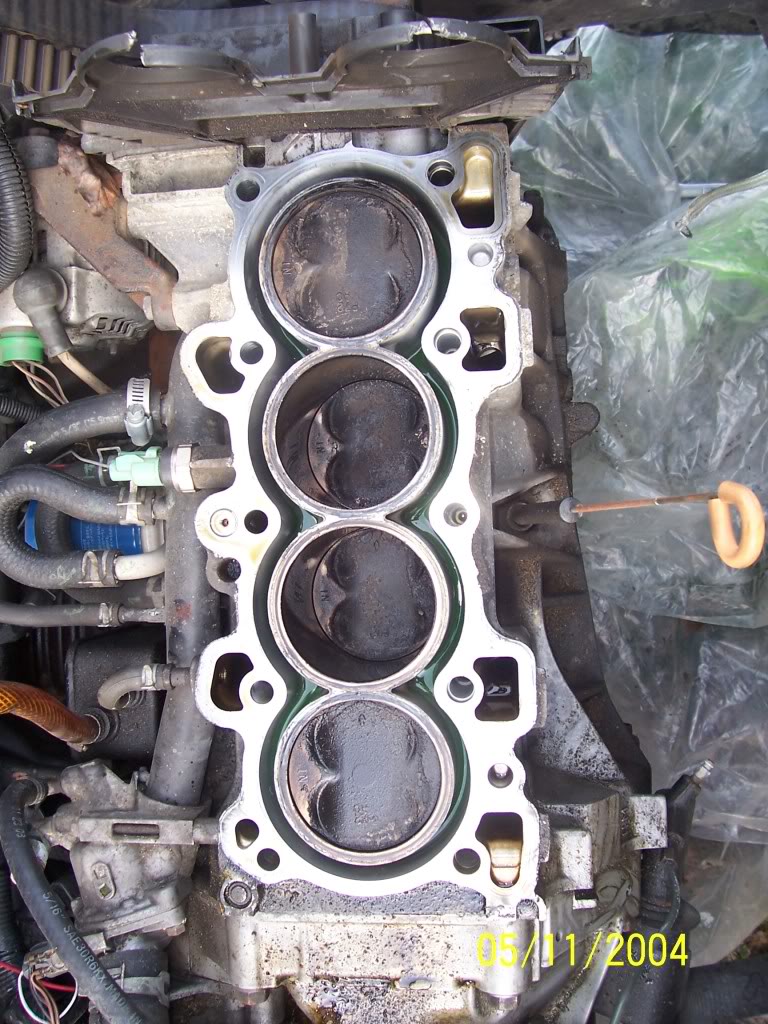
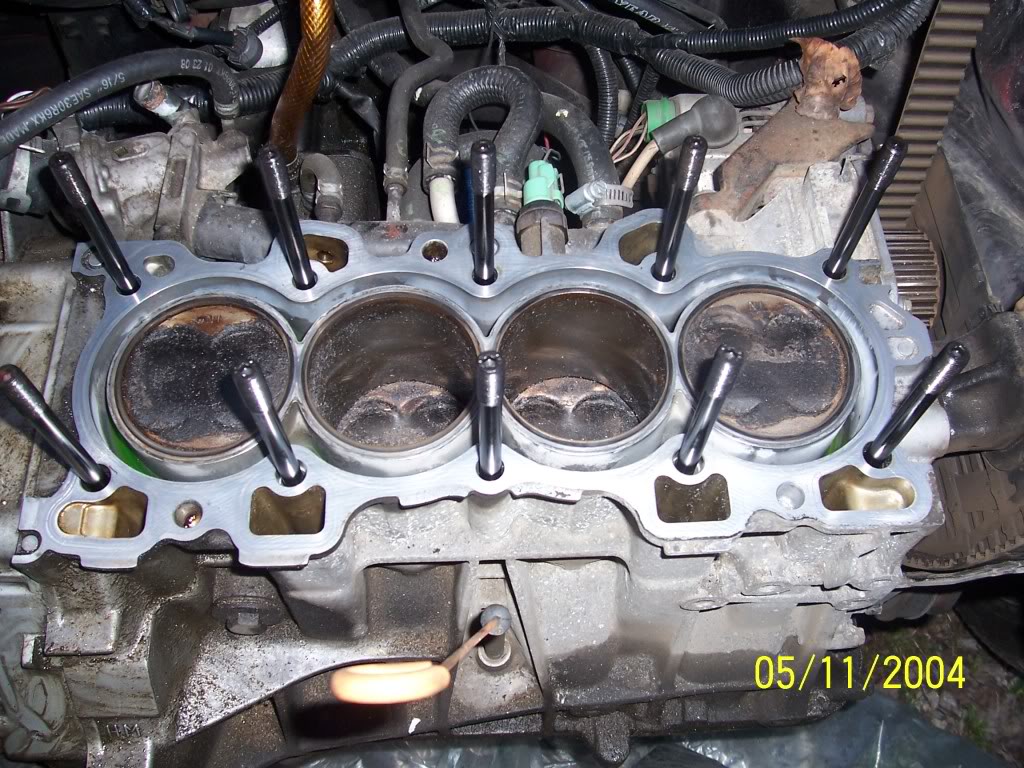
Then remove the ten headstuds (they are tight, use some force) And you should end up with this
Make sure you have a clean place to place all your parts
Make sure you remove all of the old gasket and use steel wool to clean up the block and bottom of the head.
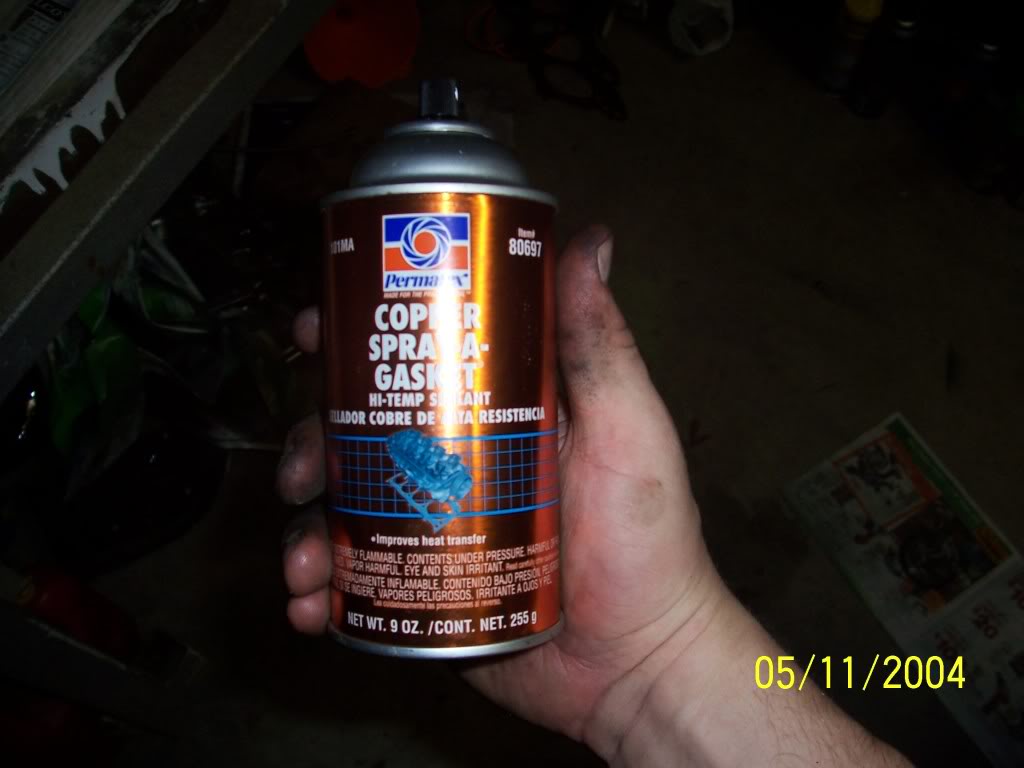
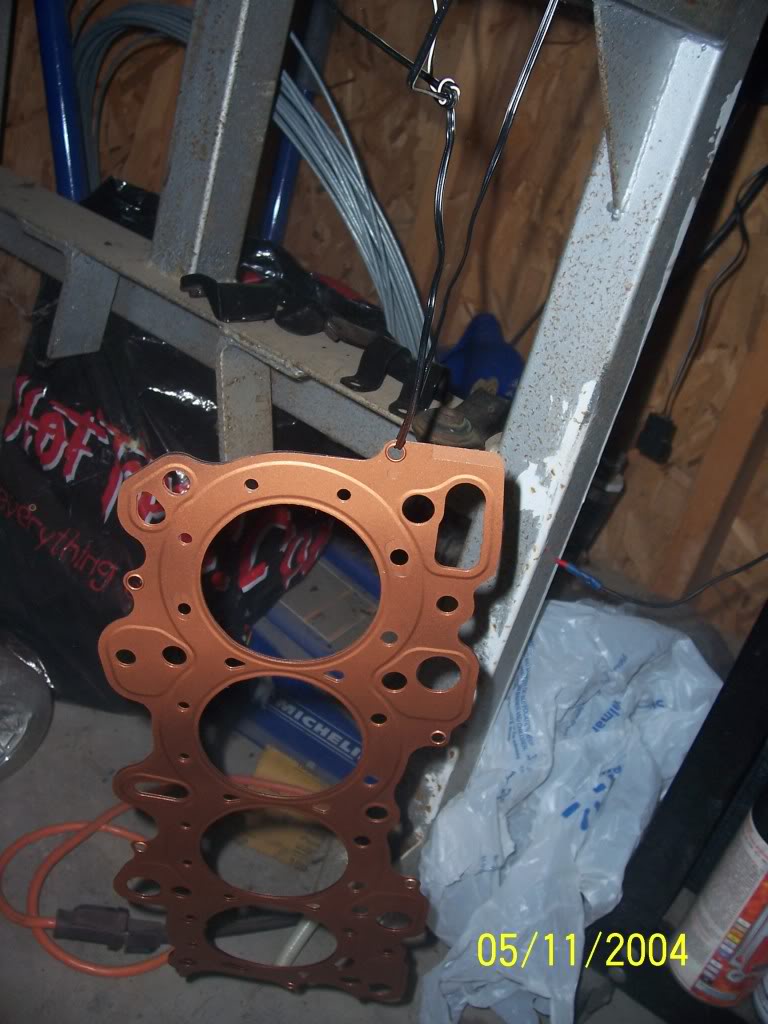
To prepare the new gasket i used copper gasket sealer spray. I put on four coats on each side of the gasket. My friend who has a 22 psi tt 300zx used it, so it should be good for my na motor
If you are using Arp headstuds, now is the time to put them in the head. Hand tight only!
Now slide the gasket on without touching the copper spray gasket. It is hard but i did it
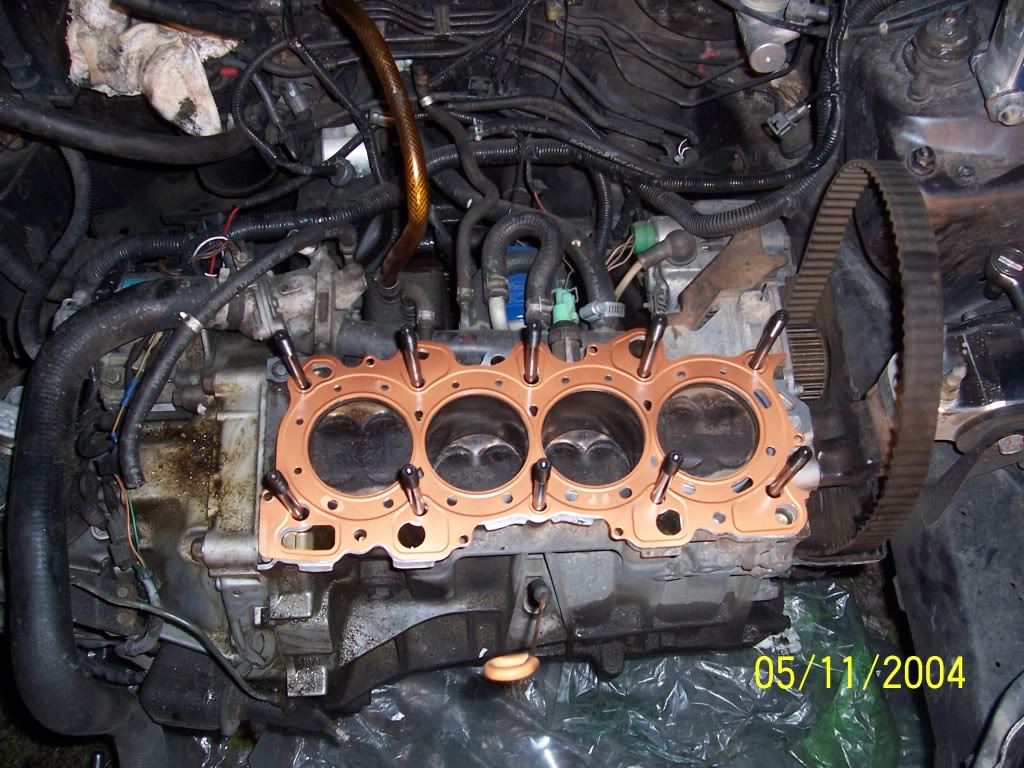
Now slide your head onto the block, make sure you get no binding anywhere.
Once you get the head on the block, use your arp lube and lube up the nuts and studs and torque them down. ARP says 3 increments to 80 ft lbs for the gsr motor. I did four. 50, 60, 70, 80.
Now put everything back on the way you took it off. I was too lazy and it got too late to take pics of the reinstallation.
-When putting the cam caps back on, use honda-bond/grey rtv on the cam seals. They will leak if you dont. You can quote me on it
Cam caps - 12mm - 20 ft lbs/ 10mm - 8 ft lbs (handtight)
Remember to heat cycle your ARP's correctly. 5-10 times and retorque them
Hope this helps
I thought that maybe the b-series guys who have never done it would appreciate a write up. So here we go.First thing is the tools you will need.
-10mm socket
-12mm socket
-17mm socket
-13mm socket
-14mm socket
-couple of extensions
-torque wrench (ft lbs)
-rags
-clean place to put head
-2 drain pans (coolant, oil)
-new head gasket
-new valve cover gasket
-new intake/exhaust manifold gaskets
I would also recommend Arp headstuds to anyone who is doing this. They are expensive but worth the price because they are reusable
NOTE: Make sure to set the motor to TDC. Makes things a lot easier
Ok, so first you need to let your motor cool and you would start with something like this
After the motor has cooled you need to drain your coolant. Although you do not need to drain the oil, now is a good time to do an oil change
*I know i got an oil leak, it was fixed as well. My next write up is how to do an oil pan gasket
Now i would remove the upper radiator hose from the head and move your overflow bottle
Then you should go to the top of your motor and remove your spark plug wires/intake and distributor.
Next i would remove all the plugs for your sensors on your head.
*vtec pressure switch is broken. I broke it and replaced it
Then i would remove your fuel line from your fuel rail
Then remove the return line from the back of the fuel pressure regulator.
Then remove your pcv valve and your throttle cable. NOTE: I am running a skunk2 manifold. For a stock gsr manifold it might be a little different.
Next, remove the coolant hoses from the intake manifold, there should be one to the iacv and one from the manifold to the thermostat housing. Also remove all your sensors.
Remove your exhaust manifold now as well. I didnt take pics of it because it is pretty much self explainitory.
Now you can remove the ten 12 mm bolts holding the intake manifold on. For gsr motors, this is a bitch.
After you remove your intake manifold it should look something like this
*NOTE: Be careful with your tps sensor. They tend to break.
Now remove your valve cover. There are 8 10mm nuts holding it on.
So this is what you should end up with. There are 10-12mm holding the cam caps on and 4-10mm bolts. Be careful. Ive snapped these in the head before. You are going to need a deep 12mm sockets for the middle studs.
To remove the cam caps, i used a rubber mallet and gave em a few taps. Worked fine for me.
IMPORTANT NOTE! Every cam cap has an arrow on it. The arrow points towards the timing belt. If the cam caps are put on wrong. You can blow your motor
This is what you should have now.
*NOTE: My way of doing this does not involve any loosening of the timing belt tensioner. Jeff Evans does it, so i figure i could as well.
To remove your cams, you need to cut the little timing cover piece. One slice worked for me
This is how your head should look after removal of the cam. This is reveal the headstuds.
Then remove the ten headstuds (they are tight, use some force) And you should end up with this
Make sure you have a clean place to place all your parts
Make sure you remove all of the old gasket and use steel wool to clean up the block and bottom of the head.
To prepare the new gasket i used copper gasket sealer spray. I put on four coats on each side of the gasket. My friend who has a 22 psi tt 300zx used it, so it should be good for my na motor
If you are using Arp headstuds, now is the time to put them in the head. Hand tight only!
Now slide the gasket on without touching the copper spray gasket. It is hard but i did it
Now slide your head onto the block, make sure you get no binding anywhere.
Once you get the head on the block, use your arp lube and lube up the nuts and studs and torque them down. ARP says 3 increments to 80 ft lbs for the gsr motor. I did four. 50, 60, 70, 80.
Now put everything back on the way you took it off. I was too lazy and it got too late to take pics of the reinstallation.
-When putting the cam caps back on, use honda-bond/grey rtv on the cam seals. They will leak if you dont. You can quote me on it
Cam caps - 12mm - 20 ft lbs/ 10mm - 8 ft lbs (handtight)
Remember to heat cycle your ARP's correctly. 5-10 times and retorque them
Hope this helps