- Sat Jul 04, 2009 2:54 am
#128226
thank you all,
basically go out to any major auto parts store, any hardwear store, any home improvement store and any craft store
buy the following at each
auto parts:
-woven fiberglass matt
-'chop' fiberglass matt
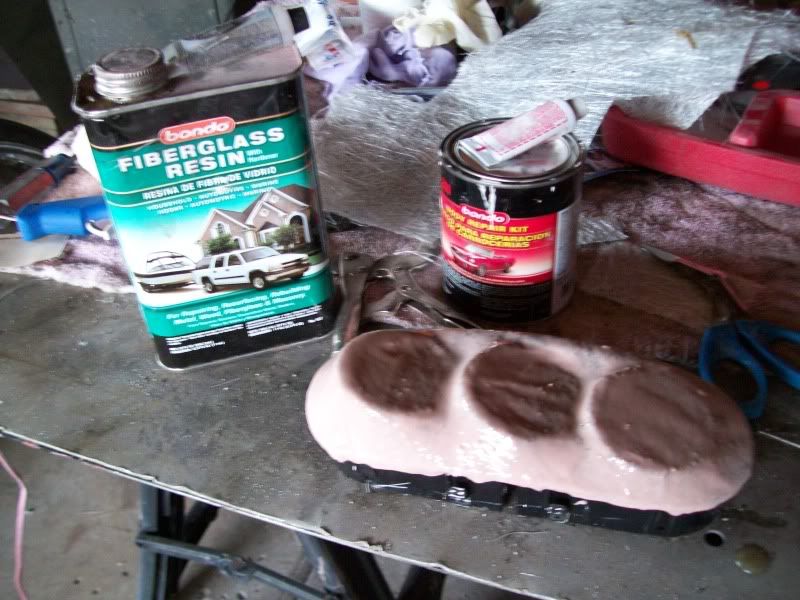
-fiberglass resin
-body filler
-glazing or 'finishing' putty
- sand paper (150 and 220 grit)
home improvement store
- 3/4" MDF (medium density fiberboard)
- saber saw (if you donot have one)
- 1/8" or thicker wood dowel (3 foot (ish) lengths)
hardwear store
-disposible brushes
- paint mixing buckets (small disposible plastic ones)
- laytex gloves
crafts store
- fleace fabric ( thin, absorbant, must be very stretchy, preferibly a very gay pattern)
- hot glue gun
- siccisor set
- a small tuperwear bin ( for the leftover fiberglass)
-basically you use the mdf and the wood dowels to make the structure of what ever you want to make (cut a ring for a subwoofer and use the hotglue and dowes to suspend it where ever you want)
-stretch the fabric over it and hotglue it in place
-soak the fabric with resin
-after resin hardens flip your creation over and cover the back side with a bunch of layers of fiberglass bits (dosent have to be full sheats, just cut up scraps will work, you will never see this side so dont worry, be messy) make sure to place alot of fiberglass holding the ring for support
- after the backing resen is hardned smooth out the face of your creation with body filler and glazing putty as directed....
it honestly is that simple...
all it takes is some pratce and imagination...
speaking off,
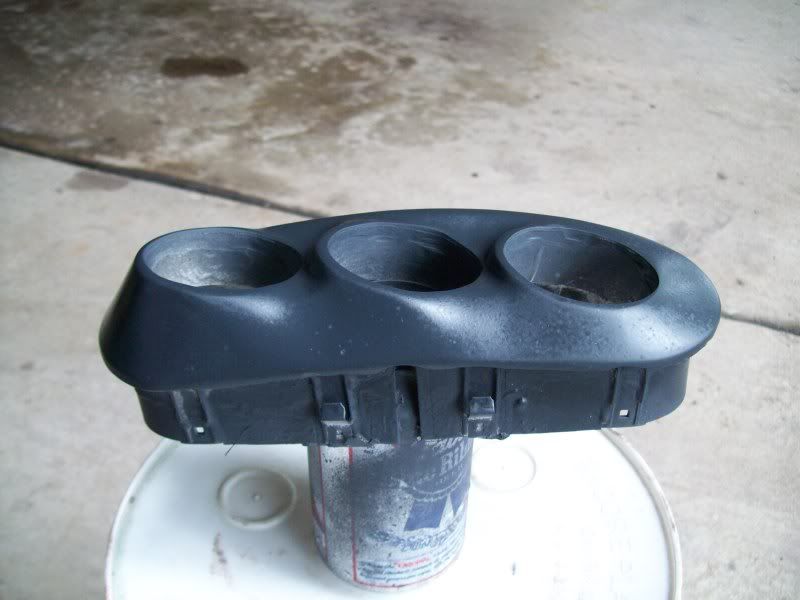
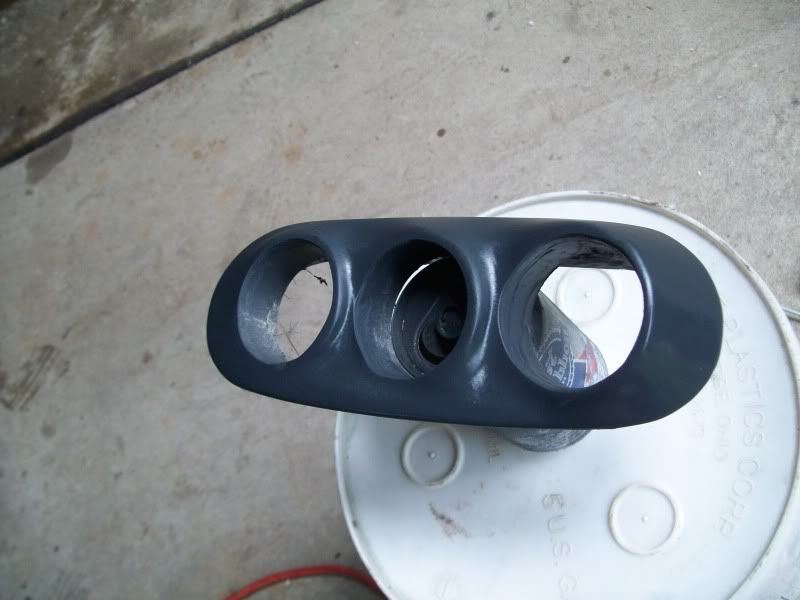
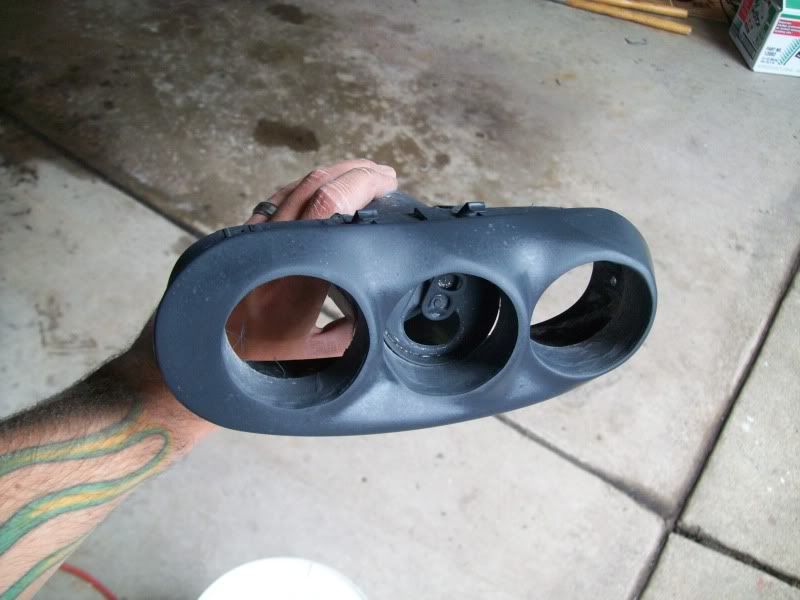
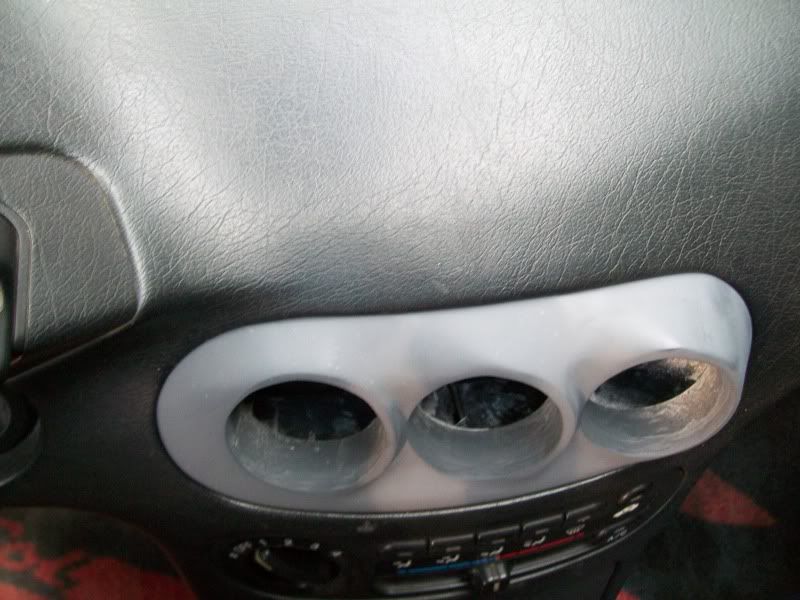
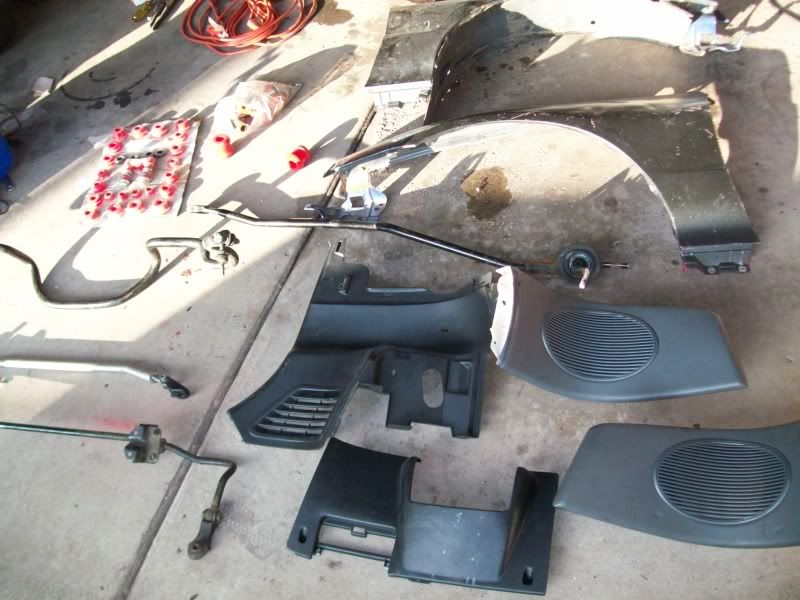
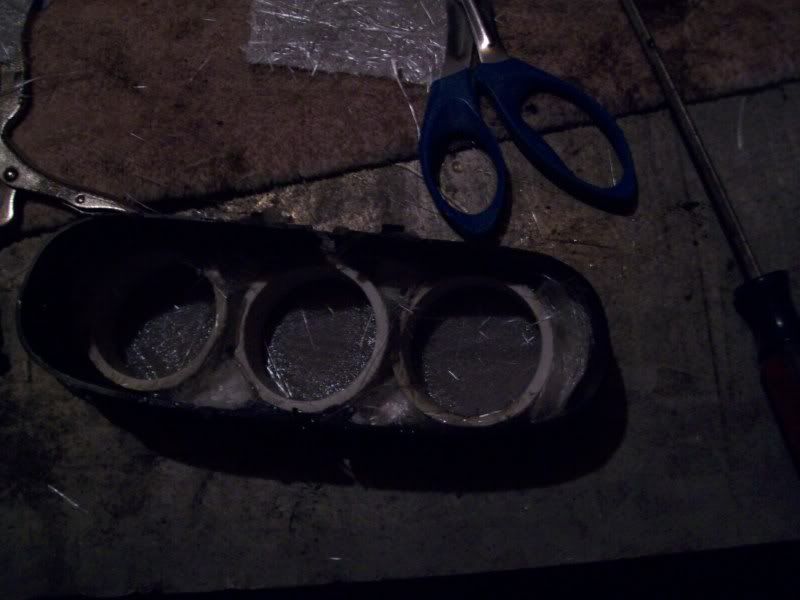
the facad layer was hardened so i flipped it over and stuffed scrap chop matt in ever nook and cranny i could and soaked it in resin, making sure not to get any on the inside of the pvc rings.
basically go out to any major auto parts store, any hardwear store, any home improvement store and any craft store
buy the following at each
auto parts:
-woven fiberglass matt
-'chop' fiberglass matt
-fiberglass resin
-body filler
-glazing or 'finishing' putty
- sand paper (150 and 220 grit)
home improvement store
- 3/4" MDF (medium density fiberboard)
- saber saw (if you donot have one)
- 1/8" or thicker wood dowel (3 foot (ish) lengths)
hardwear store
-disposible brushes
- paint mixing buckets (small disposible plastic ones)
- laytex gloves
crafts store
- fleace fabric ( thin, absorbant, must be very stretchy, preferibly a very gay pattern)
- hot glue gun
- siccisor set
- a small tuperwear bin ( for the leftover fiberglass)
-basically you use the mdf and the wood dowels to make the structure of what ever you want to make (cut a ring for a subwoofer and use the hotglue and dowes to suspend it where ever you want)
-stretch the fabric over it and hotglue it in place
-soak the fabric with resin
-after resin hardens flip your creation over and cover the back side with a bunch of layers of fiberglass bits (dosent have to be full sheats, just cut up scraps will work, you will never see this side so dont worry, be messy) make sure to place alot of fiberglass holding the ring for support
- after the backing resen is hardned smooth out the face of your creation with body filler and glazing putty as directed....
it honestly is that simple...
all it takes is some pratce and imagination...
speaking off,
the facad layer was hardened so i flipped it over and stuffed scrap chop matt in ever nook and cranny i could and soaked it in resin, making sure not to get any on the inside of the pvc rings.