- Thu Jan 14, 2016 11:06 am
#358124
Hey guys, long time no post, just thought I would drag this thread back up form the dead as always.
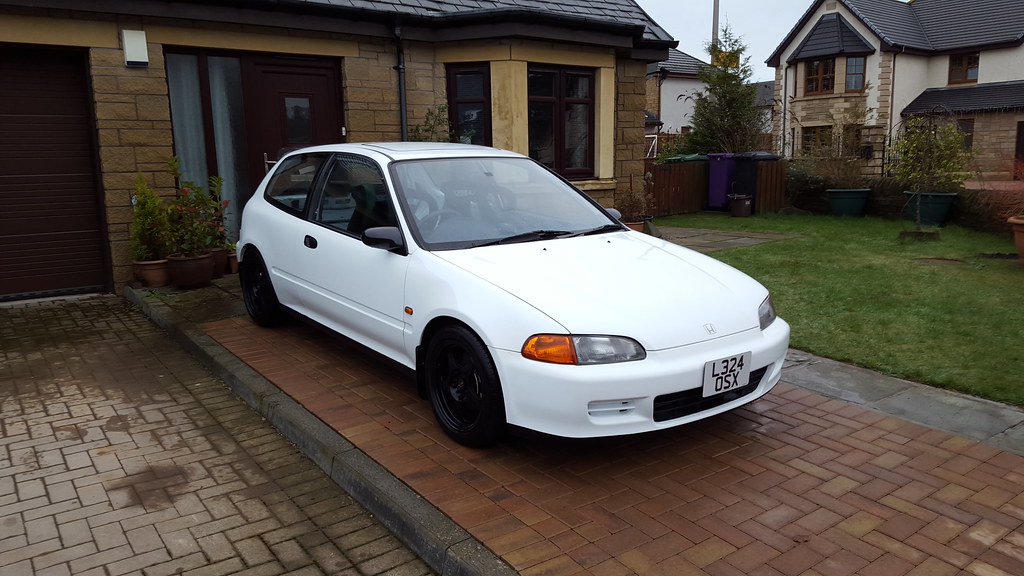
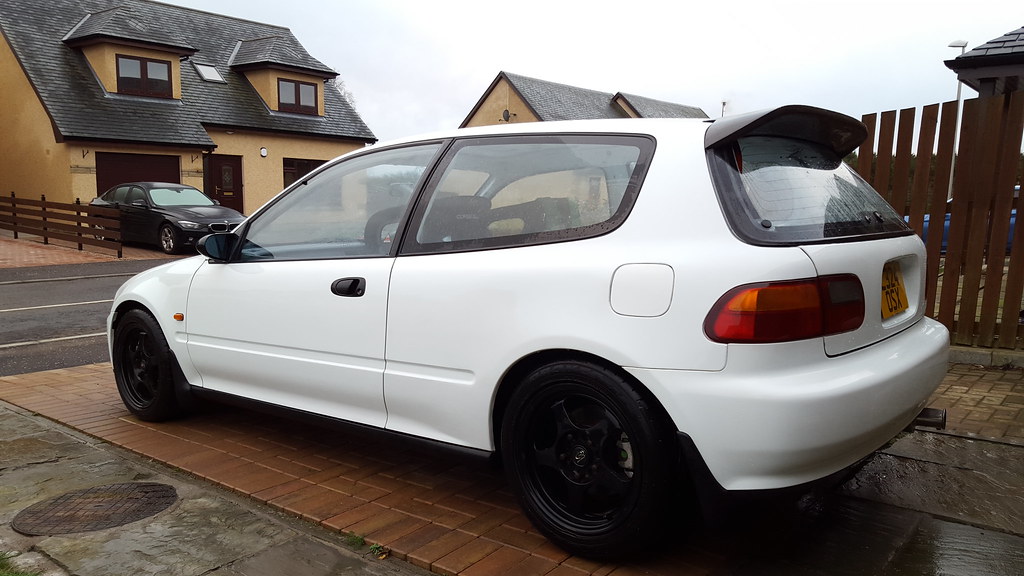
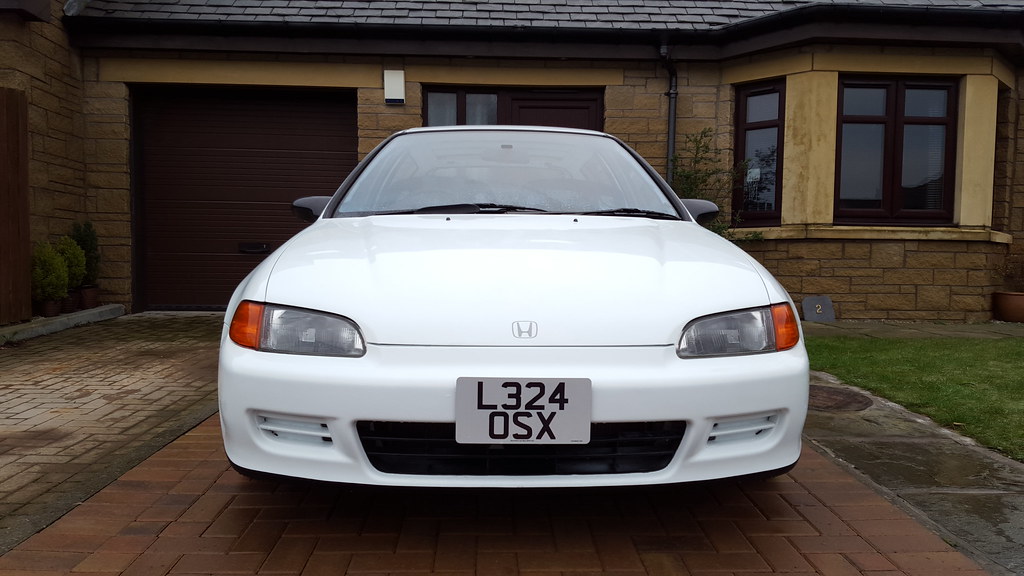
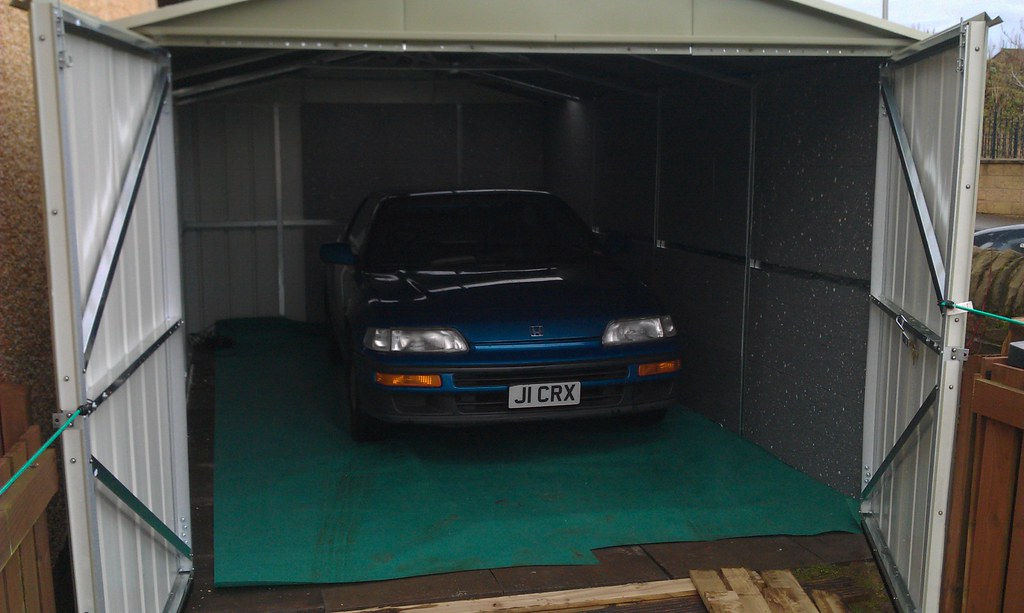
I still have my original EG just away to turn 11 years of ownership.
I think I will probably spread the latest update over a few posts as it's going to take a while to type it all up.
So I drove the car for about a year in the configuration in the last post, then I had what was probably not the best idea and decided to change things up a bit, which ended up started a build that took about the last 4 years to finish due to one thing or another. Mainly of which was trying to get my PhD whilst building the car, I would not recommend doing that and by that I mean a PhD
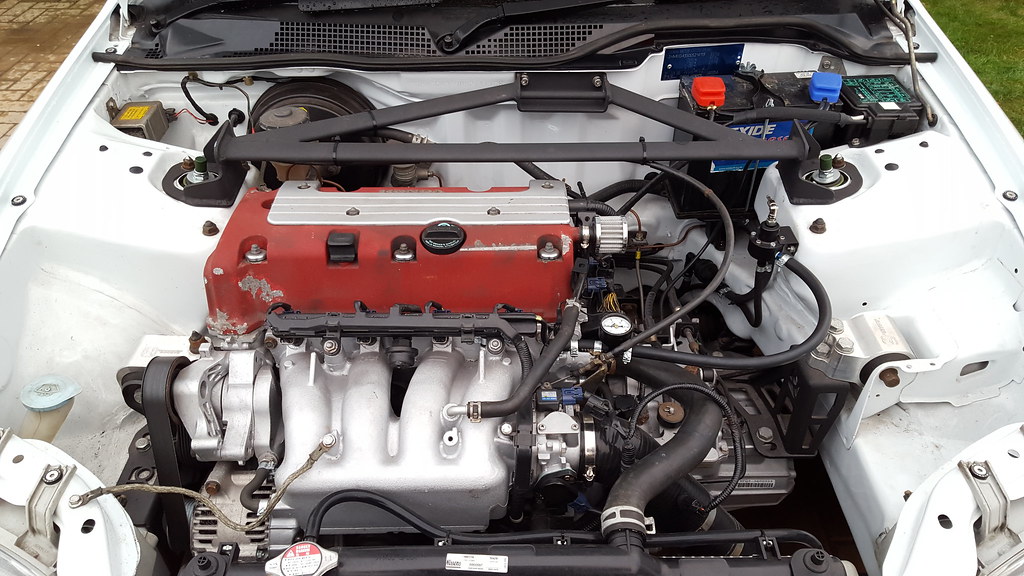
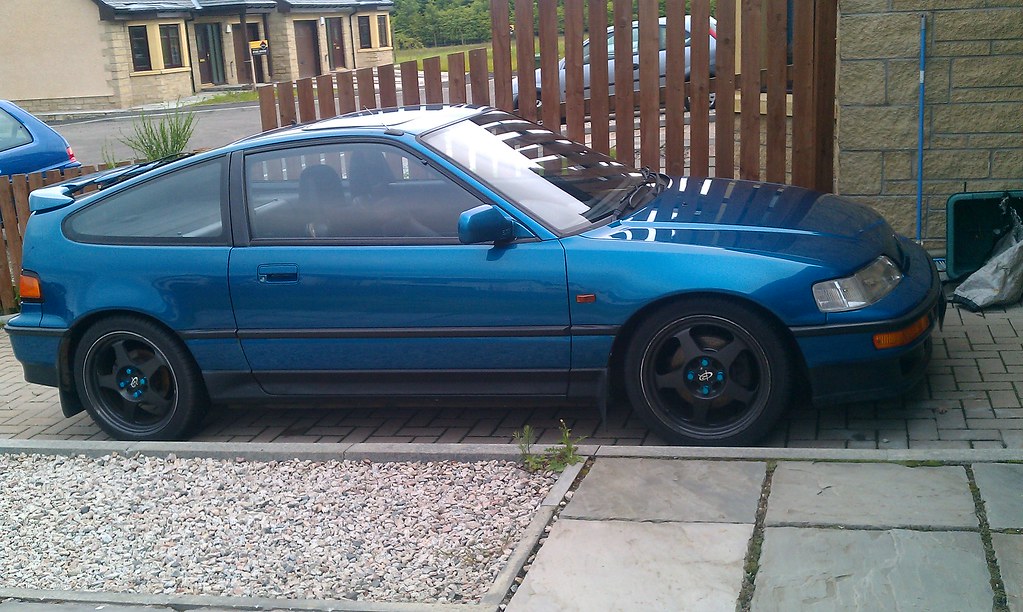
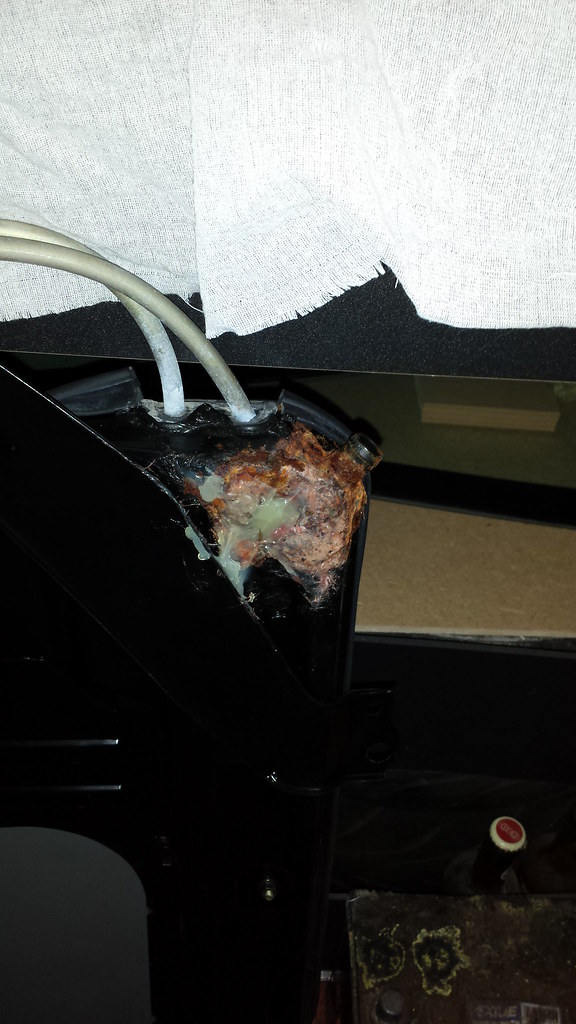
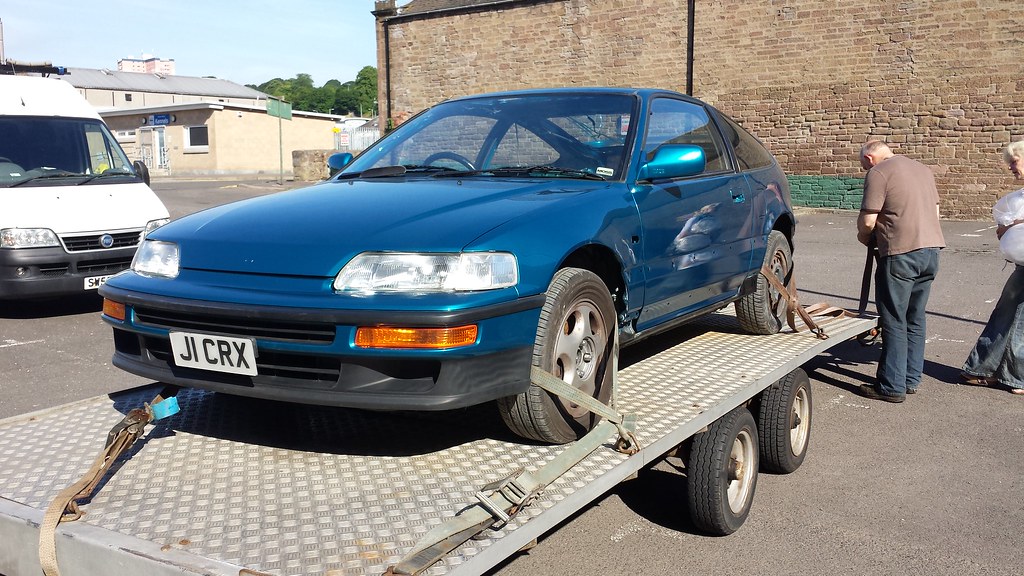
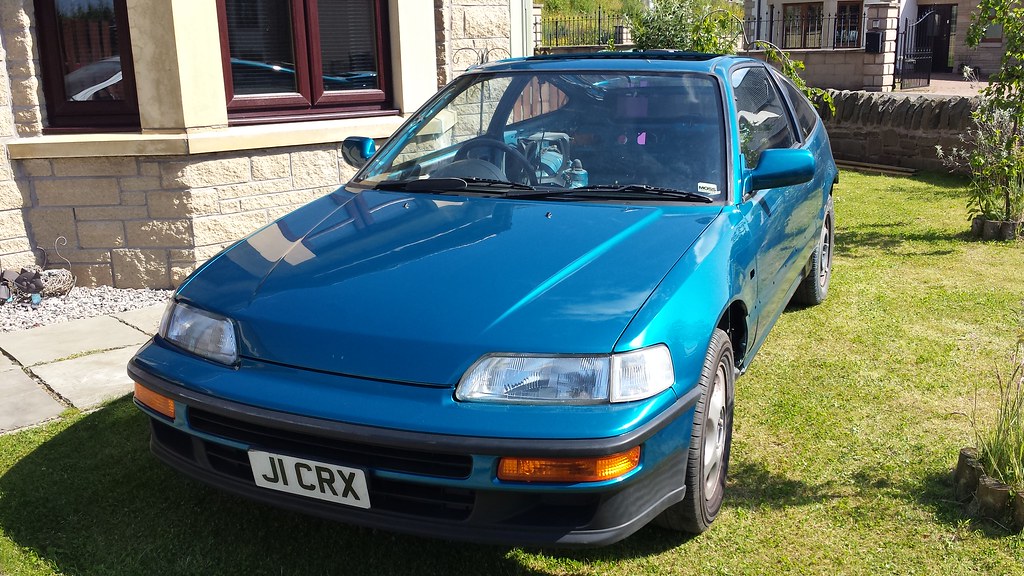
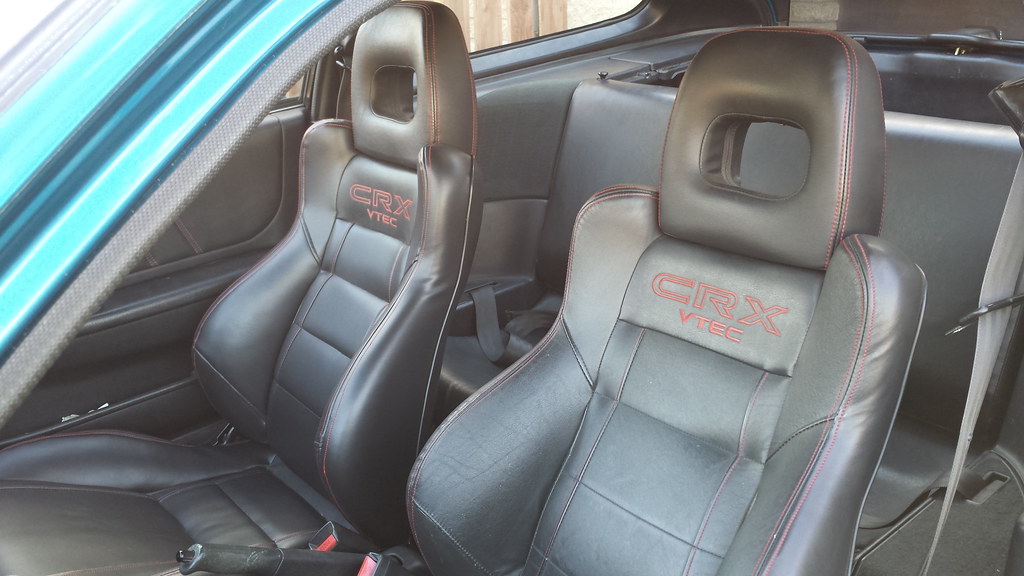
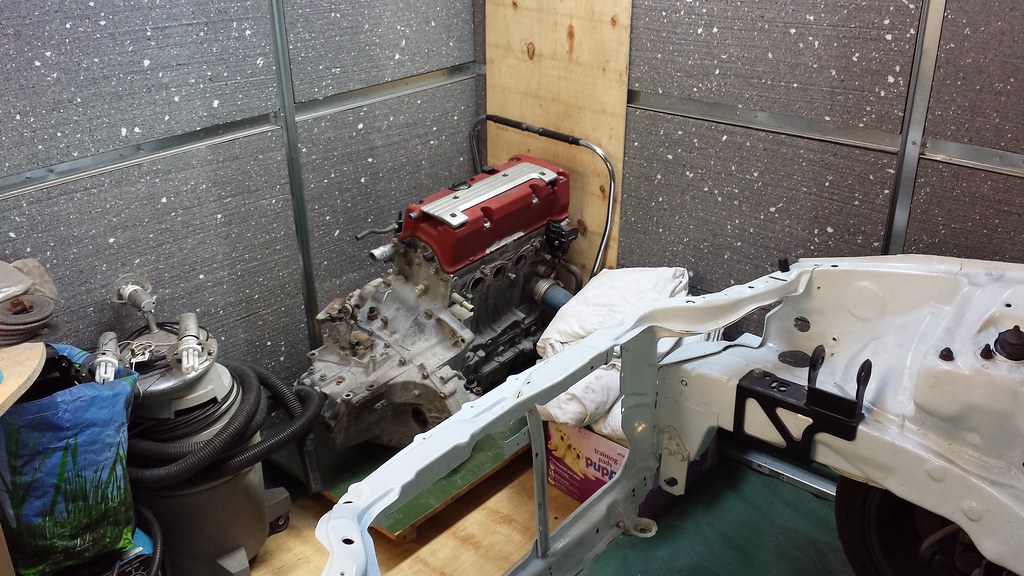
So I kwpt throwing about the idea of building the B but after some research I determined it would probably be a fair bit of cash for not huge gains staying NA that is anyway. So after looking around for a bit I stumbled across this going very cheap
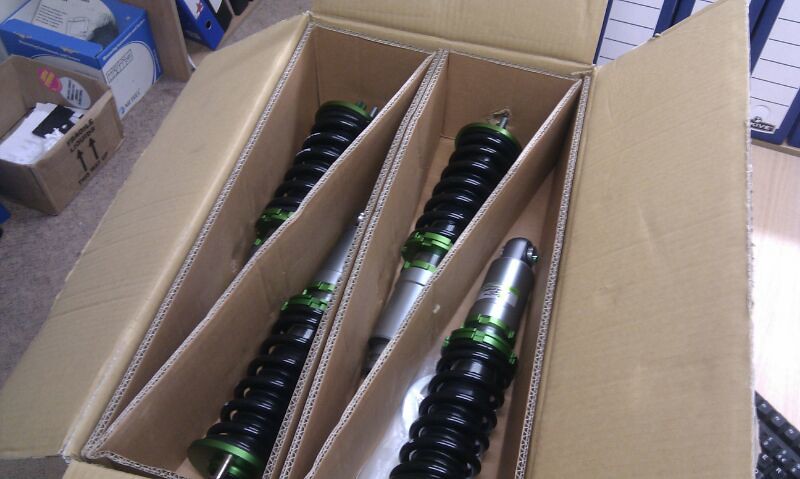
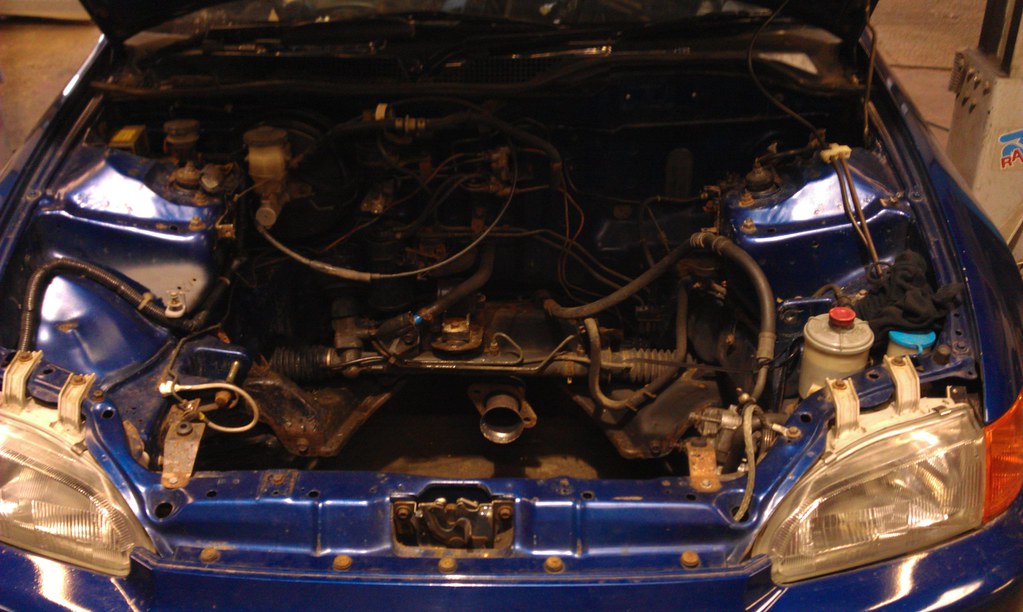
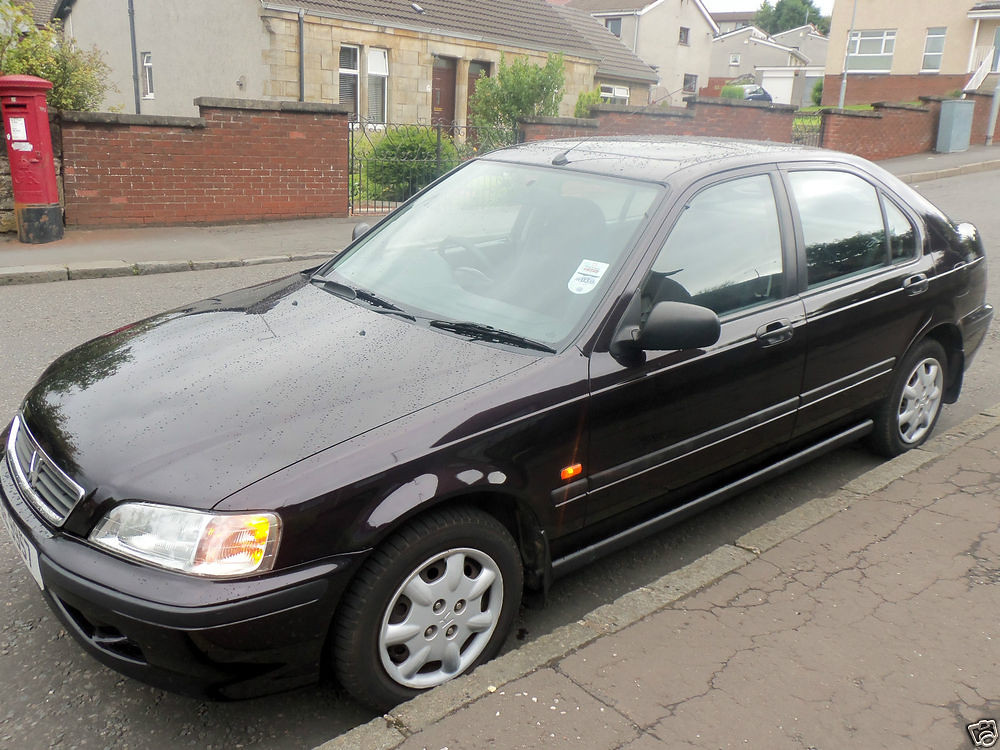
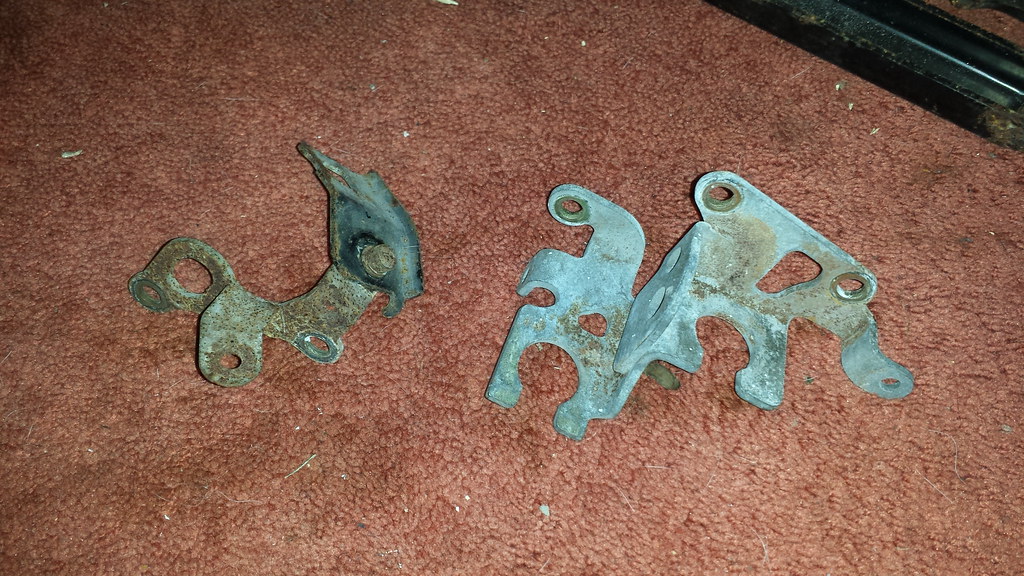
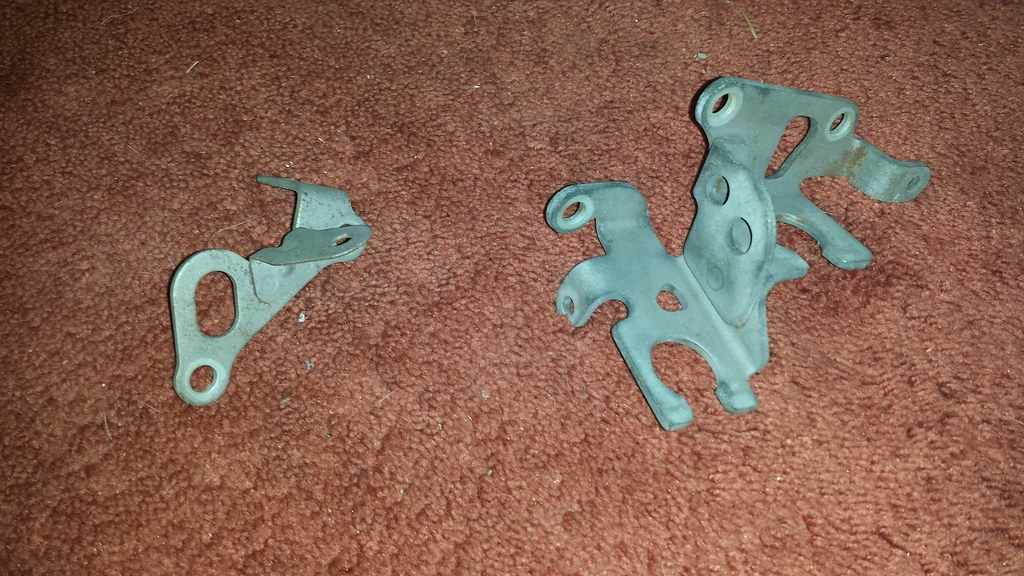
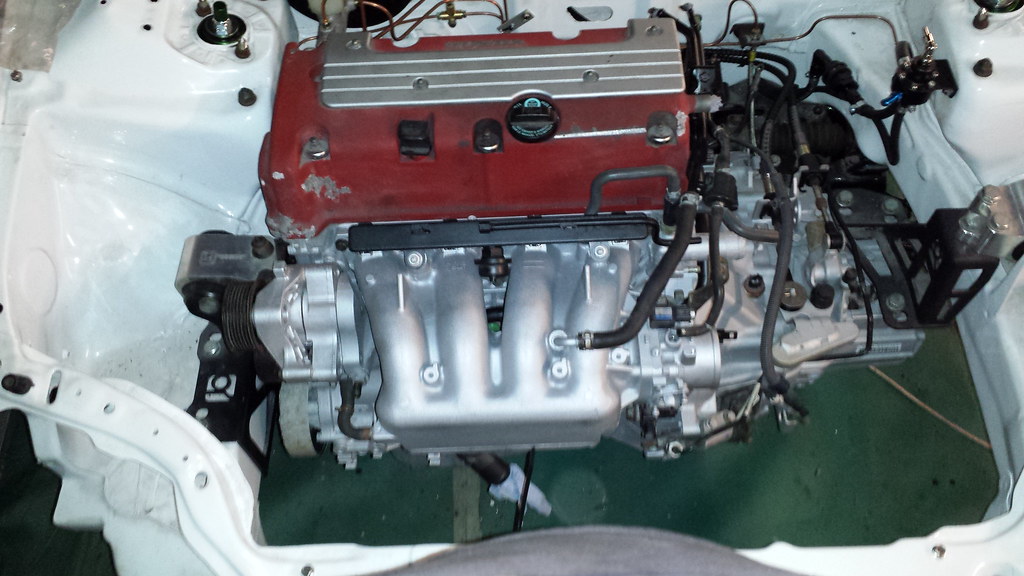
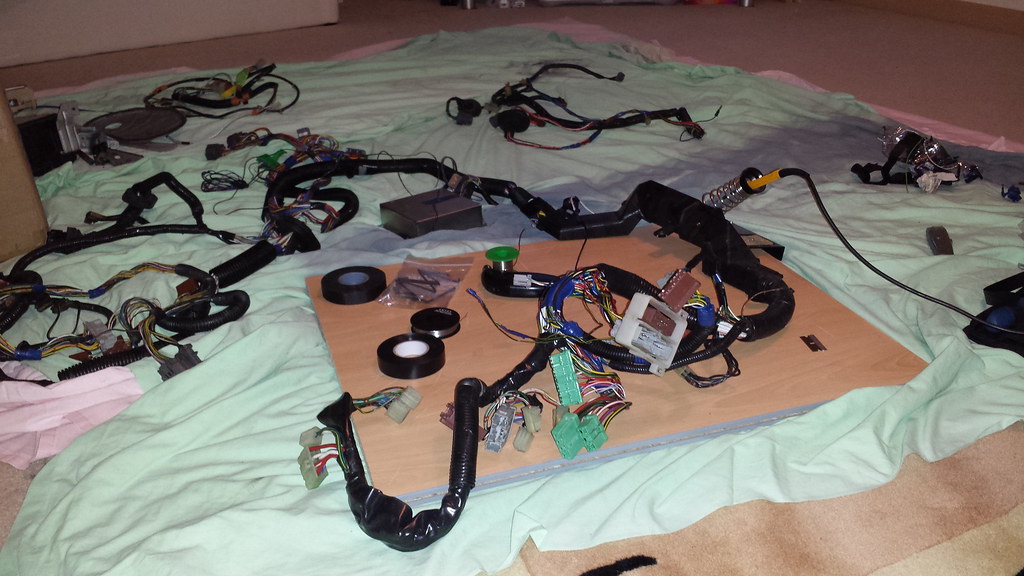
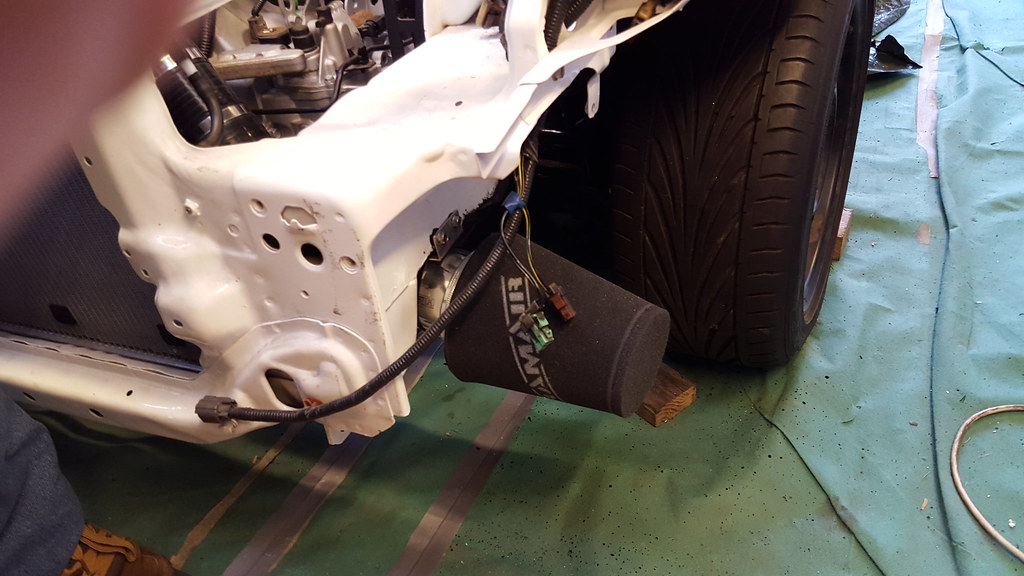
with one of these
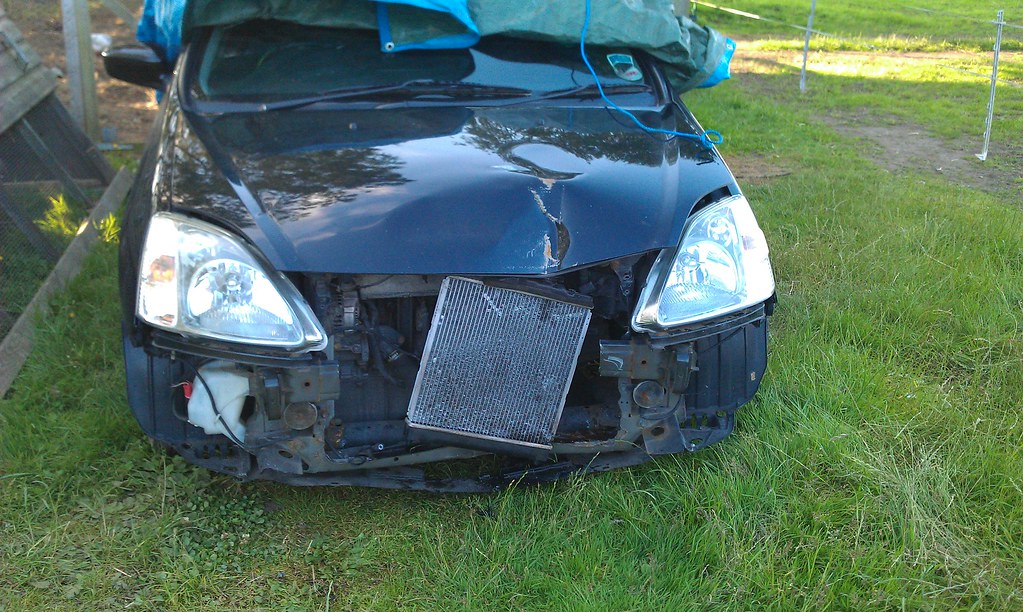
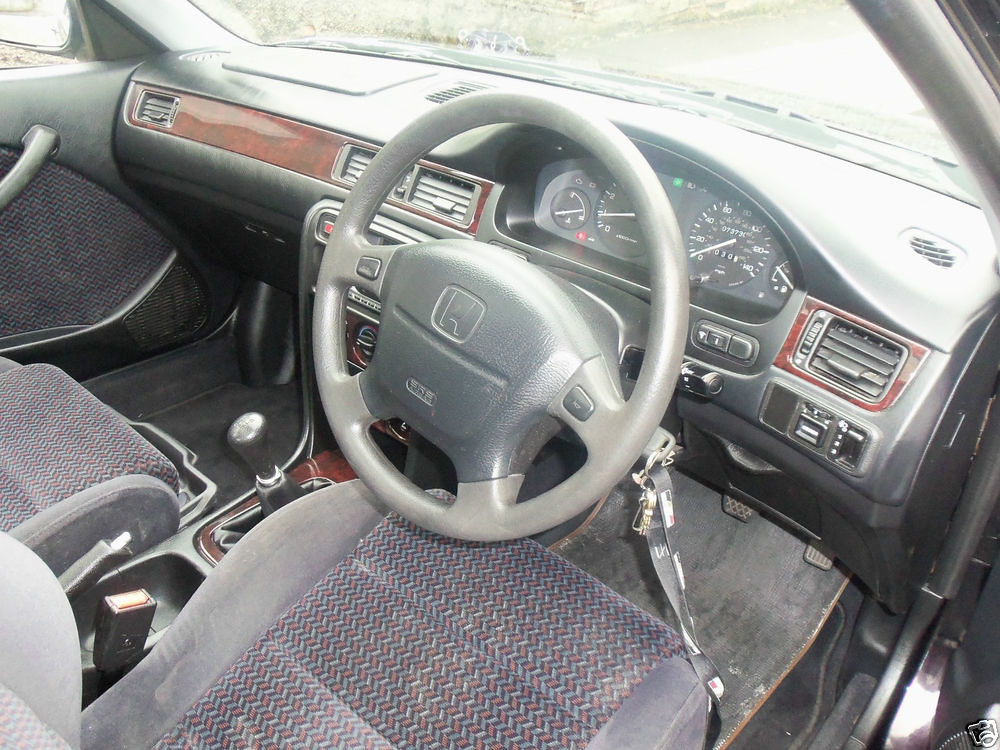
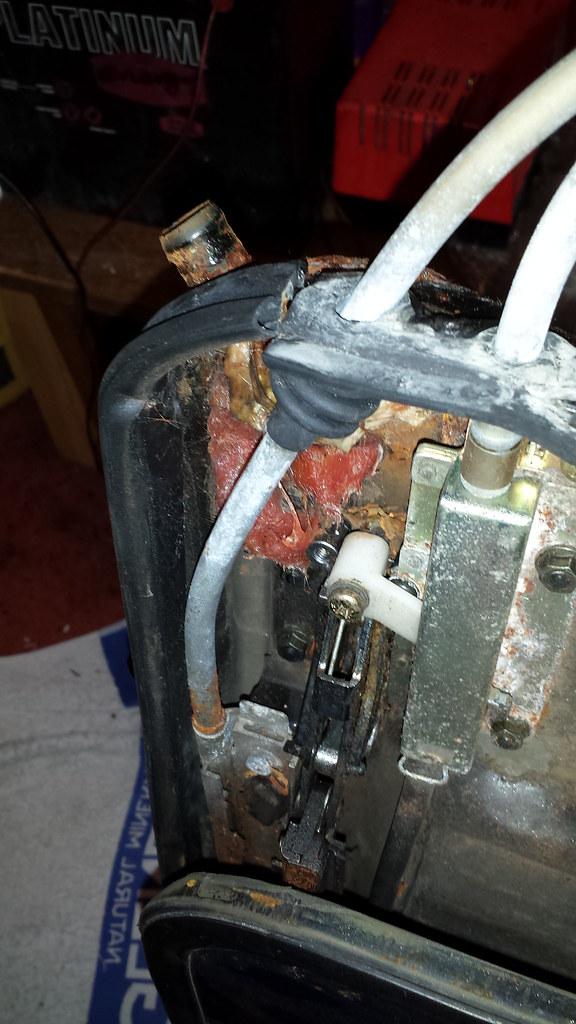
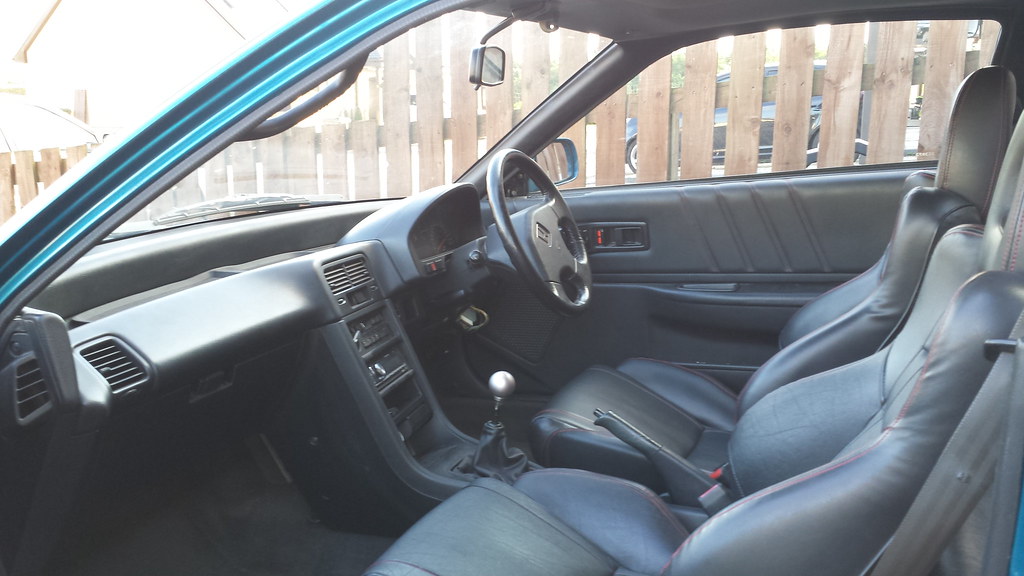
so did this
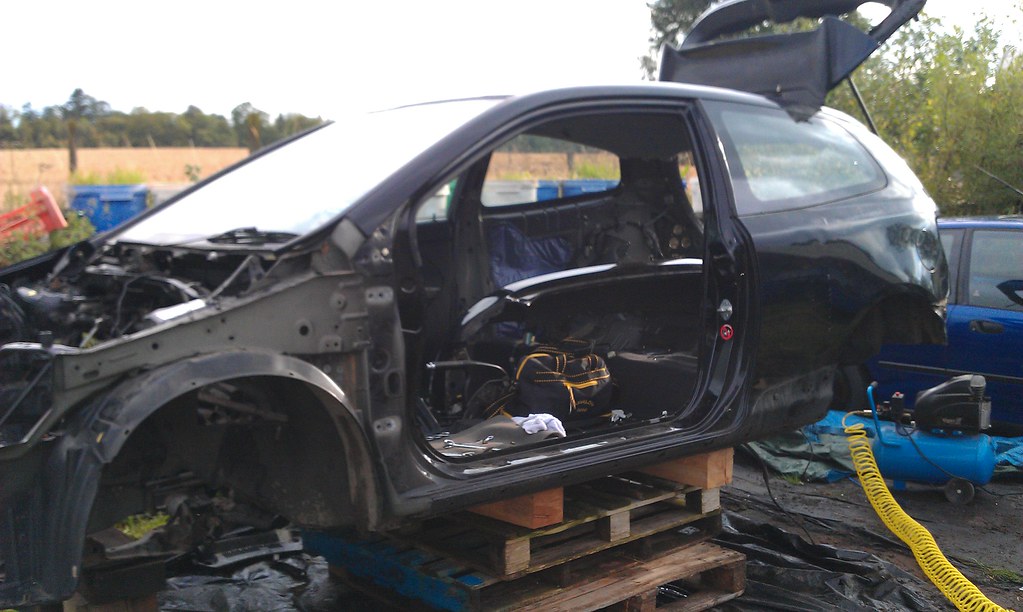
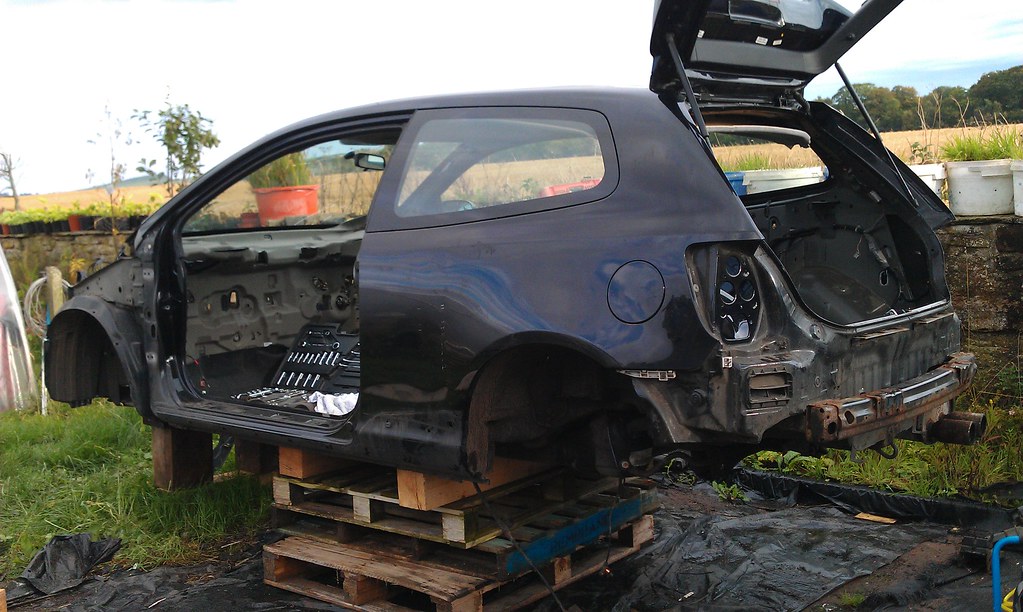
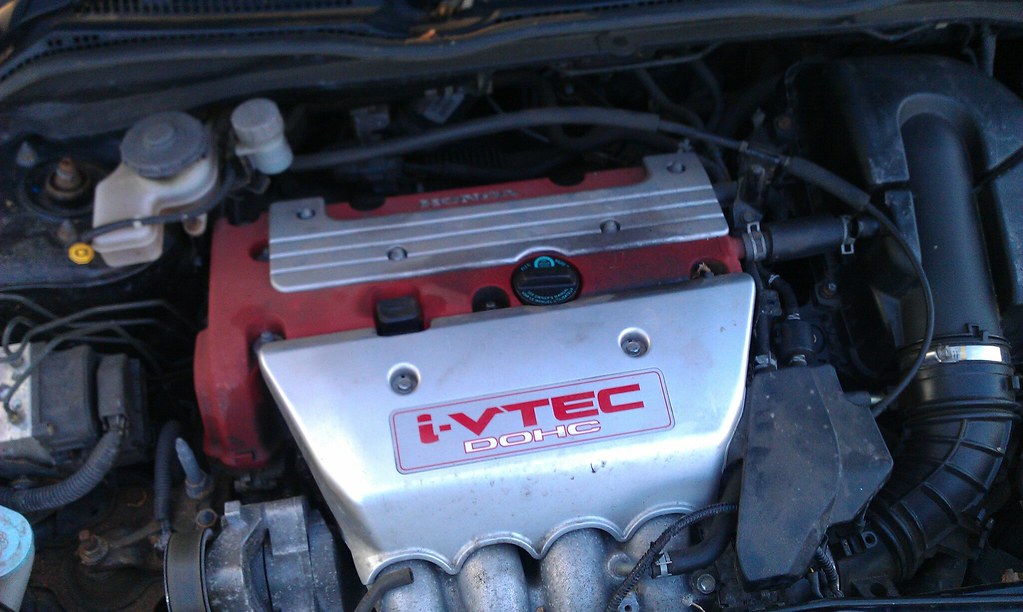
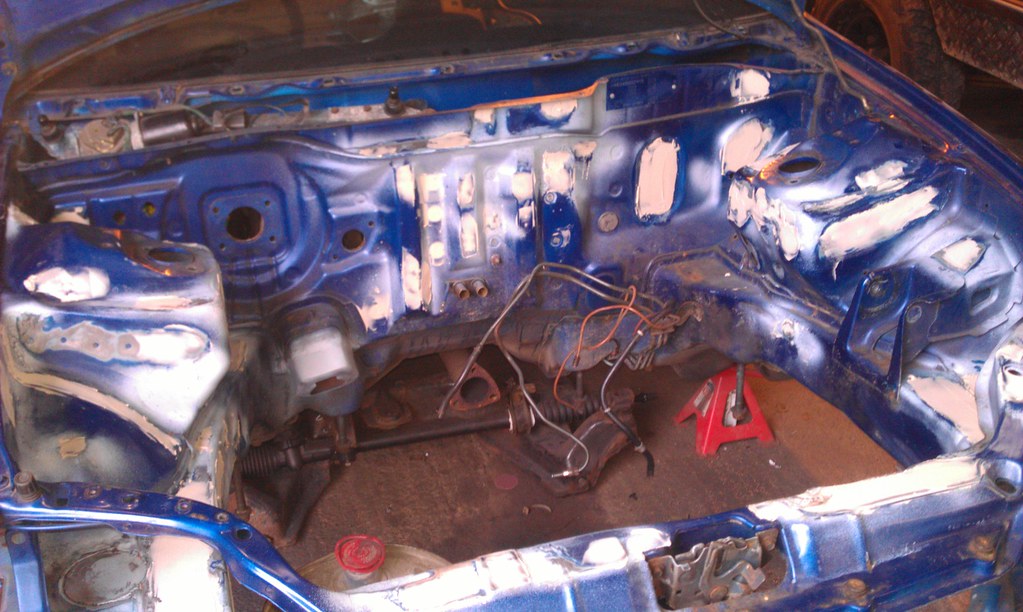
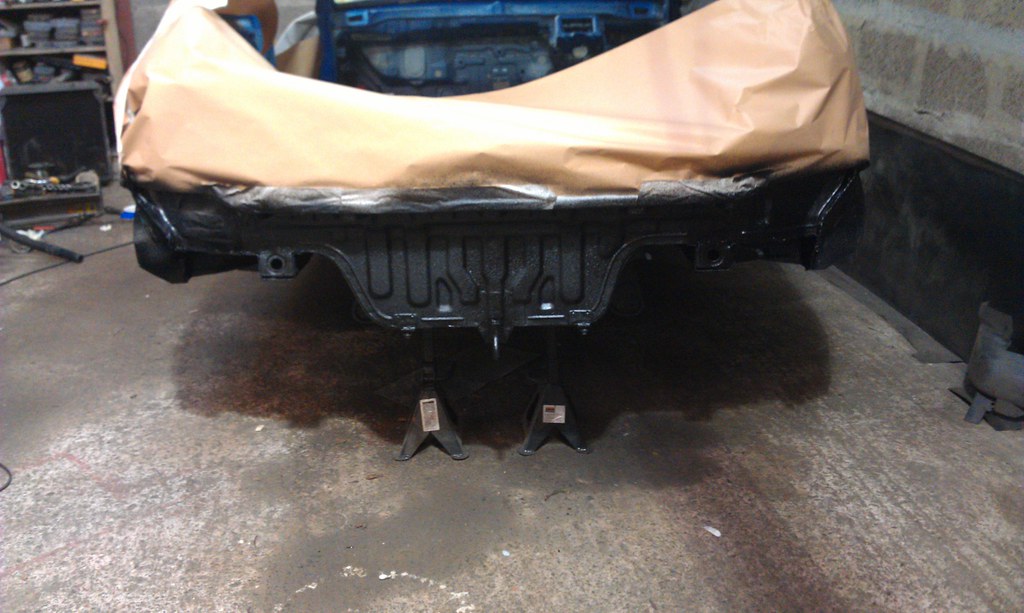
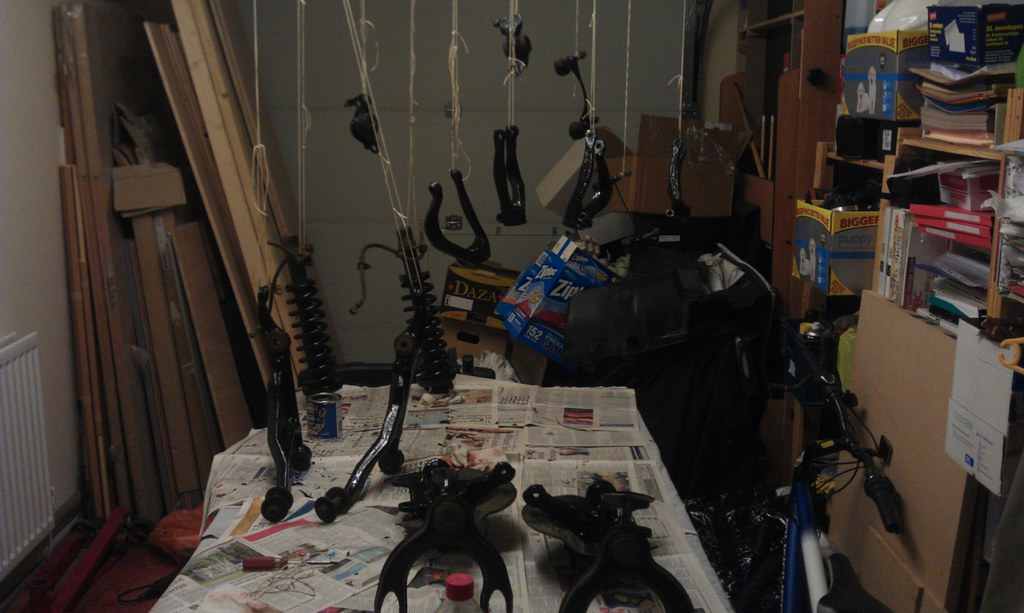
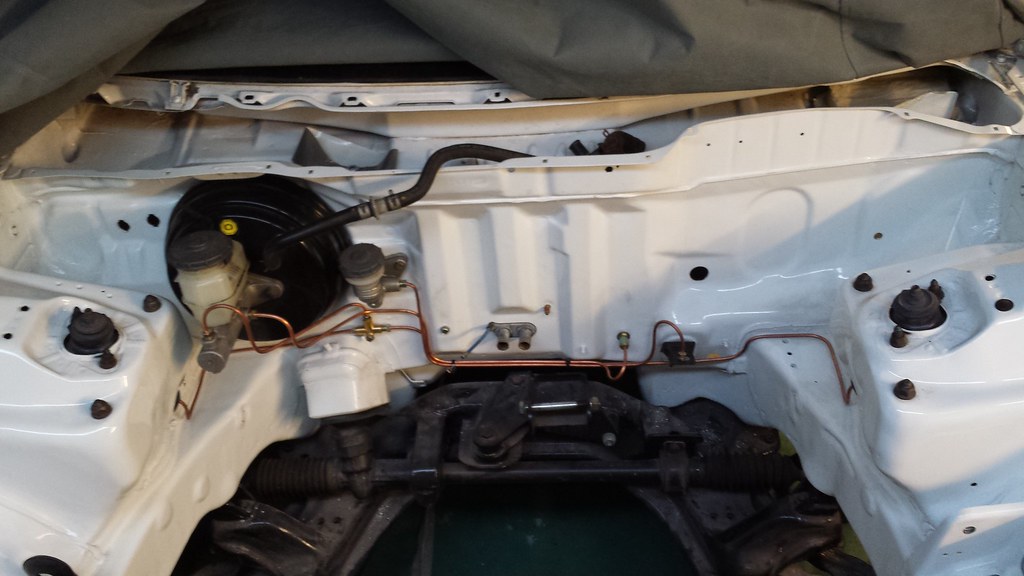
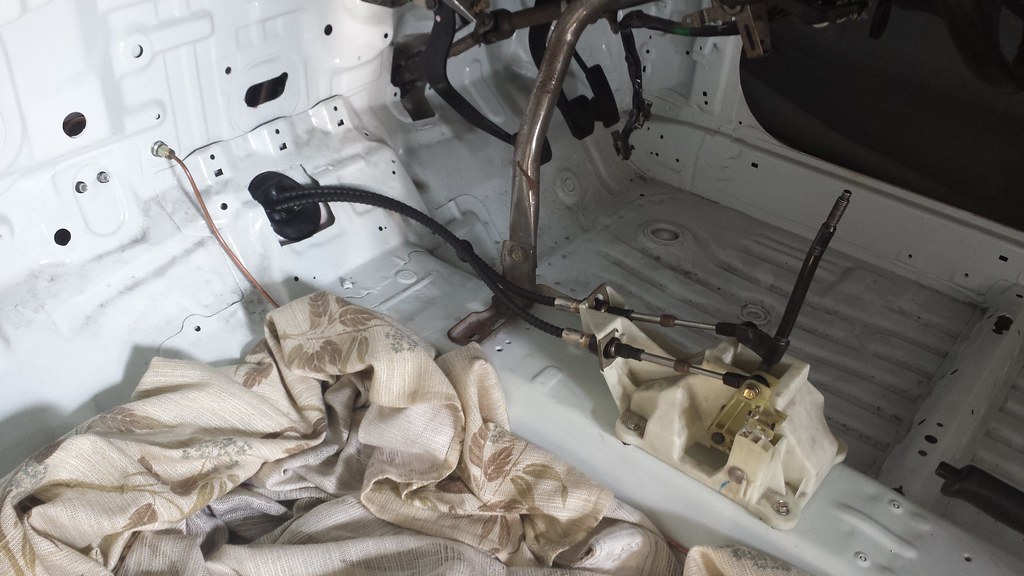
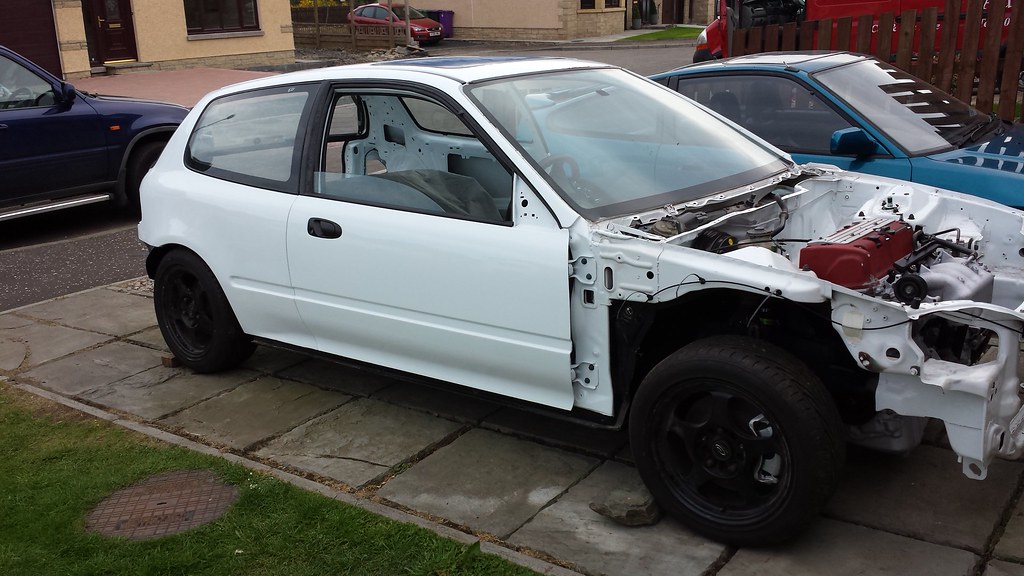
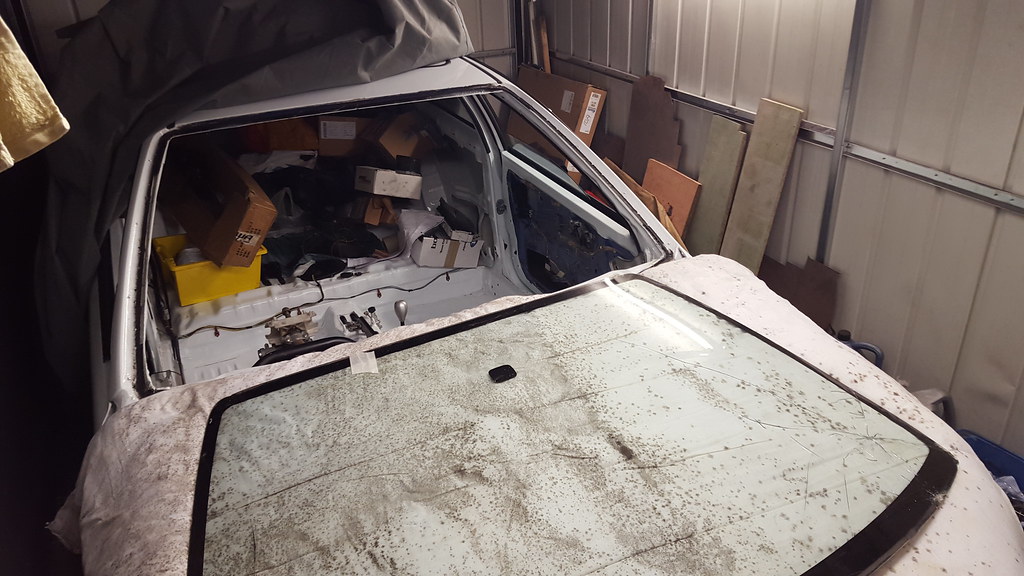
The original plan was just to pull the B, clean and tidy up/paint the engine bay and fit the K20, I did have a big issue with picking a colour and I think at the time it was going to go grey but that choice eventually became moot. So anyway dropped the B and started stripping the engine bay.
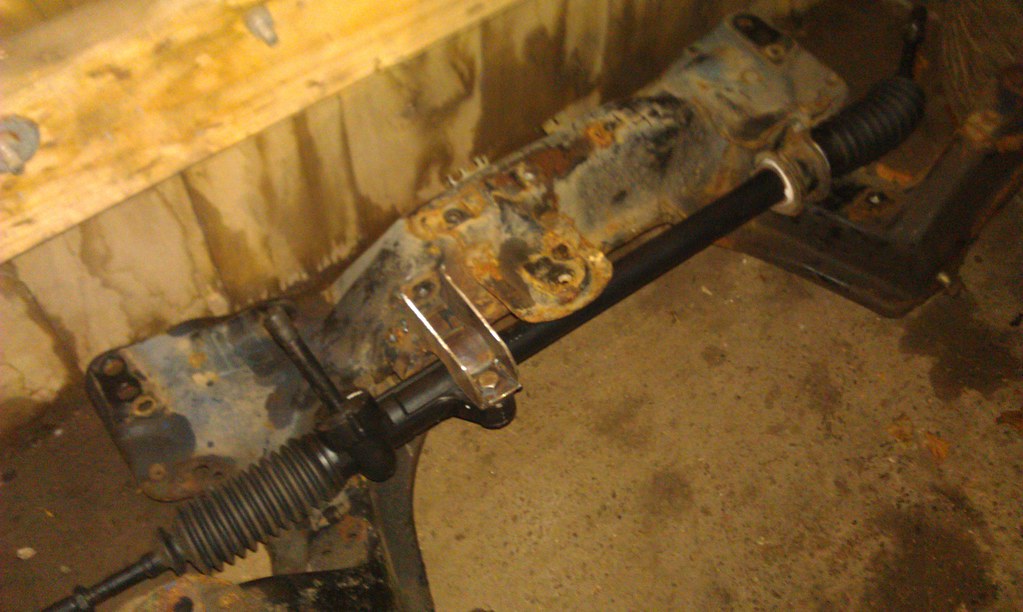
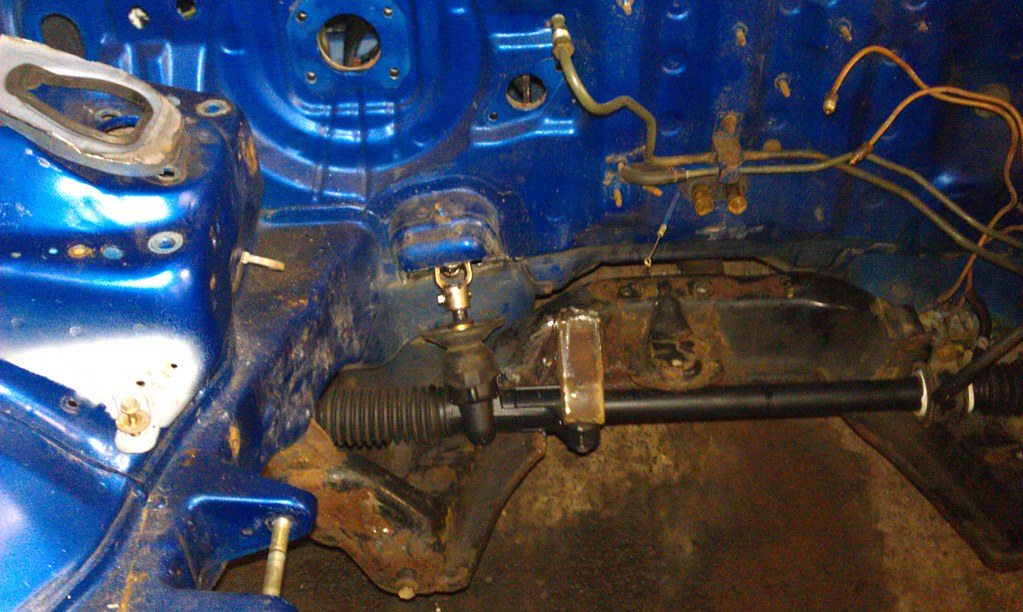
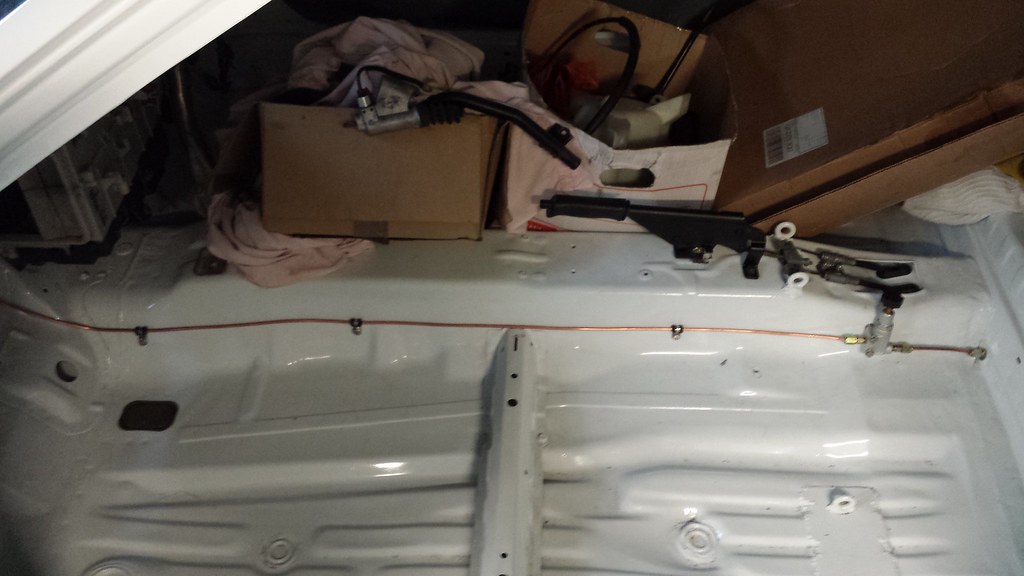
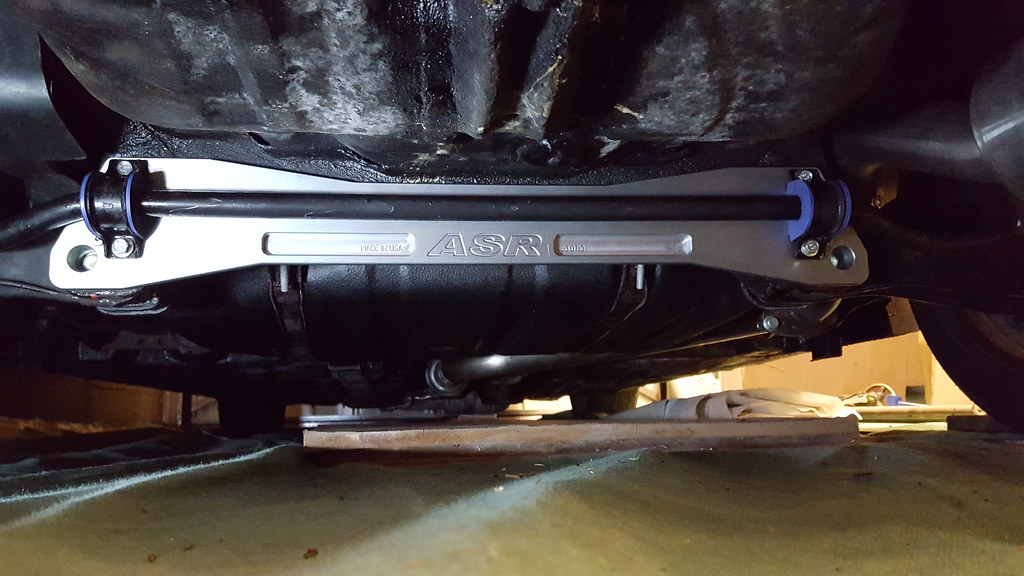
Then after much searching it seemed almost impossible to get a manual steering rack for an EG here in the UK, I followed many leads that kept coming up with EF/CRX ones. So decided to hell with it will buy one of the and modified the subframe to work, much thanks to my friend Karl for this.
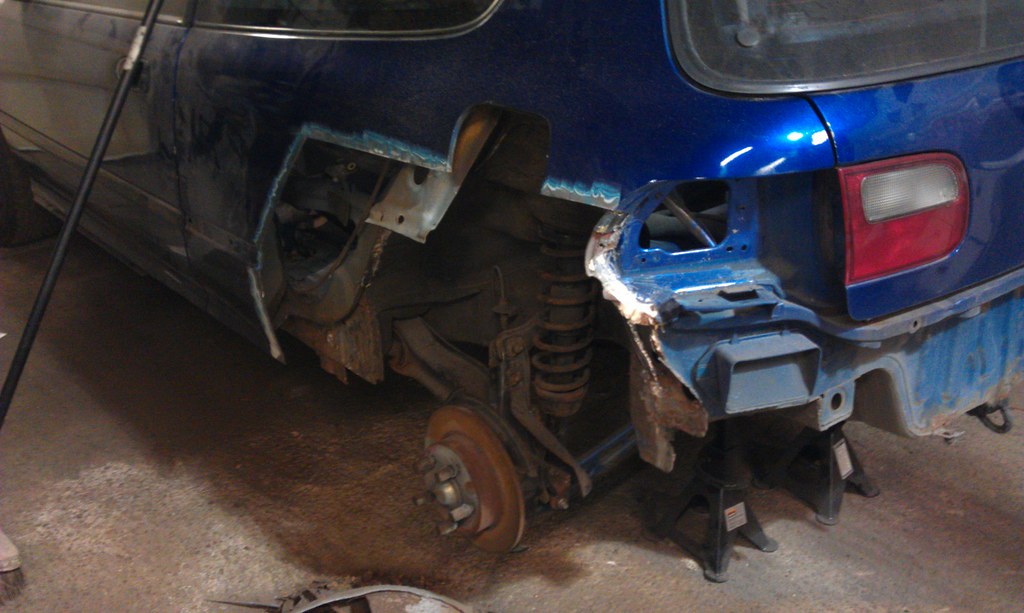
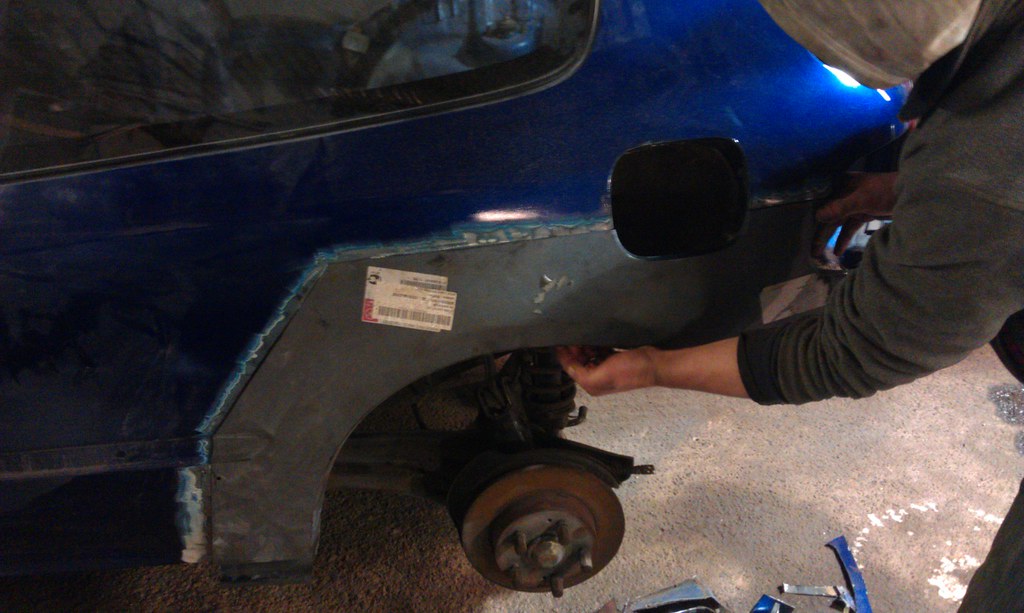
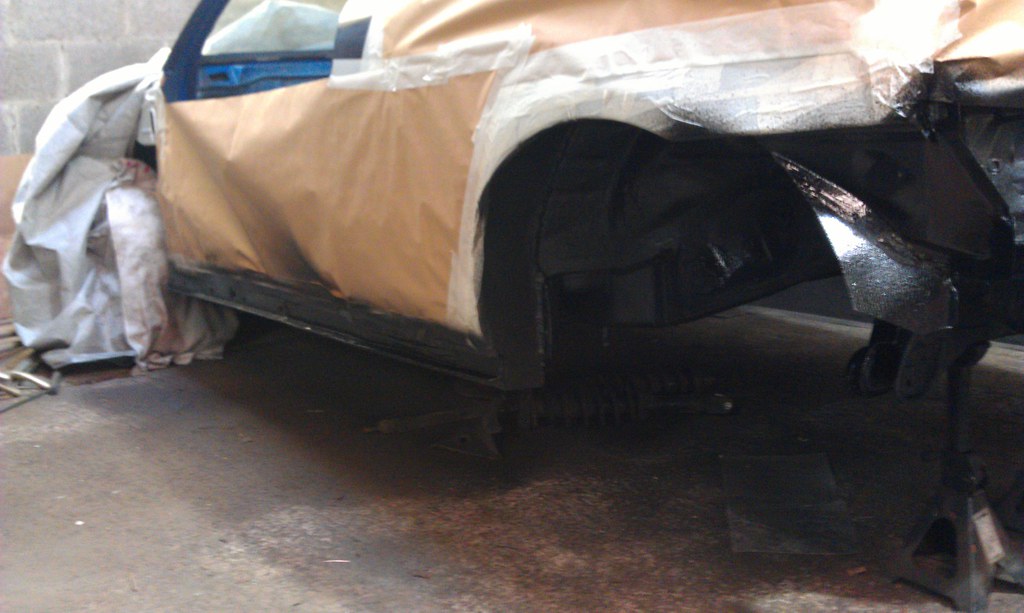
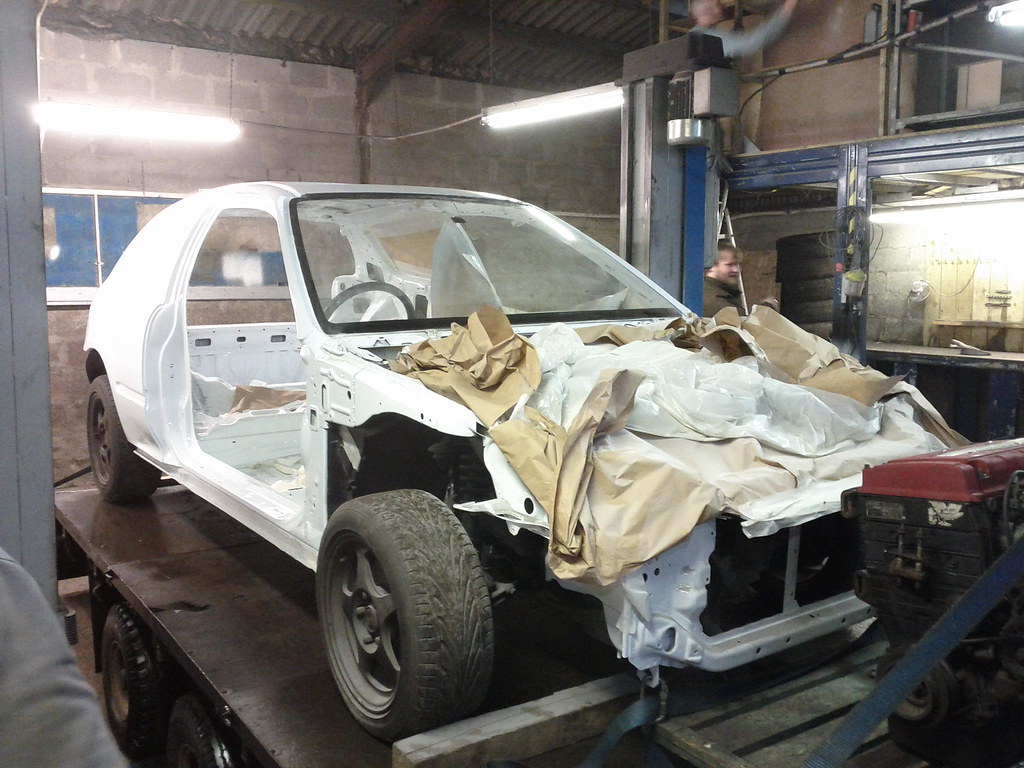
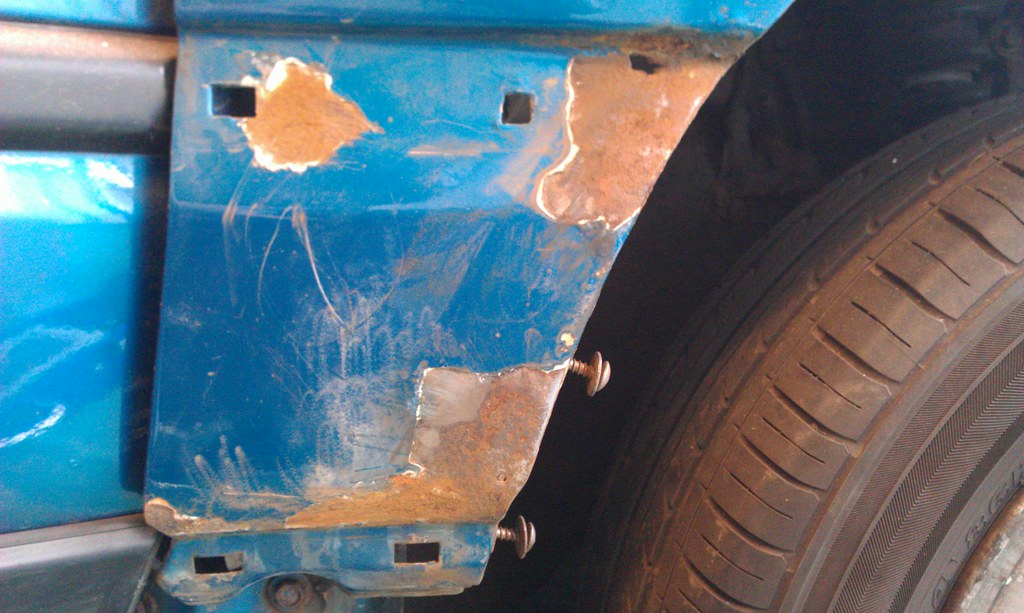
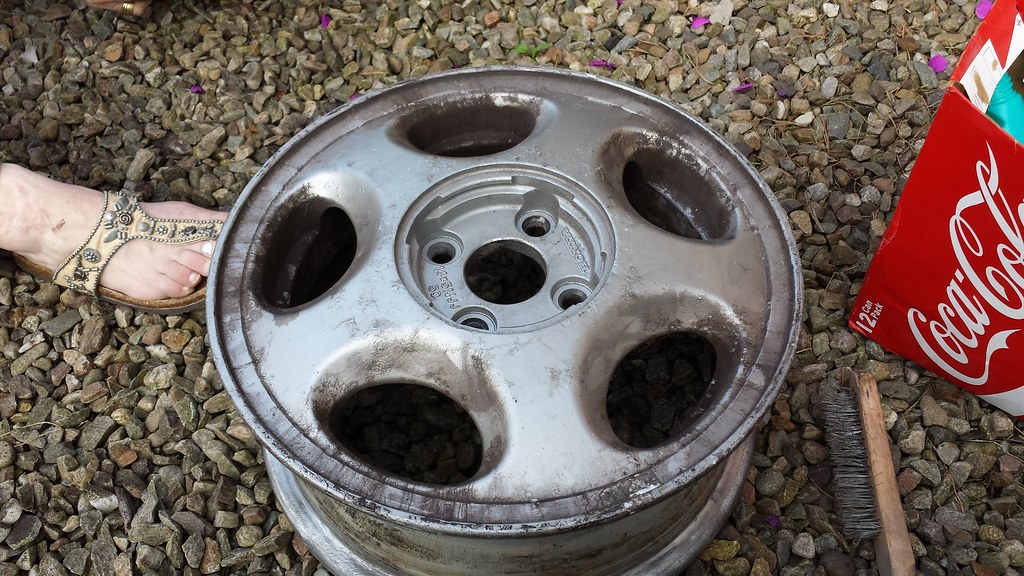
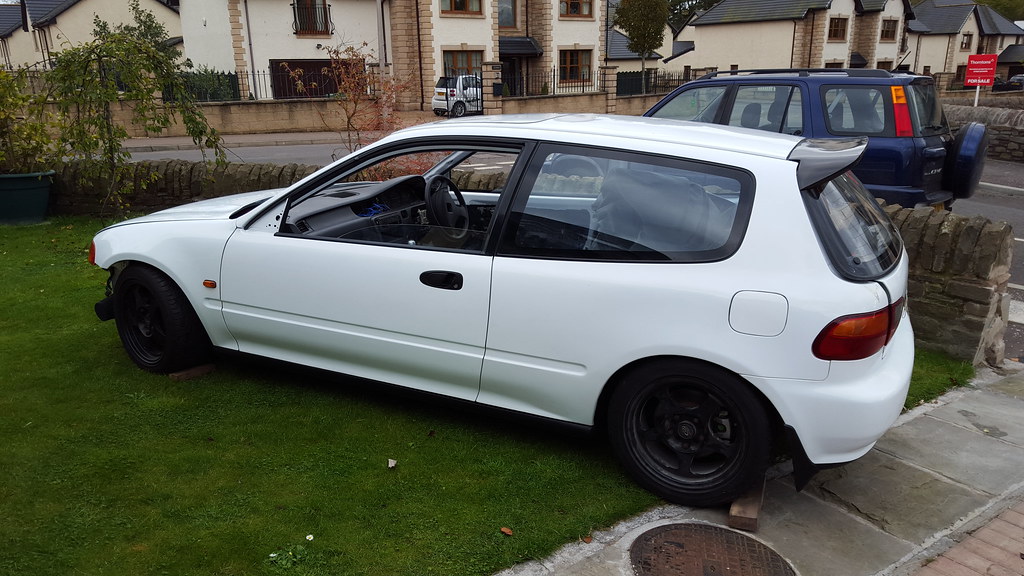
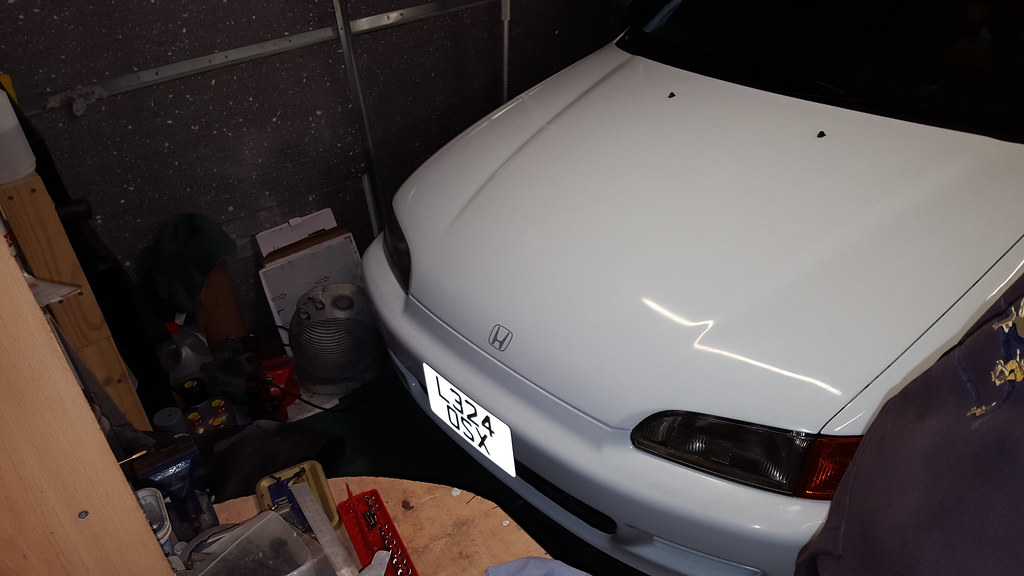
So then for some reason I can't quite remember I decided to pull of on of a side skirts. To find that the work I had previously gotten done on the arches and sills to be completely rotten out again. I wasn't overly surprised as I wasn't to happy with the work that was done last time. So after a bit of debate it was decided that I would repaint the whole car after fixing the rot again, but this time doing it myself. The colour I ended up picking was Fords Frozen White, as (sacrilege coming here) I'm not a huge fan of championship cream, well really not when people put white wheels with it and you can see how not white it is Secondly its crazy cheap here as ford paints everything with it included their transit vans etc, So all in to paint the whole car in and out including primer etc came to about £160.
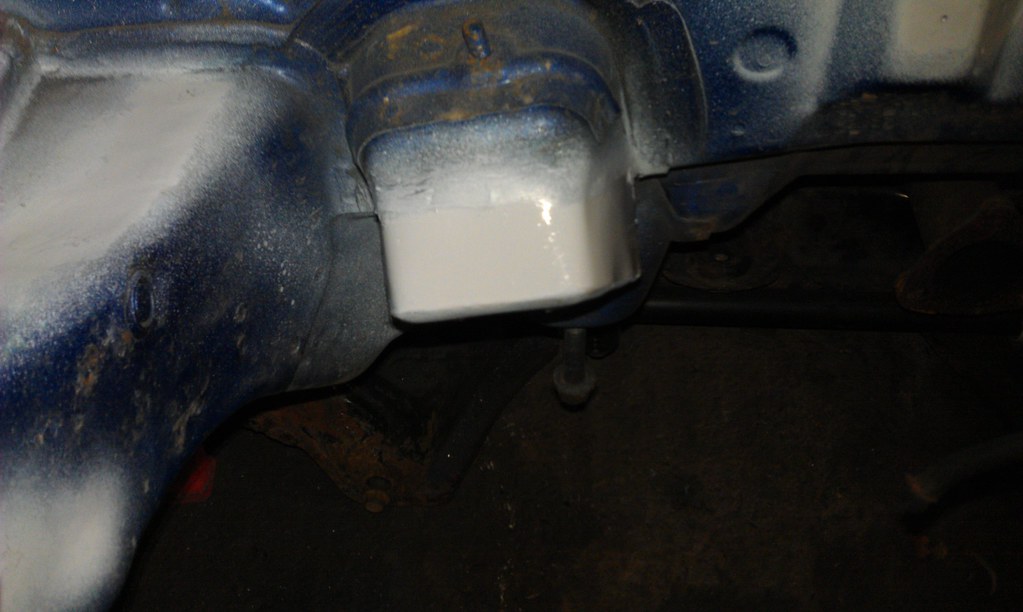
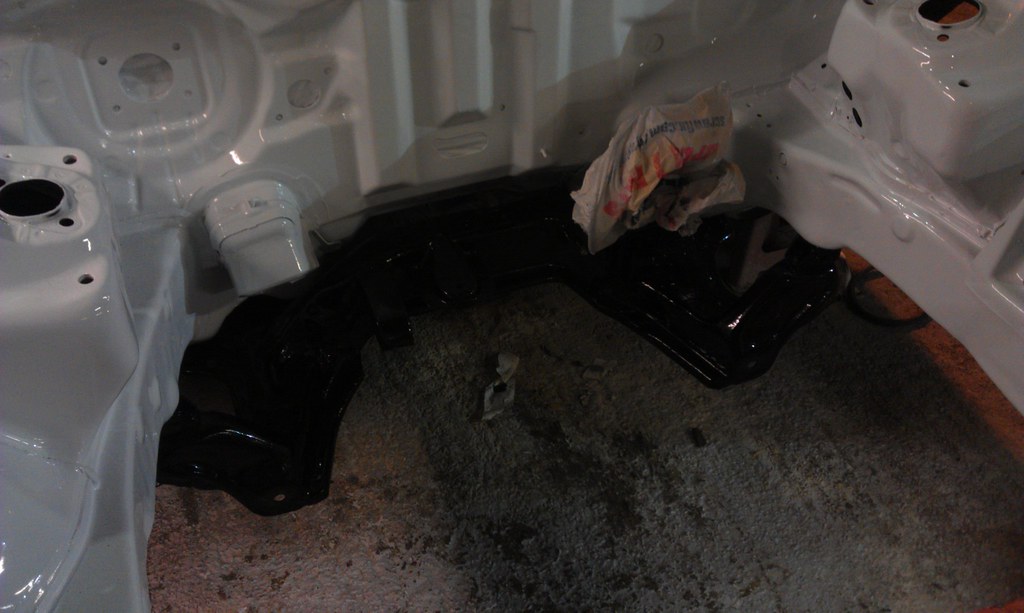
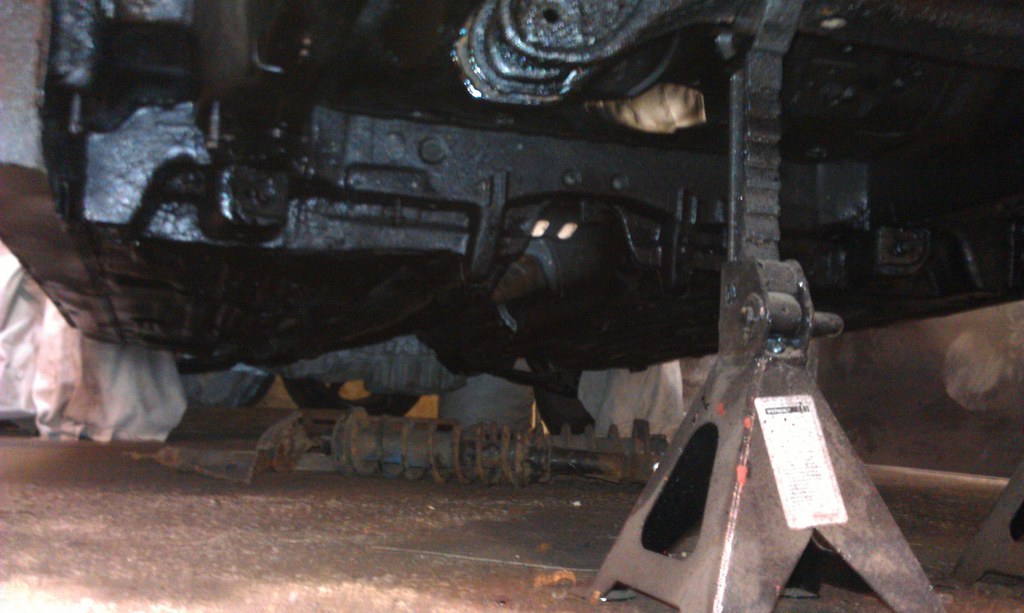
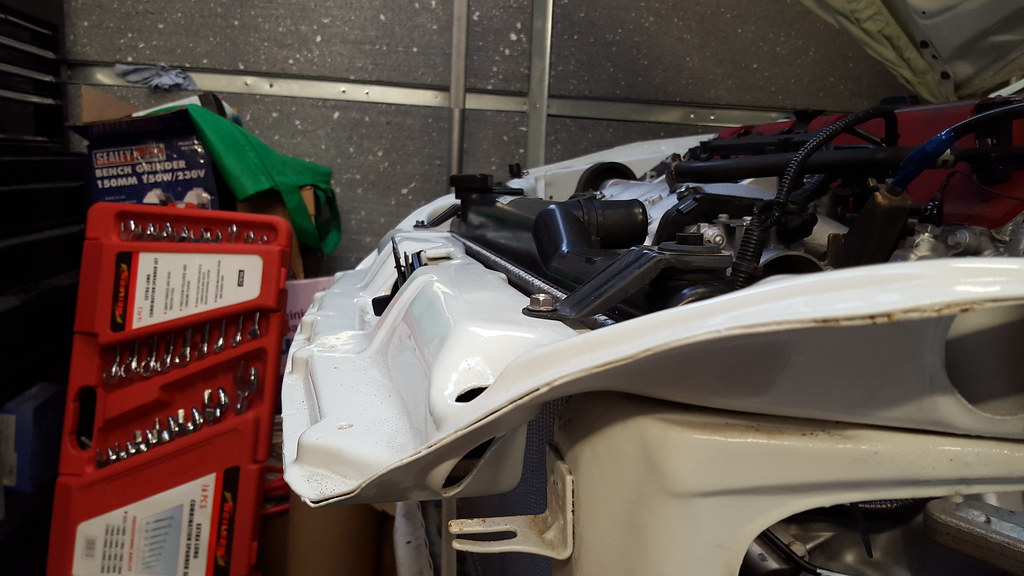
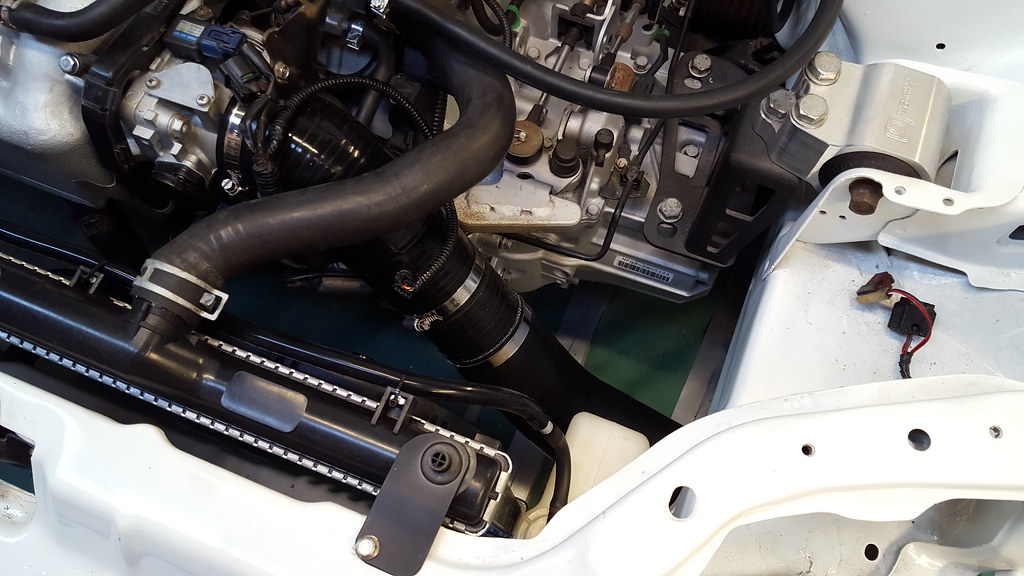
So since the bay was ready to go we tested it out, plus newly painted subframe.
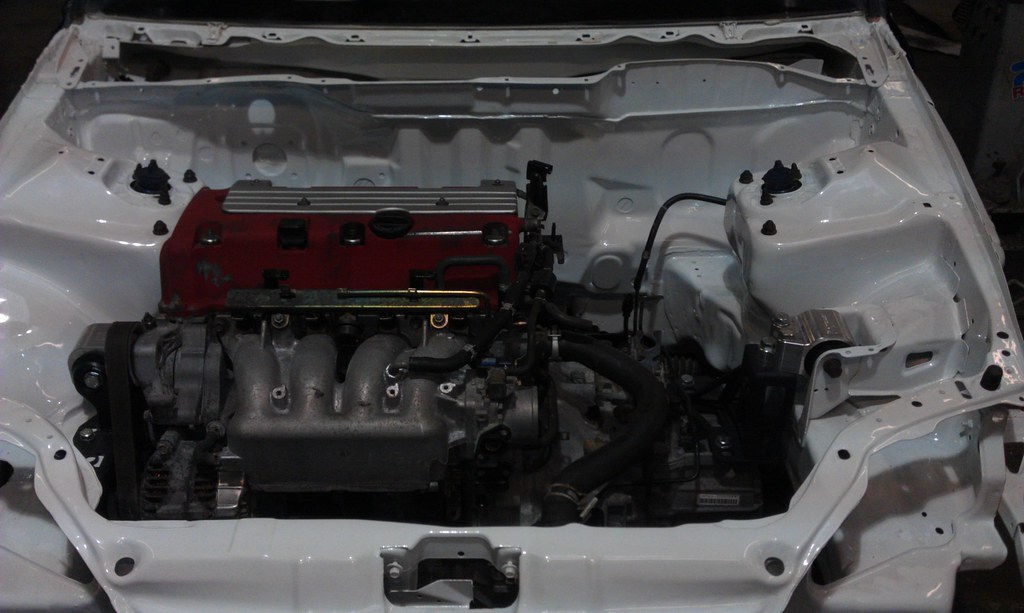
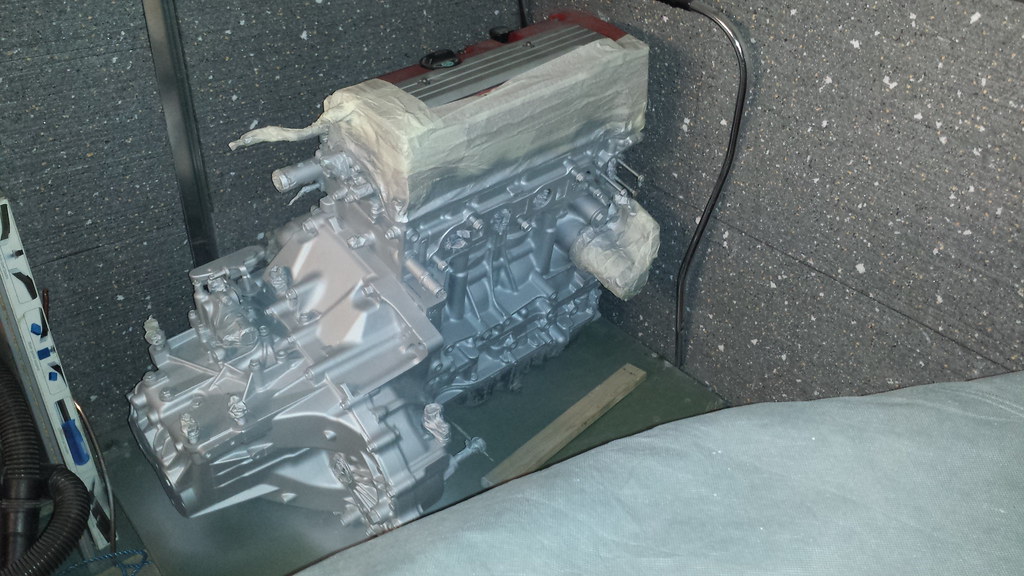
Then had a quick test fit of the new engine and also to give it home whilst I got on with other jobs.
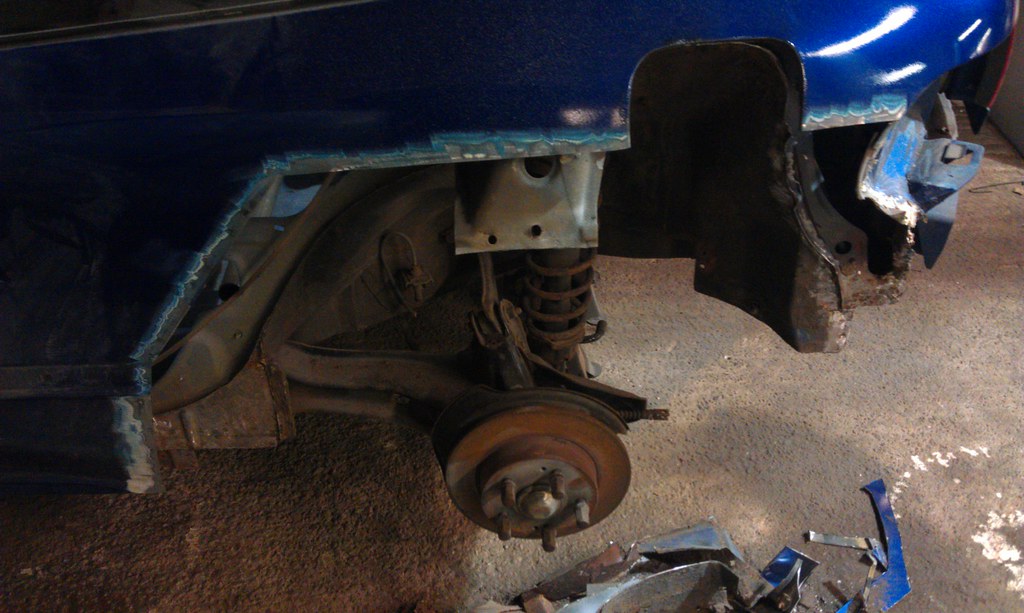
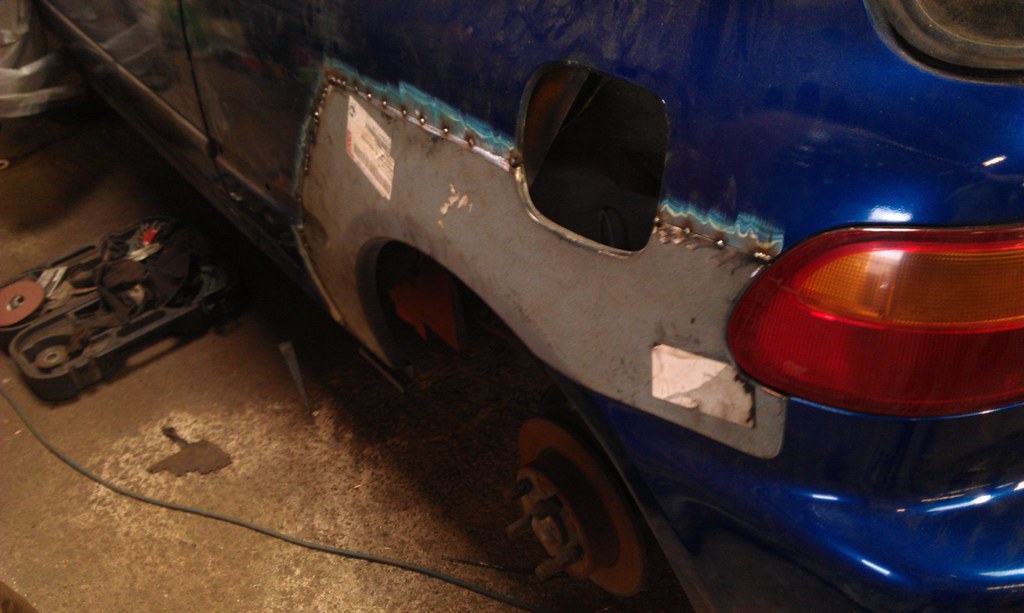
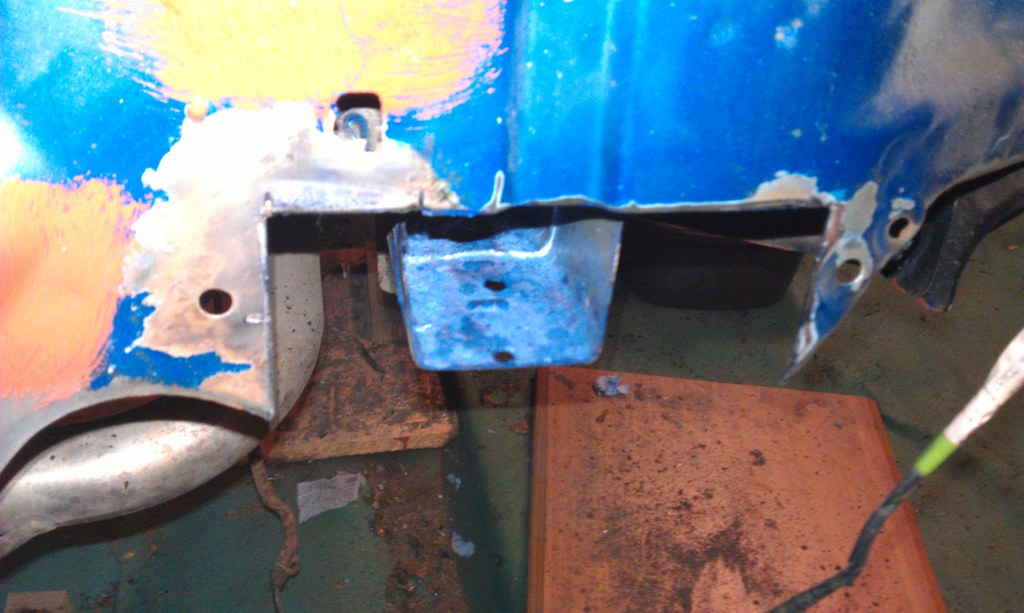
and then it was back on to fixing the rust part 2.

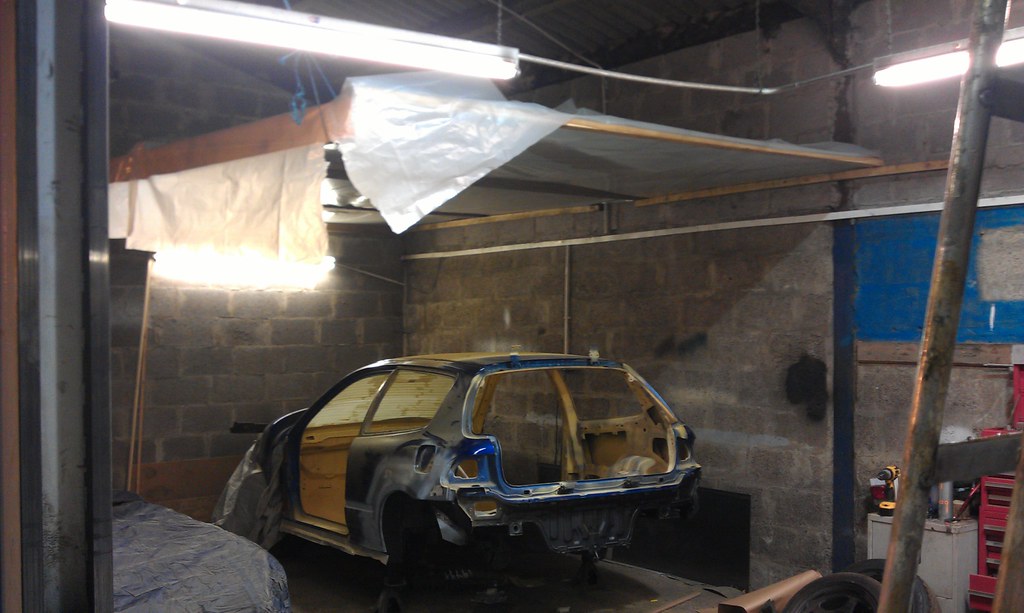
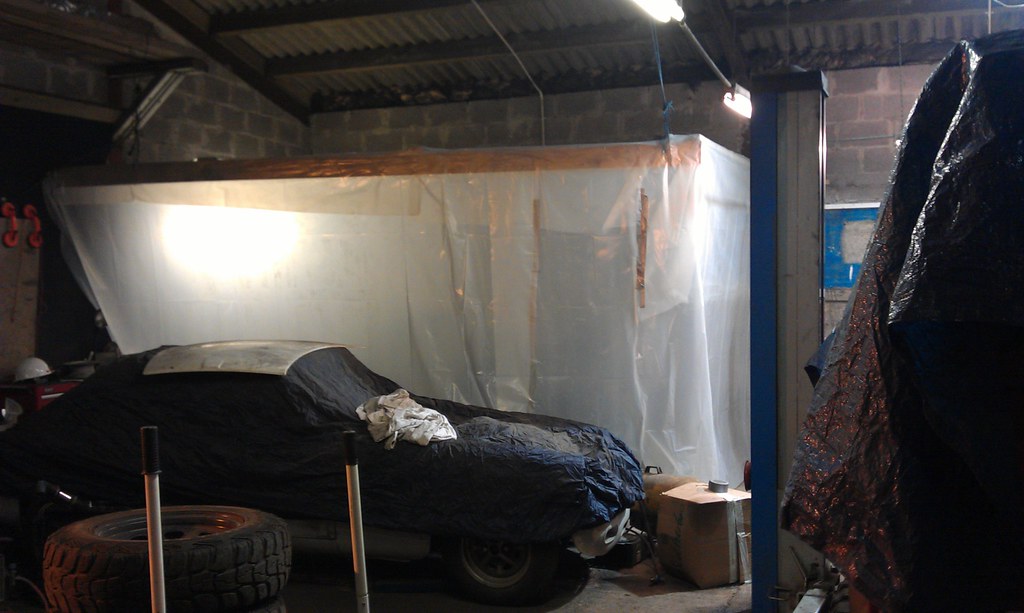
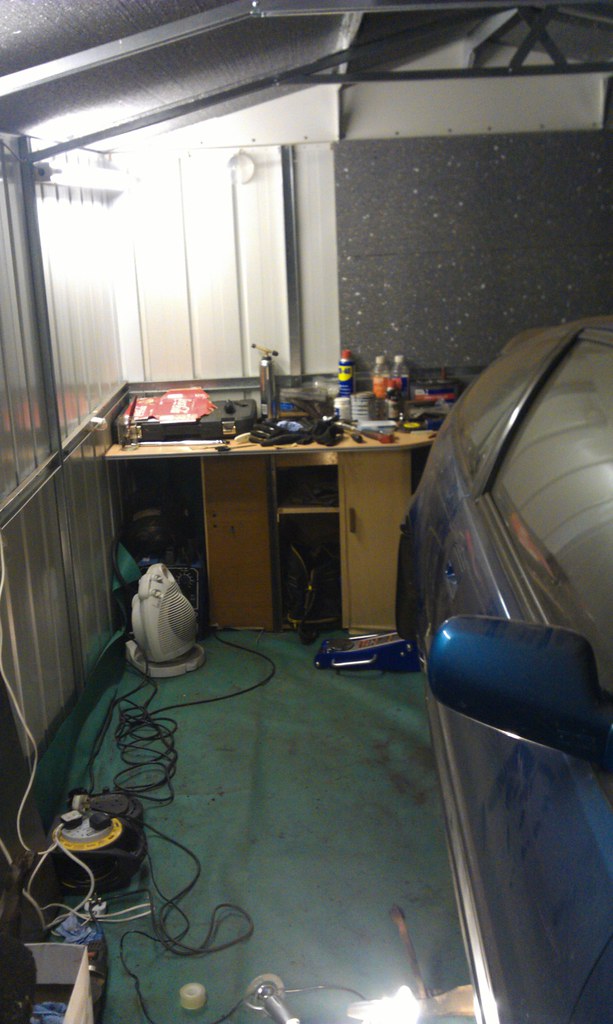
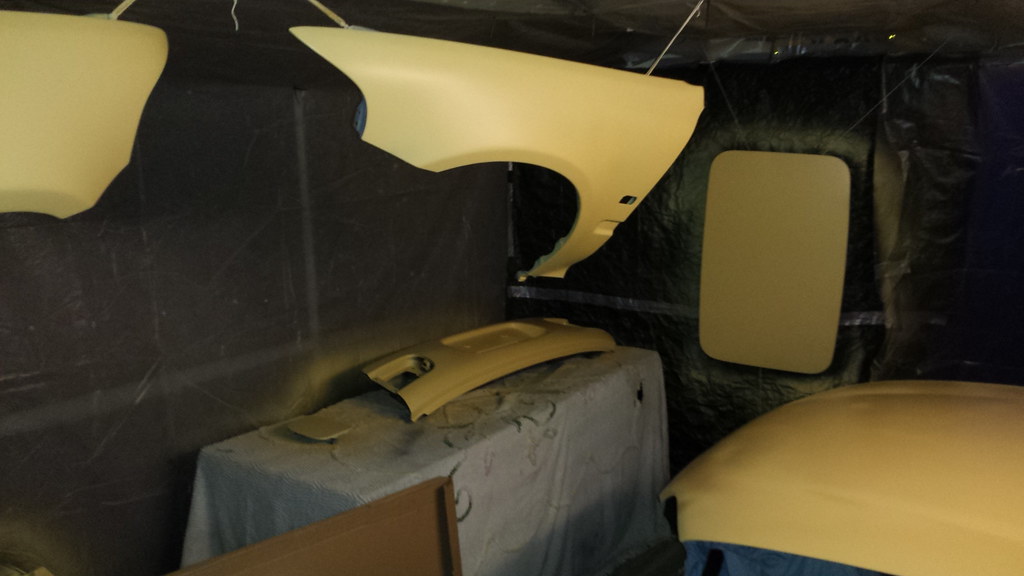
Then we went on to rigging up a make shift paint booth in the shed I was renting with a few friends at the time to work on our cars. (there was a 400hp blobeye scoob that ended up getting sold, 2 Land Rover Defenders 90 and an MGB V8 "Drift car")
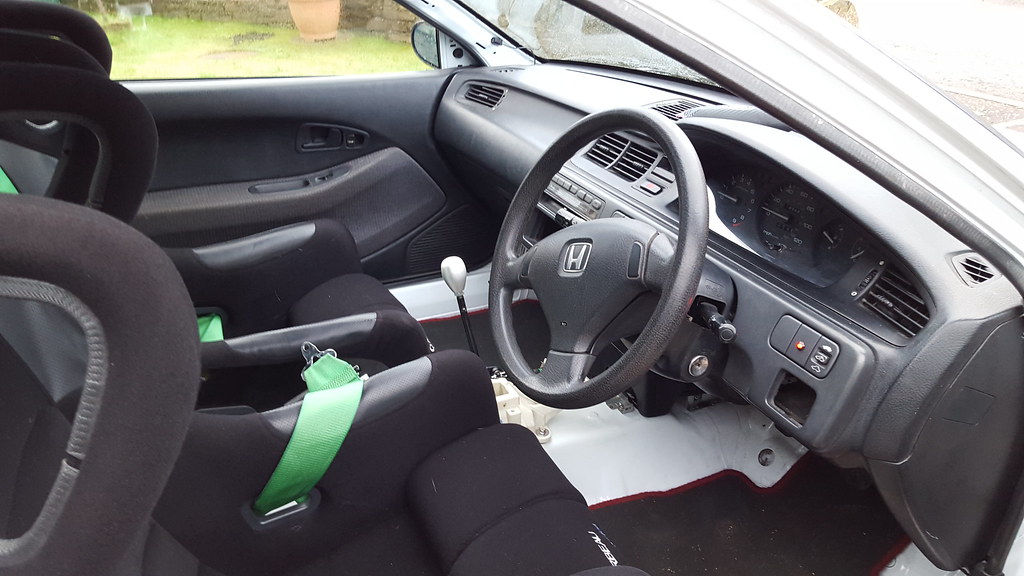
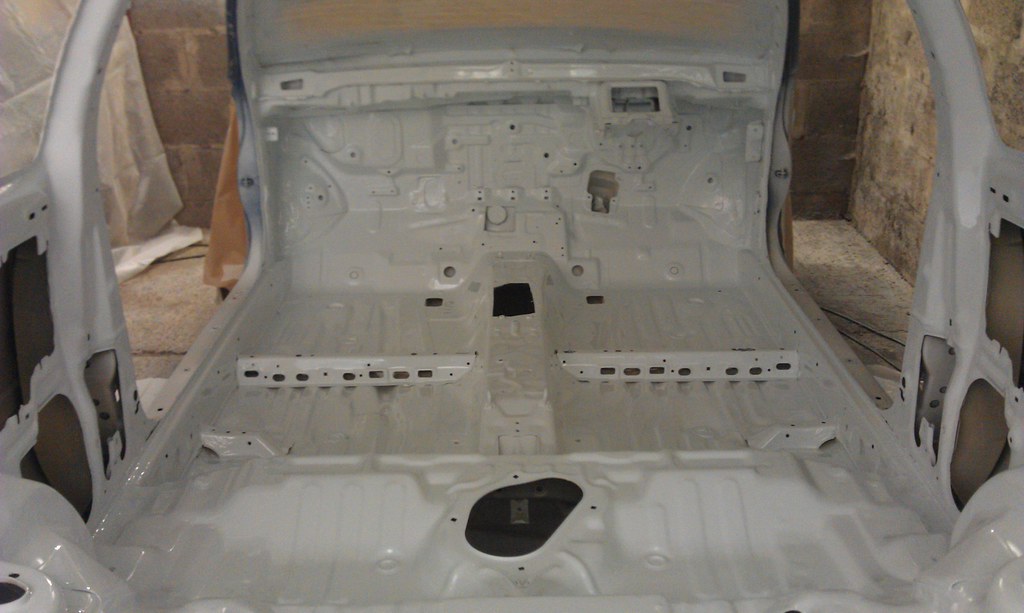
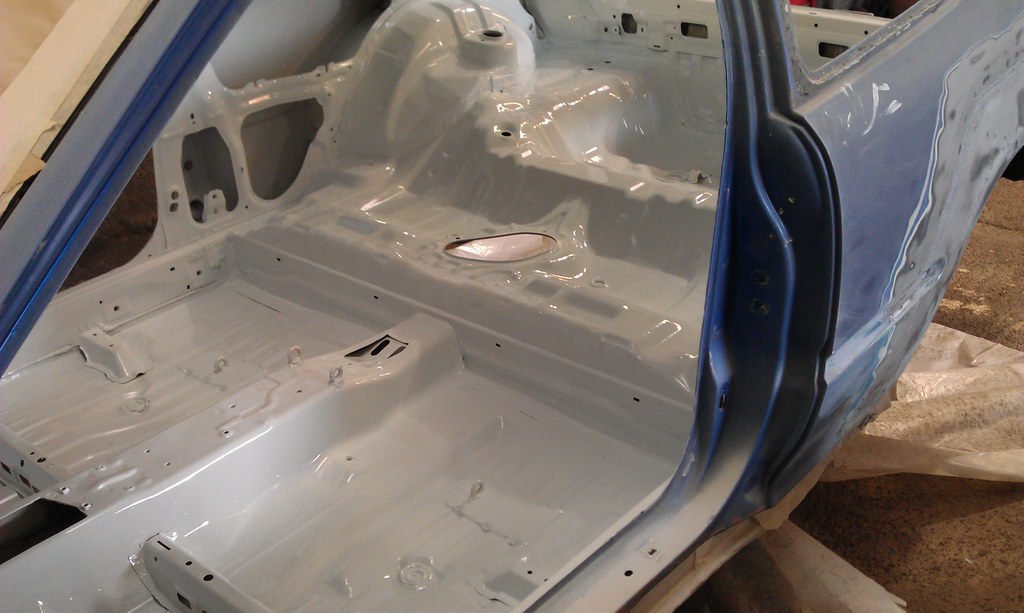
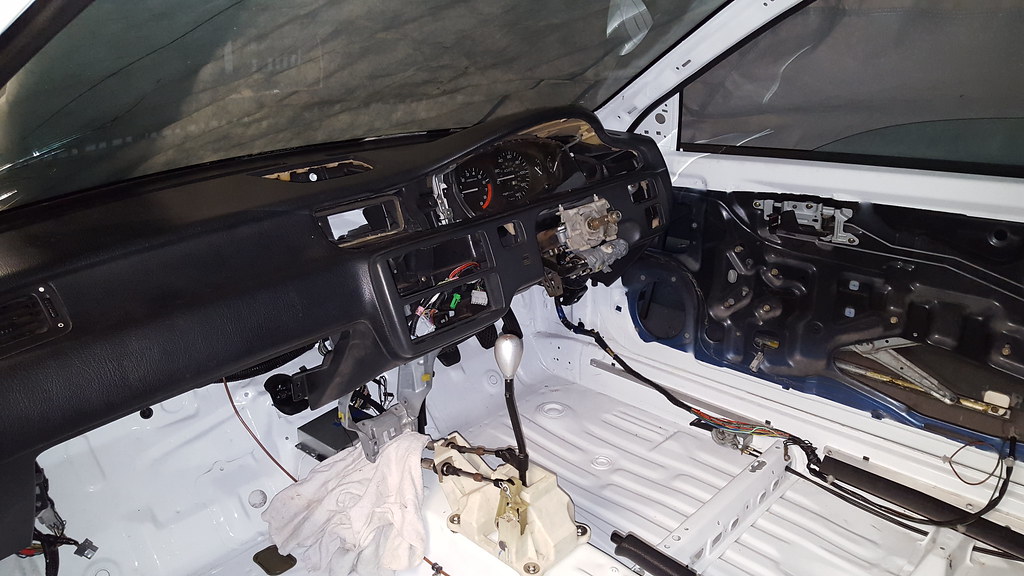
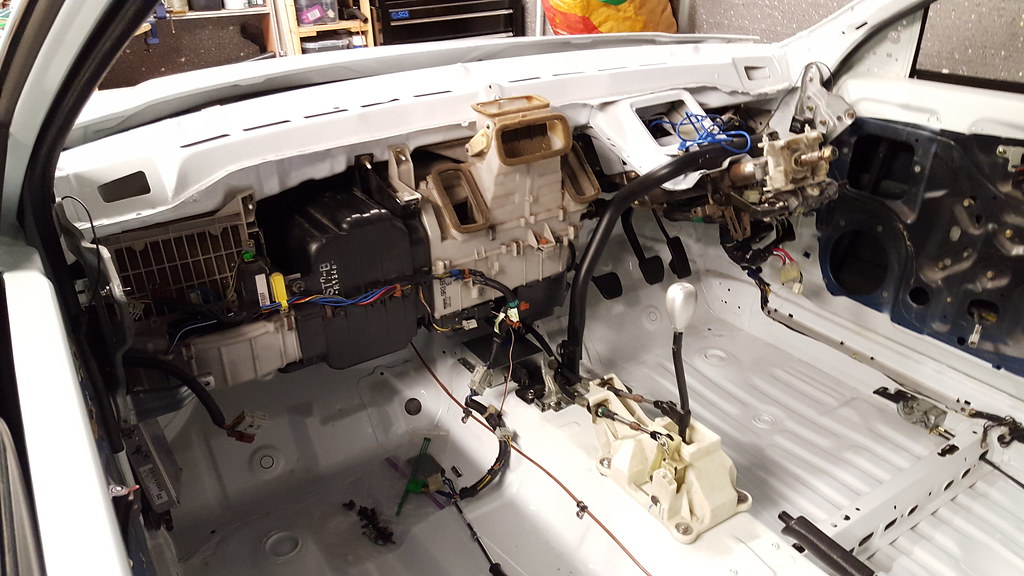
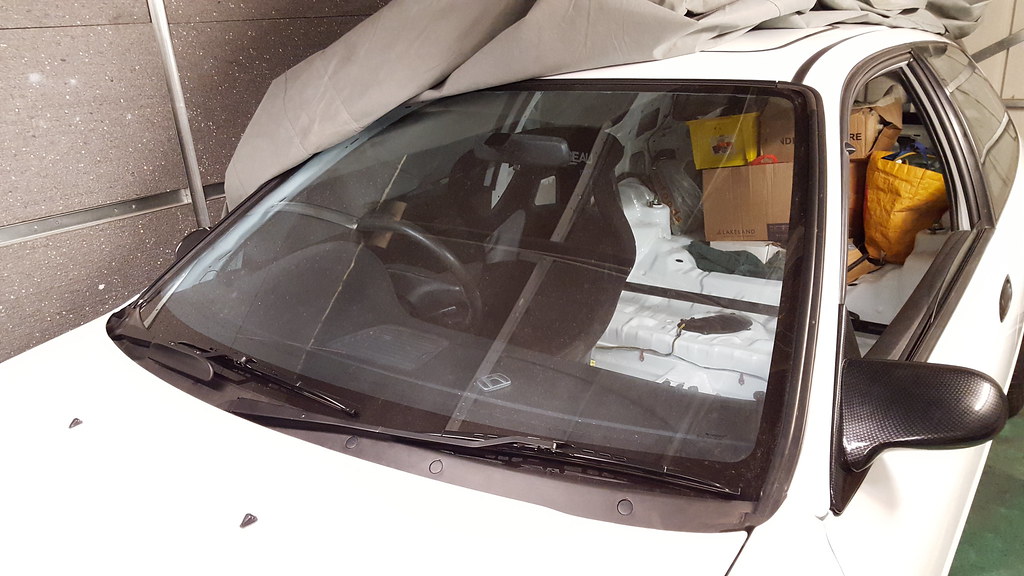
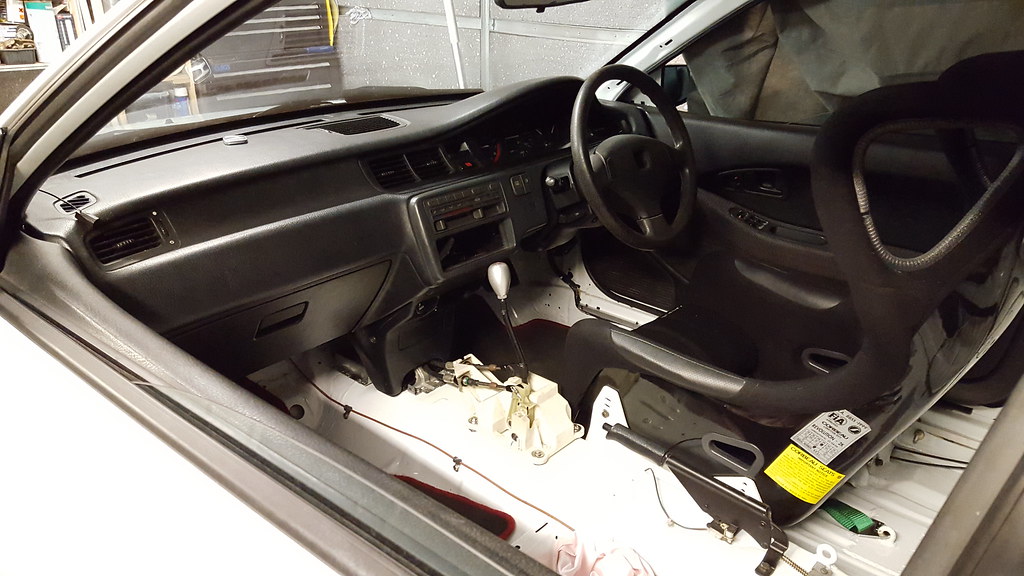
Interior primed

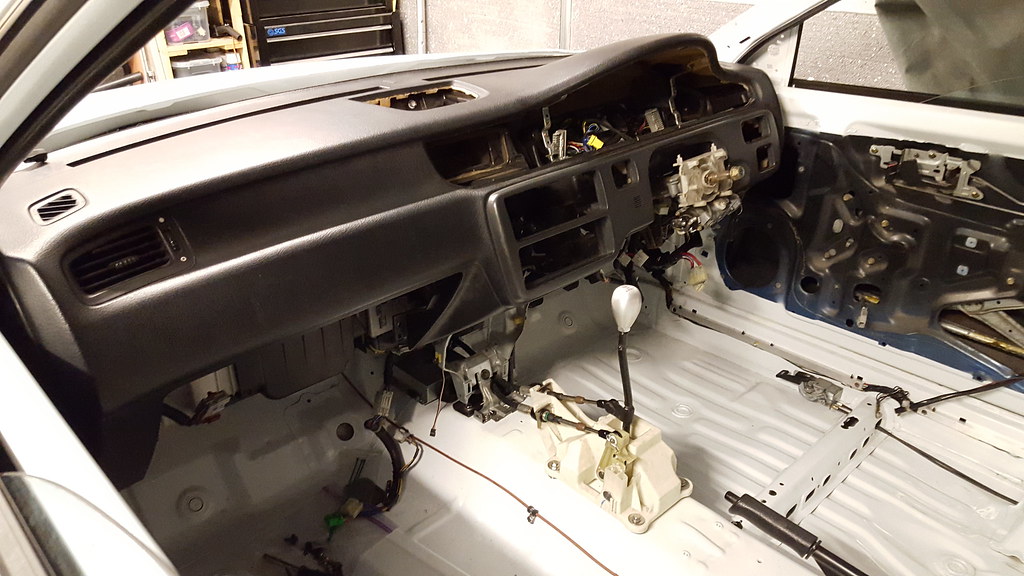
and then painted
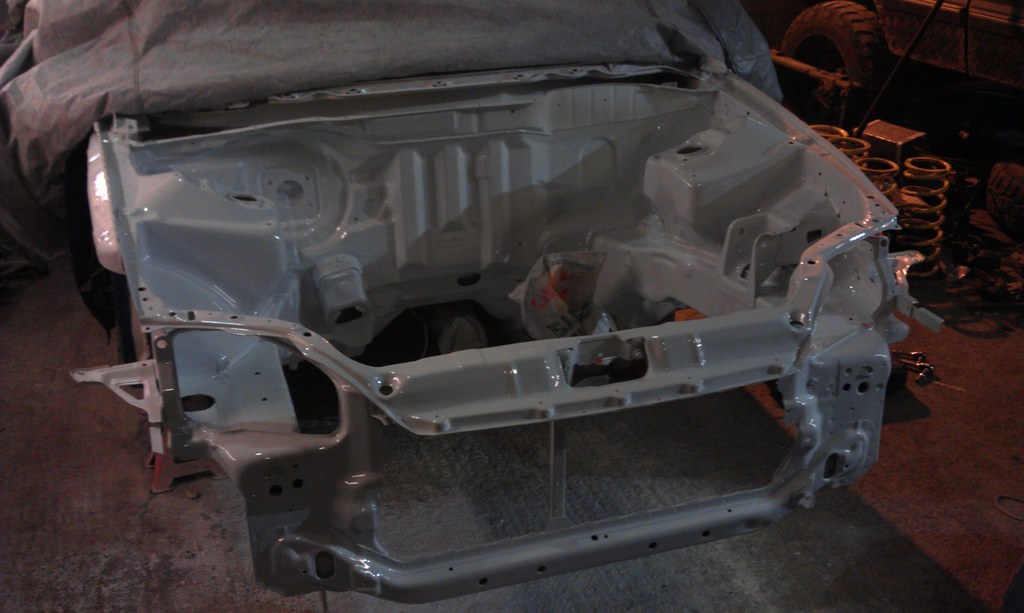
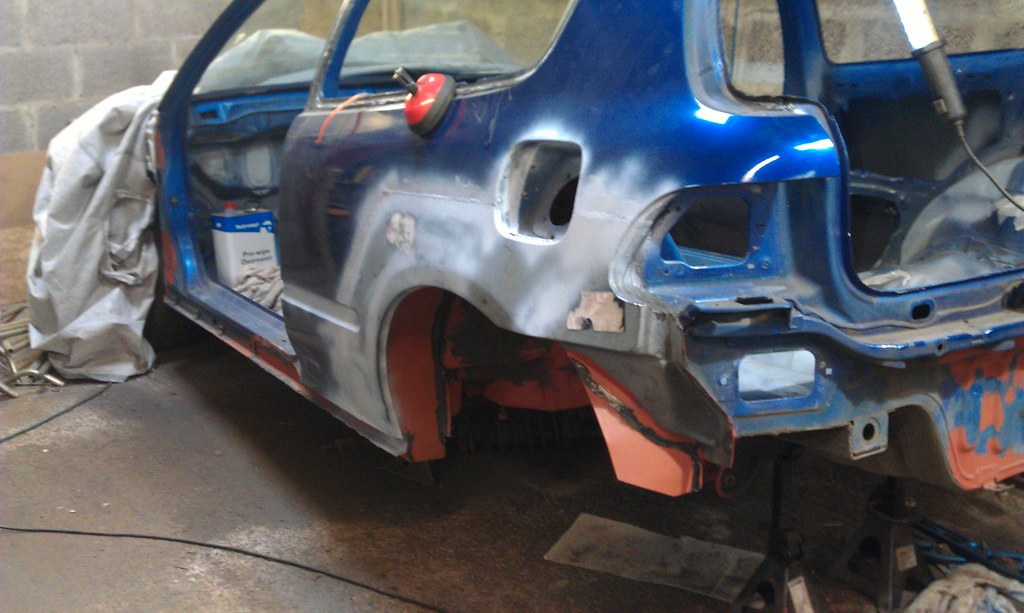
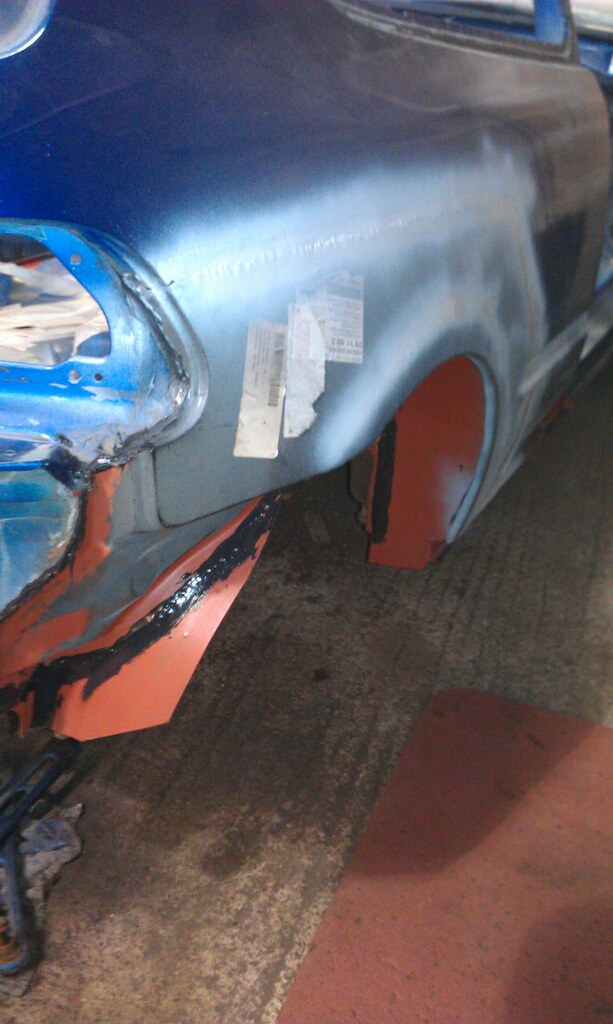
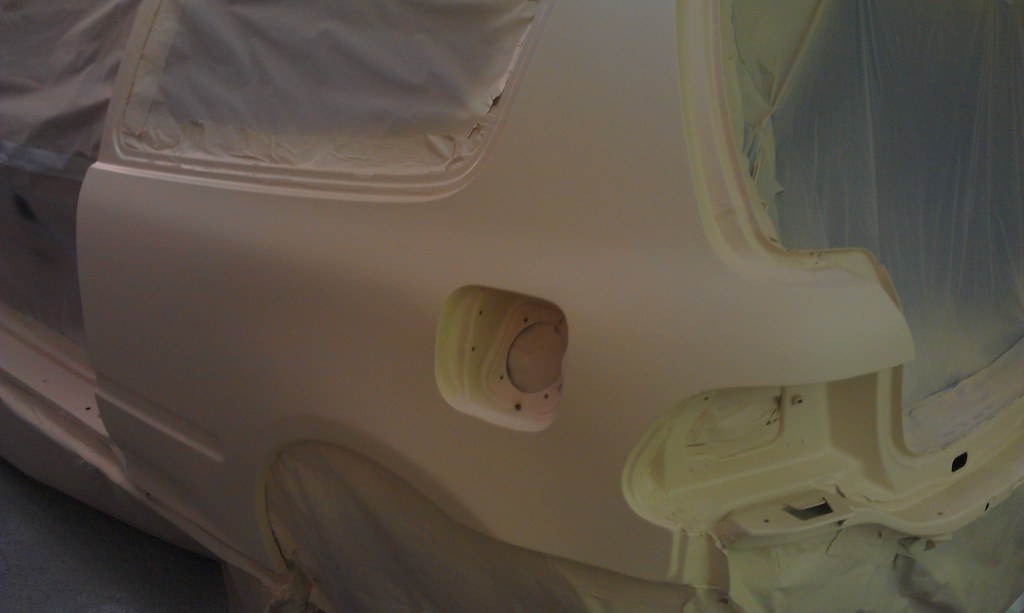
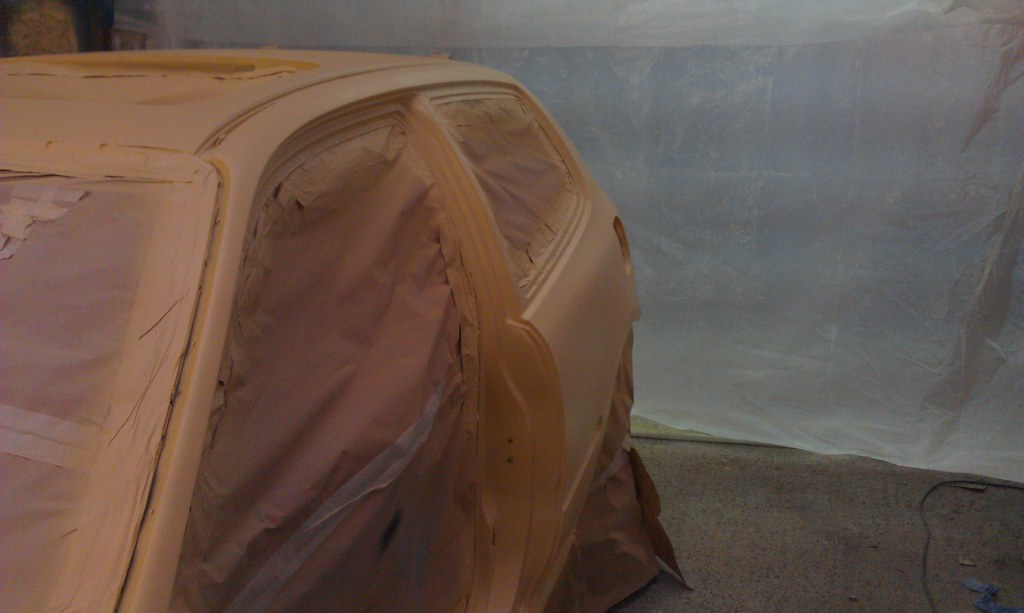
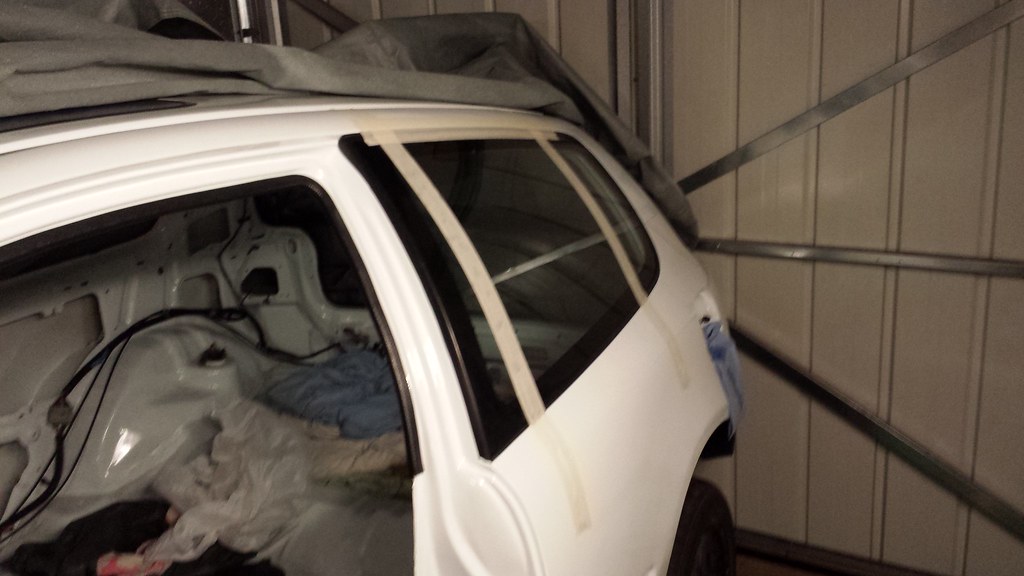
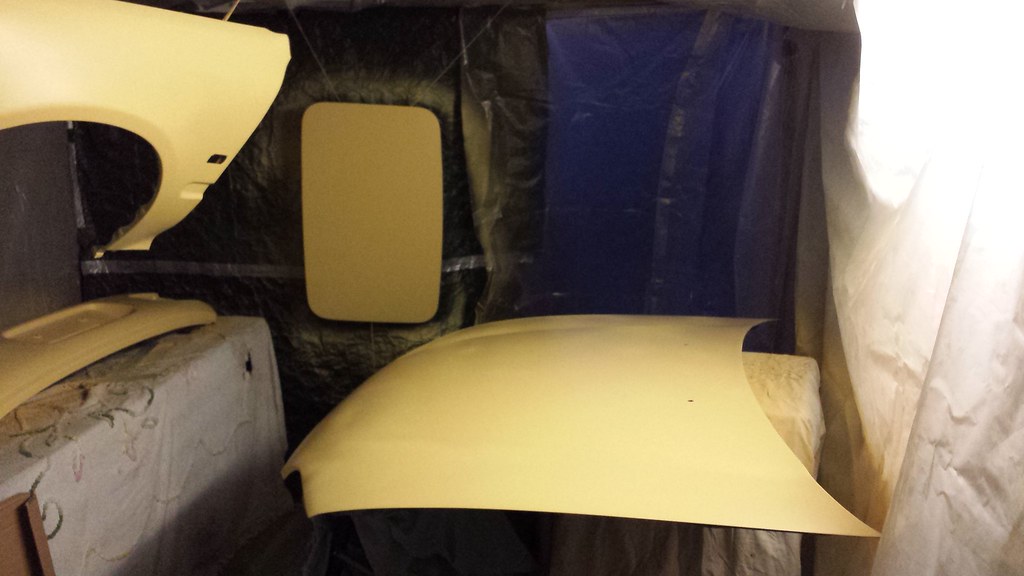
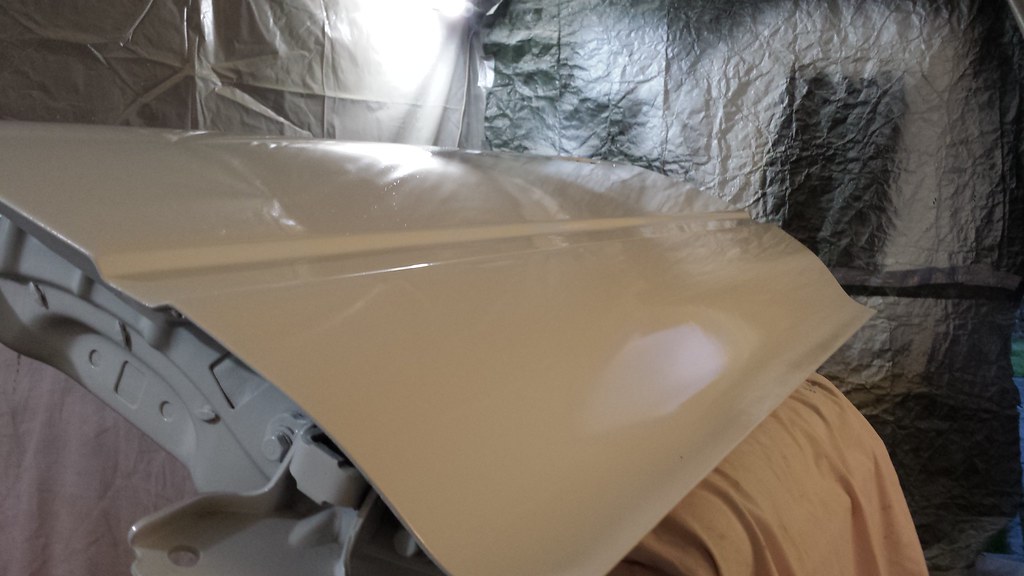
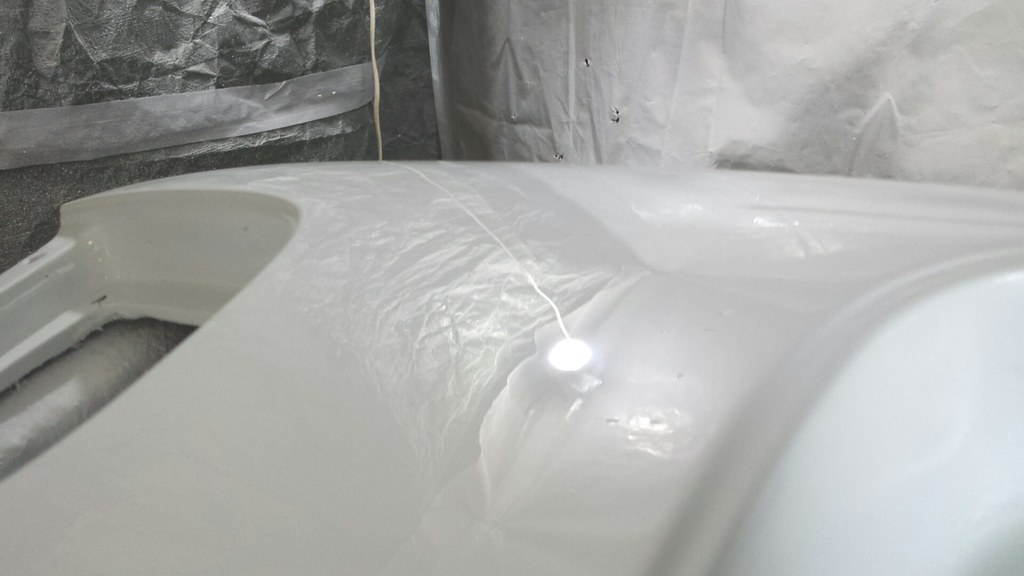
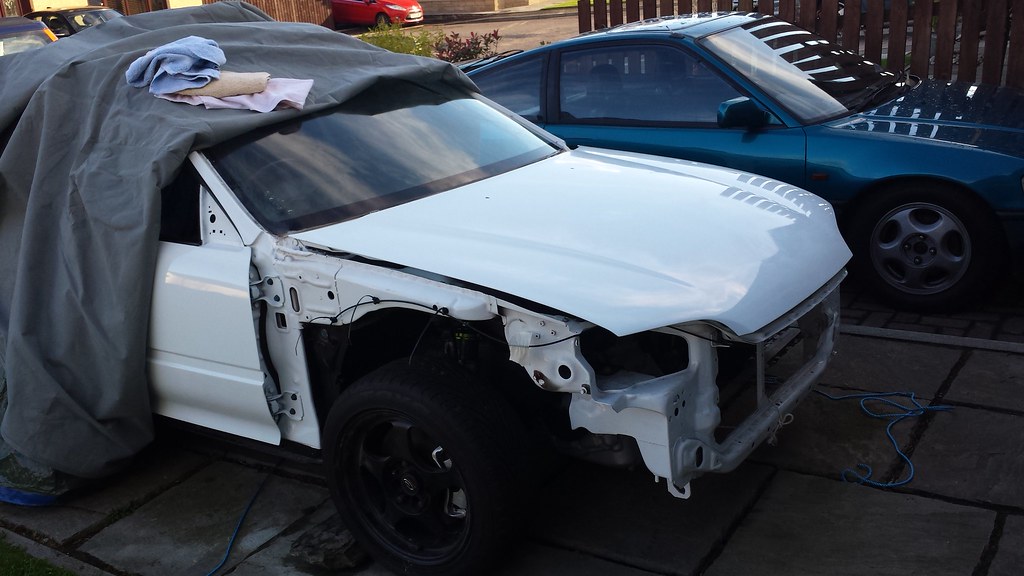
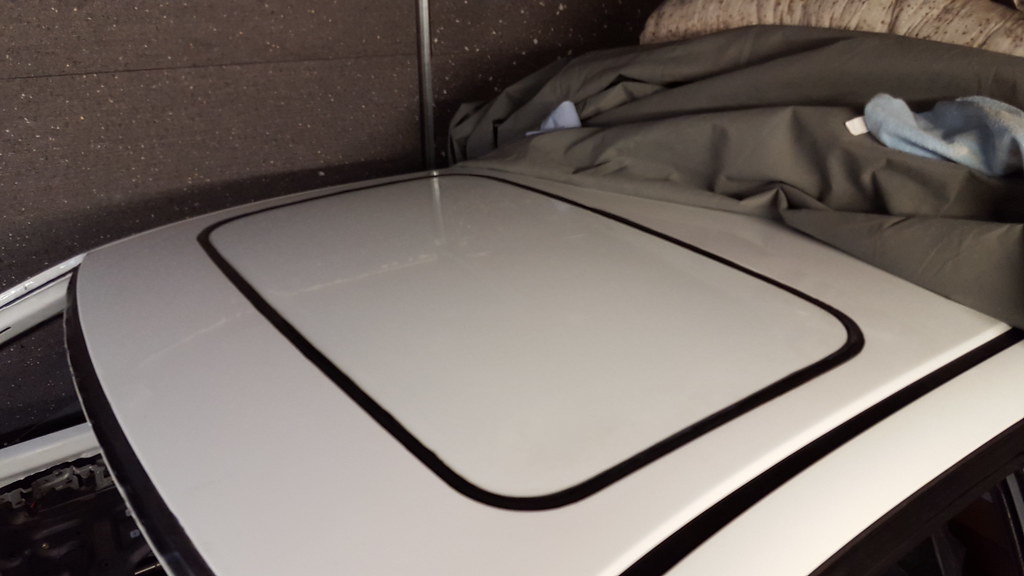
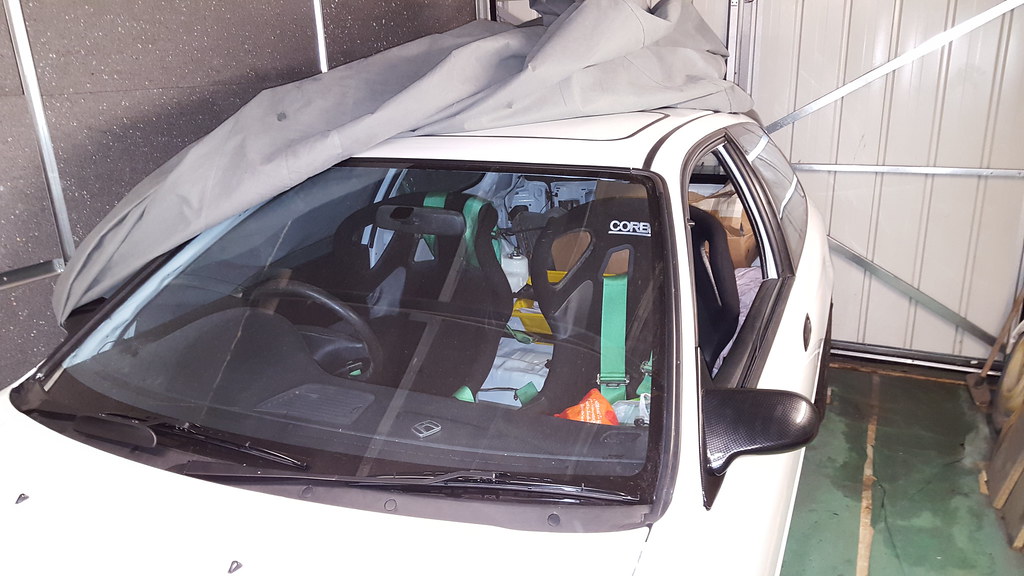
exterior primed
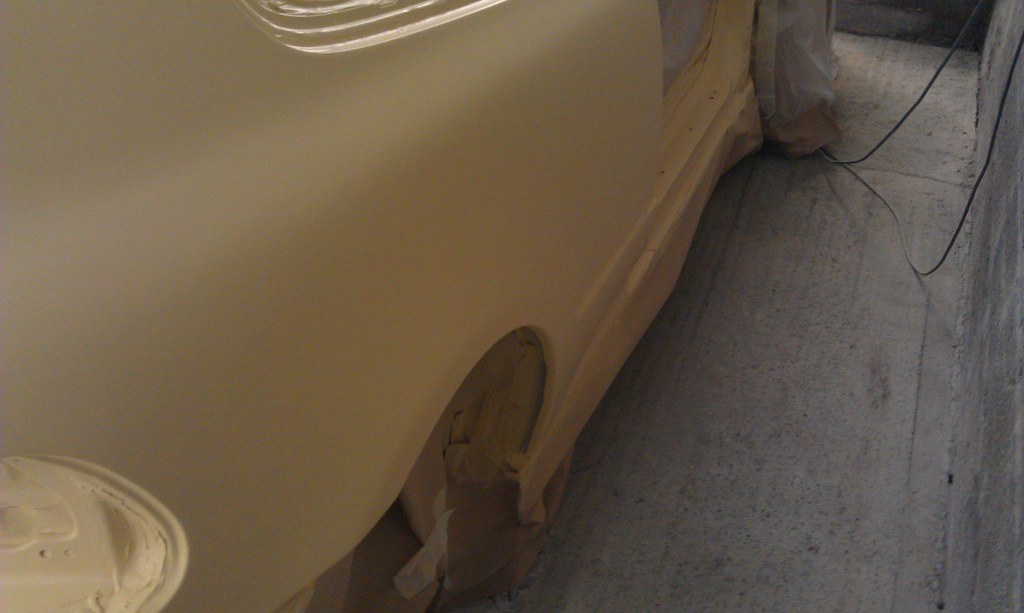
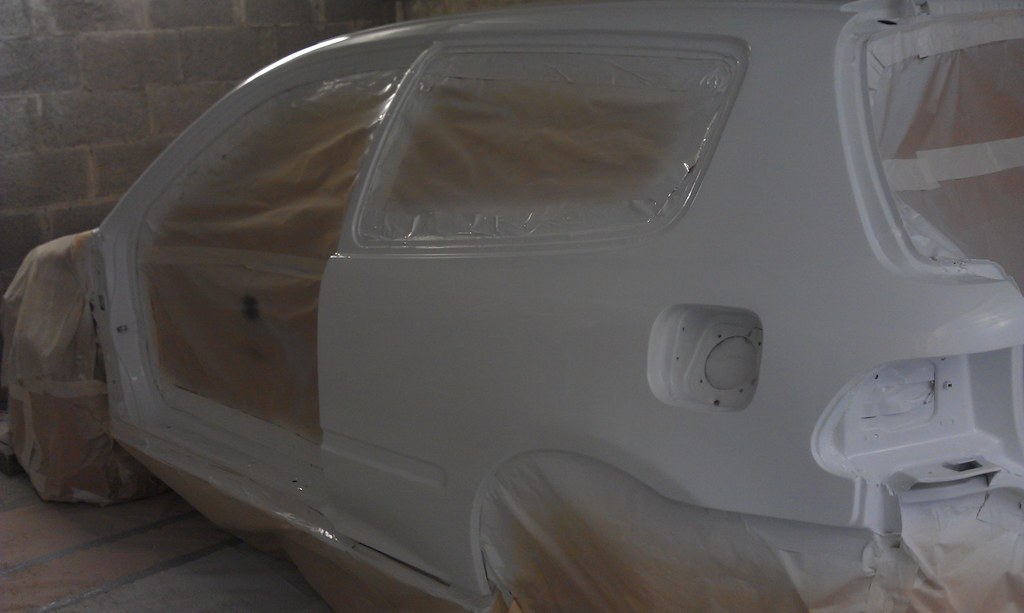
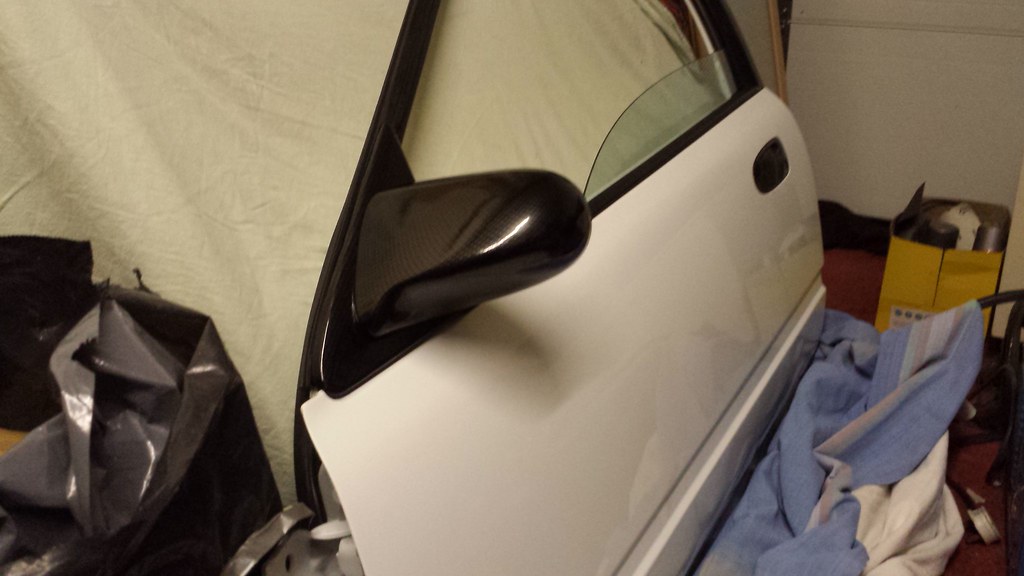
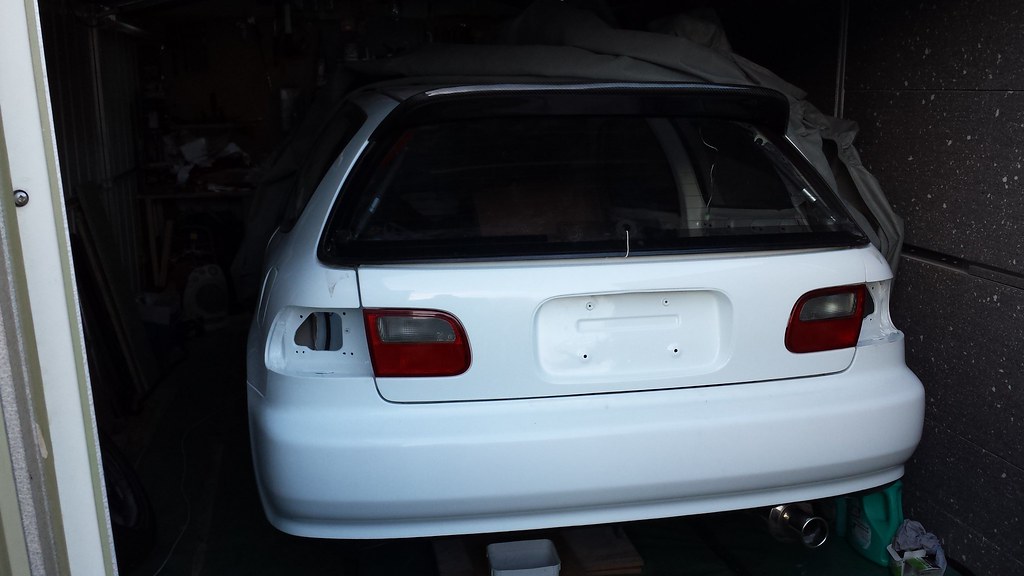
and then painted
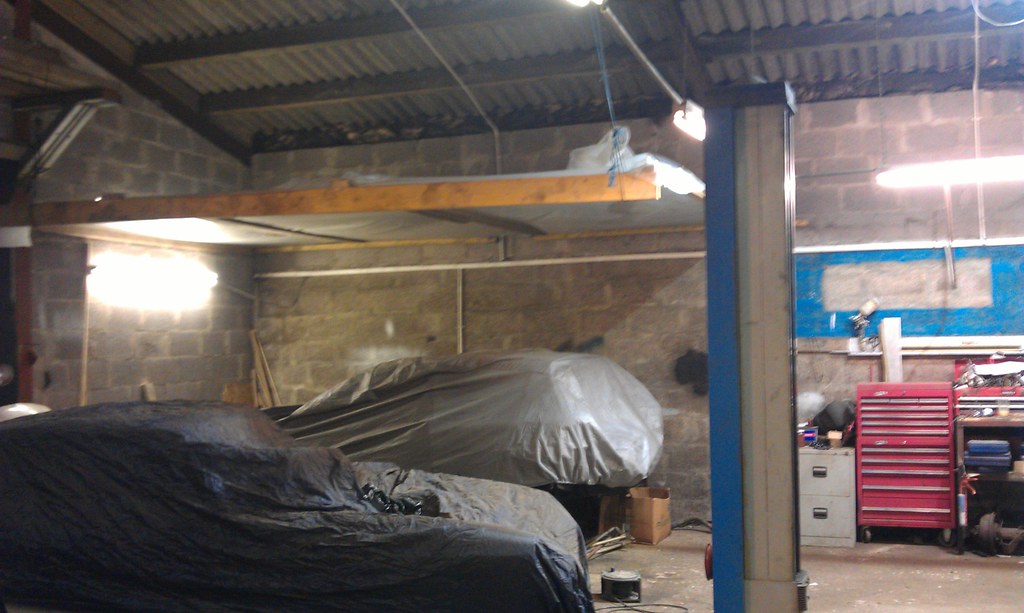
We ended up having to give up the shed for a couple of reasons so this was my car getting loaded up on to a trailer to go into storage for a couple of months until I sorted another place to work on again, I think it ended up being almost 8-9 months before I started work again, due to another project slipping in.


I think this is where I will leave it for this post and try and get the rest put up in the next day or so when I get a chance.
Dave
I still have my original EG just away to turn 11 years of ownership.
I think I will probably spread the latest update over a few posts as it's going to take a while to type it all up.
So I drove the car for about a year in the configuration in the last post, then I had what was probably not the best idea and decided to change things up a bit, which ended up started a build that took about the last 4 years to finish due to one thing or another. Mainly of which was trying to get my PhD whilst building the car, I would not recommend doing that and by that I mean a PhD
So I kwpt throwing about the idea of building the B but after some research I determined it would probably be a fair bit of cash for not huge gains staying NA that is anyway. So after looking around for a bit I stumbled across this going very cheap
with one of these
so did this
The original plan was just to pull the B, clean and tidy up/paint the engine bay and fit the K20, I did have a big issue with picking a colour and I think at the time it was going to go grey but that choice eventually became moot. So anyway dropped the B and started stripping the engine bay.
Then after much searching it seemed almost impossible to get a manual steering rack for an EG here in the UK, I followed many leads that kept coming up with EF/CRX ones. So decided to hell with it will buy one of the and modified the subframe to work, much thanks to my friend Karl for this.
So then for some reason I can't quite remember I decided to pull of on of a side skirts. To find that the work I had previously gotten done on the arches and sills to be completely rotten out again. I wasn't overly surprised as I wasn't to happy with the work that was done last time. So after a bit of debate it was decided that I would repaint the whole car after fixing the rot again, but this time doing it myself. The colour I ended up picking was Fords Frozen White, as (sacrilege coming here) I'm not a huge fan of championship cream, well really not when people put white wheels with it and you can see how not white it is
Secondly its crazy cheap here as ford paints everything with it included their transit vans etc, So all in to paint the whole car in and out including primer etc came to about £160.So since the bay was ready to go we tested it out, plus newly painted subframe.
Then had a quick test fit of the new engine and also to give it home whilst I got on with other jobs.
and then it was back on to fixing the rust part 2.
Then we went on to rigging up a make shift paint booth in the shed I was renting with a few friends at the time to work on our cars. (there was a 400hp blobeye scoob that ended up getting sold, 2 Land Rover Defenders 90 and an MGB V8 "Drift car")
Interior primed
and then painted
exterior primed
and then painted
We ended up having to give up the shed for a couple of reasons so this was my car getting loaded up on to a trailer to go into storage for a couple of months until I sorted another place to work on again, I think it ended up being almost 8-9 months before I started work again, due to another project slipping in.
I think this is where I will leave it for this post and try and get the rest put up in the next day or so when I get a chance.
Dave
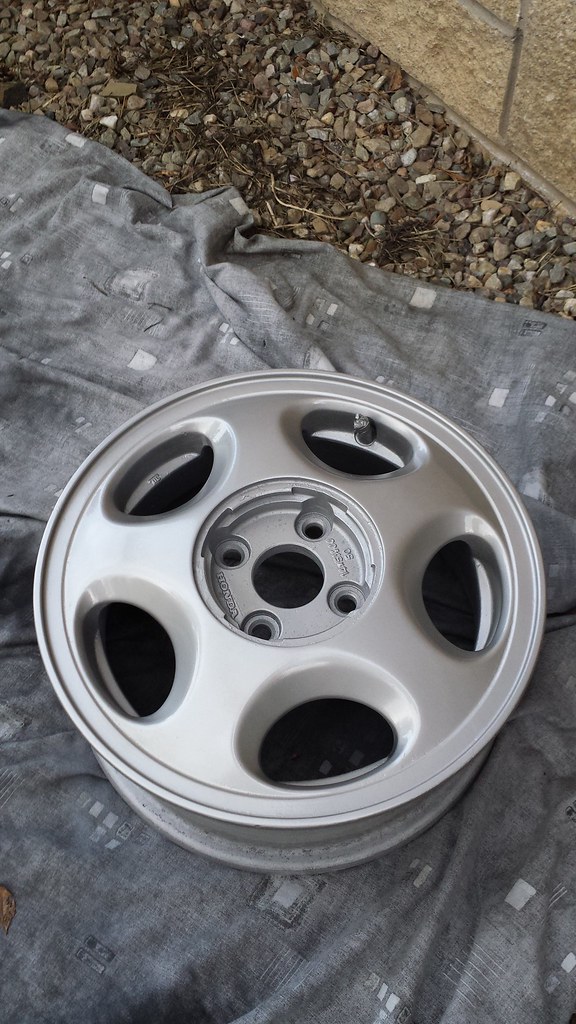


![[smilie=notworthy.gif]](./images/smilies/notworthy.gif "notworthy") Please keep ur rims black. Lol.
Please keep ur rims black. Lol.