- Fri May 08, 2015 9:14 pm
#353631
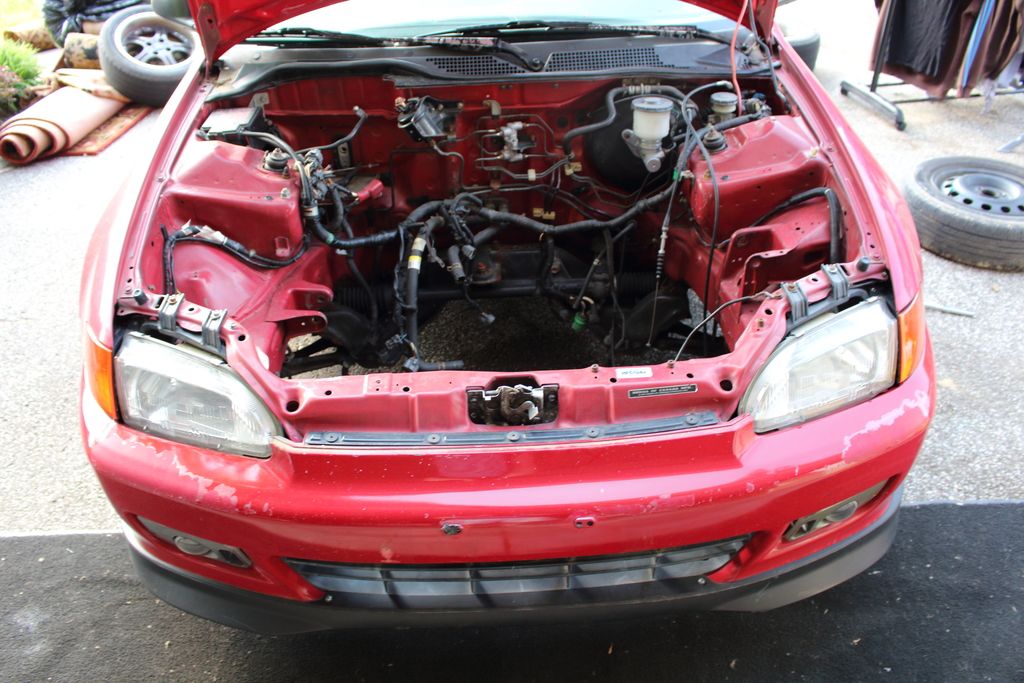
I have a lot planned for this hatch!
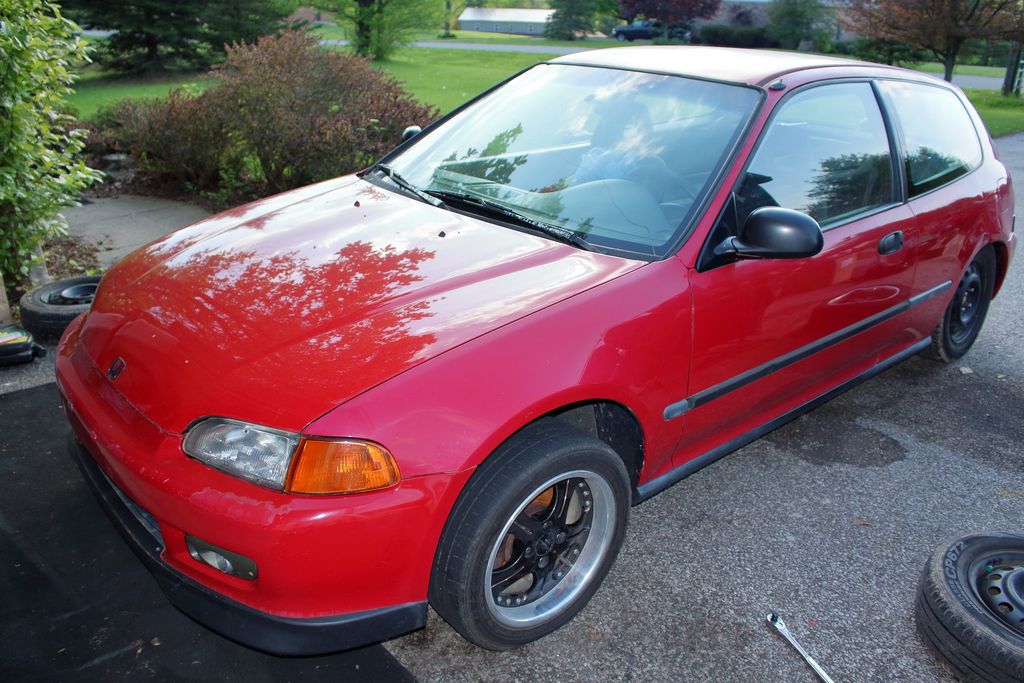
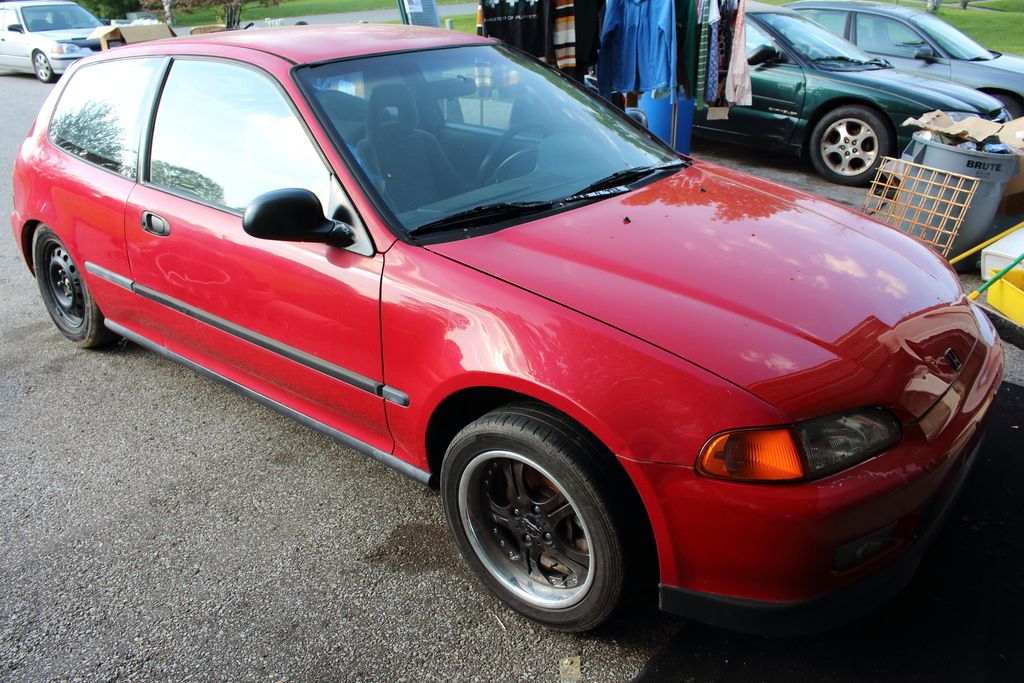
I slapped my Work wheels on to get a sneak peak. Looks bad because the front is all jacked up because it has no engine in it currently, and I drove with the wheels on during winter and the salt oxidized my lips! Yeah, won’t be doing that again....
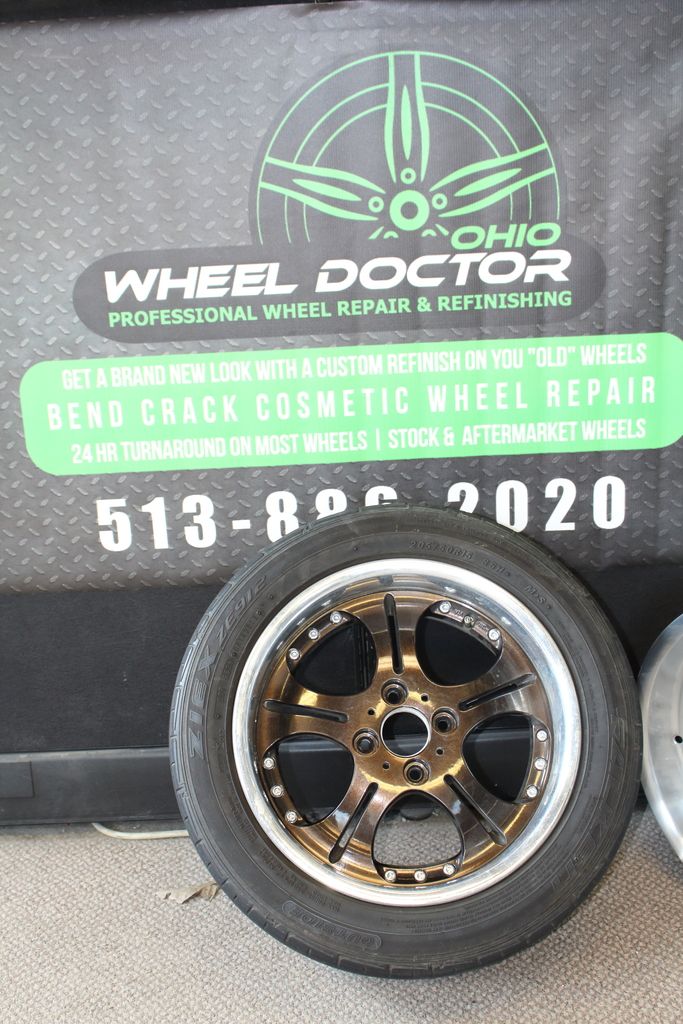
Dropped my wheels off to get redone at this place call The Wheel Doctor, located in Cincinnati, Ohio. I am getting the outer lip polished and the centers powder coated white all at very good prices! I can’t want to get them back!
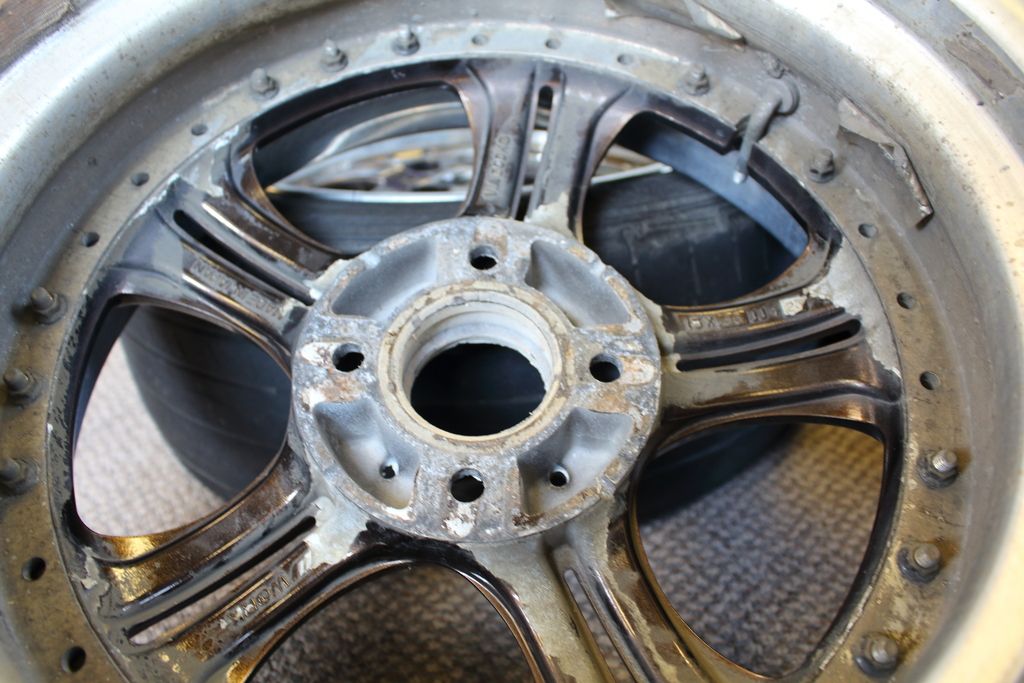
Some Plasti Dip left on the back…
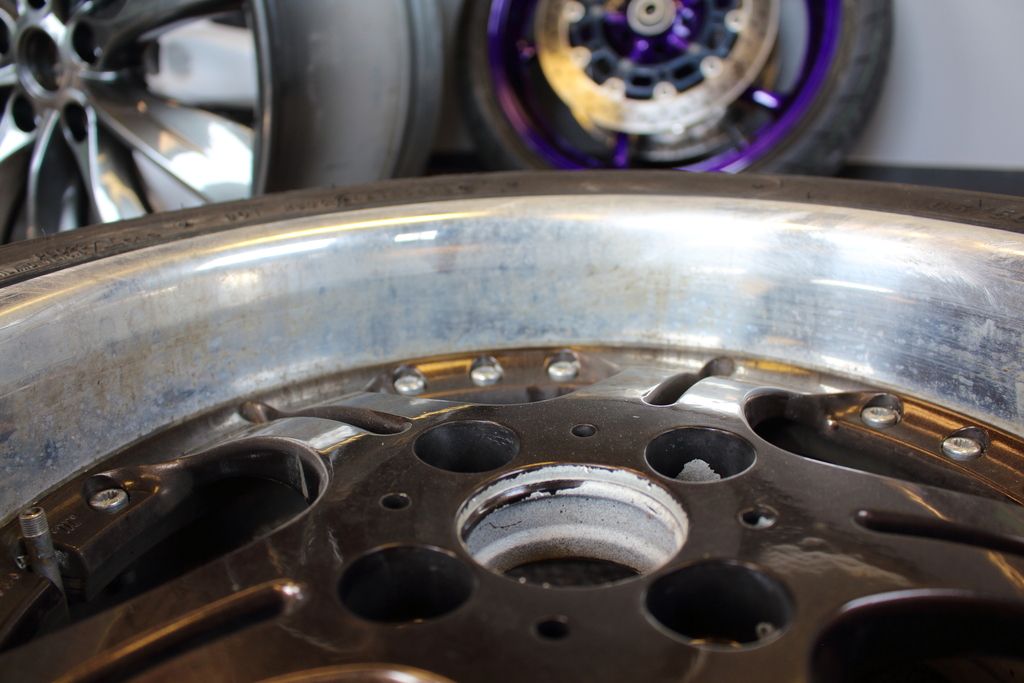
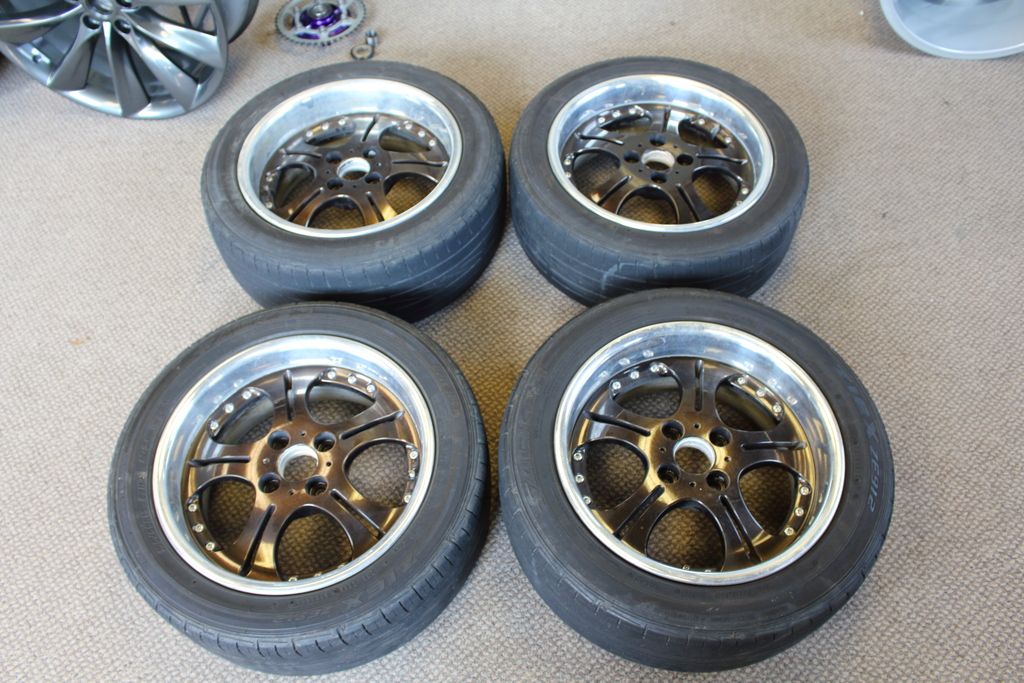
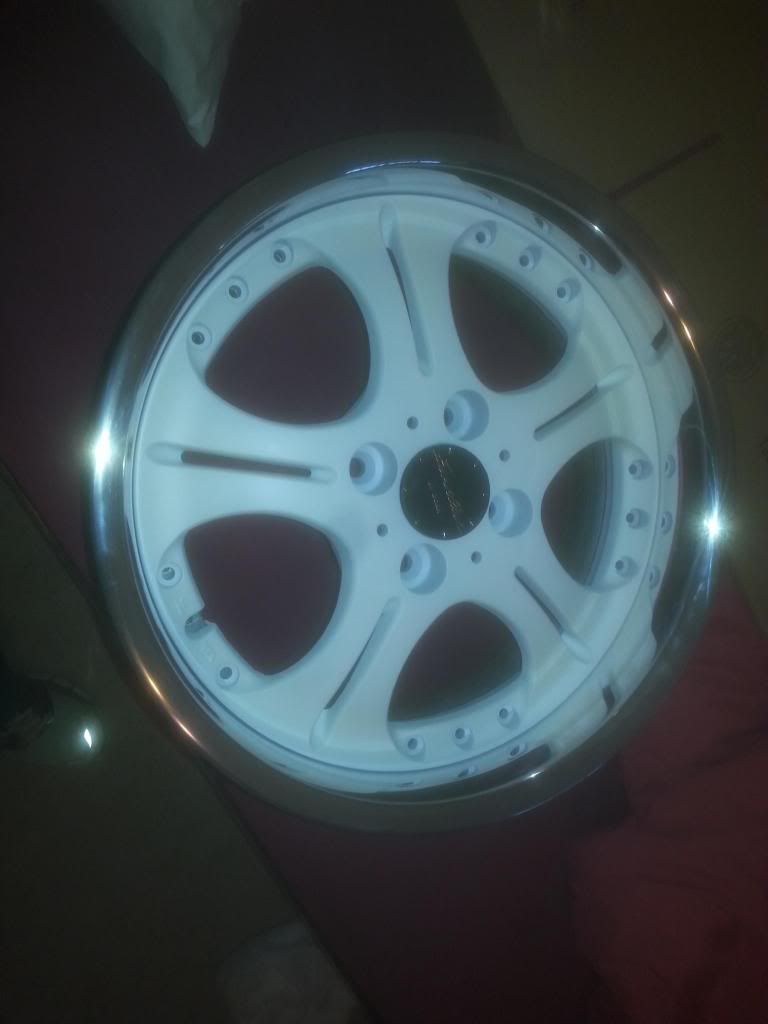
This is going to be pretty close to what they are going to look like when they are done. This was when I first got them and I Plasti dipped them… Bad idea. If you look at the back of the wheel you can see all kinds of it left on.
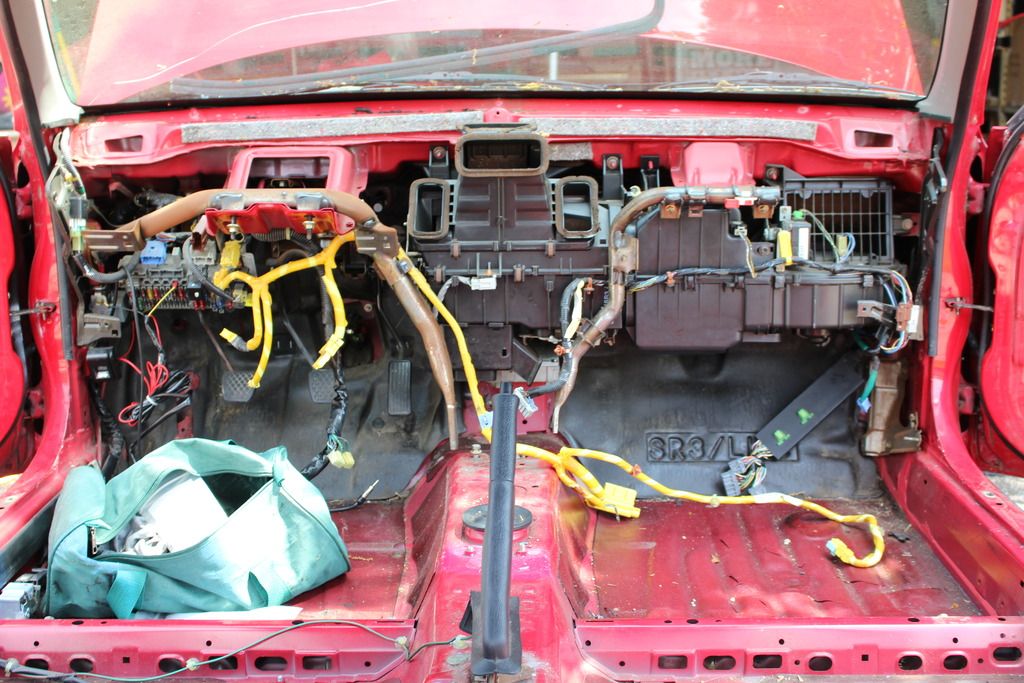
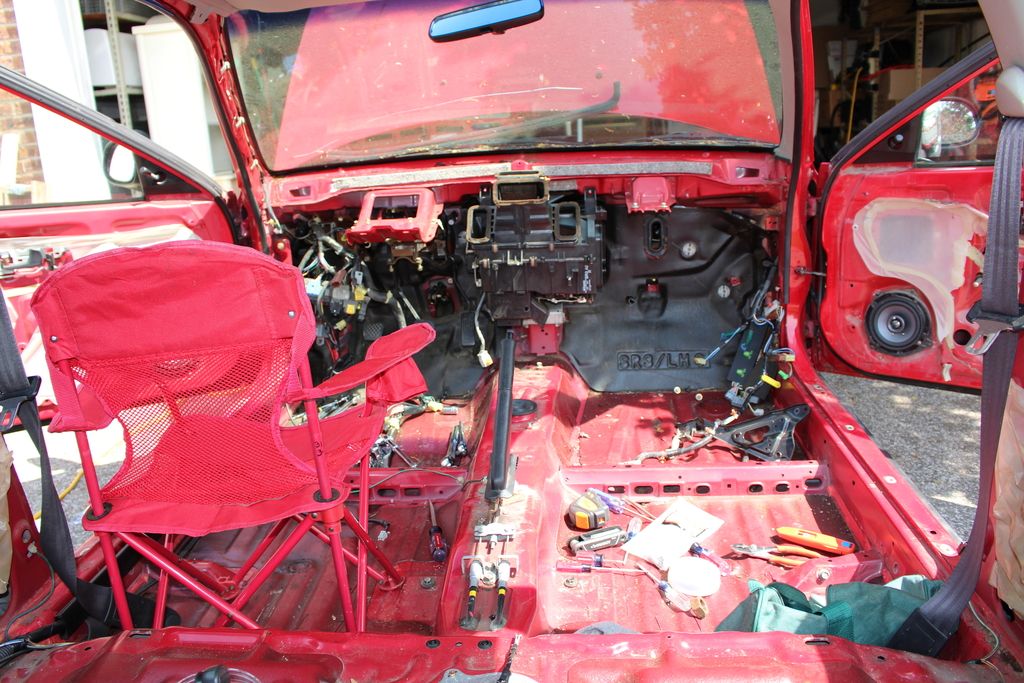
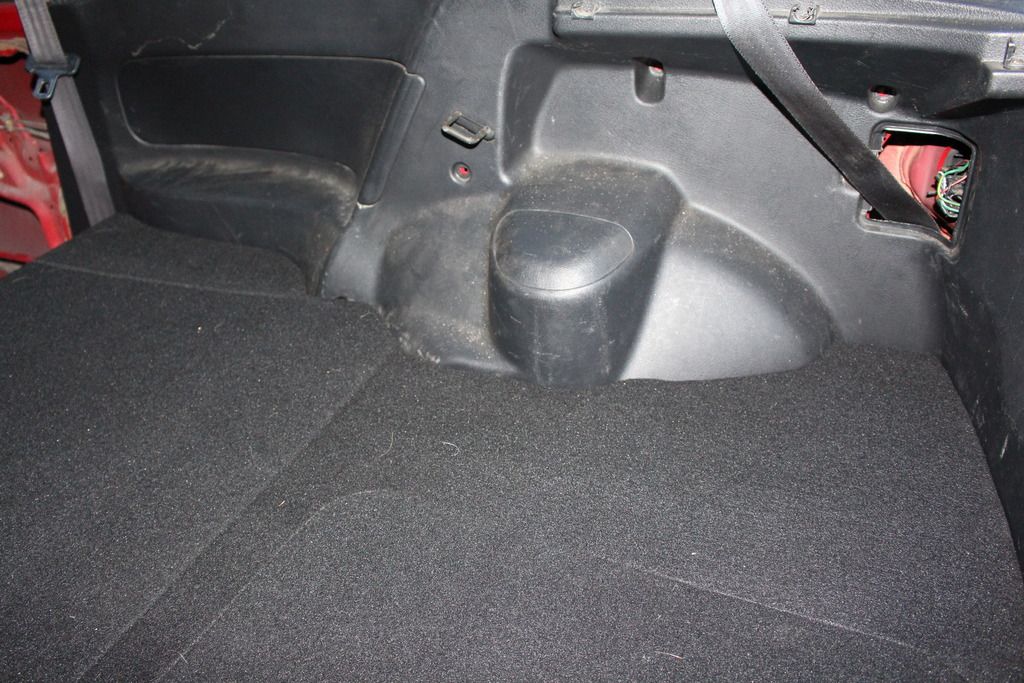
I forgot to take a picture of the interior before I started ripping it all out, but this is probably only an hour of taking stuff out. I took the seats and the dash off, and that’s about it.
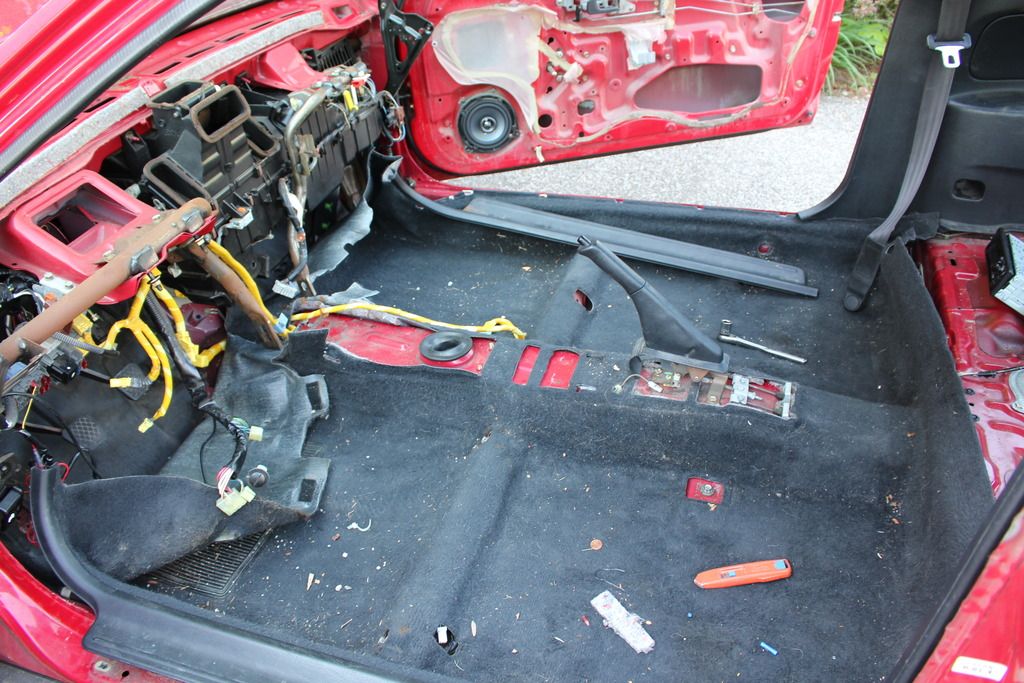
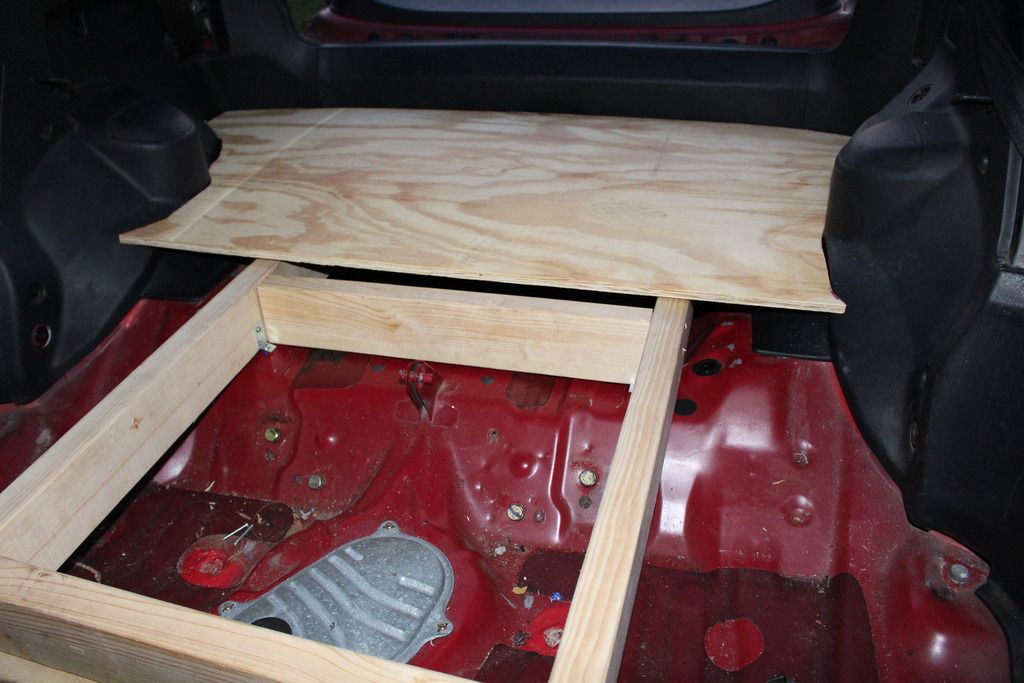
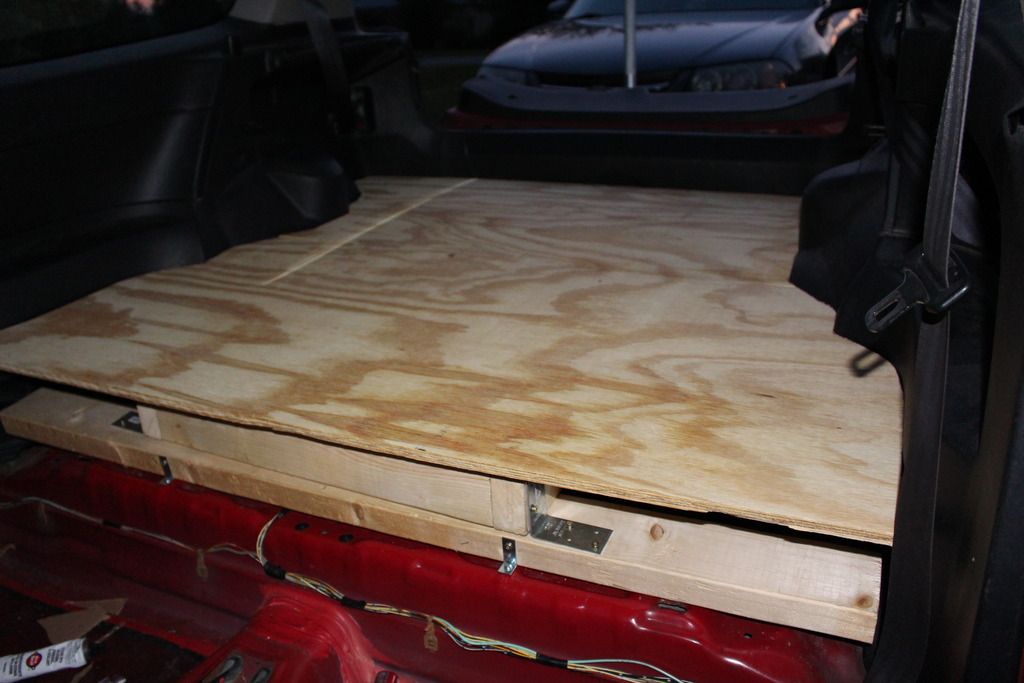
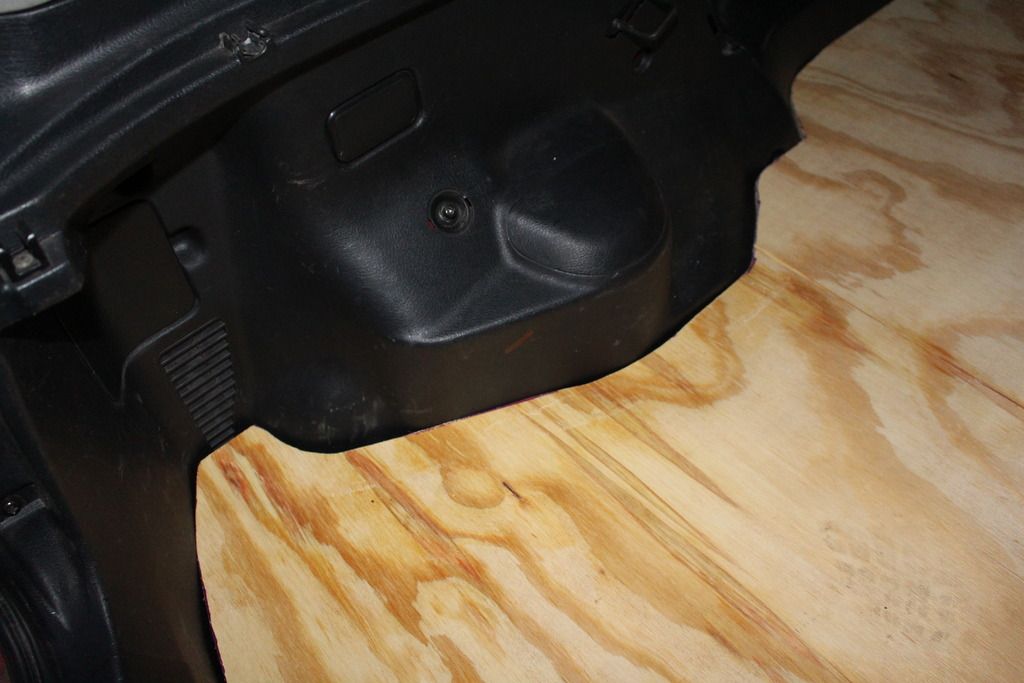
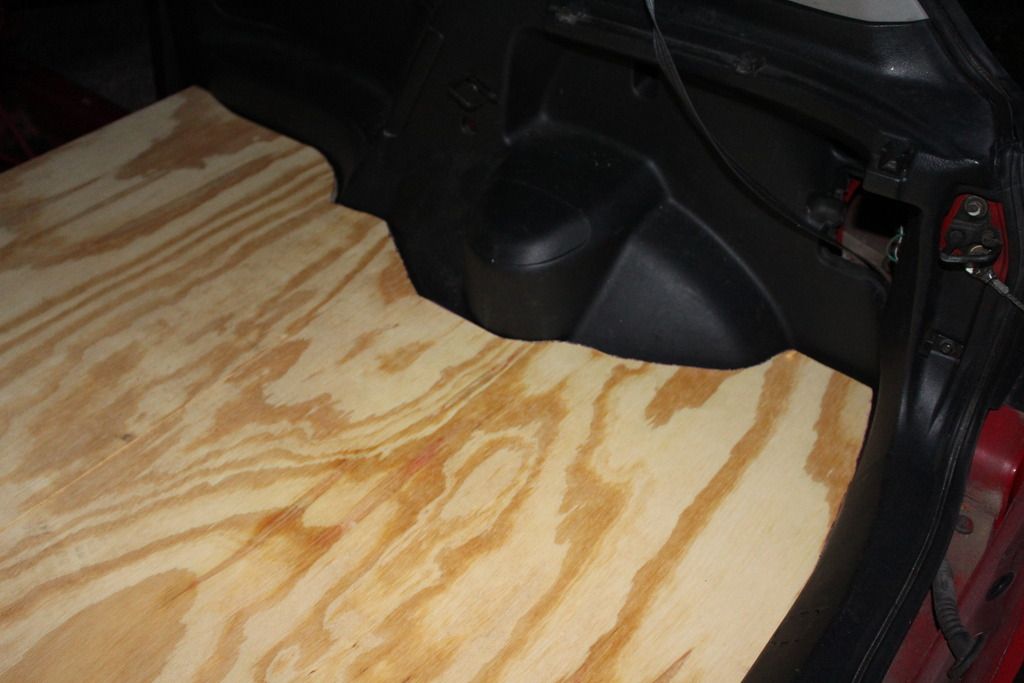
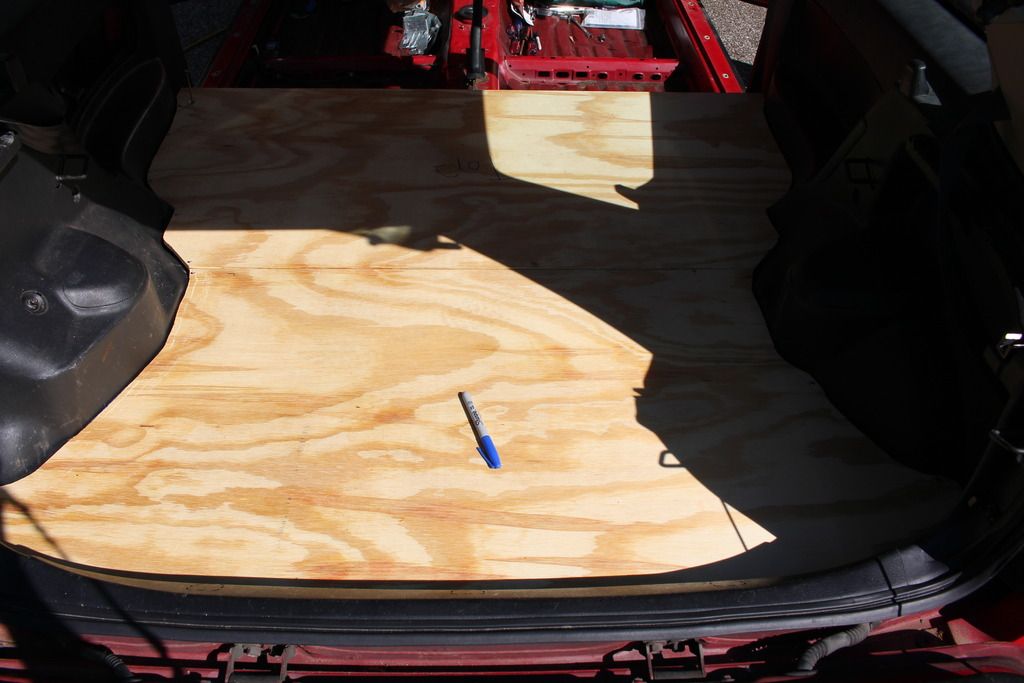
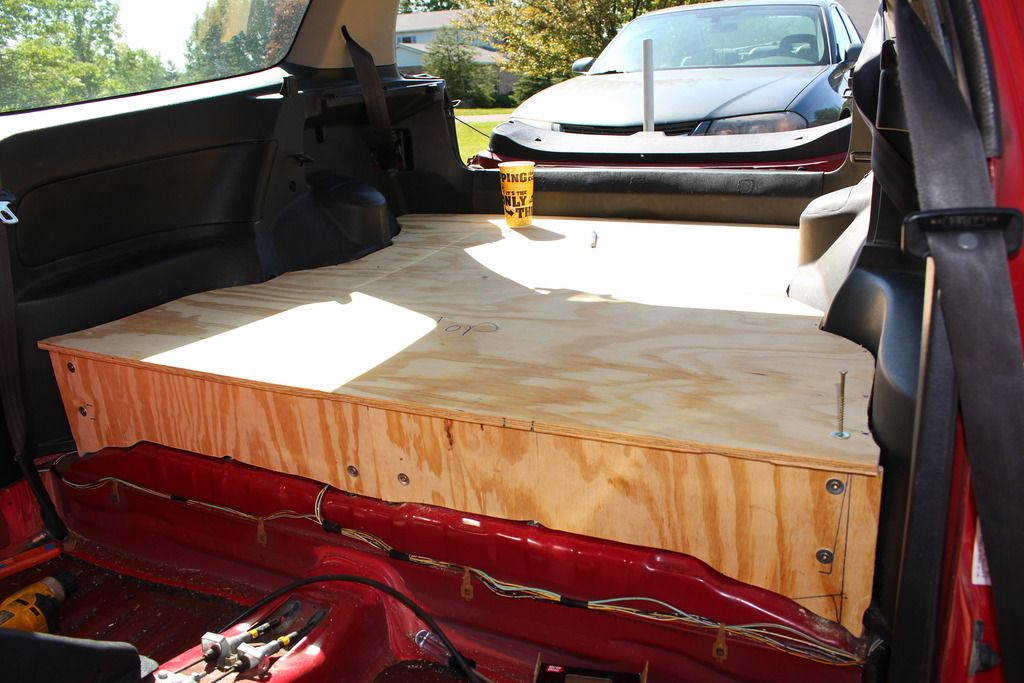
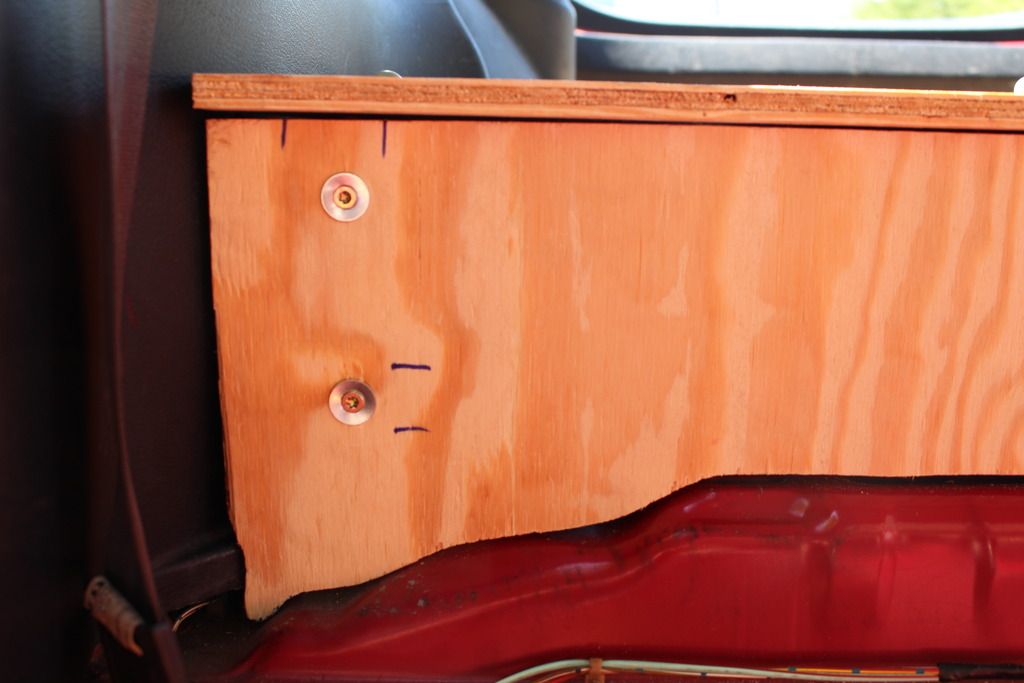
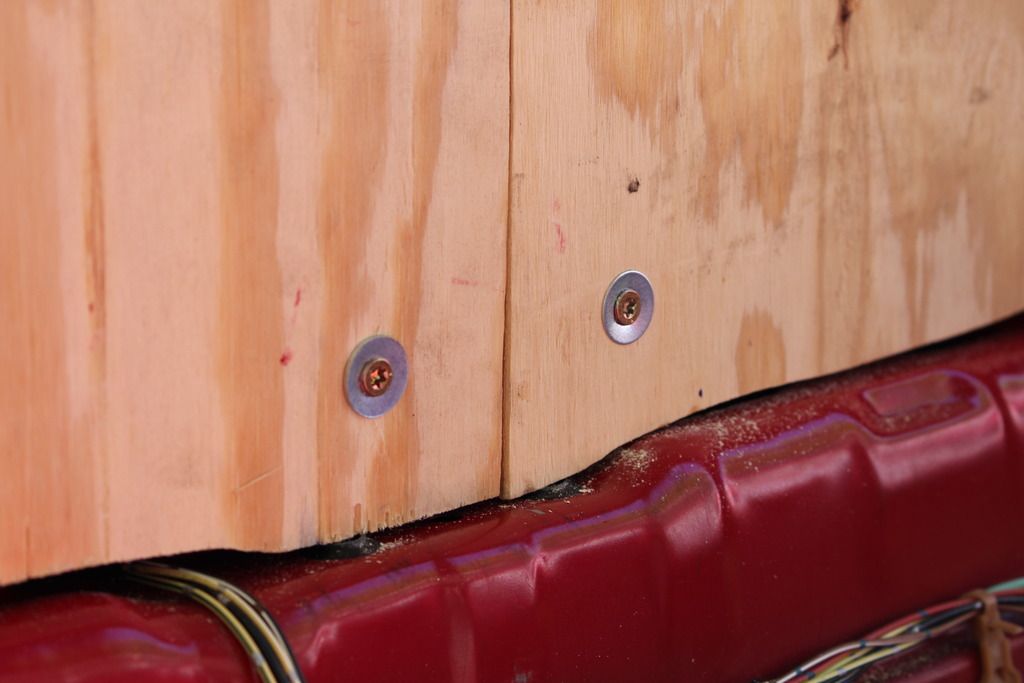
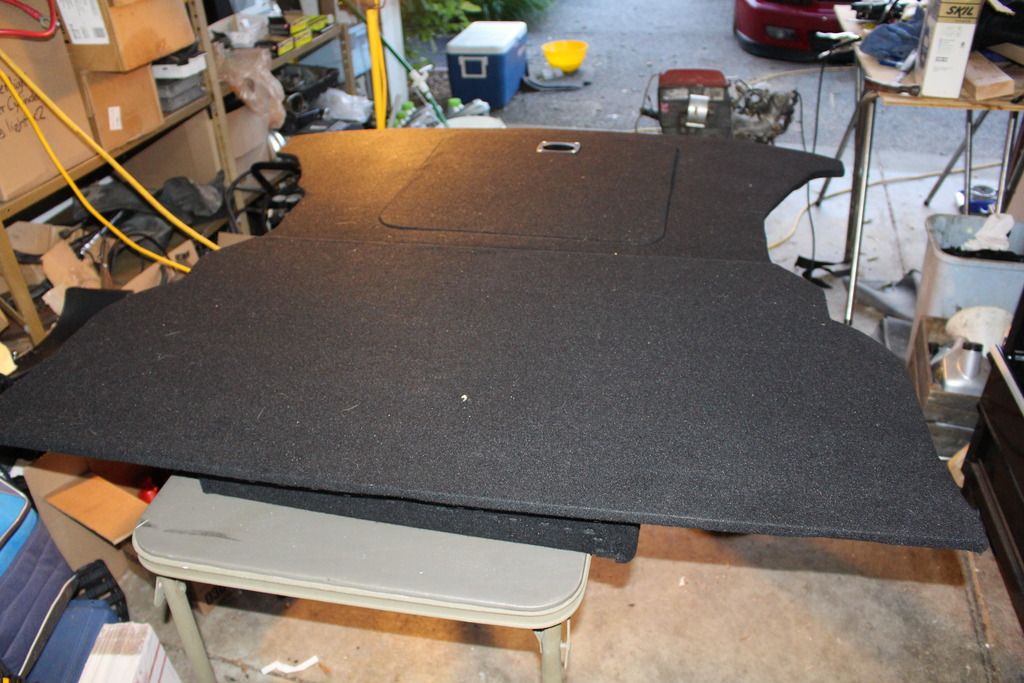
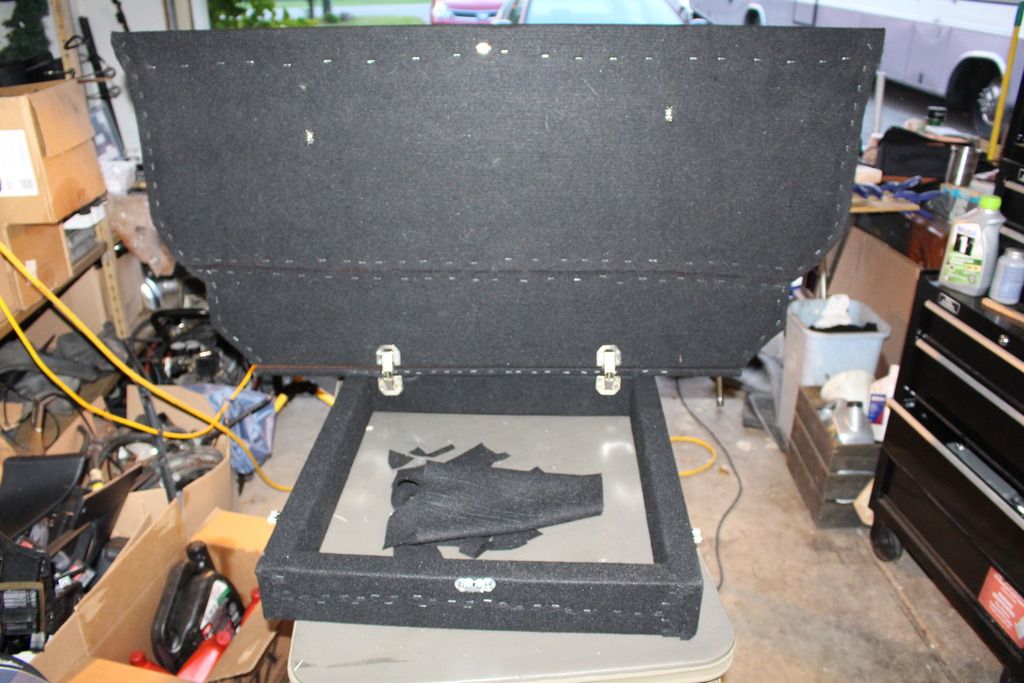
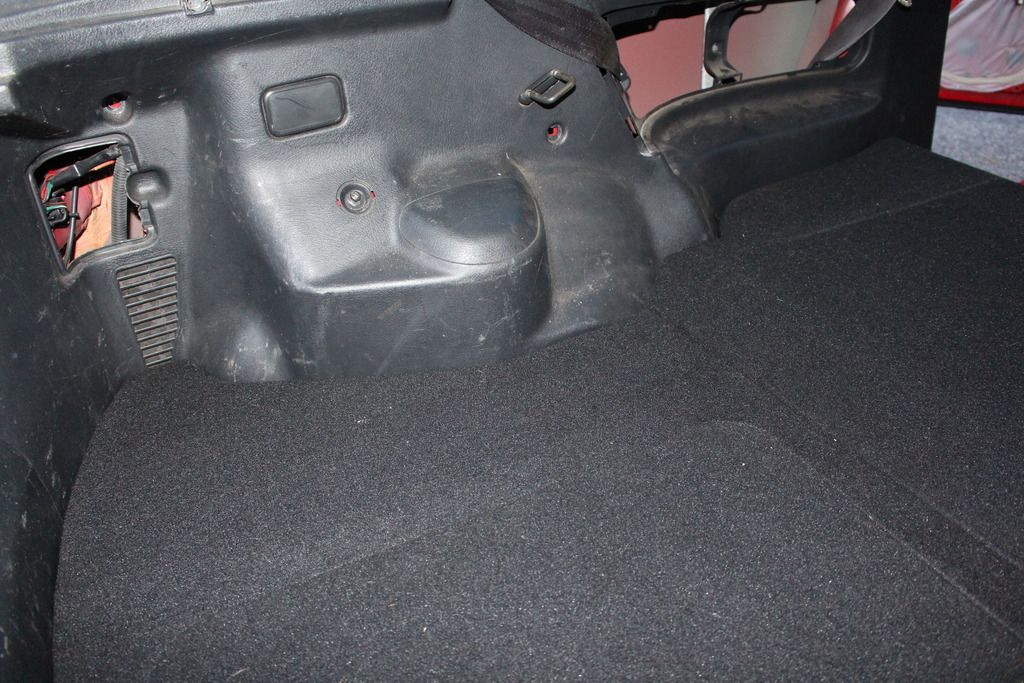
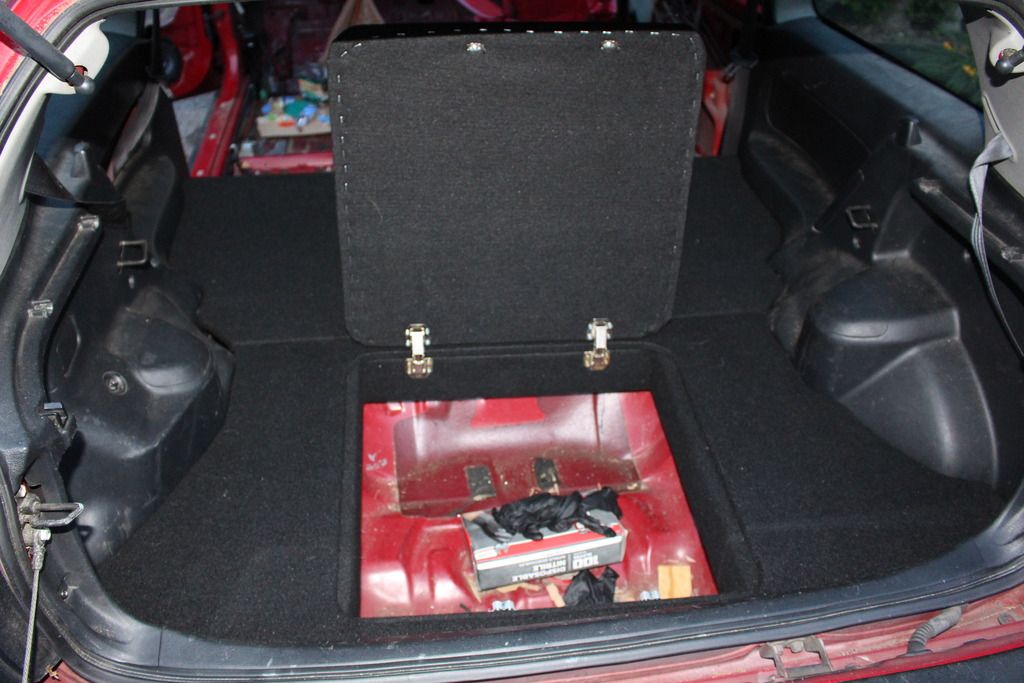
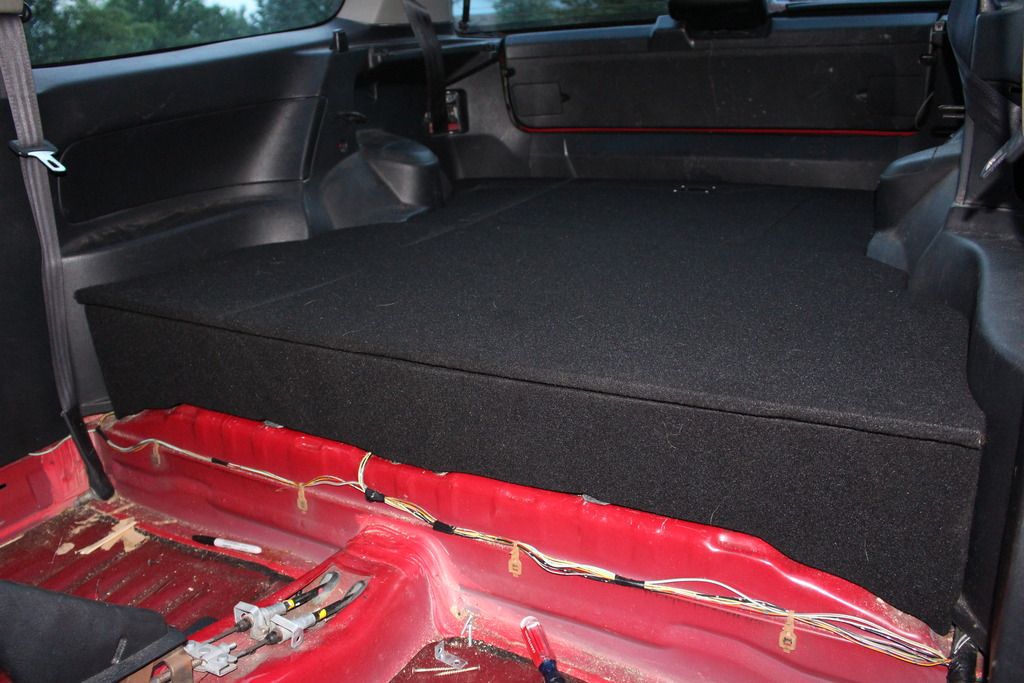
This is what I started doing today. I pulled out the rear interior, carpet, and removed the back seatbelts because I’m going eventually to be making my own rear seat delete out of some wood and new carpet

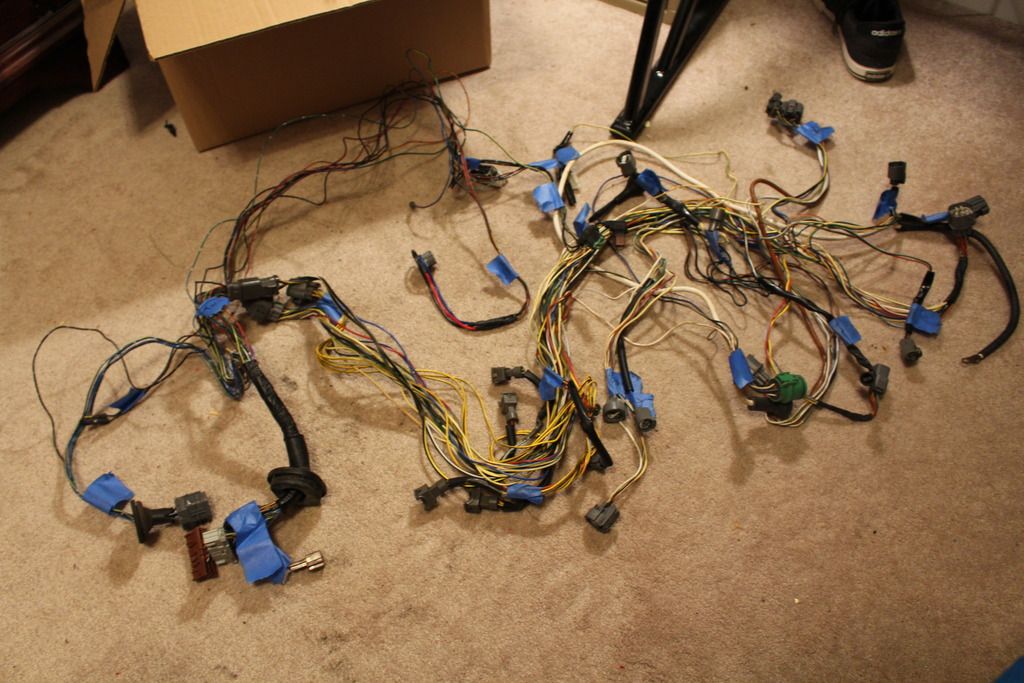
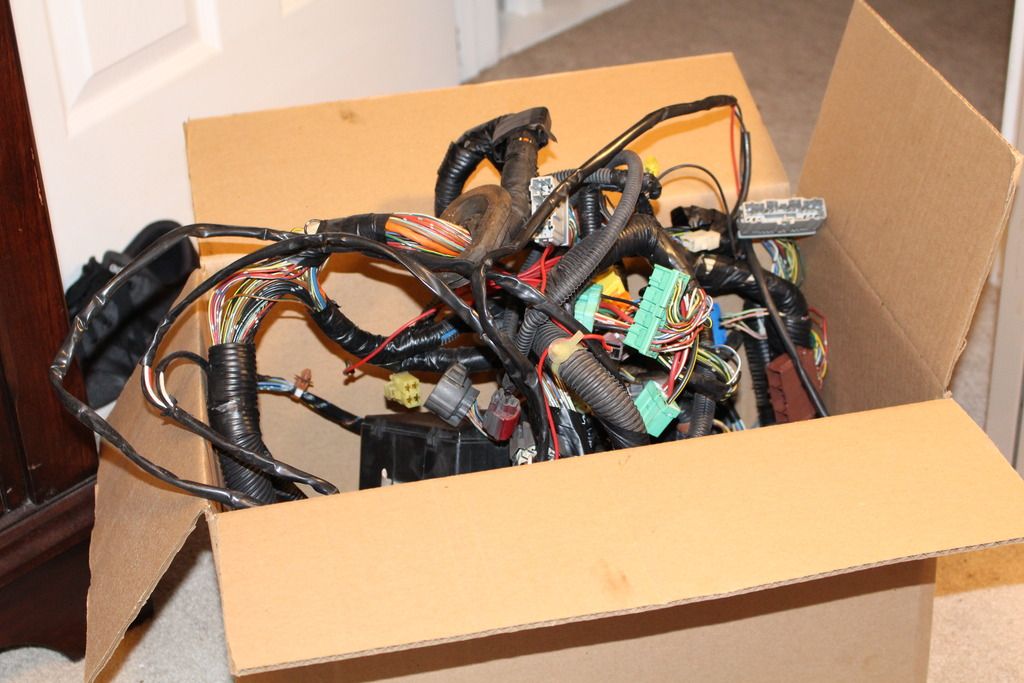
I then pulled the blower box, and current trying to figure out the hell the heater box comes out. I removed the SRS harness since I’m going to be putting my ECU, or fuse box under where the air bag was. I’m going to pull the harness and tuck and shave my engine bay, which is why I pulled the dash.
Got sick of sitting/kneeling on the metal floor. Hehe.
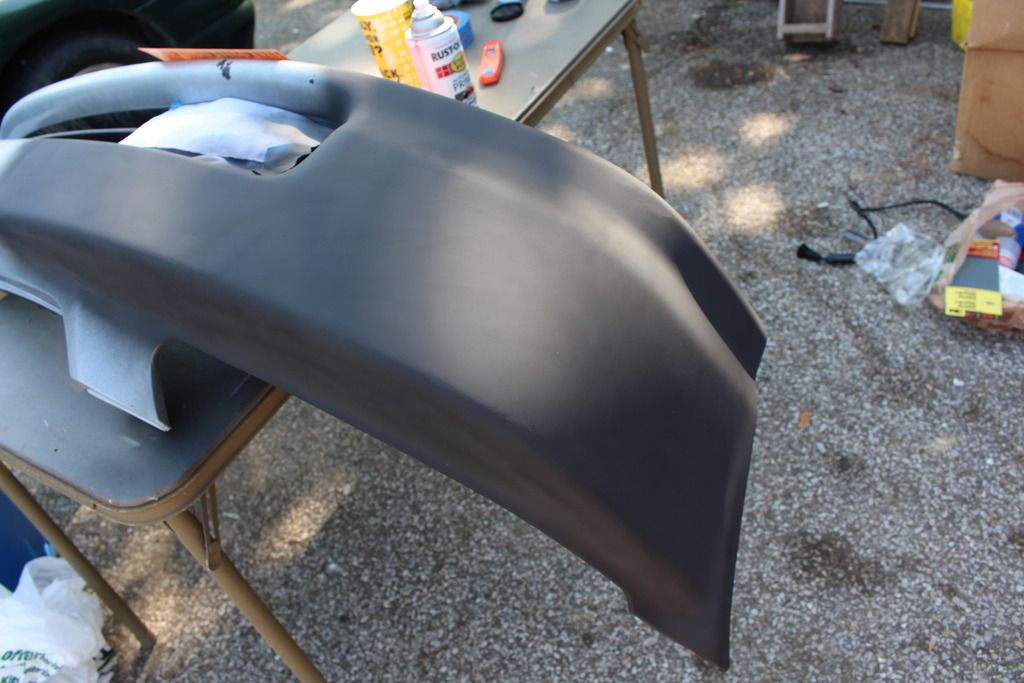
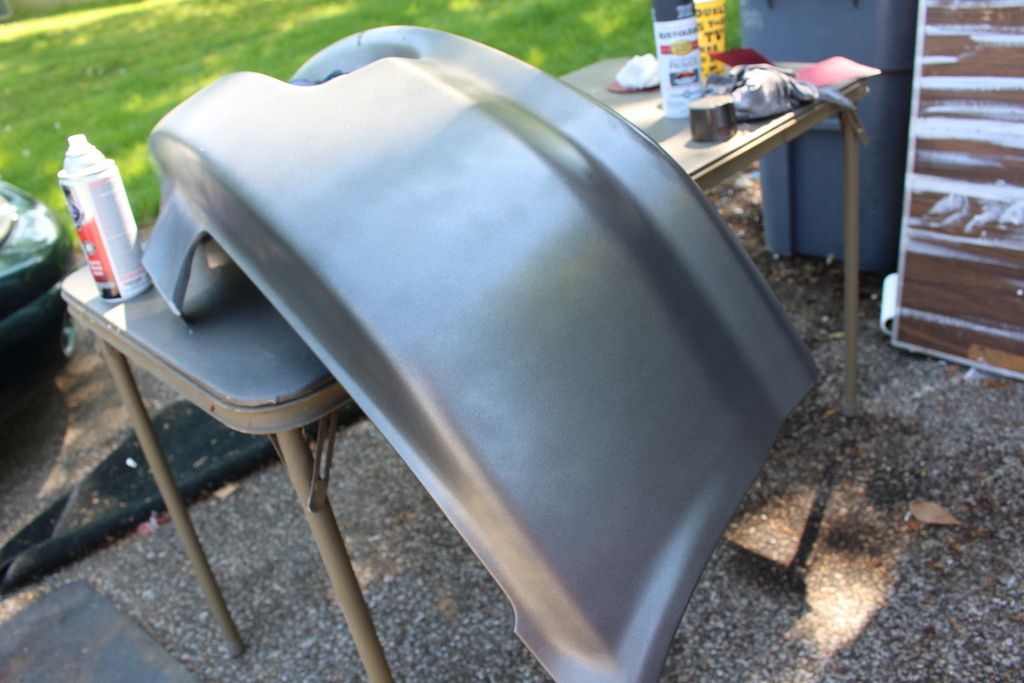
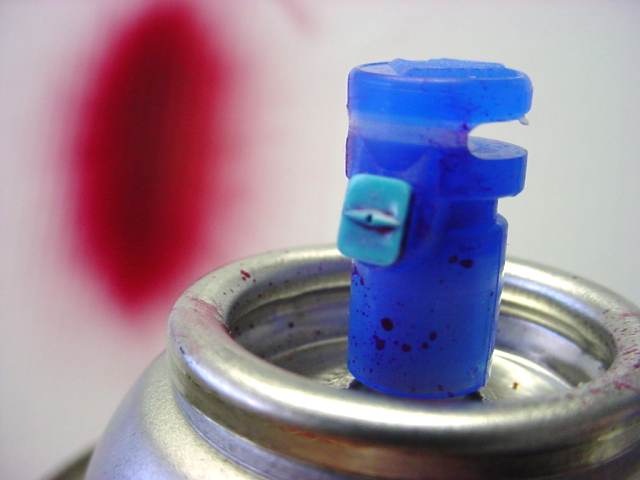
Today I also mess around with some spray paint! I’m planning on doing a little body work and then paint my car cheaply. With spray paint possibly.
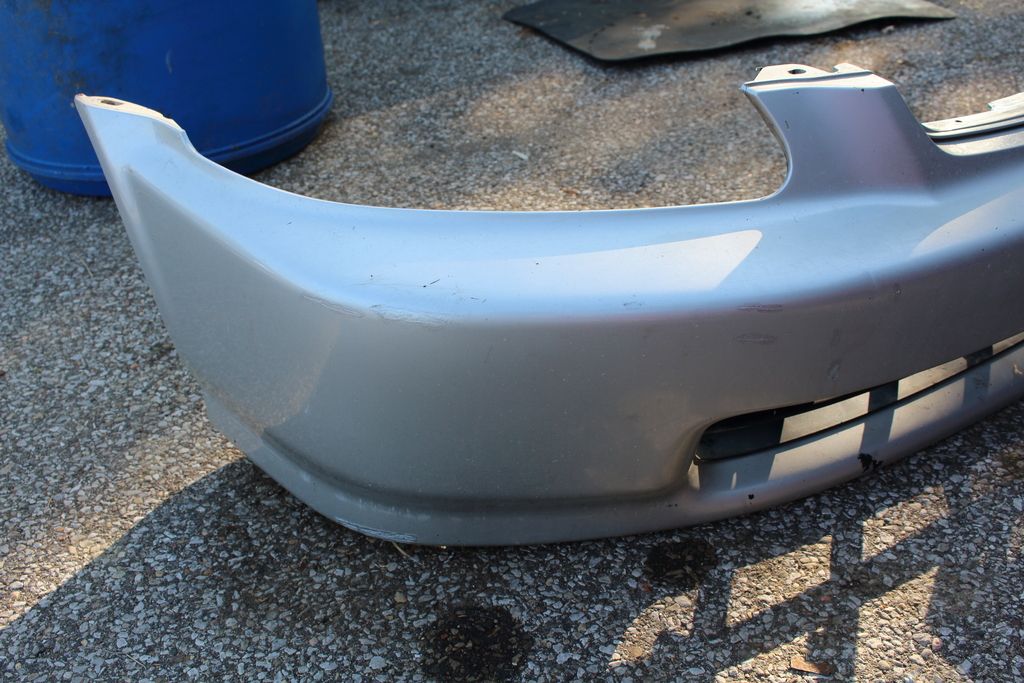
This is an old EK bumper I had laying around and I didn't care if I painted on it.
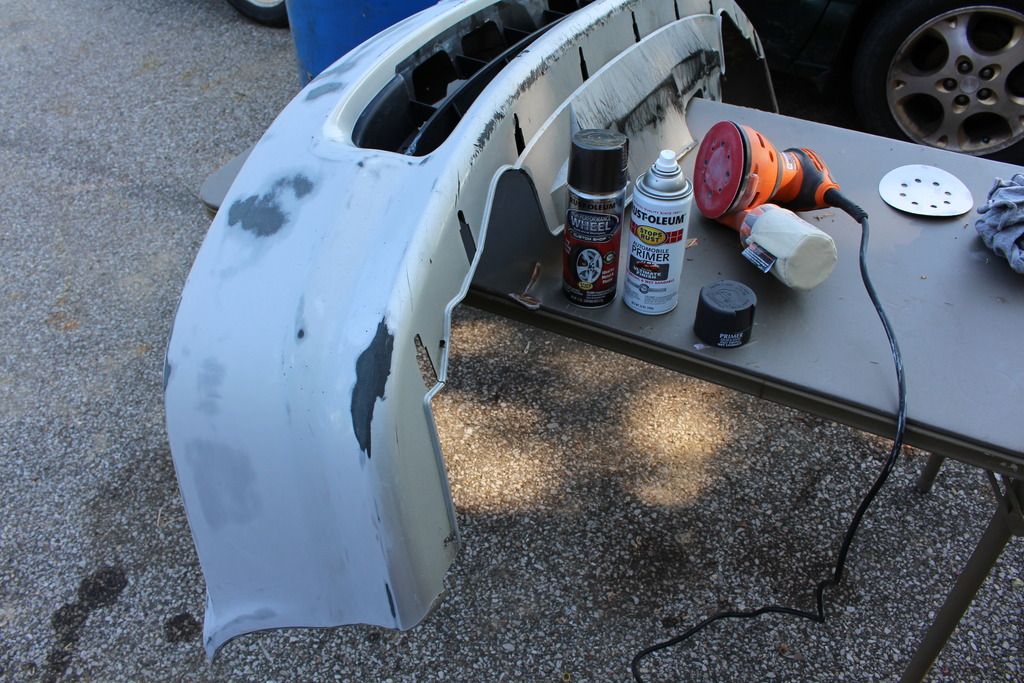
Went and bought a Ridge random orbital sander, primer, the paint I liked (wheel paint hence the test.), and some clear coat.
Sanded some really rough spots with 80 grit, and then I sanded it all with 250.
Primer.
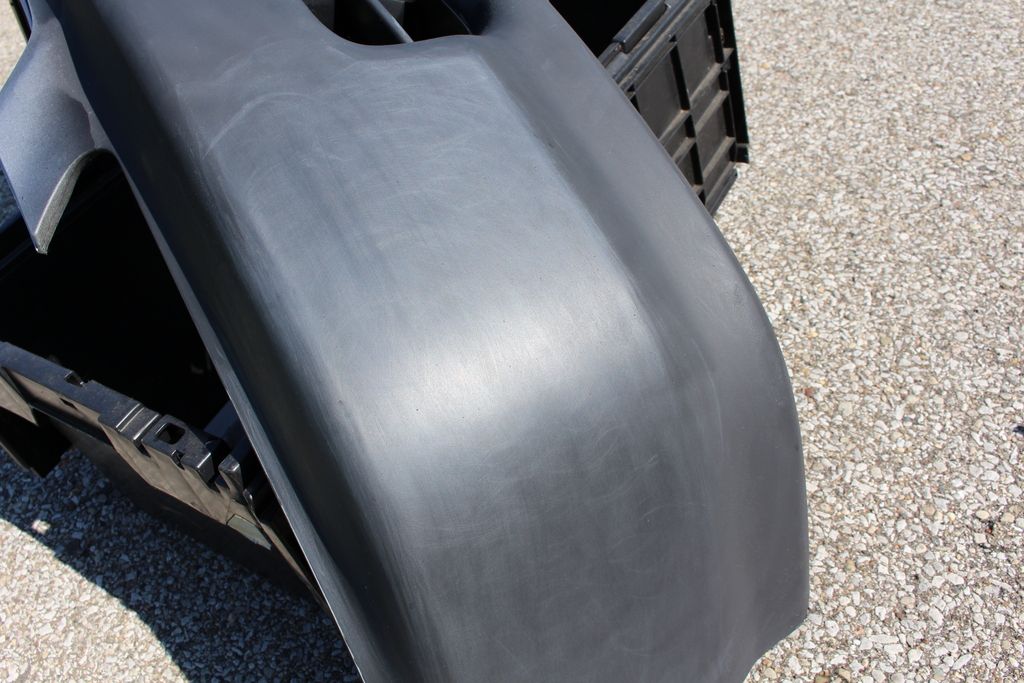
I sanded the primer down with 1000 grit, because I guess I didn’t sand enough down at the beginning and I you could see dings in the surface still.
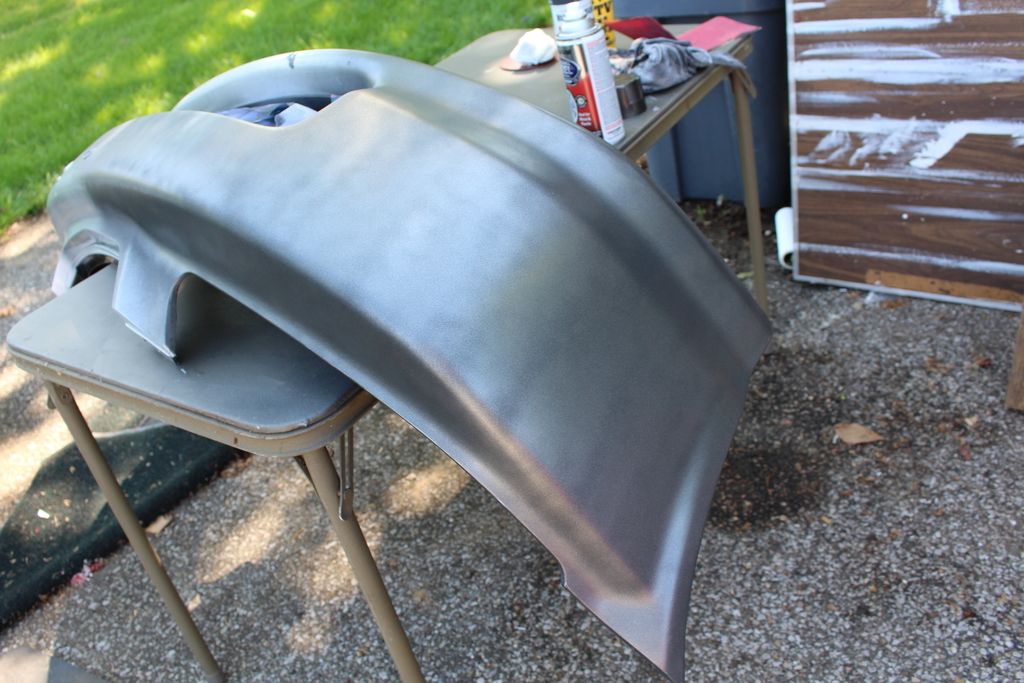
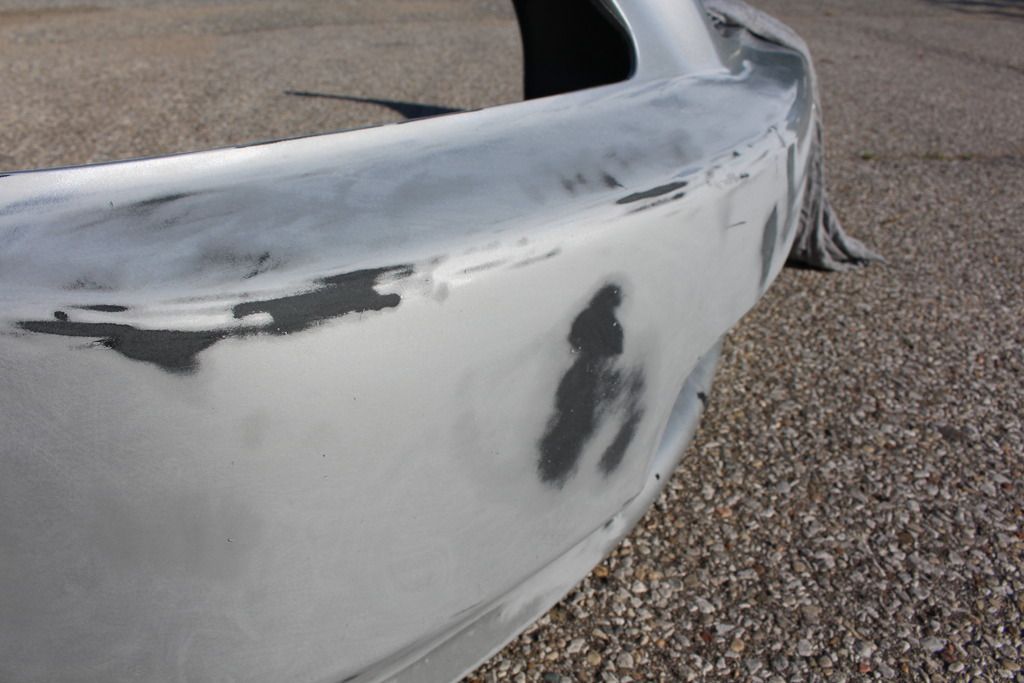
1st Coat.
2nd.
3rd
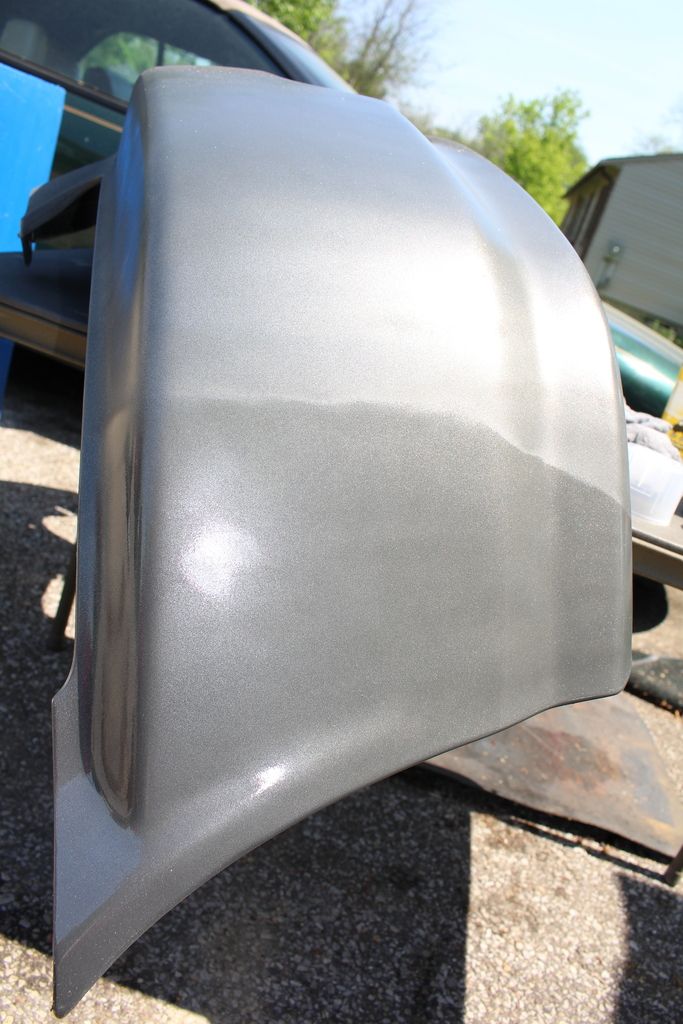
4th with some clear on it.
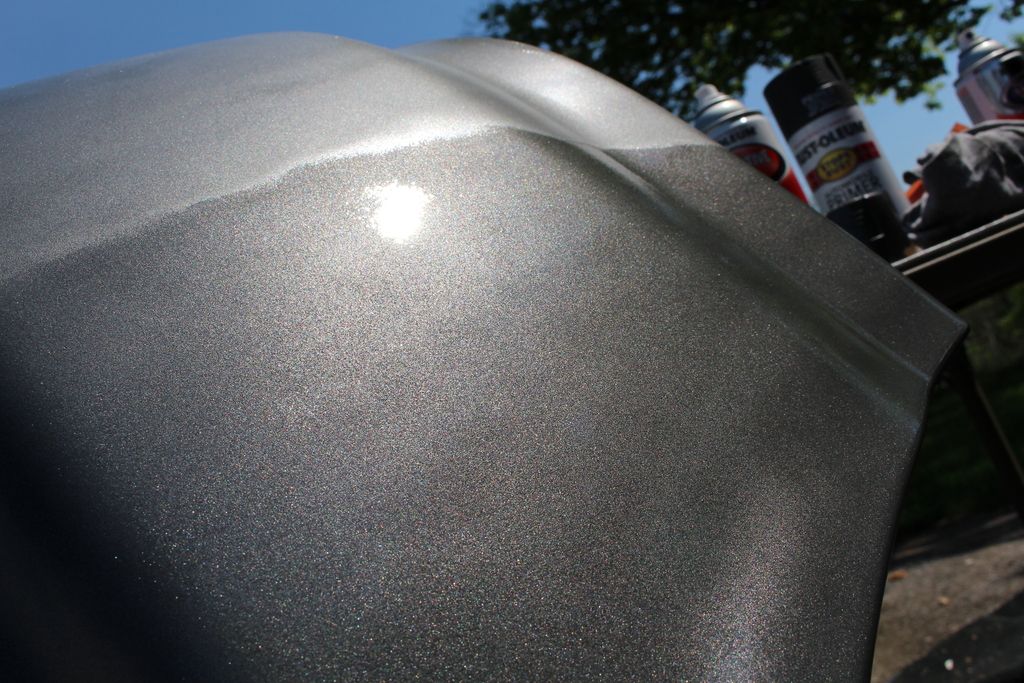
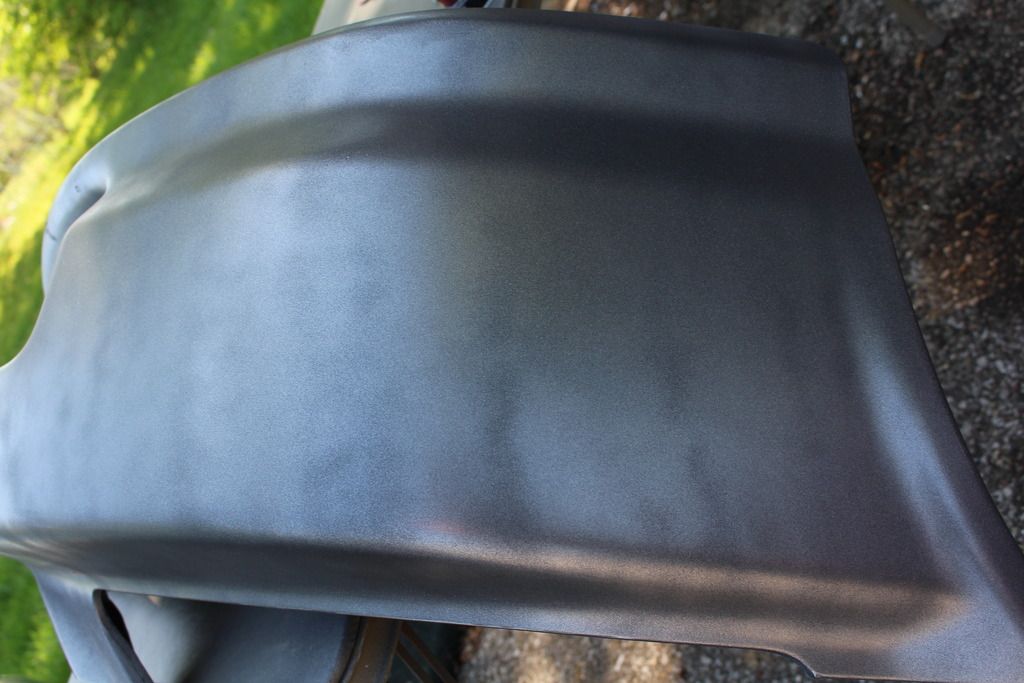
This is it dry to the touch, dried for like 2 hours while I was messing with my interior. I love the color and the flake in it, but I think there is a major problem with my spraying technique or paint. I have dark and light streaks. I even tried sanding the part I didn't clear and see if I could even out the color but it didn't really work. I could use help on this one guys, any ideas? I’m thinking it’s because the paint has flake to it that it’s going to be hard to get an even color on a body panel.
I slapped my Work wheels on to get a sneak peak. Looks bad because the front is all jacked up because it has no engine in it currently, and I drove with the wheels on during winter and the salt oxidized my lips! Yeah, won’t be doing that again....
Dropped my wheels off to get redone at this place call The Wheel Doctor, located in Cincinnati, Ohio. I am getting the outer lip polished and the centers powder coated white all at very good prices! I can’t want to get them back!
Some Plasti Dip left on the back…
This is going to be pretty close to what they are going to look like when they are done. This was when I first got them and I Plasti dipped them… Bad idea. If you look at the back of the wheel you can see all kinds of it left on.
I forgot to take a picture of the interior before I started ripping it all out, but this is probably only an hour of taking stuff out. I took the seats and the dash off, and that’s about it.
This is what I started doing today. I pulled out the rear interior, carpet, and removed the back seatbelts because I’m going eventually to be making my own rear seat delete out of some wood and new carpet
I then pulled the blower box, and current trying to figure out the hell the heater box comes out. I removed the SRS harness since I’m going to be putting my ECU, or fuse box under where the air bag was. I’m going to pull the harness and tuck and shave my engine bay, which is why I pulled the dash.
Got sick of sitting/kneeling on the metal floor. Hehe.
Today I also mess around with some spray paint! I’m planning on doing a little body work and then paint my car cheaply. With spray paint possibly.
This is an old EK bumper I had laying around and I didn't care if I painted on it.
Went and bought a Ridge random orbital sander, primer, the paint I liked (wheel paint hence the test.), and some clear coat.
Sanded some really rough spots with 80 grit, and then I sanded it all with 250.
Primer.
I sanded the primer down with 1000 grit, because I guess I didn’t sand enough down at the beginning and I you could see dings in the surface still.
1st Coat.
2nd.
3rd
4th with some clear on it.
This is it dry to the touch, dried for like 2 hours while I was messing with my interior. I love the color and the flake in it, but I think there is a major problem with my spraying technique or paint. I have dark and light streaks. I even tried sanding the part I didn't clear and see if I could even out the color but it didn't really work. I could use help on this one guys, any ideas? I’m thinking it’s because the paint has flake to it that it’s going to be hard to get an even color on a body panel.
Last edited by PhoenixJP on Fri May 08, 2015 10:25 pm, edited 1 time in total.


 They're gonna look great on there.


