- Wed Jan 14, 2015 6:20 pm
#351055
I was planning on making a build thread from the start of this project but life got in the way. Now I've finally been able to take a few pictures of where the project is now and I will continue to update it as I work on "completing" the project.
Where I started: (I have some pictures to post here but its on my home PC I'll upload it later). For now since I don't have any of the pictures from along the way I'll make a long story short.
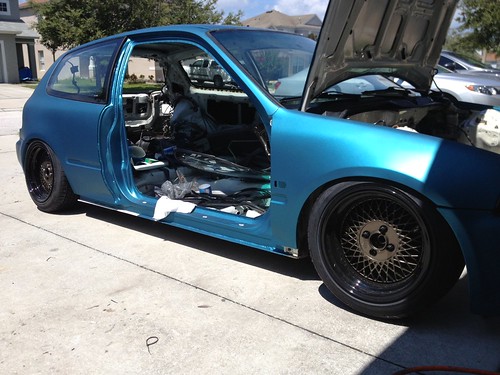
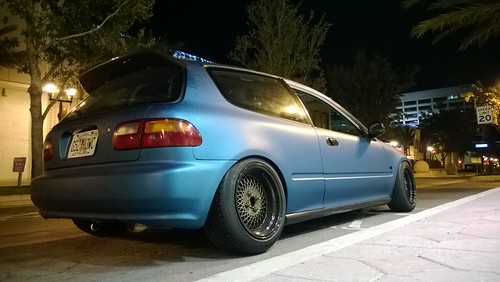
After about 6 months of working on the car it had been vinyl wrapped and was dumped on a set of Klutch wheels. I took it out to a couple local meets and out a few times. The matte vinyl scratched, it almost polishes the vinyl where anything hard touched it. The small scuffs wont come off so I peeled the wrap off. I had wrapped it with my friend who does it for a living so I didn't waste too much money on it.
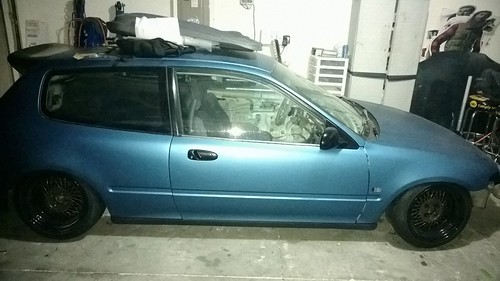
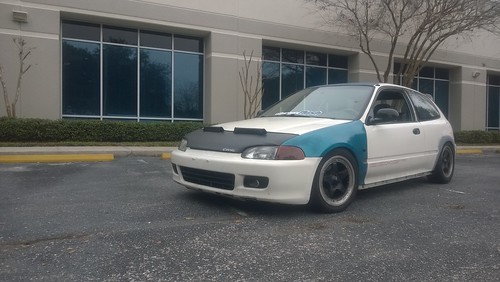
^notice the sidemarker cutouts are in the wrong place. The previous owner did this and it drove me insane I hated it. I picked up a set of fenders off of a friend from a teal hatch and i need to shave the sidemolding holes but I was able to cutout the sidemarker holes in the correct place. I would really like to find some cx,vx fenders though to not have the shaved holes at all.
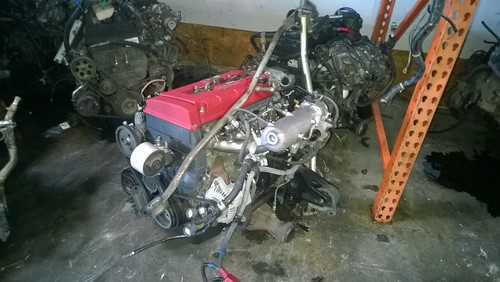
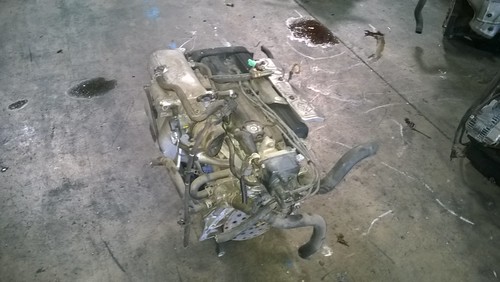
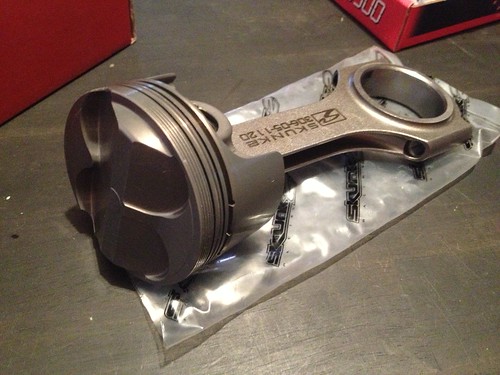
I had also fully rebuilt the GSR to use in the car. I had it in the hatch and drove the car maybe 200 miles. The car wasn't complete enough to daily at that point and the automatic z6 in my sedan was boring me so I pulled the GSR and put it into the sedan (I already had all the other auto to manual parts in my garage)
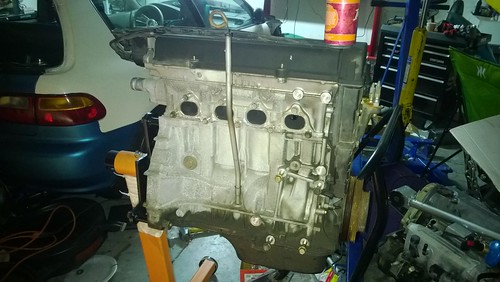
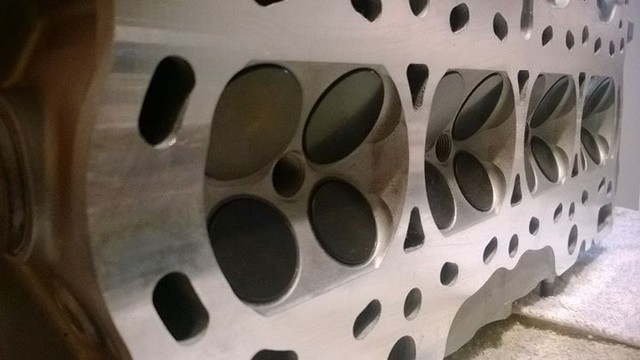
Supertech pistons, Skunk2 Alpha rods, OEM bearings, machined to 82mm, specs on head are at the bottom of the page.
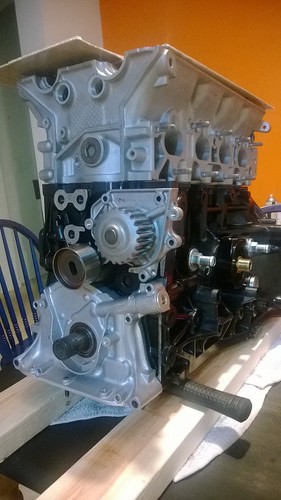
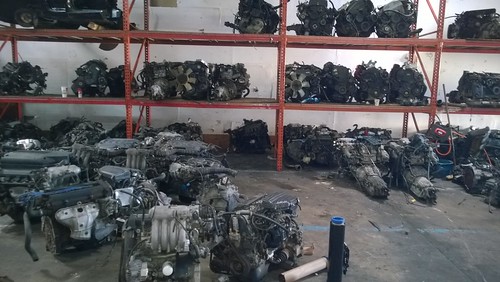
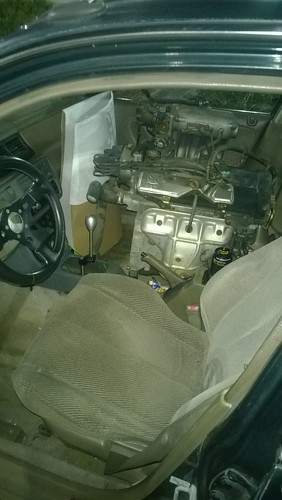
I had every intention of putting the GSR back into the hatchback but after driving the GSR for 6 months or so I felt it was fun but lacking in the torque area so I opted to purchase a B20b to use stock to get the hatchback driving again.
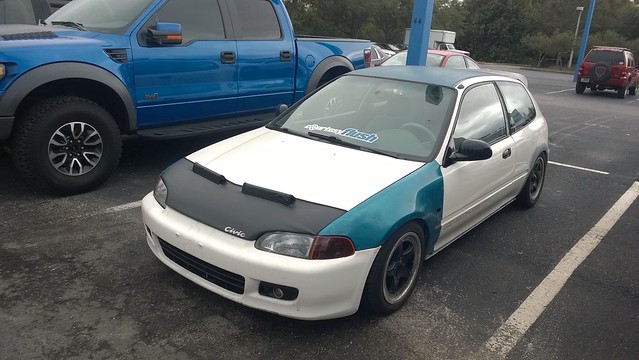
I bought a 95 Civic CX with a blown GSR and literally everything done the wrong way to the car. After stripping it down to sheet metal and replacing everything this is where I'm at.
Here is a list of what is done so far and some pictures.
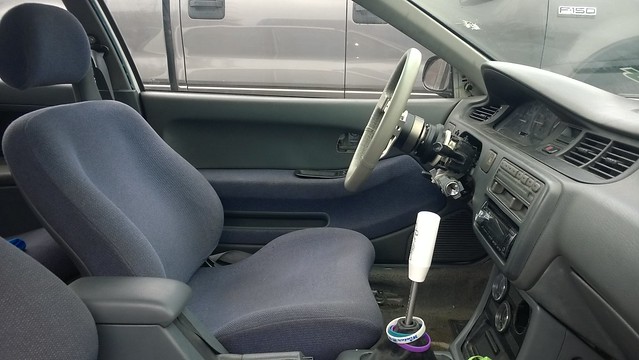
Interior:
Full OEM Power Window, lock, and mirror conversion (Full EX coupe wire harness, this all works jsut like it came from Honda this way.)
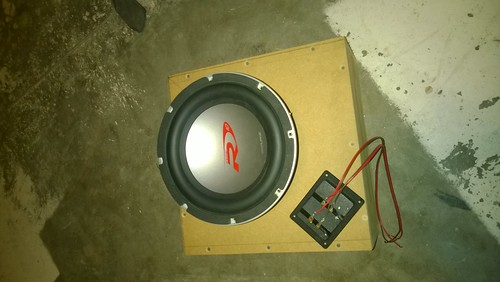
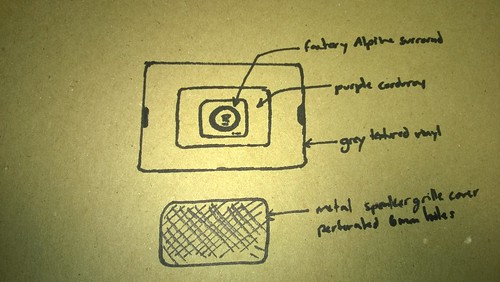
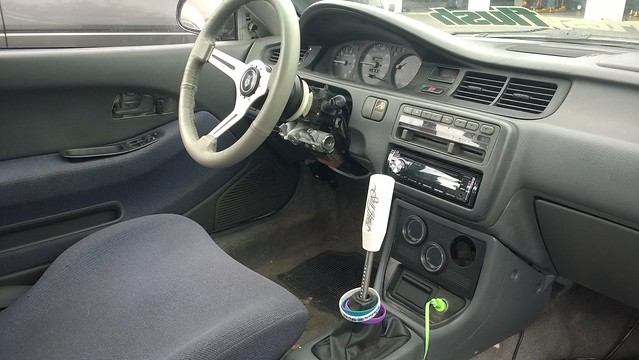
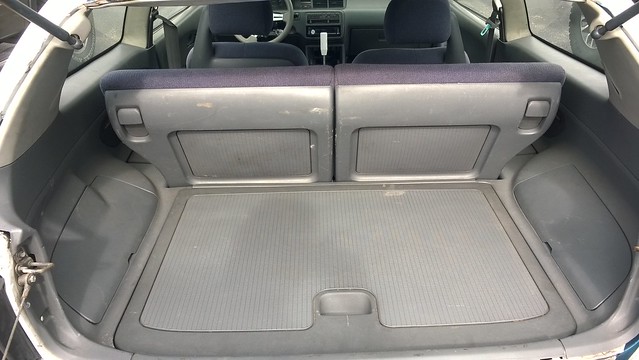
JDM Gather's Purple Tweed Interior
Complete blue to grey conversion
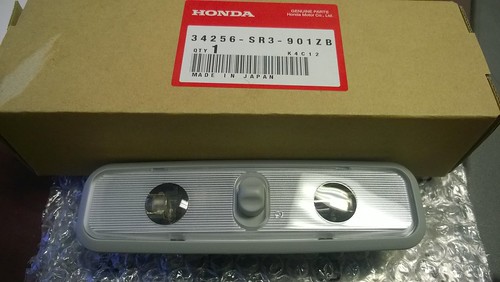
JDM Front Map light (Not yet installed in the pictures)
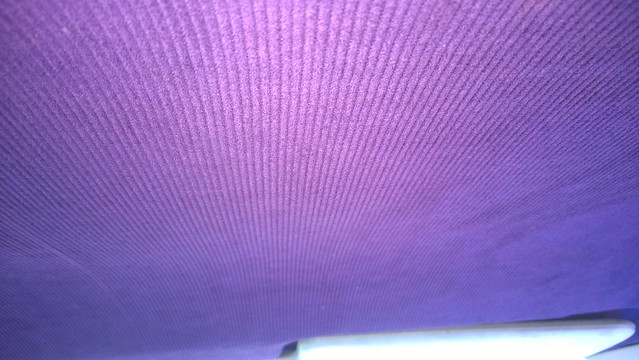
Custom Purple corduroy headliner
OEM Audio Console with double DIN Blockoff panel
Prosport Gauges (Oil pressure, Wideband)
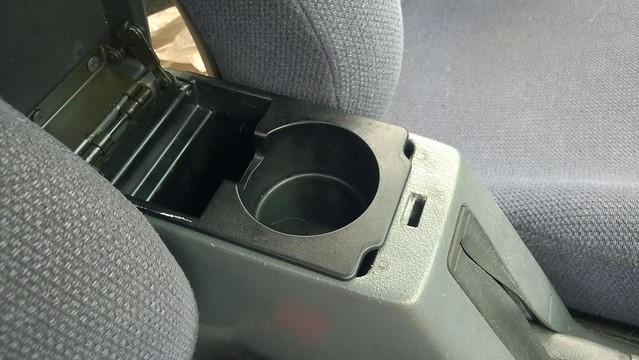
OEM USDM Arm rest with cupholder
NRG Quick Release and Hub
Grip Royal, Royal Macbeth steering wheel
Broadway gold 300mm rear view mirror
Still Hood Shift Knob
K Tuned Shifter
Brand New OEM Floor mats (They are not in the car because I haven't cleaned the interior yet)
Baller Winterfest showcar wristbands from every year
Exterior: Don't expect anything too crazy here I want a clean almost OEM look
DAMD/Head Carving Lover Soul's 15x7 +22
Brand new OEM sideskirts (Not installed in the pics) I had the car vinyl wrapped about a year ago and changed my mind so I had to remove everything again to peel it)
Brand new OEM mudflaps
New OEM black handles
Fake stickers (DOHC Vtec, Civic, SiR) (I made these on my plotter to use until the car was painted, didn't want to waste the real stickers)
Spoon style Carbon Fiber Duckbill
Brand new OEM Honda hood bra (I only have the top piece on at the moment)
eBay Foglights (Came with the car)
Smoked Amber Corner Lights
Engine bay:
B20B (Soon B20 Vtec with a fully built GSR head)
Blackworks Aluminum Radiator (Powdercoated Black)
All new OEM Hoses
DC Ceramic Coated 4-1 Header
GSR Transmission
Competition Clutch Stage 4 Clutch
Lightweight 10lb flywheel
Hondata S300
Rywire OBD2 to OBD1 distributor harness
Rywire Clutch line
Hasport Motor Mounts
Chassic:
95 Civic EX Sedan Subframe
95 Civic EX Sedan Tilt Steering Column
95 Civic EX Sedan Rack and pinion (Shorter lock to lock and its looped so it doesn't fail)
95 Civic EX Sedan full disc brake conversion
40/40 proportioning valve
K Sport Coilovers
Energy Suspension polyurethane bushing kit (Including trailing arm bushings)
OEM 95 Civic EX Sedan front and rear sway bars with polyurethane bushings
Skunk 2 Pro Front/Rear Camber kits

Thanks for looking. I have a lot of little things left to do like install all of the handle covers and small plastics that I haven't had a chance to do yet.
I will update this as I get more done!
PARTS I NEED/ WANT TO BUY:
I will update this list as I progress on the project if you have anything on it please comment or PM me.
-OEM CX Fenders
-Gathers Front Tweeters (Door and maplight)
Part I have and have not installed yet:
GSR Cylinder head with:
-Supertech flat face valve
-Supertech Dual Springs
-Supertech Aluminum retainers and new keepers
-Viton Valve stem Seals
I'm saving to send the head and manifold to 4 piston to be ported before installing
Skunk 2 Ultra Street intake manifold
OEM Honda 84mm headgasket
Golden Eagle LS/Vtec kit
ARP Head studs
ZEX Nitrous bottle with Nitrous Pro Flow Dry Direct Port Kit
Where I started: (I have some pictures to post here but its on my home PC I'll upload it later). For now since I don't have any of the pictures from along the way I'll make a long story short.
After about 6 months of working on the car it had been vinyl wrapped and was dumped on a set of Klutch wheels. I took it out to a couple local meets and out a few times. The matte vinyl scratched, it almost polishes the vinyl where anything hard touched it. The small scuffs wont come off so I peeled the wrap off. I had wrapped it with my friend who does it for a living so I didn't waste too much money on it.
^notice the sidemarker cutouts are in the wrong place. The previous owner did this and it drove me insane I hated it. I picked up a set of fenders off of a friend from a teal hatch and i need to shave the sidemolding holes but I was able to cutout the sidemarker holes in the correct place. I would really like to find some cx,vx fenders though to not have the shaved holes at all.
I had also fully rebuilt the GSR to use in the car. I had it in the hatch and drove the car maybe 200 miles. The car wasn't complete enough to daily at that point and the automatic z6 in my sedan was boring me so I pulled the GSR and put it into the sedan (I already had all the other auto to manual parts in my garage)
Supertech pistons, Skunk2 Alpha rods, OEM bearings, machined to 82mm, specs on head are at the bottom of the page.
I had every intention of putting the GSR back into the hatchback but after driving the GSR for 6 months or so I felt it was fun but lacking in the torque area so I opted to purchase a B20b to use stock to get the hatchback driving again.
I bought a 95 Civic CX with a blown GSR and literally everything done the wrong way to the car. After stripping it down to sheet metal and replacing everything this is where I'm at.
Here is a list of what is done so far and some pictures.
Interior:
Full OEM Power Window, lock, and mirror conversion (Full EX coupe wire harness, this all works jsut like it came from Honda this way.)
JDM Gather's Purple Tweed Interior
Complete blue to grey conversion
JDM Front Map light (Not yet installed in the pictures)
Custom Purple corduroy headliner
OEM Audio Console with double DIN Blockoff panel
Prosport Gauges (Oil pressure, Wideband)
OEM USDM Arm rest with cupholder
NRG Quick Release and Hub
Grip Royal, Royal Macbeth steering wheel
Broadway gold 300mm rear view mirror
Still Hood Shift Knob
K Tuned Shifter
Brand New OEM Floor mats (They are not in the car because I haven't cleaned the interior yet)
Baller Winterfest showcar wristbands from every year
Exterior: Don't expect anything too crazy here I want a clean almost OEM look
DAMD/Head Carving Lover Soul's 15x7 +22
Brand new OEM sideskirts (Not installed in the pics) I had the car vinyl wrapped about a year ago and changed my mind so I had to remove everything again to peel it)
Brand new OEM mudflaps
New OEM black handles
Fake stickers (DOHC Vtec, Civic, SiR) (I made these on my plotter to use until the car was painted, didn't want to waste the real stickers)
Spoon style Carbon Fiber Duckbill
Brand new OEM Honda hood bra (I only have the top piece on at the moment)
eBay Foglights (Came with the car)
Smoked Amber Corner Lights
Engine bay:
B20B (Soon B20 Vtec with a fully built GSR head)
Blackworks Aluminum Radiator (Powdercoated Black)
All new OEM Hoses
DC Ceramic Coated 4-1 Header
GSR Transmission
Competition Clutch Stage 4 Clutch
Lightweight 10lb flywheel
Hondata S300
Rywire OBD2 to OBD1 distributor harness
Rywire Clutch line
Hasport Motor Mounts
Chassic:
95 Civic EX Sedan Subframe
95 Civic EX Sedan Tilt Steering Column
95 Civic EX Sedan Rack and pinion (Shorter lock to lock and its looped so it doesn't fail)
95 Civic EX Sedan full disc brake conversion
40/40 proportioning valve
K Sport Coilovers
Energy Suspension polyurethane bushing kit (Including trailing arm bushings)
OEM 95 Civic EX Sedan front and rear sway bars with polyurethane bushings
Skunk 2 Pro Front/Rear Camber kits
Thanks for looking. I have a lot of little things left to do like install all of the handle covers and small plastics that I haven't had a chance to do yet.
I will update this as I get more done!
PARTS I NEED/ WANT TO BUY:
I will update this list as I progress on the project if you have anything on it please comment or PM me.
-OEM CX Fenders
-Gathers Front Tweeters (Door and maplight)
Part I have and have not installed yet:
GSR Cylinder head with:
-Supertech flat face valve
-Supertech Dual Springs
-Supertech Aluminum retainers and new keepers
-Viton Valve stem Seals
I'm saving to send the head and manifold to 4 piston to be ported before installing
Skunk 2 Ultra Street intake manifold
OEM Honda 84mm headgasket
Golden Eagle LS/Vtec kit
ARP Head studs
ZEX Nitrous bottle with Nitrous Pro Flow Dry Direct Port Kit
Last edited by EconoBox on Thu Feb 19, 2015 3:13 pm, edited 4 times in total.