Post YOUR Hatchback here
By known
#287114 Im new to the site and thought I would share my build. I have had this car first as a DD for about 7 years before I took it off the streets for good the last 2.

I hope this may be a help for people looking at building an actual race car.

Comments good or bad welcome.

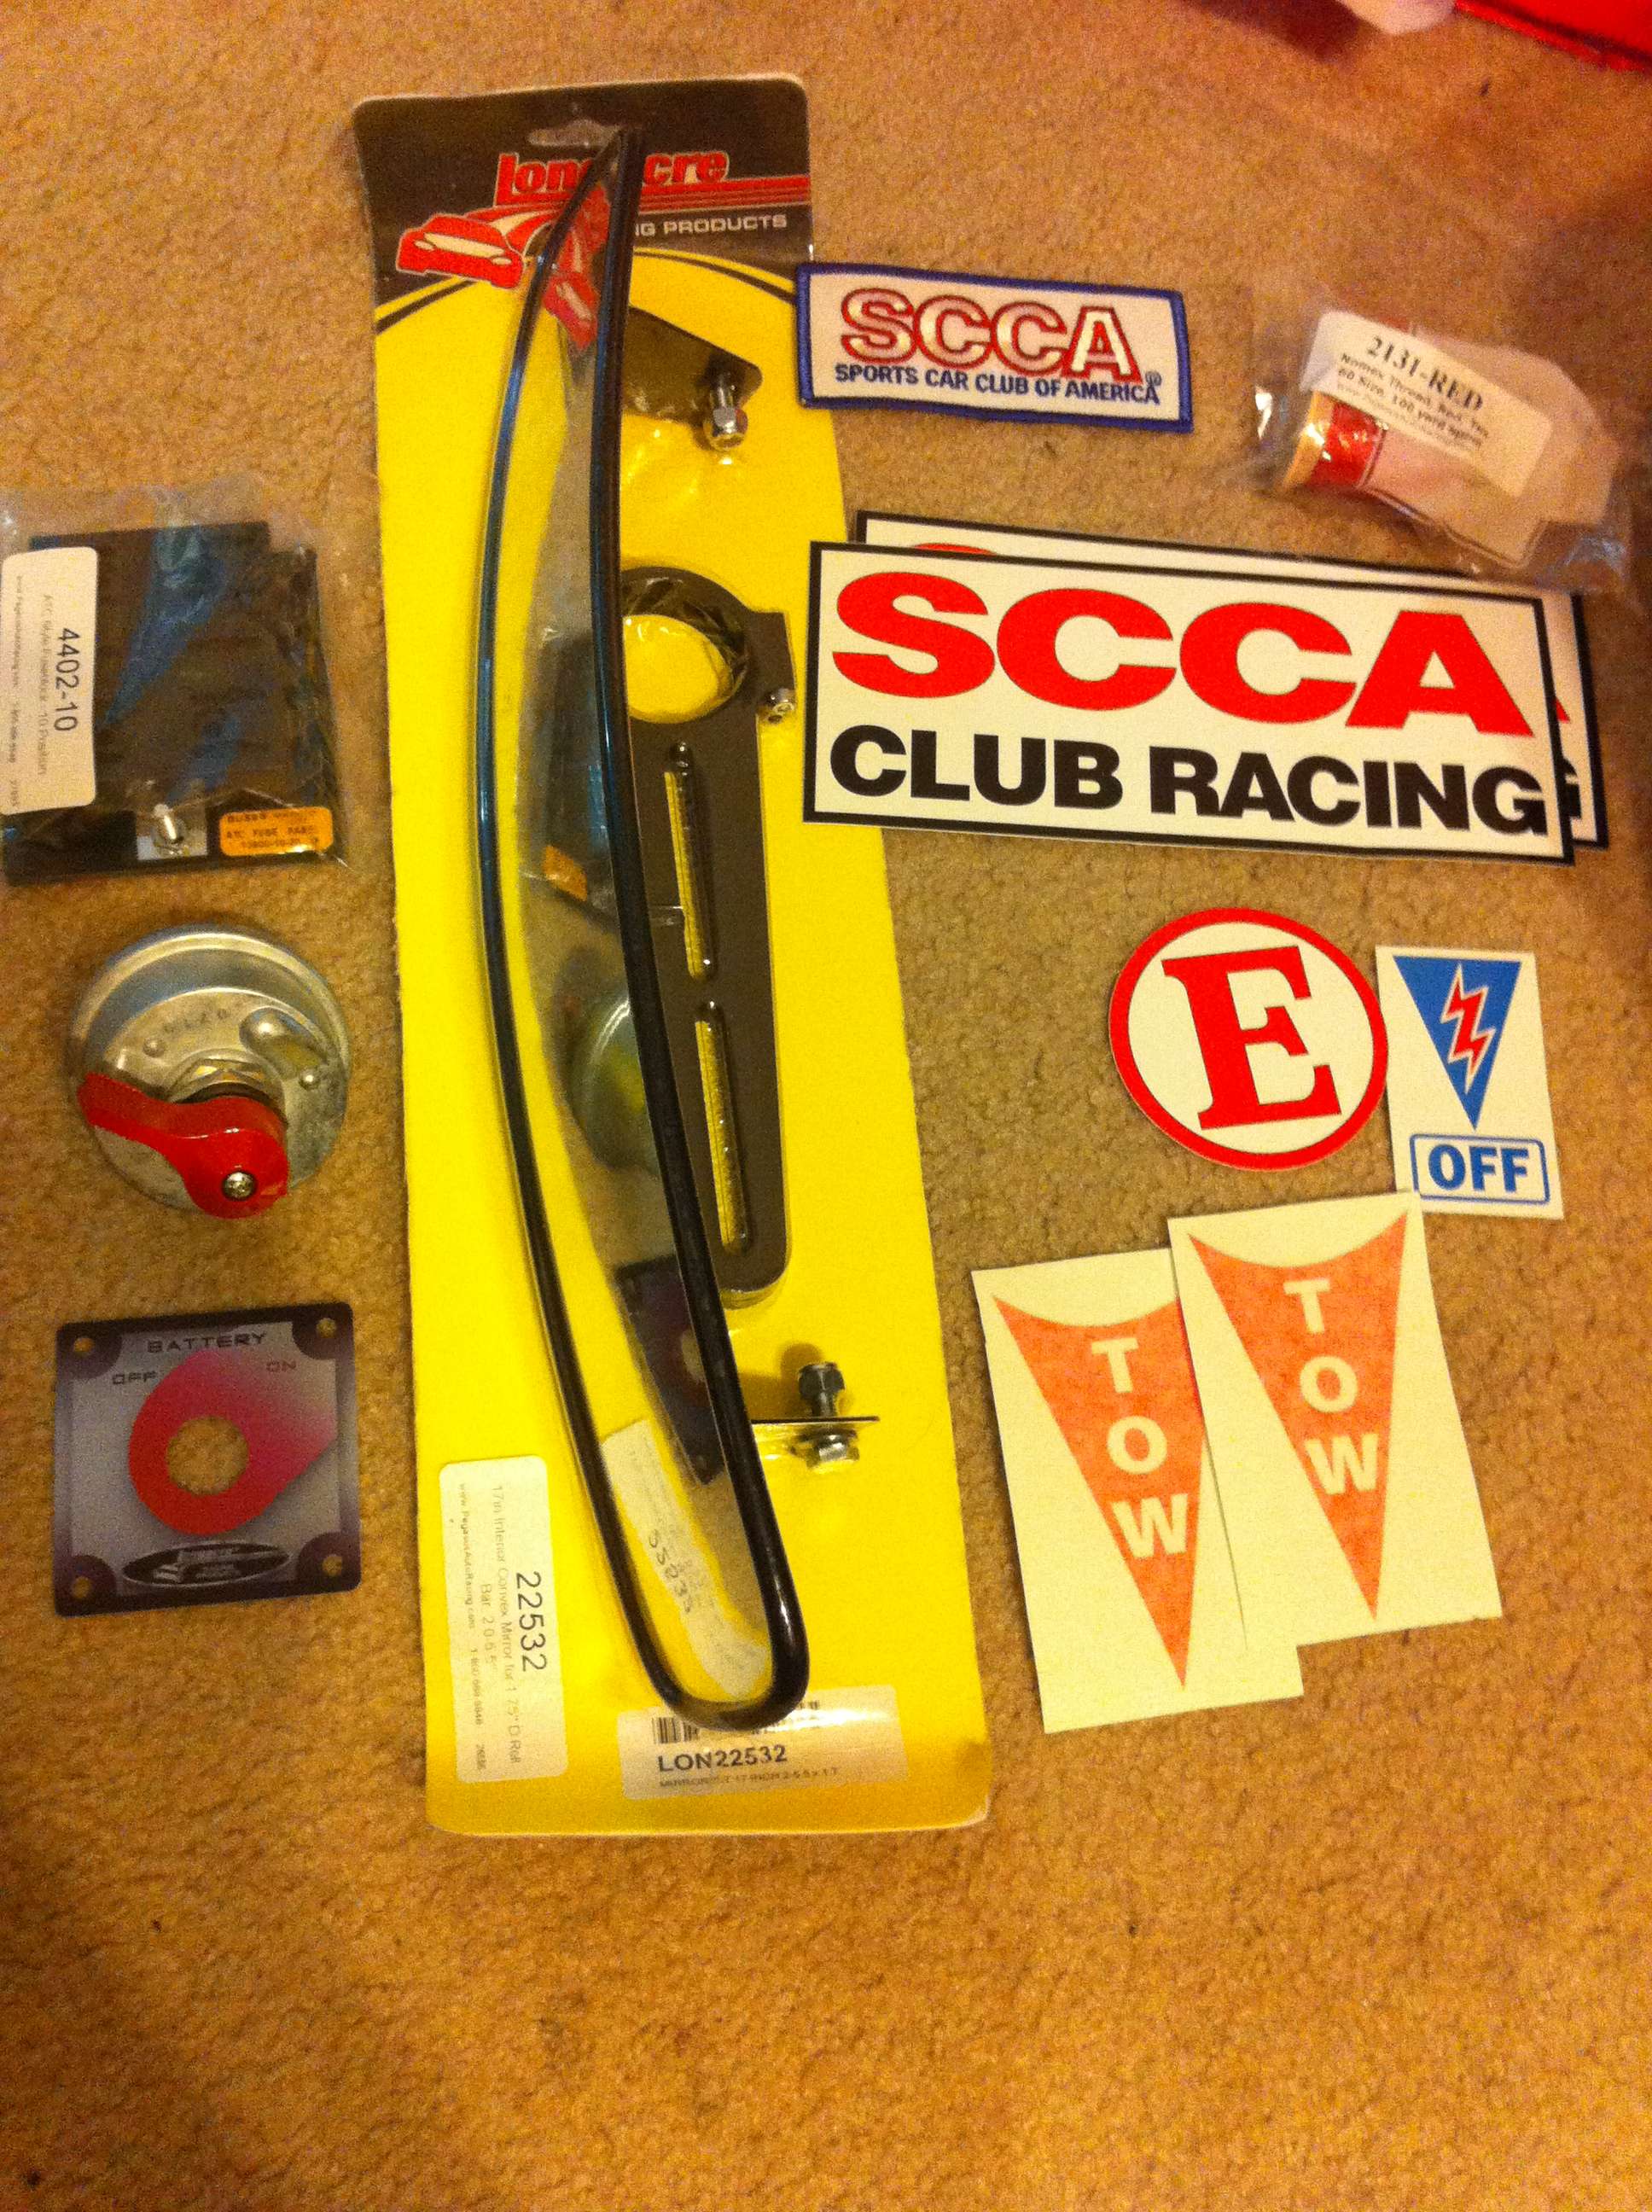
The class is Super Touring Light and allows motor swaps so its similar to NASA's H classes. This is more of a rebuild/makeover of my GSR build so I used a few of those photos too. I blew that motor up at the Redline time attack at Sebring which was a real bummer. I luckily saved my old b18b block from my old ls/vtec so that was the cheapest rebuild scenario for me. The plan is to build an n/a b18b within the specs of the class.


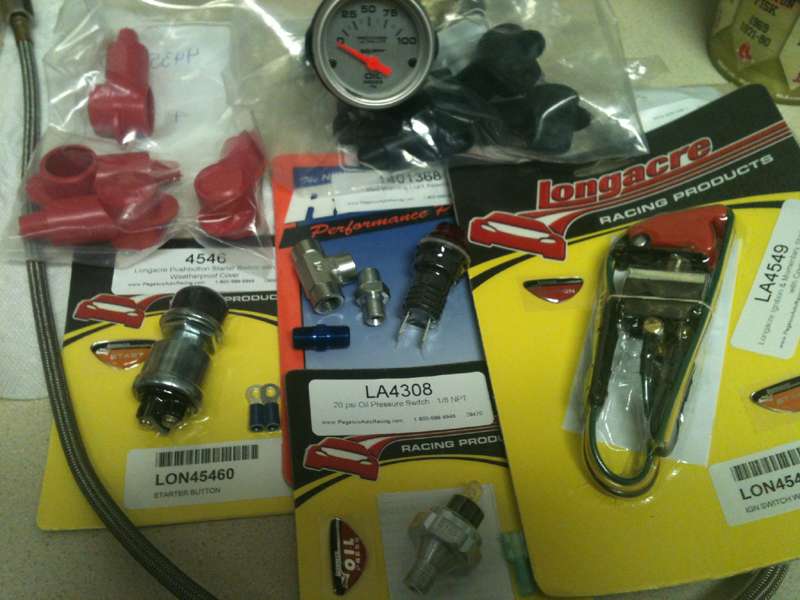
Motul brake and gear fluids, Hawk ht-10 pads, brake ducts from honda-tech user jbs :thumbup:, skunk2 rear camber, blox rear toe, brake duct hose, b&m race shifter with spherical bearing which is one of the nicest additions I have ever made, and Progress Coilovers with 500lb progress/800lb hyperco springs which has been an amazing setup for the price Progress Technology: Anti-roll bars, sport springs, coil-overs, camber kits and more since 1995!. I showed my koni/gc for comparison between the 2 coilover setups.

Image

Image

Fast Brakes ITR front brakes.

Image

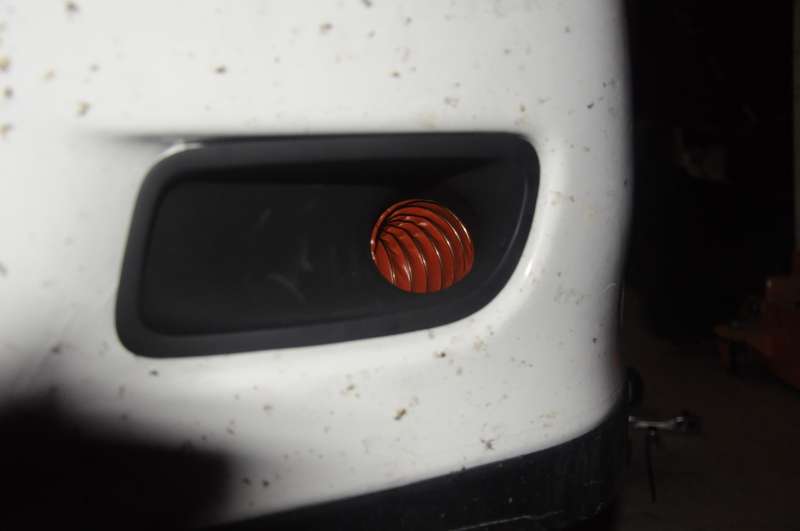
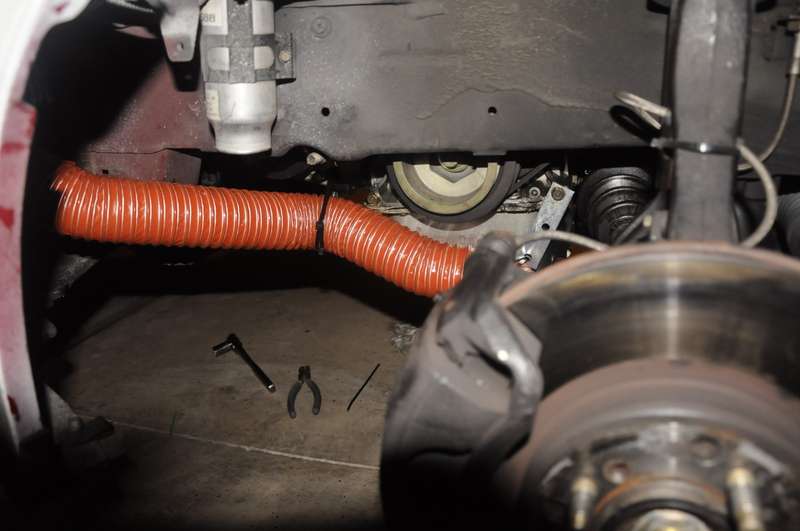
Brake duct hose routed to the shock fork.

Image
http://circuit-racer.com/forums/f12/scca-stl-super-touring-95-honda-civic-hatch-build-34/
Image

Hyperco are sweet and very high quality, skunk2 rear camber kit as well.

Image

Image

Sad face waiting for a new heart. That motor is now out of the car and I just need to get this finished.

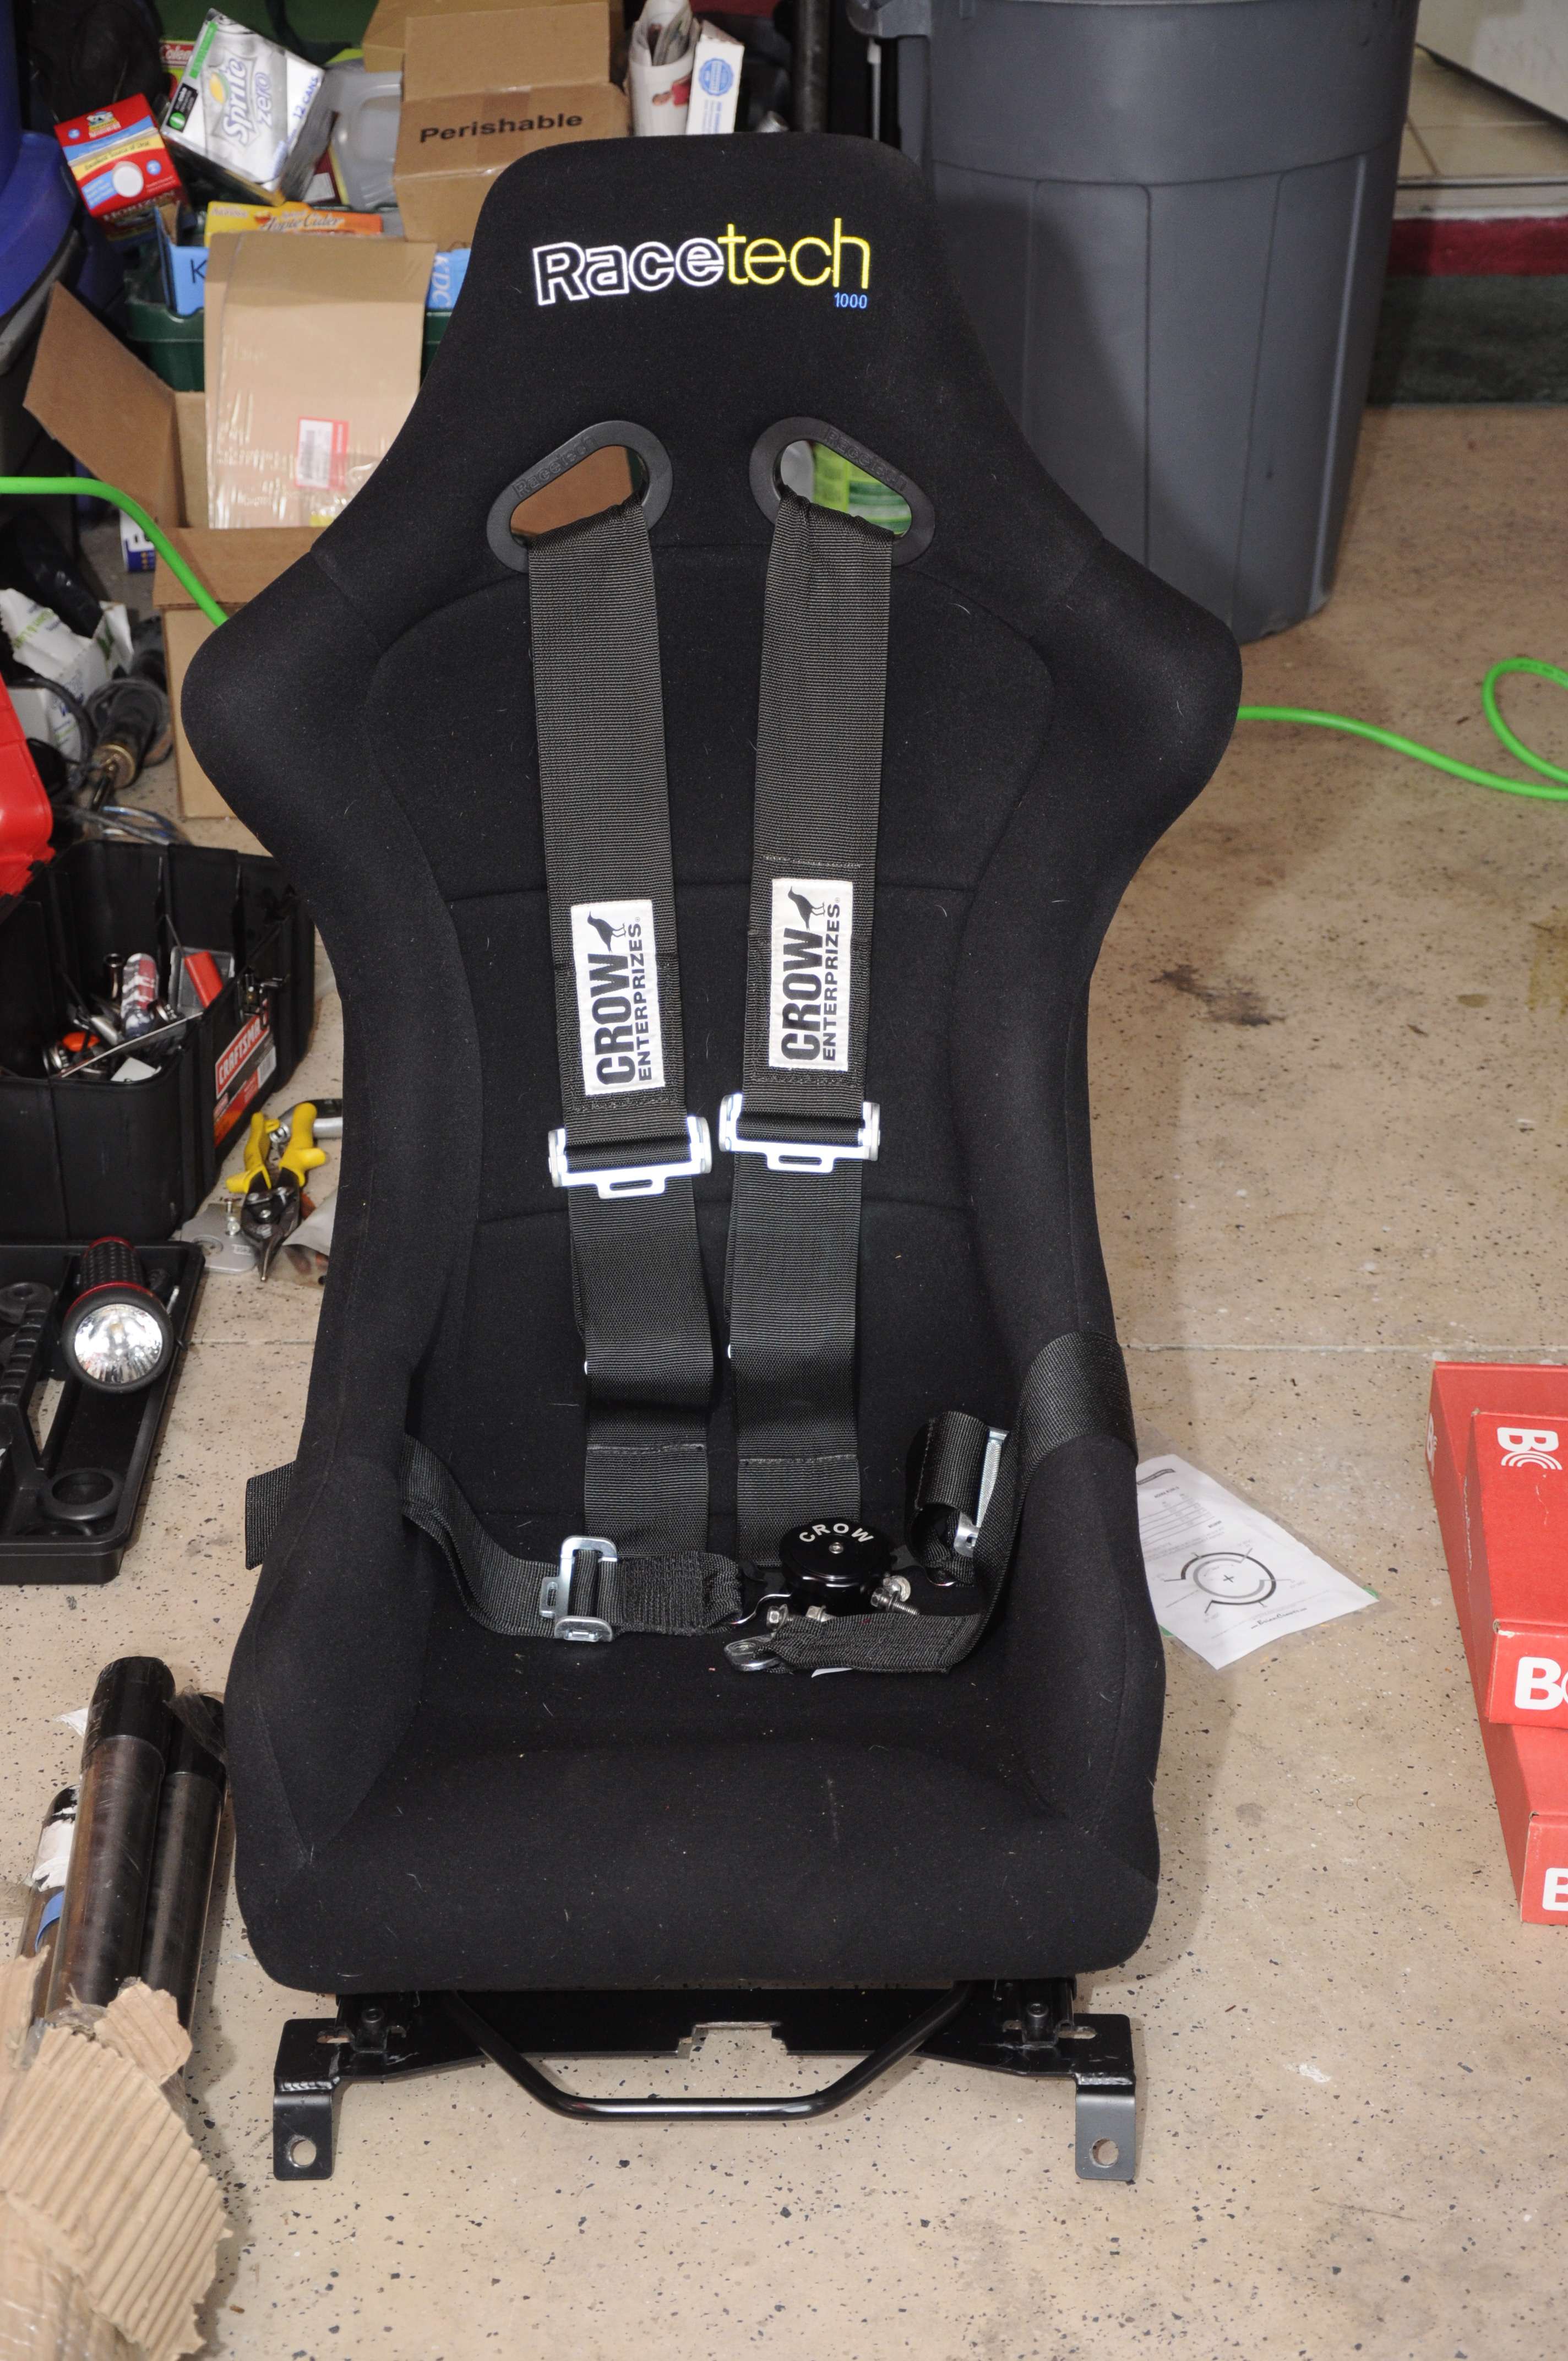
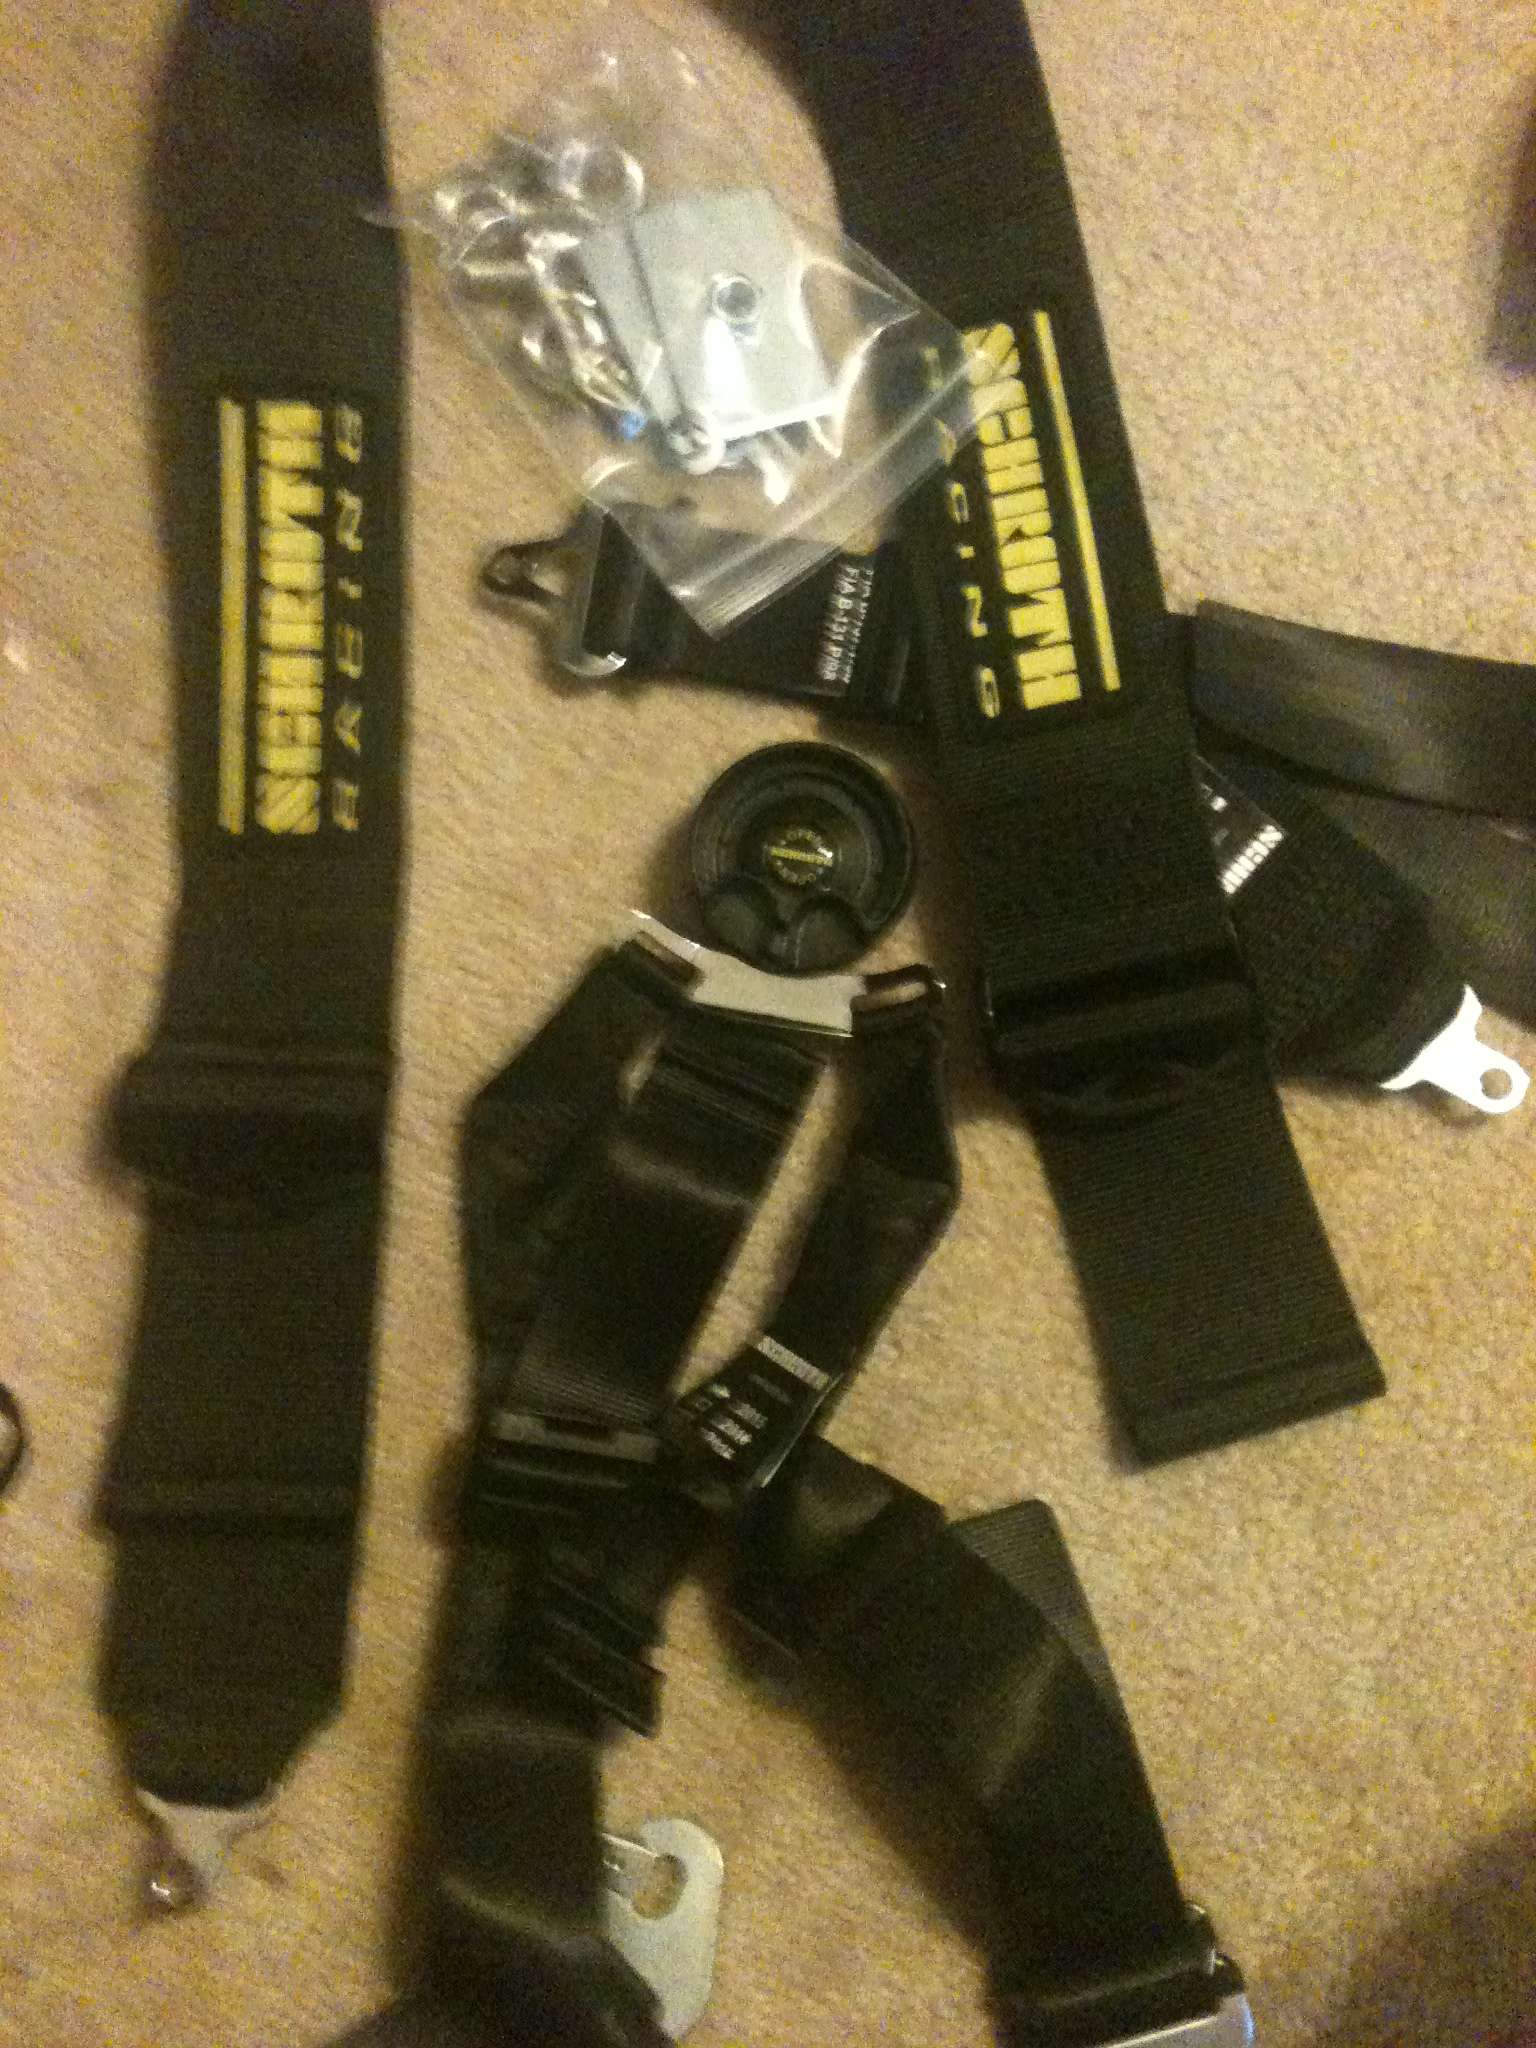
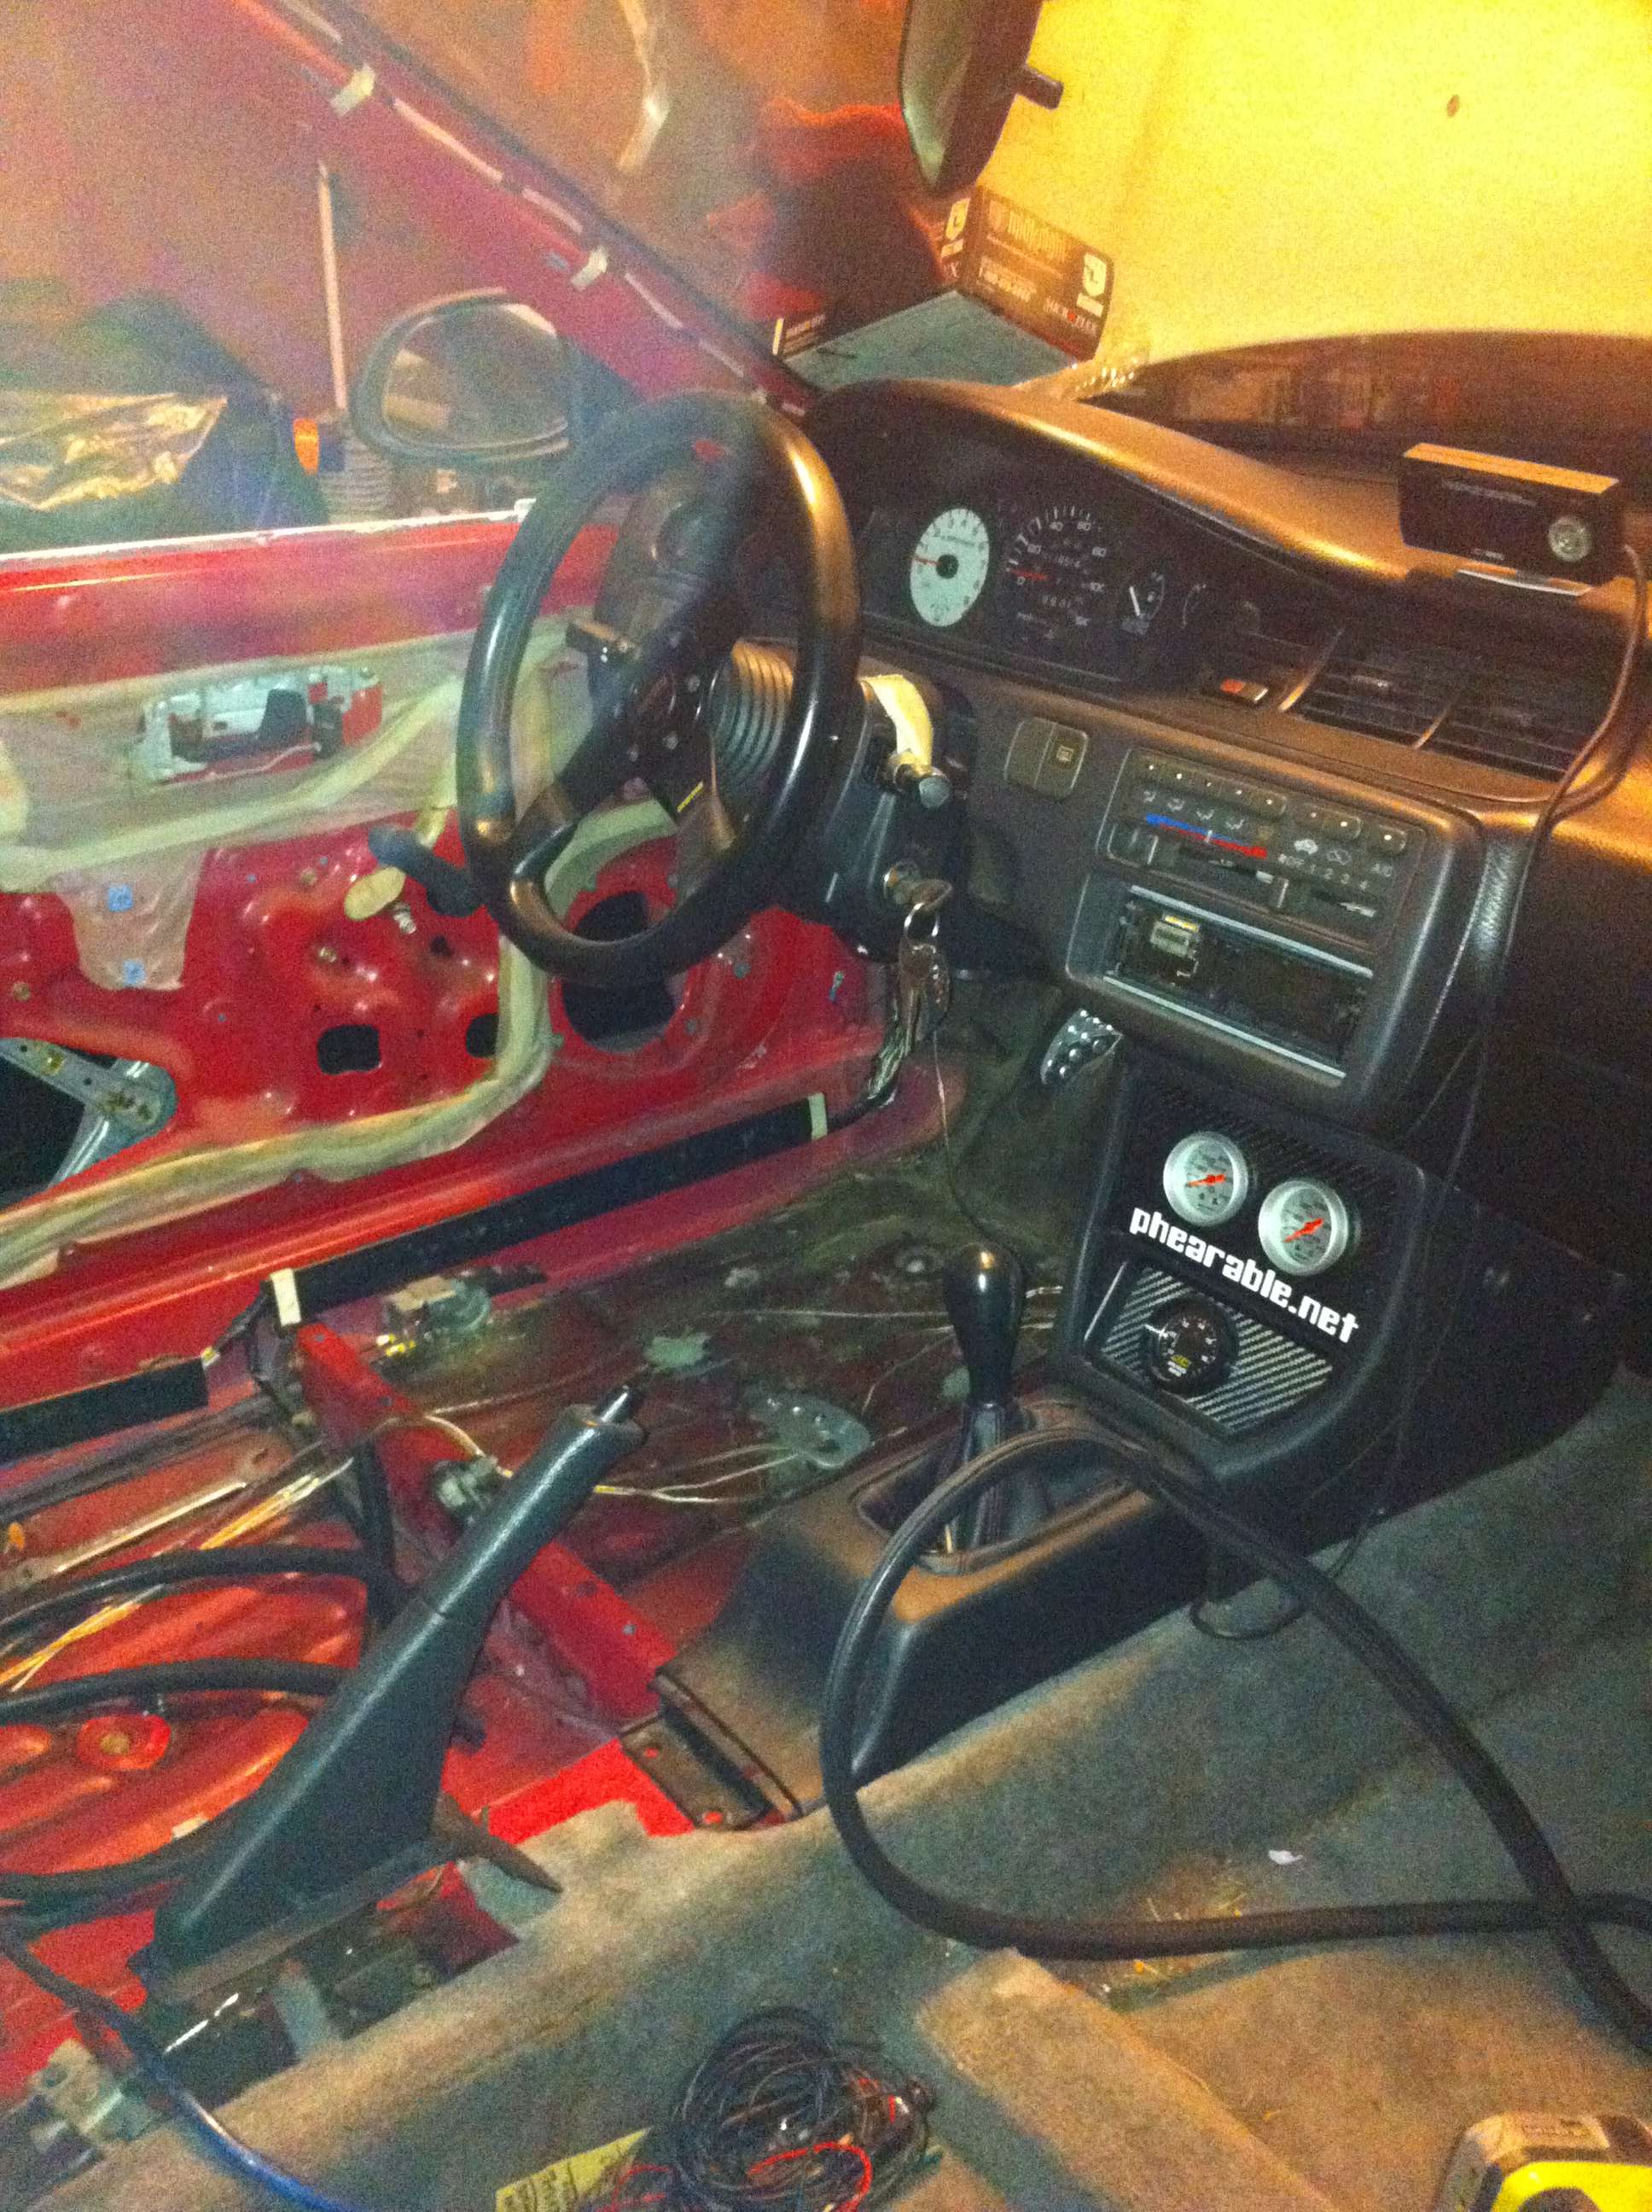
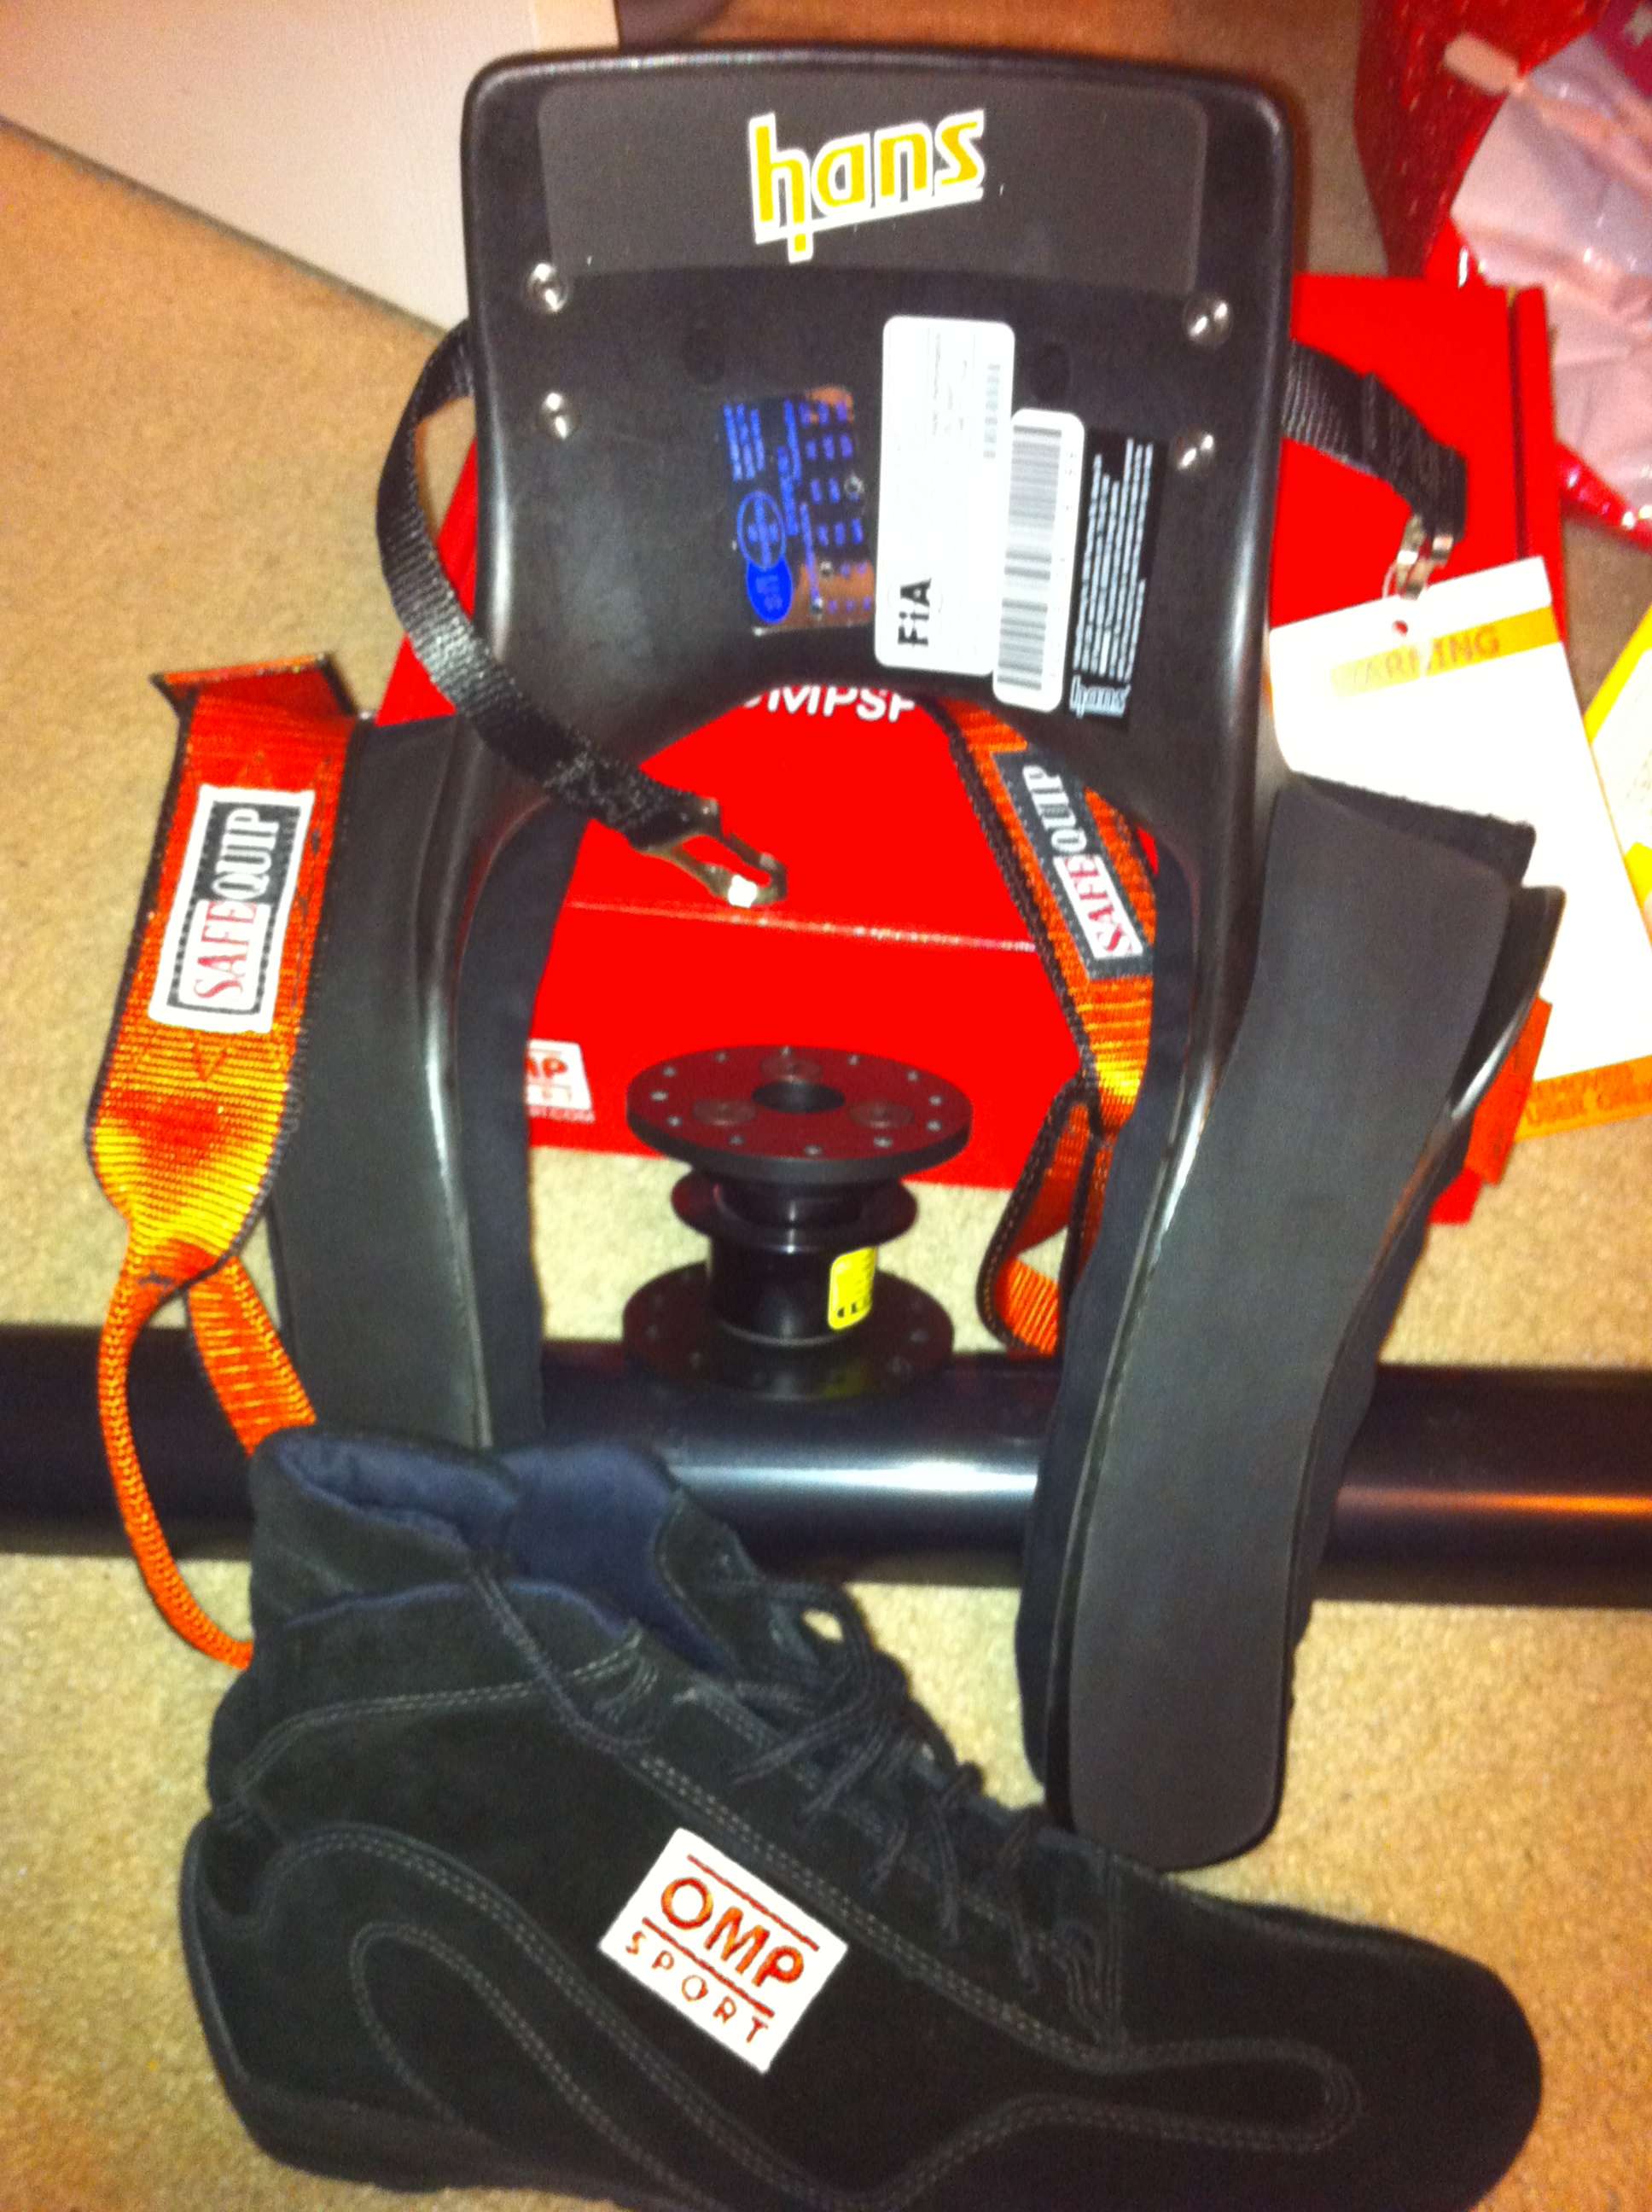
Racetech 1000, the crow harnesses are gone and Im replacing them with Schroth Profi 2 6 point

Image

Some of the new DOM roll cage next to the seat. That slider wont be used and is against the rules.

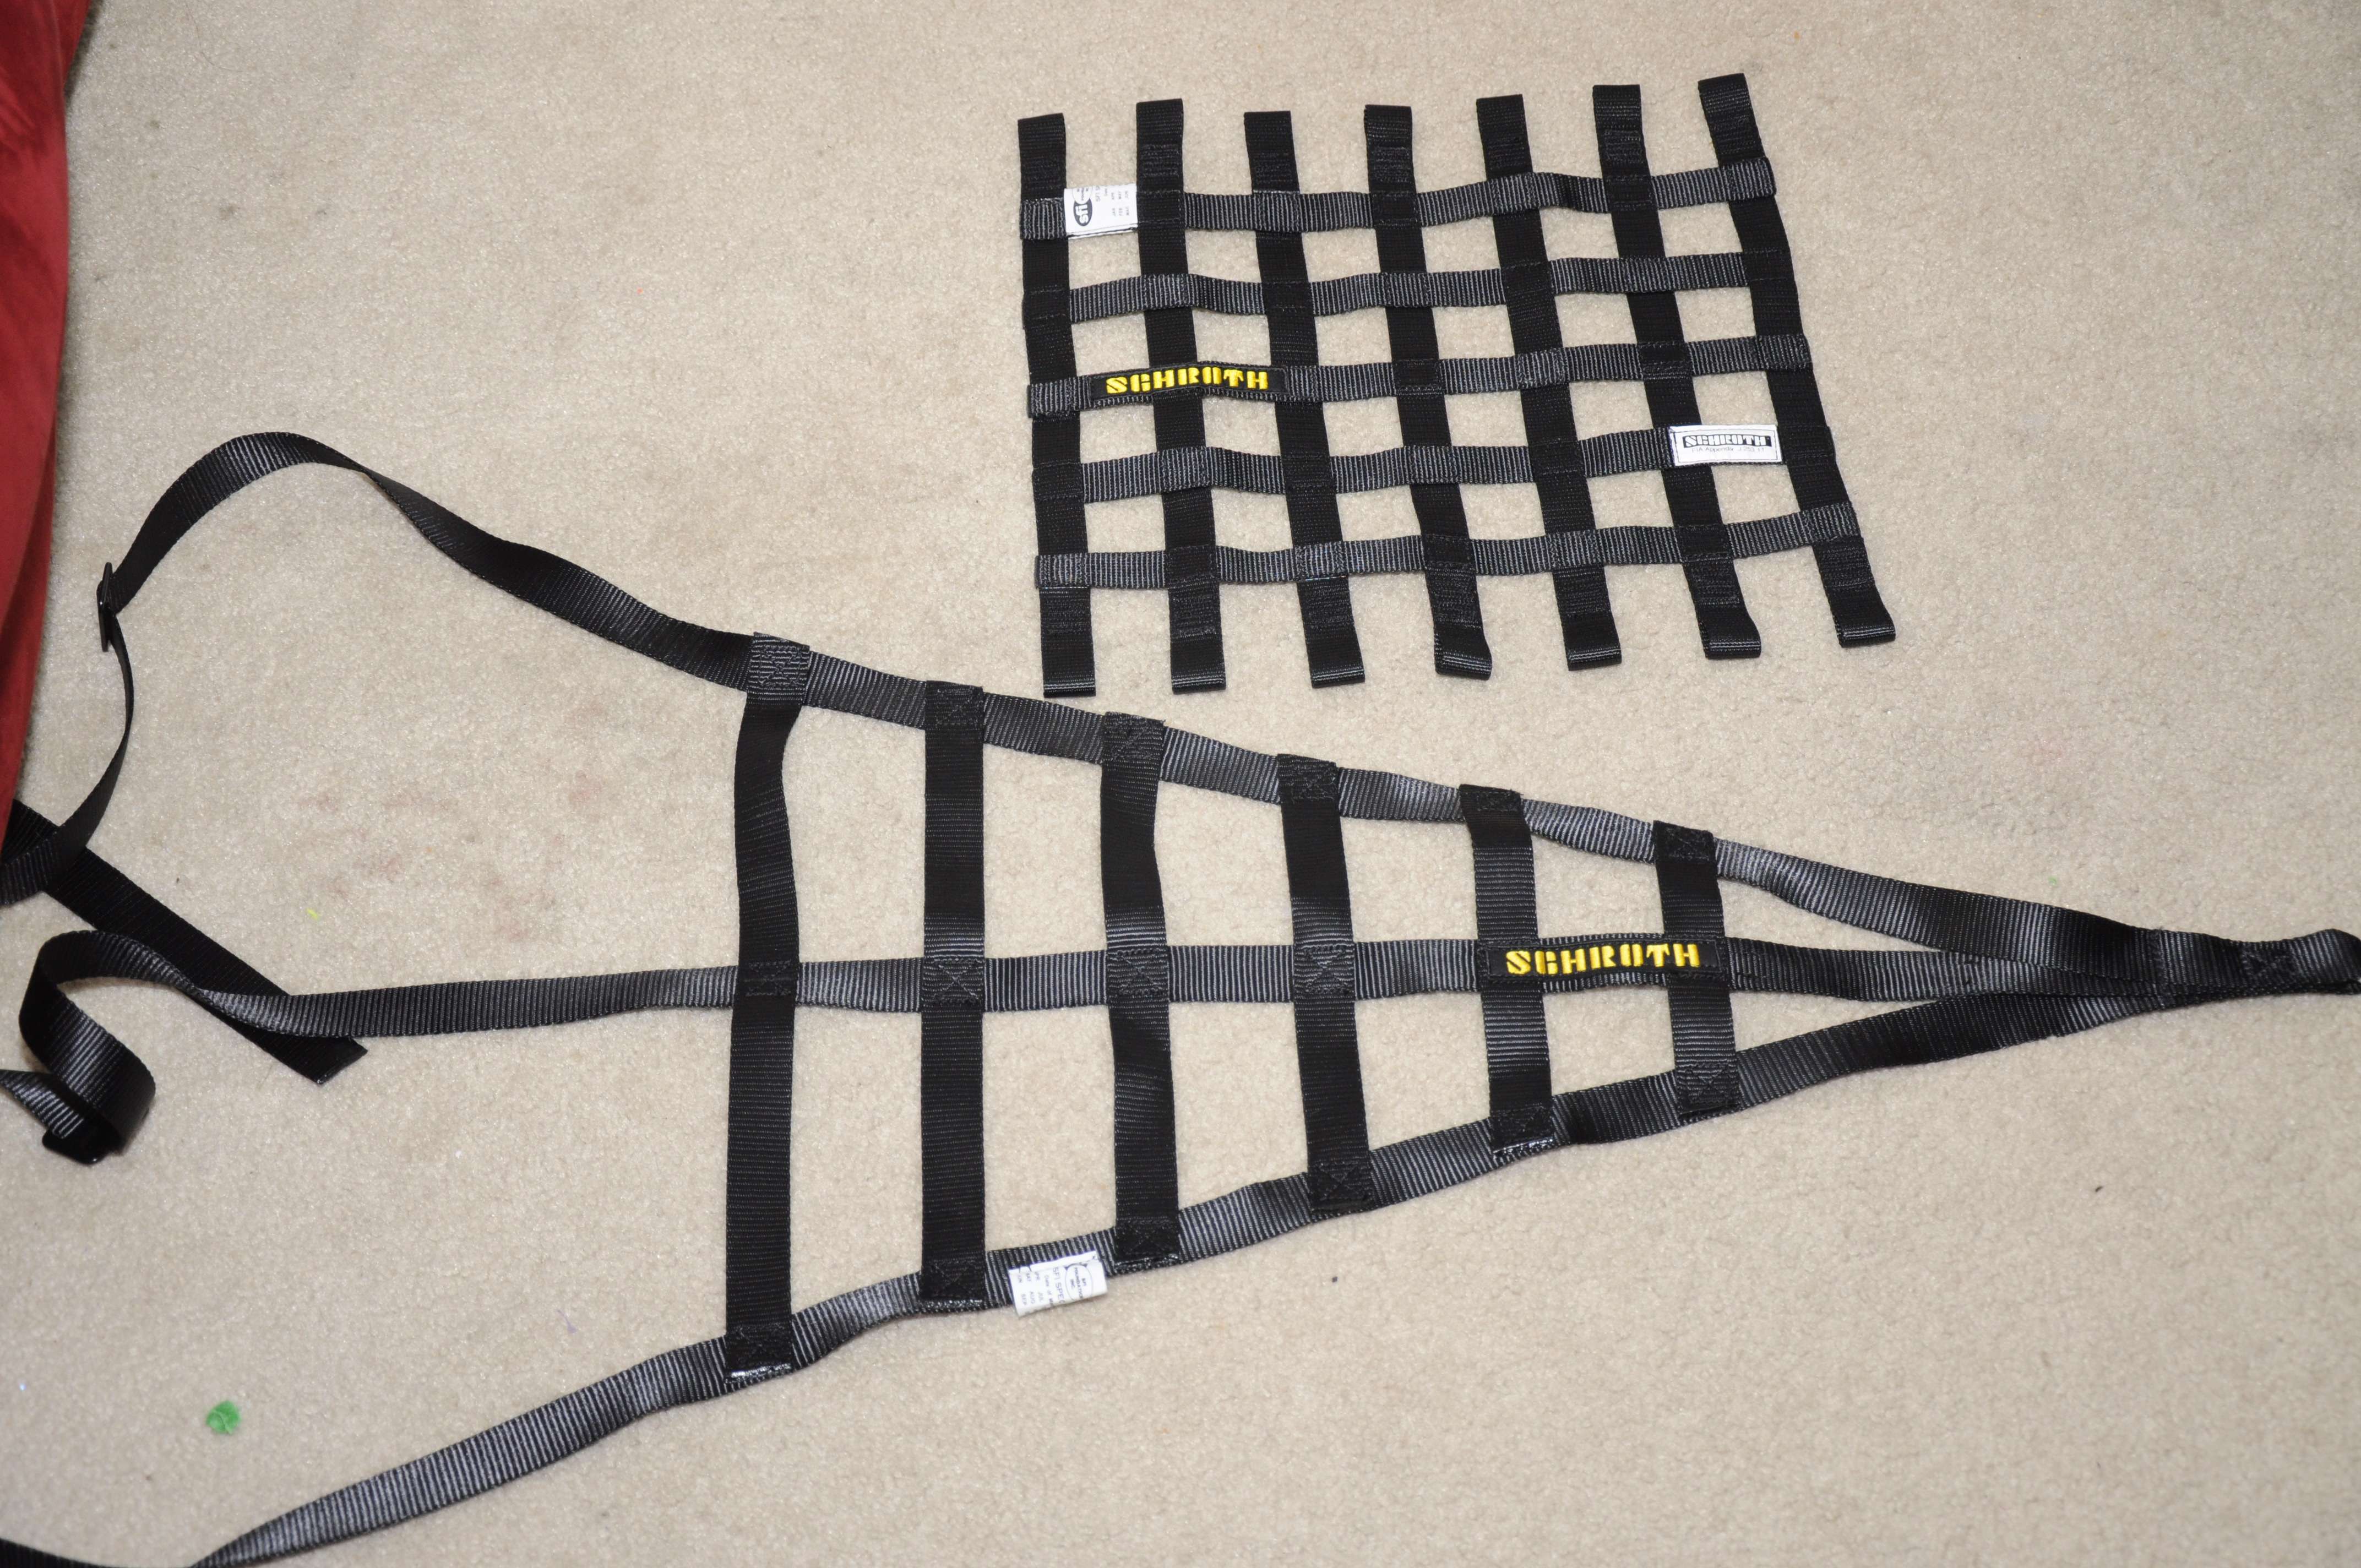
Schroth window net and side roll bar harness.
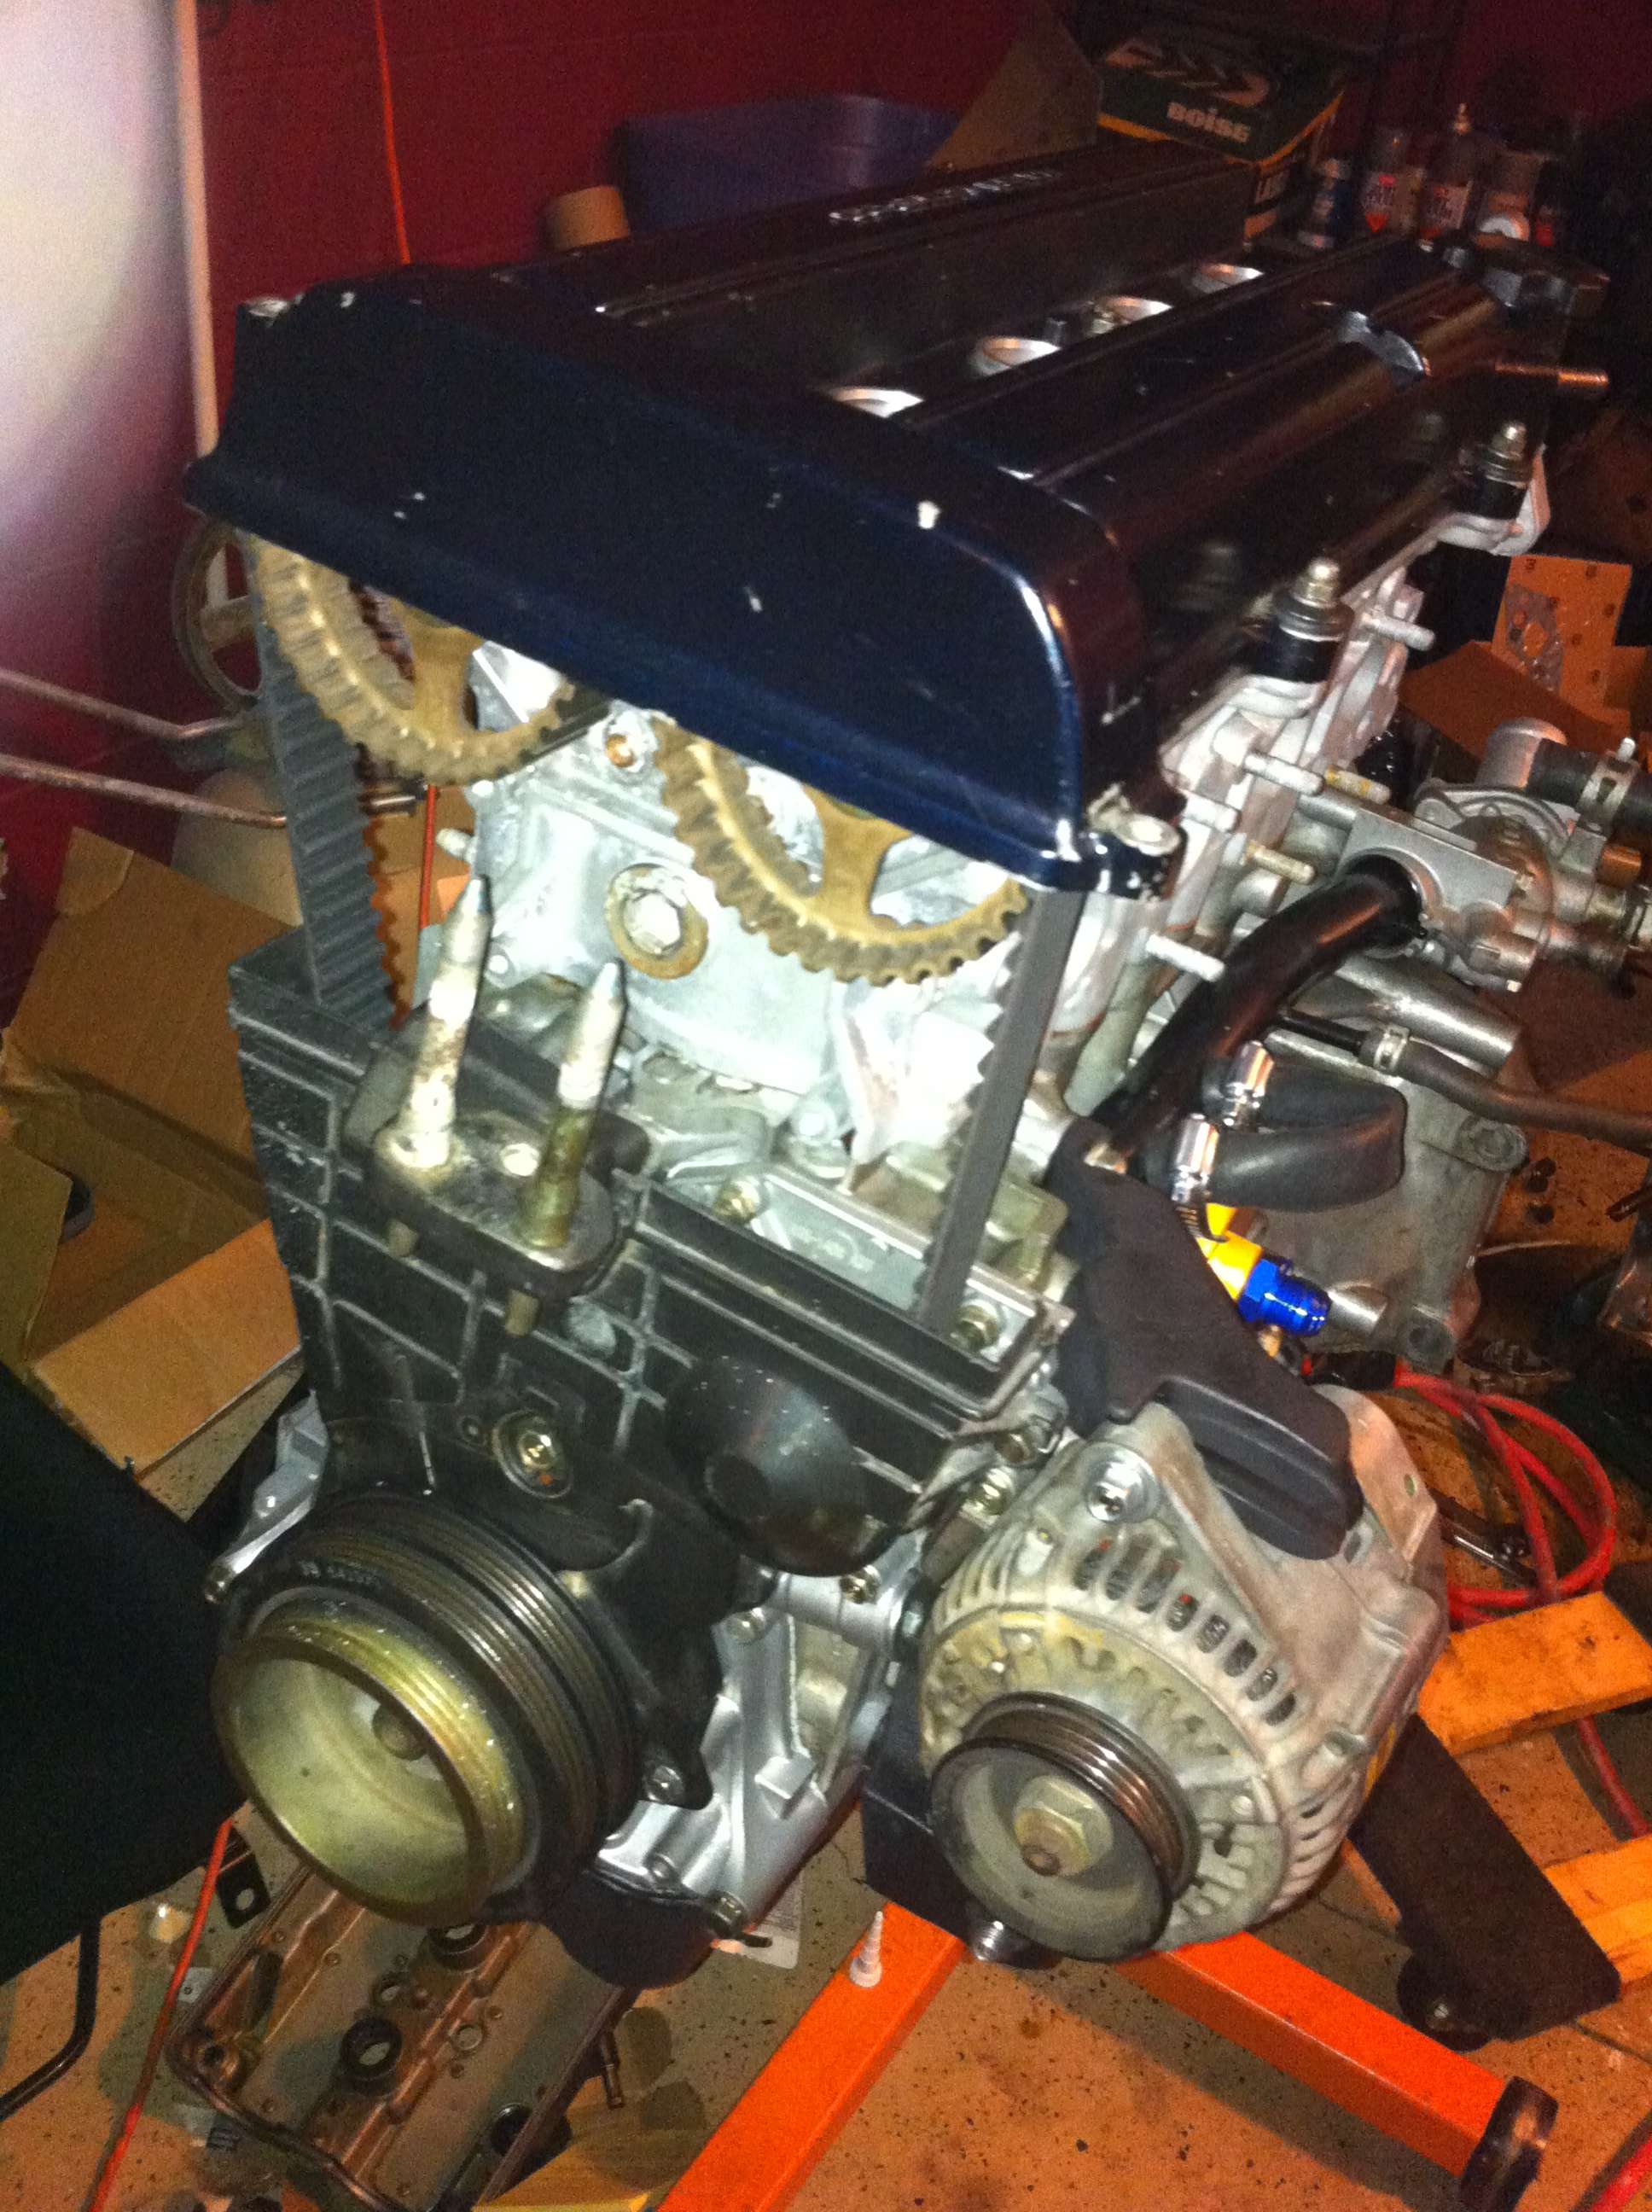
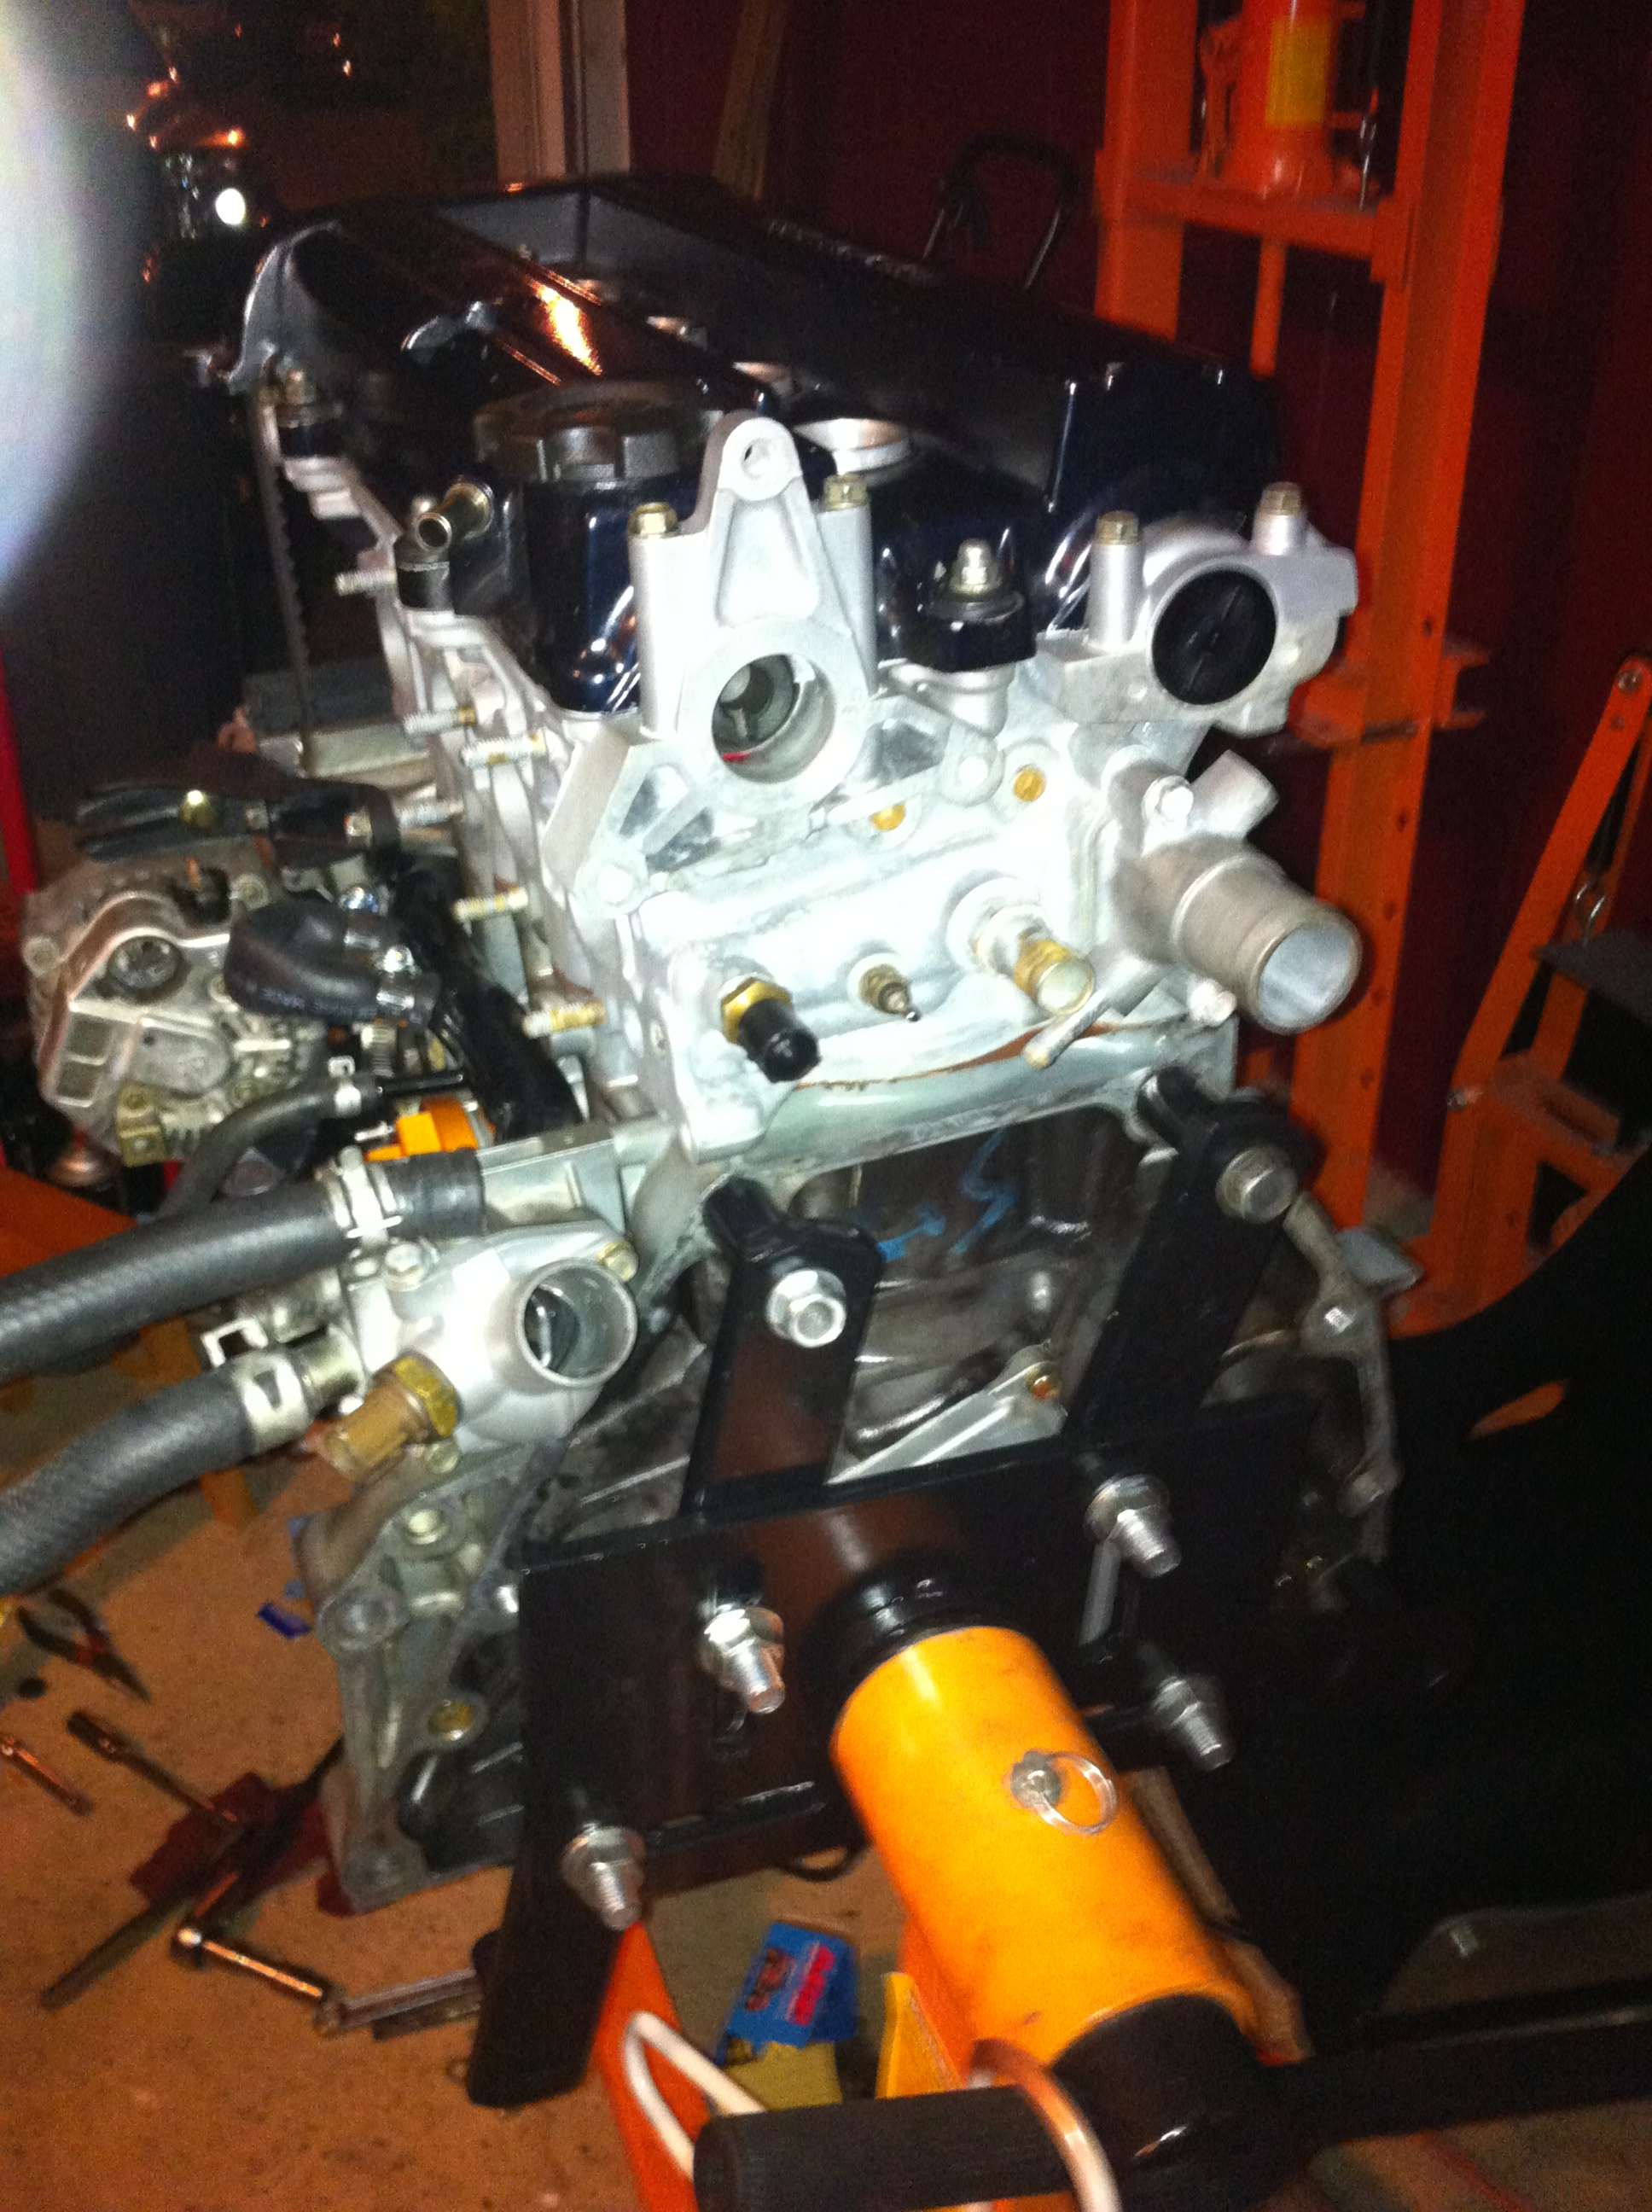
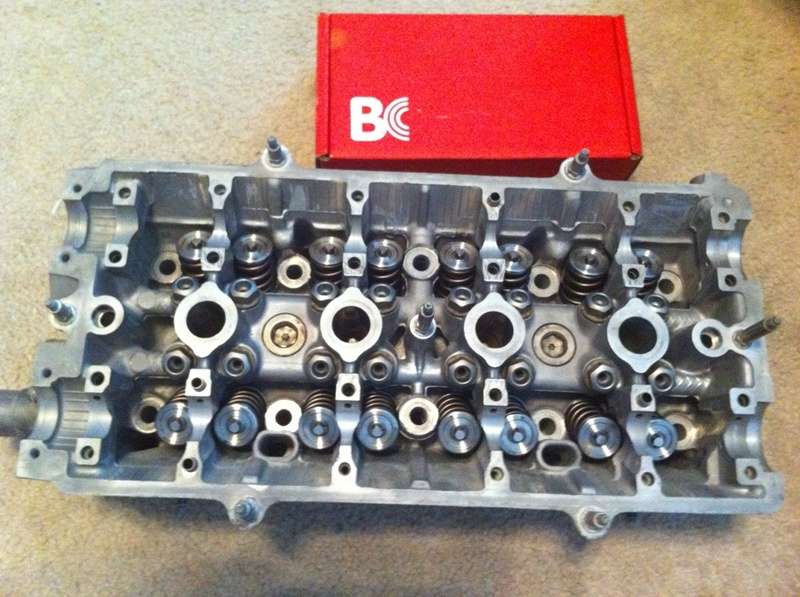
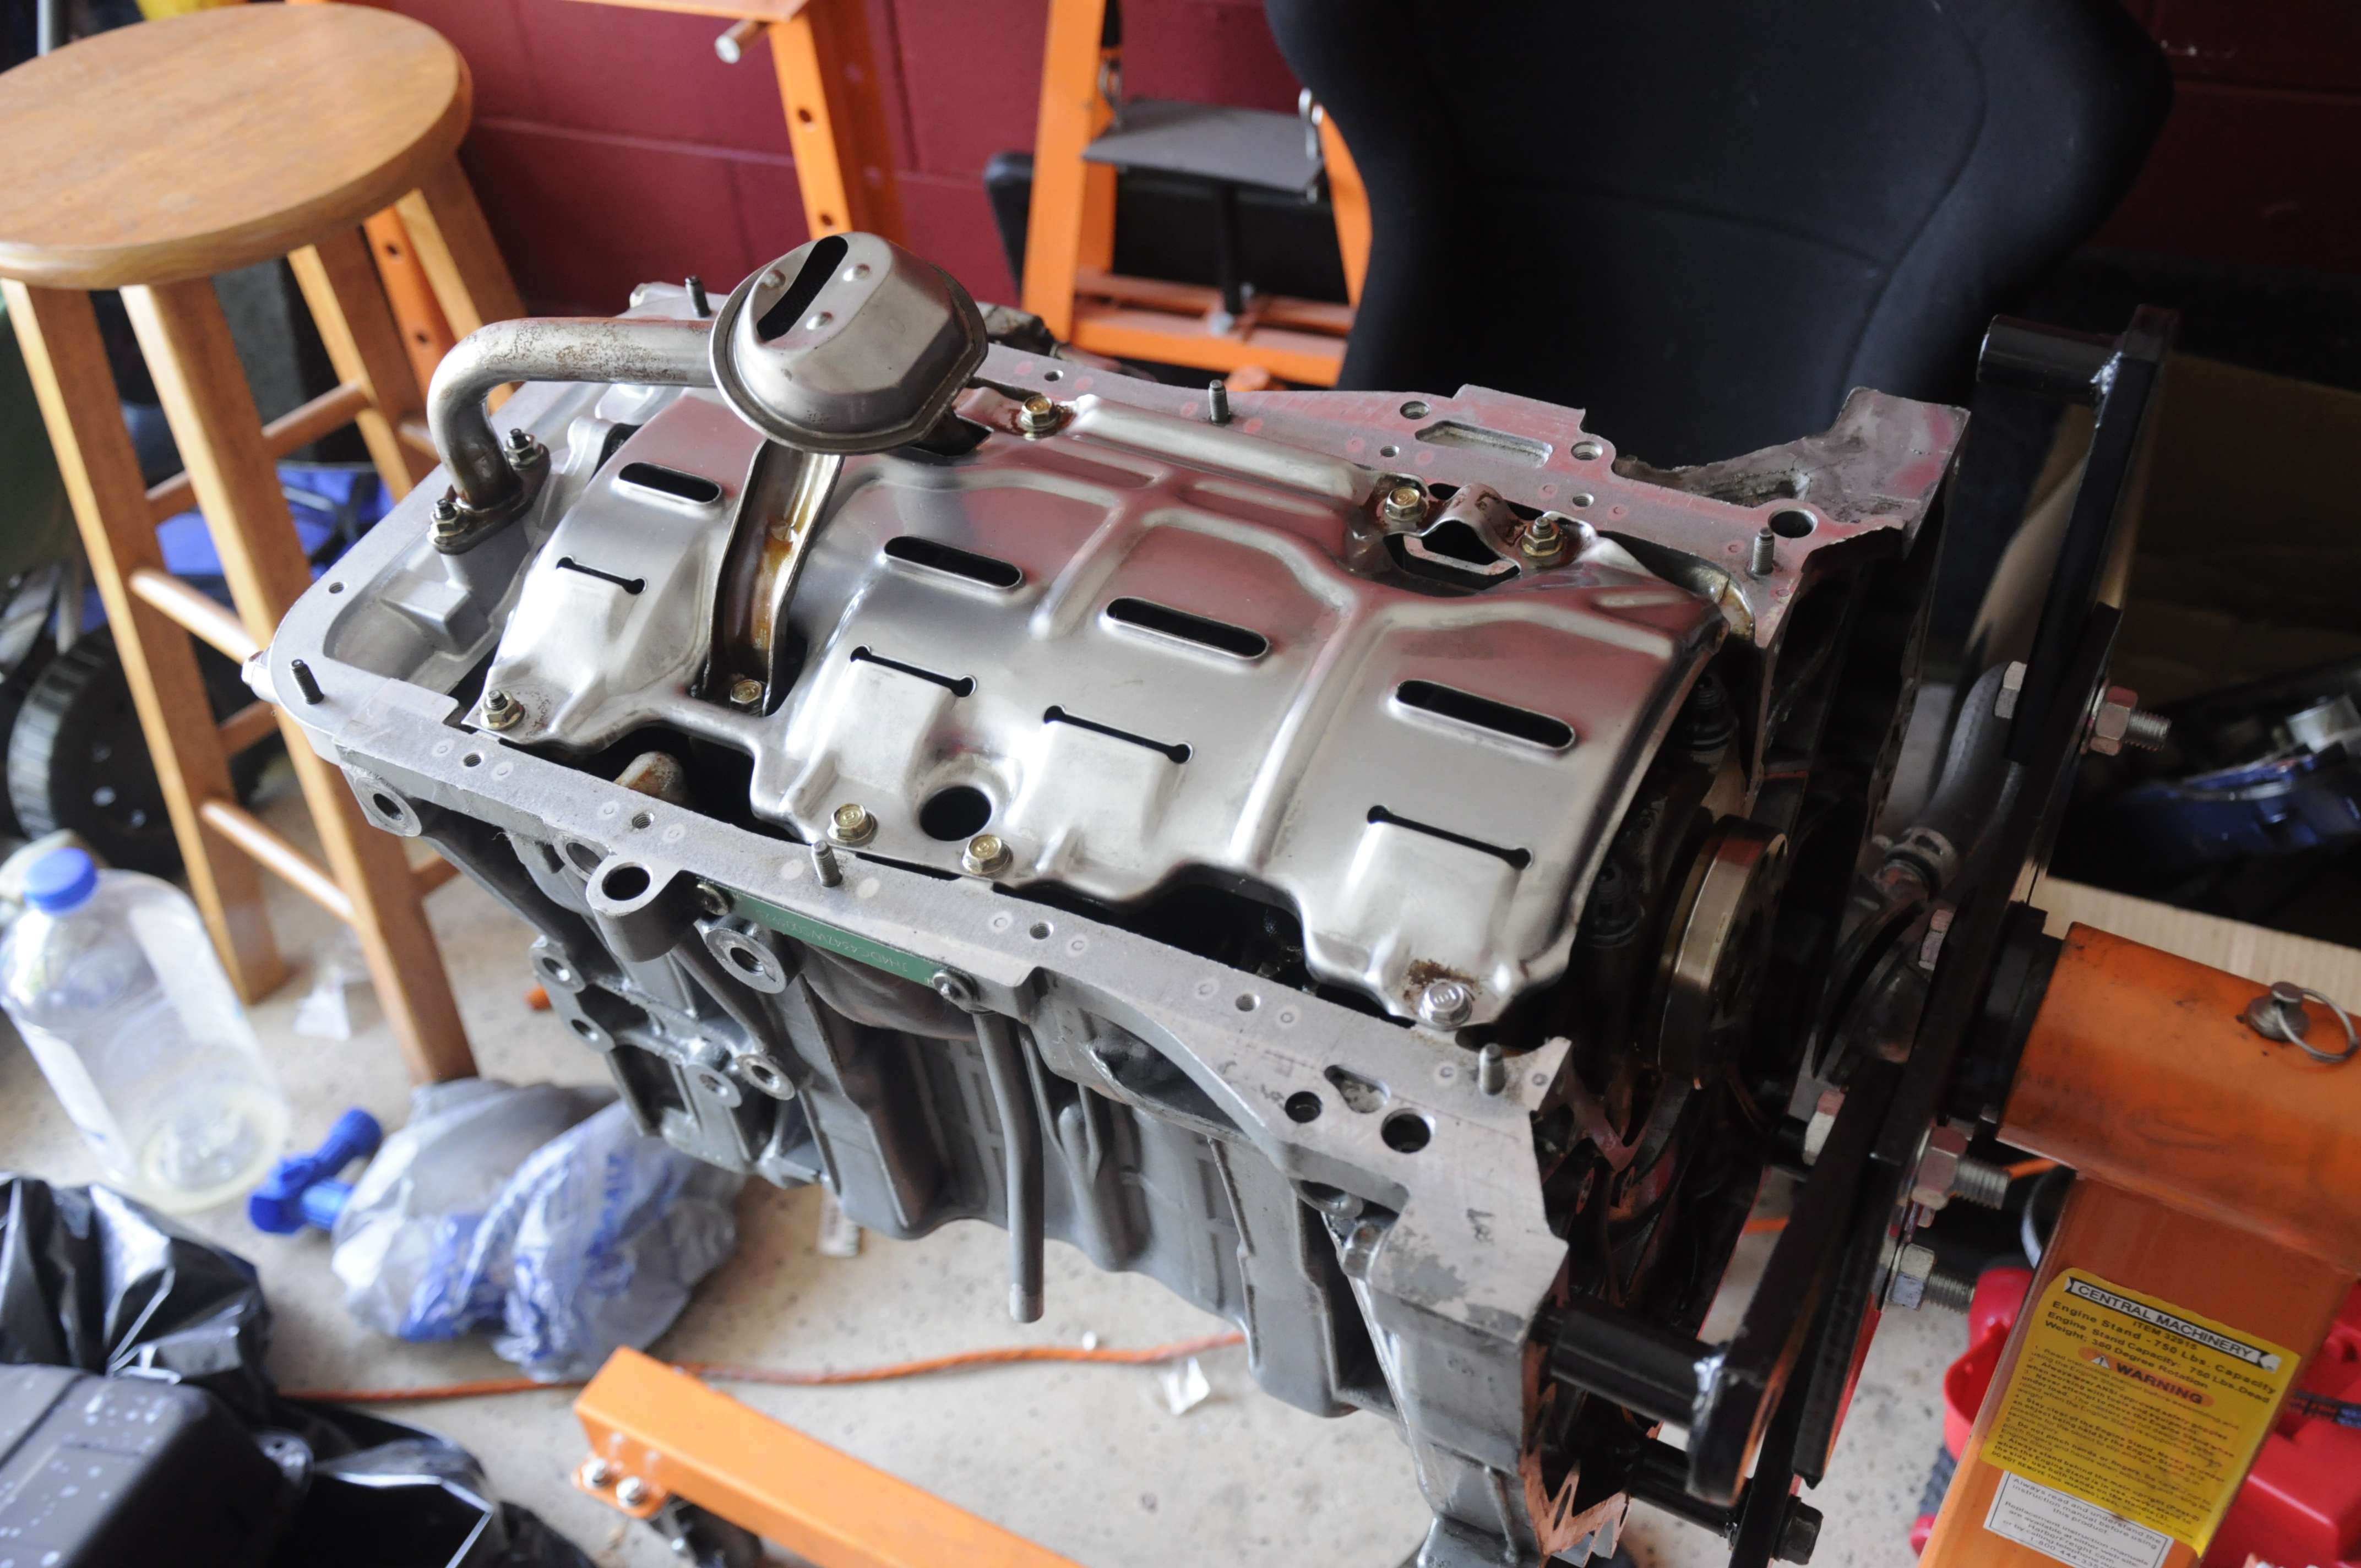
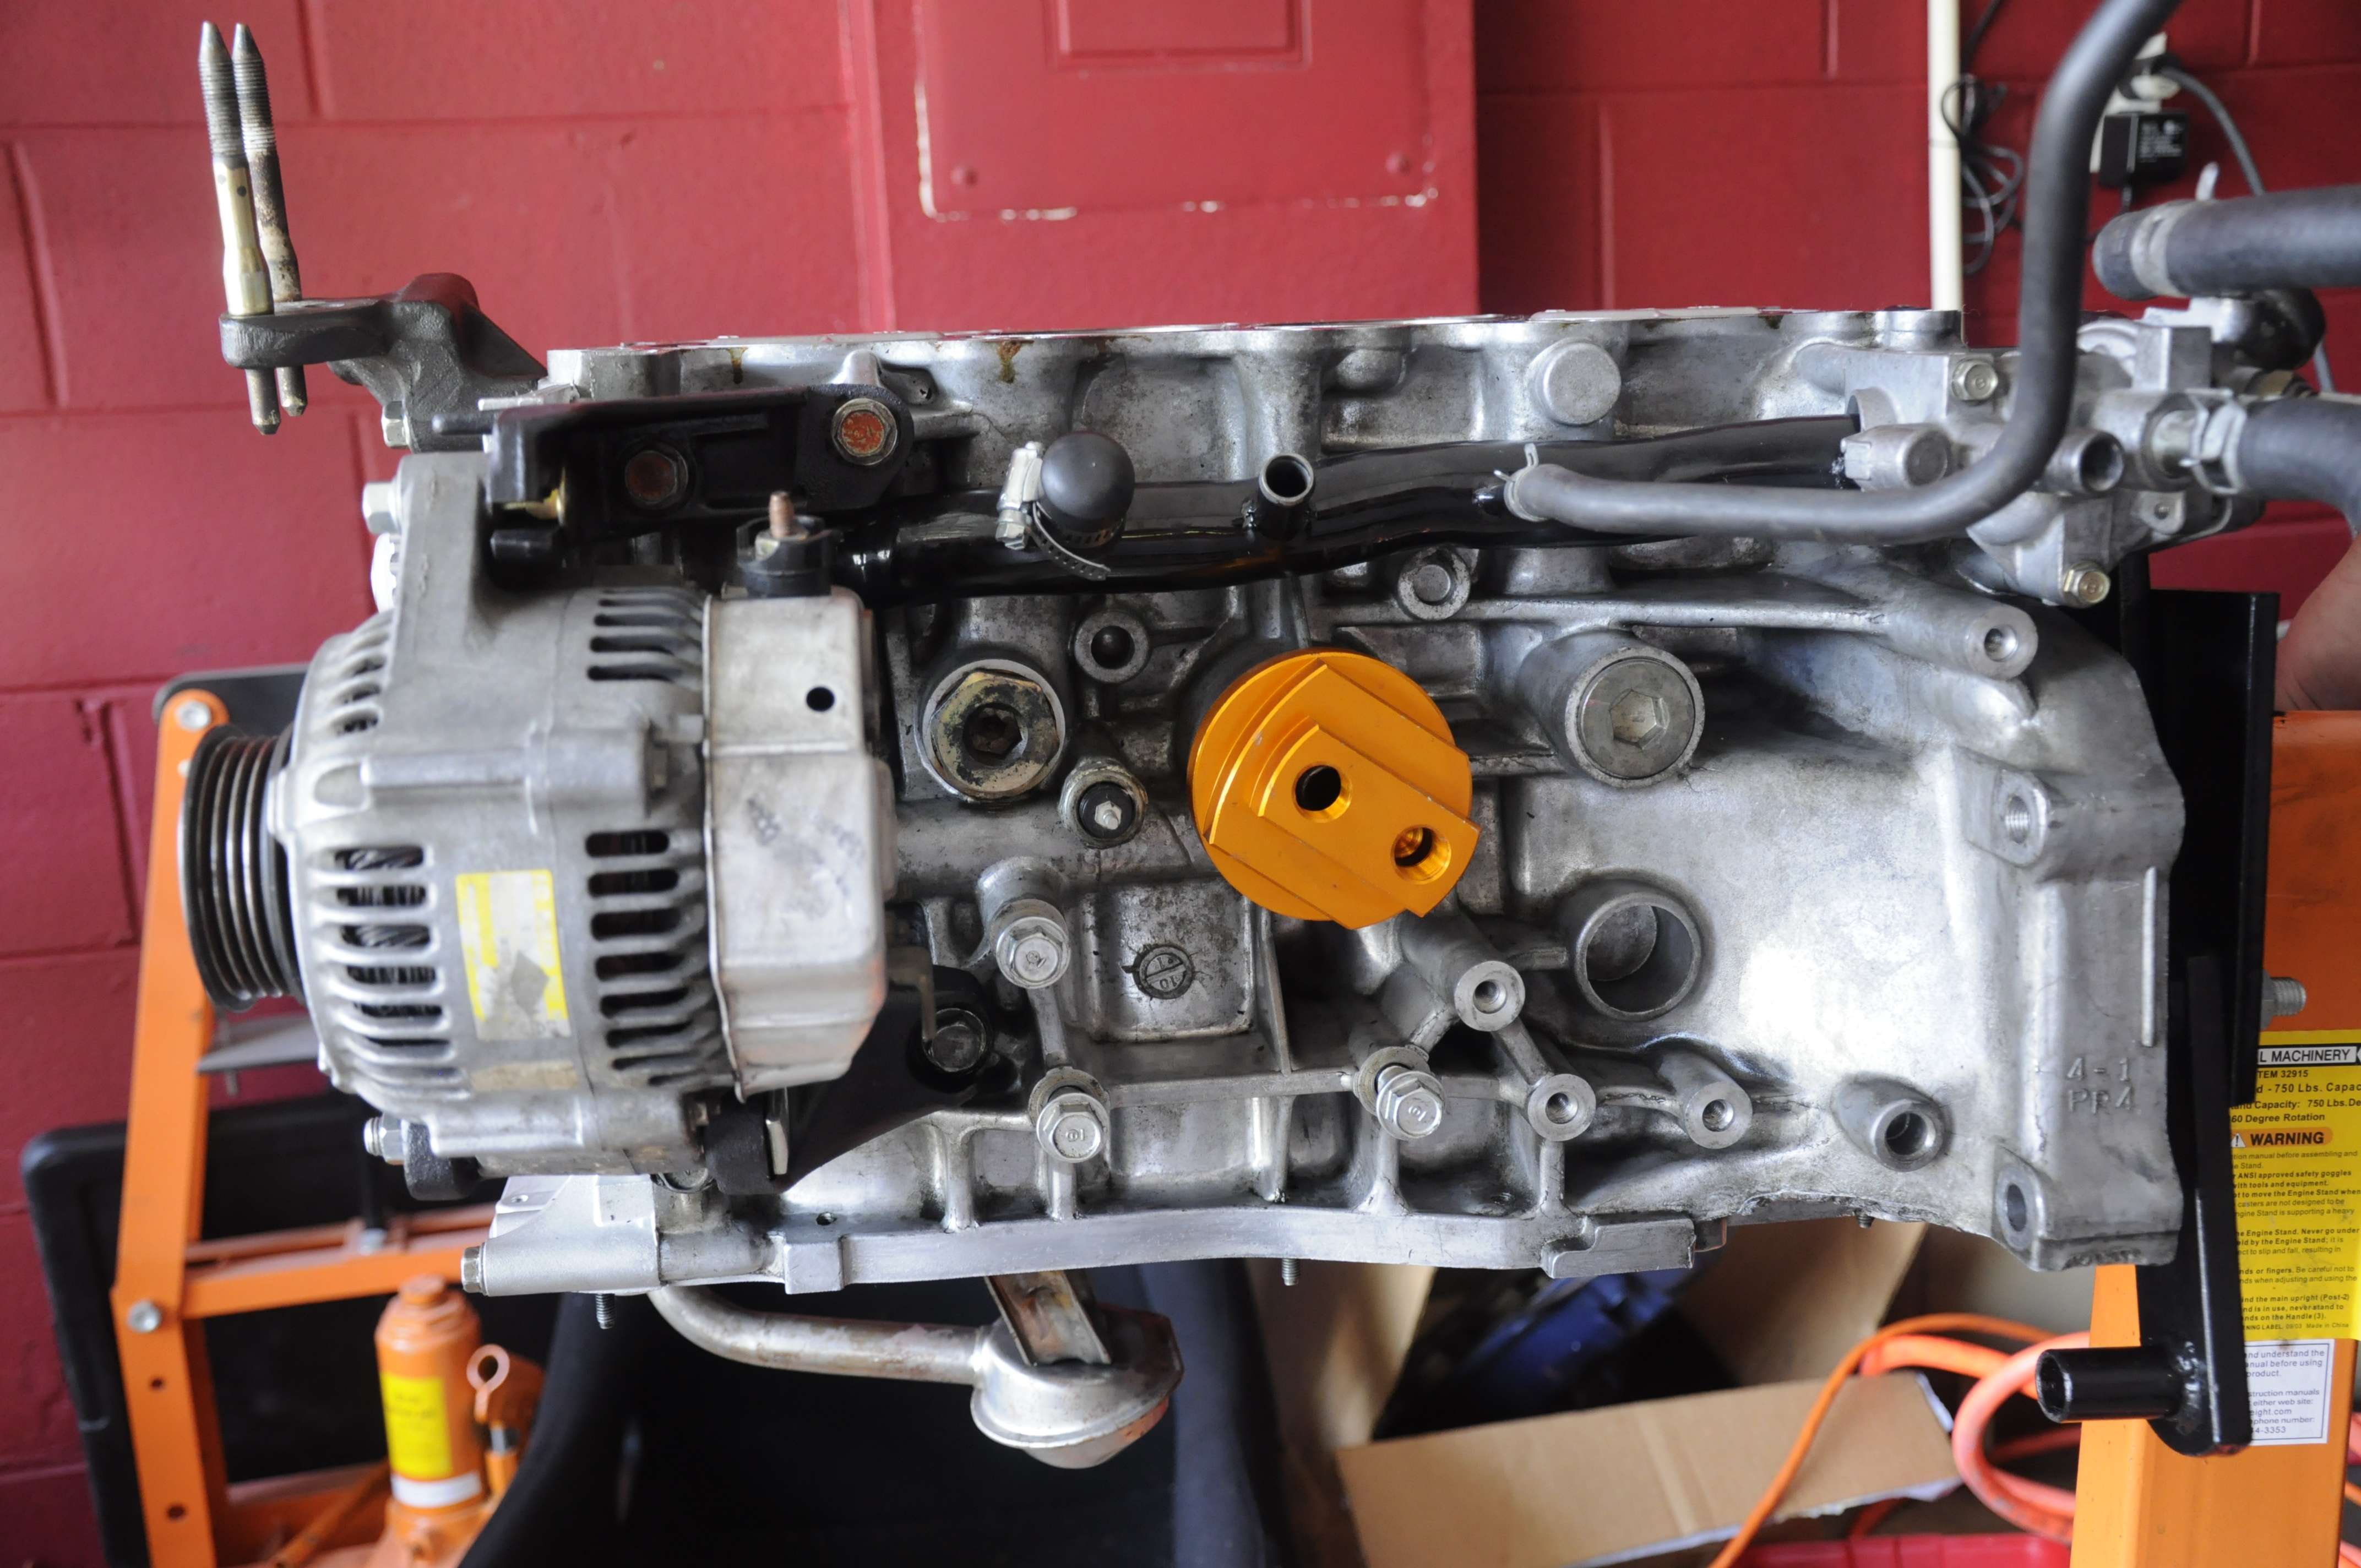
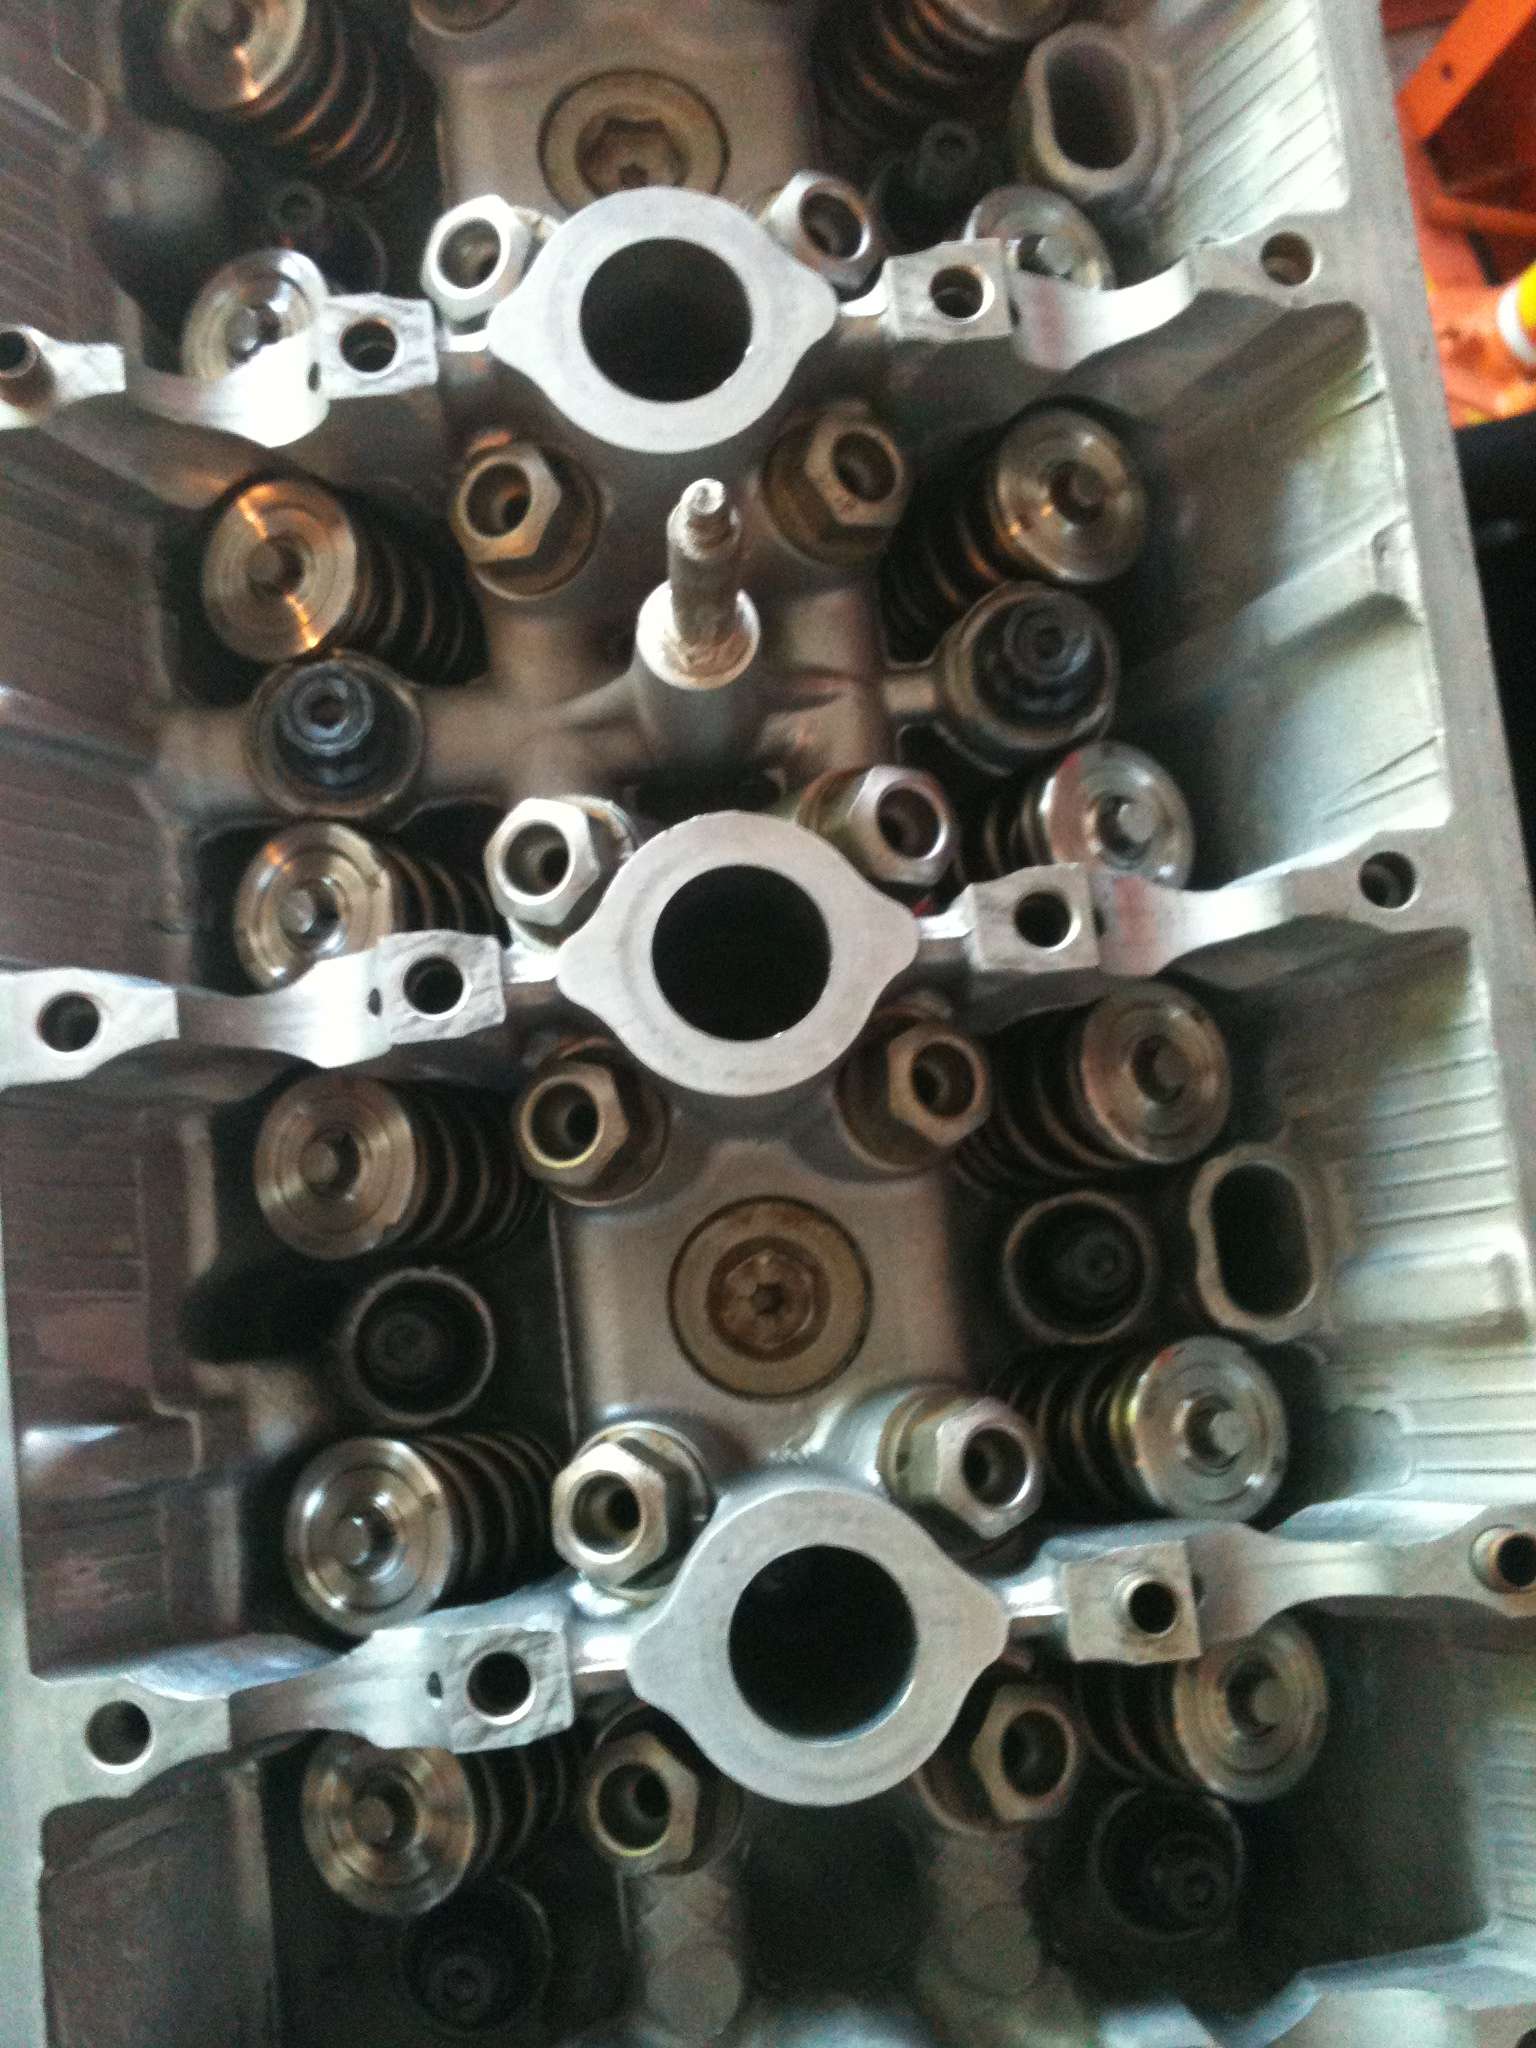
Image

Engine work begins

Image

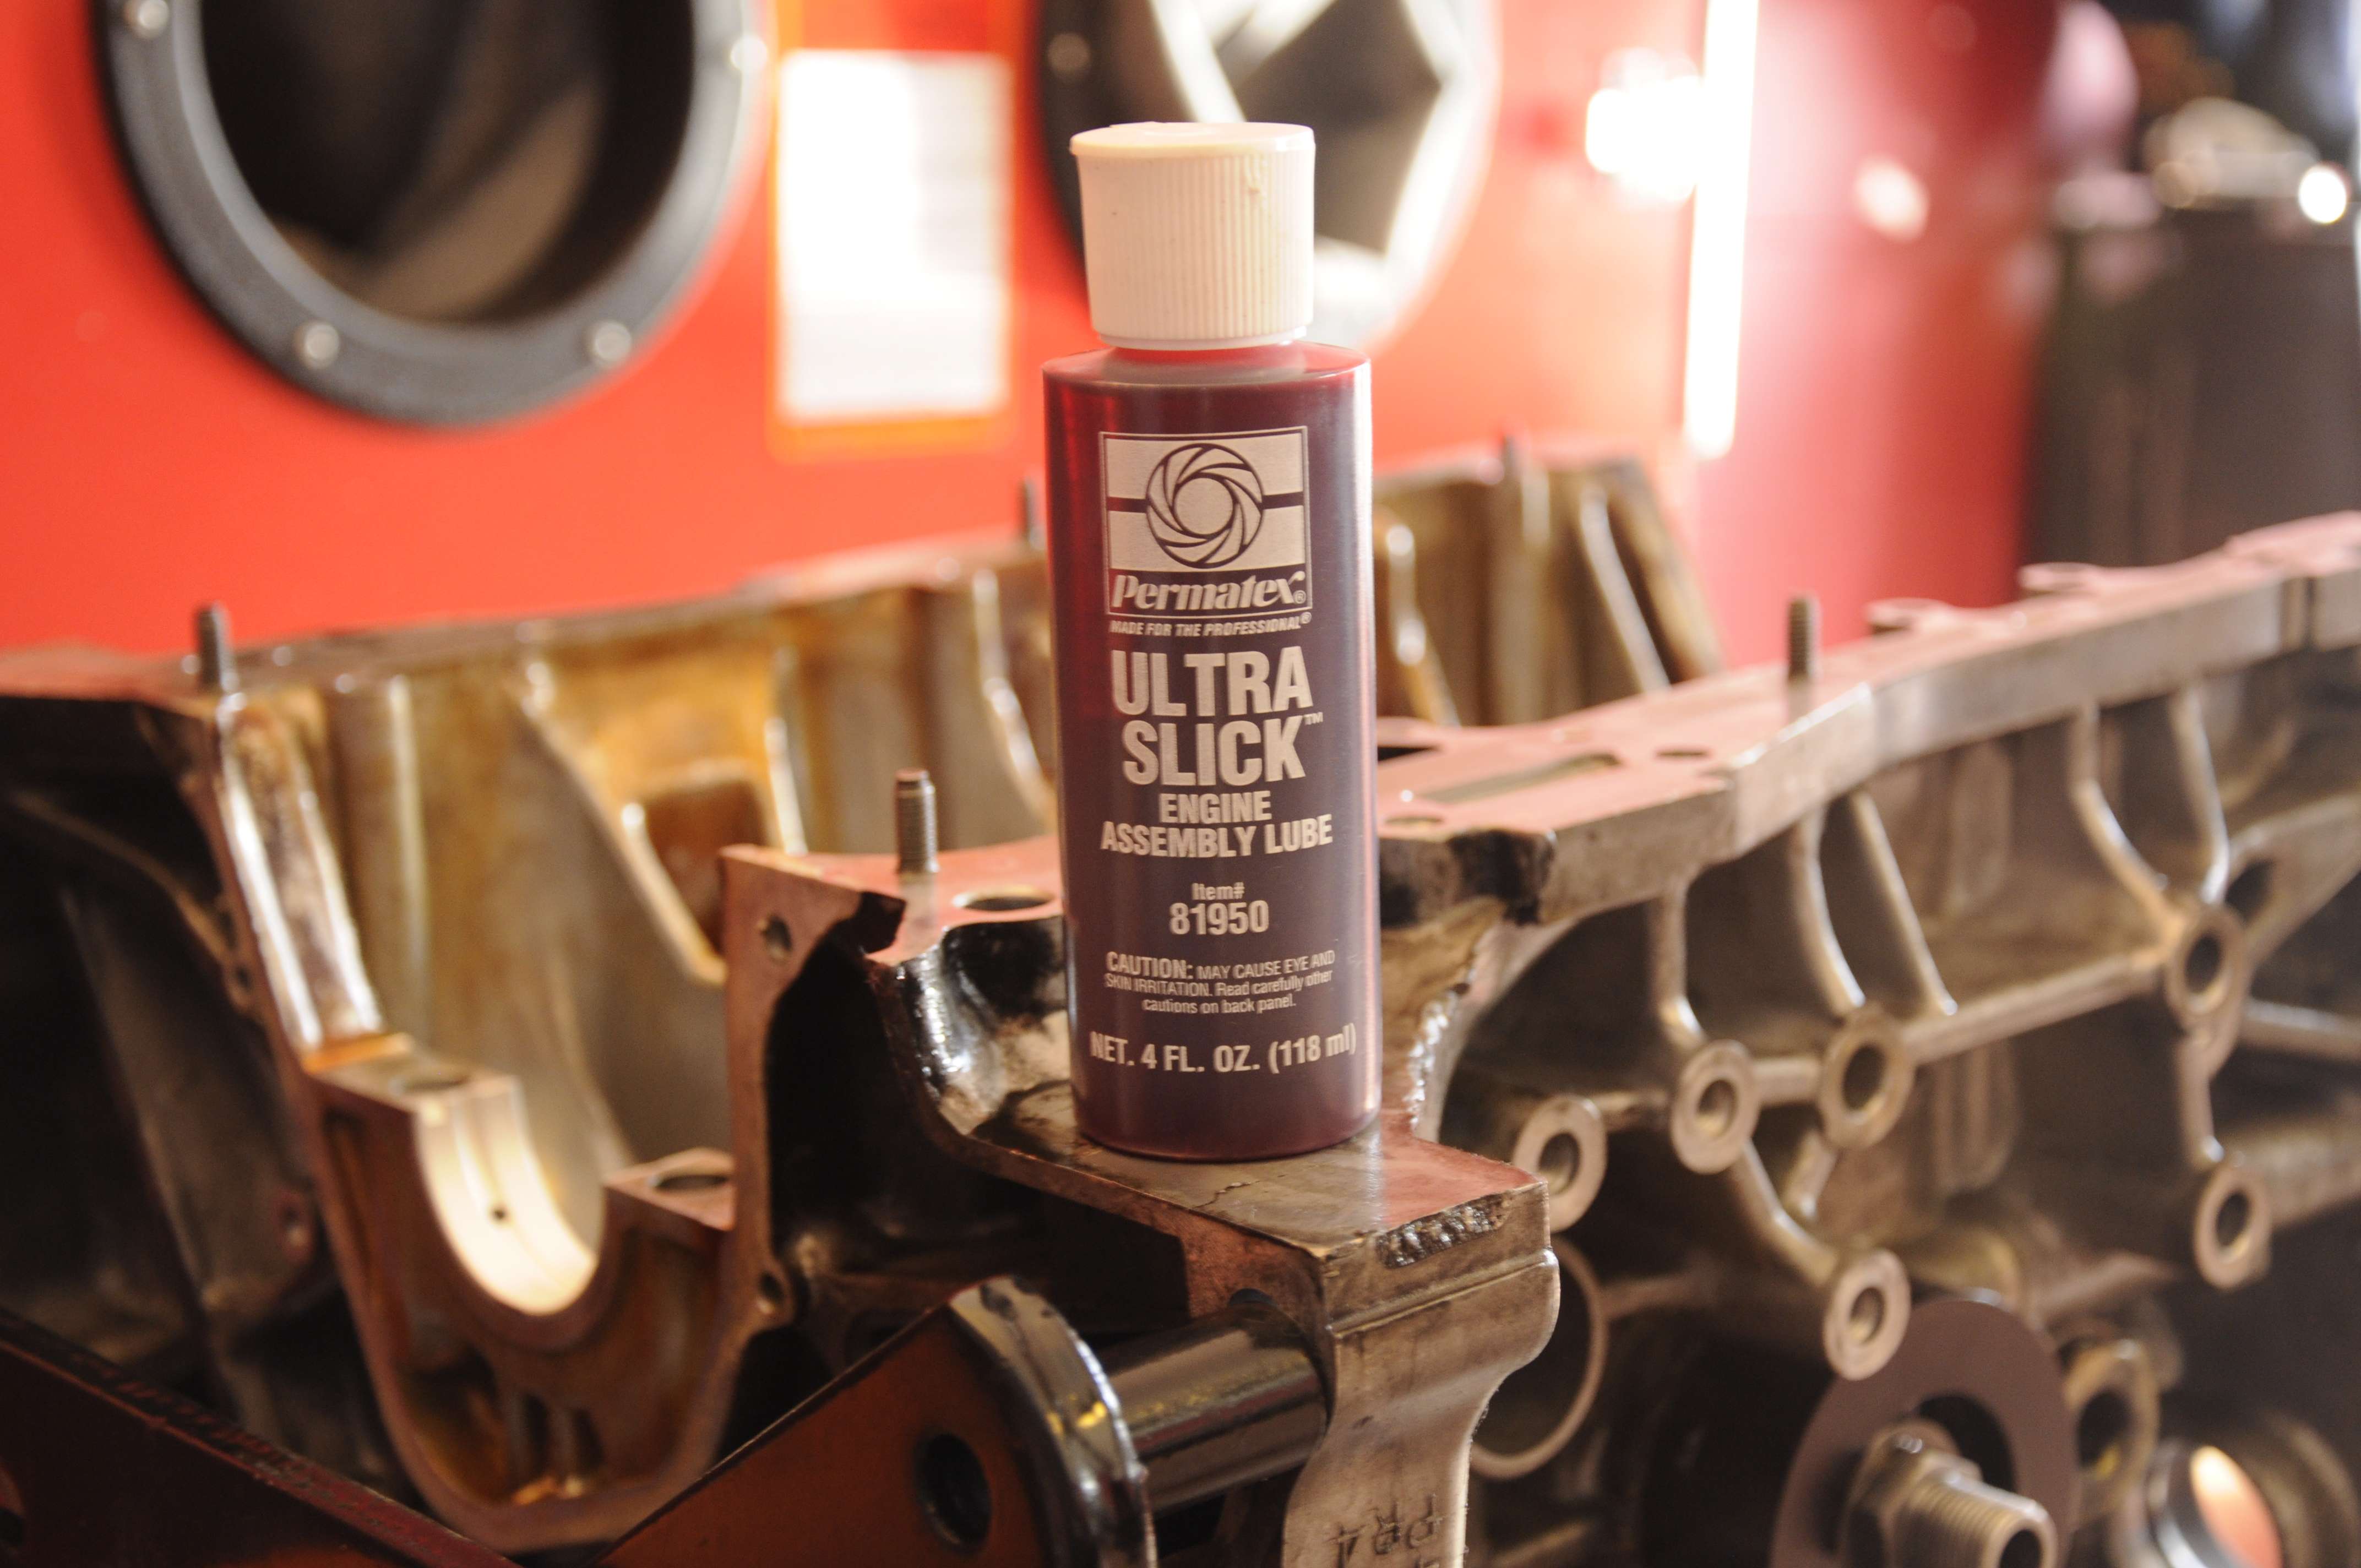
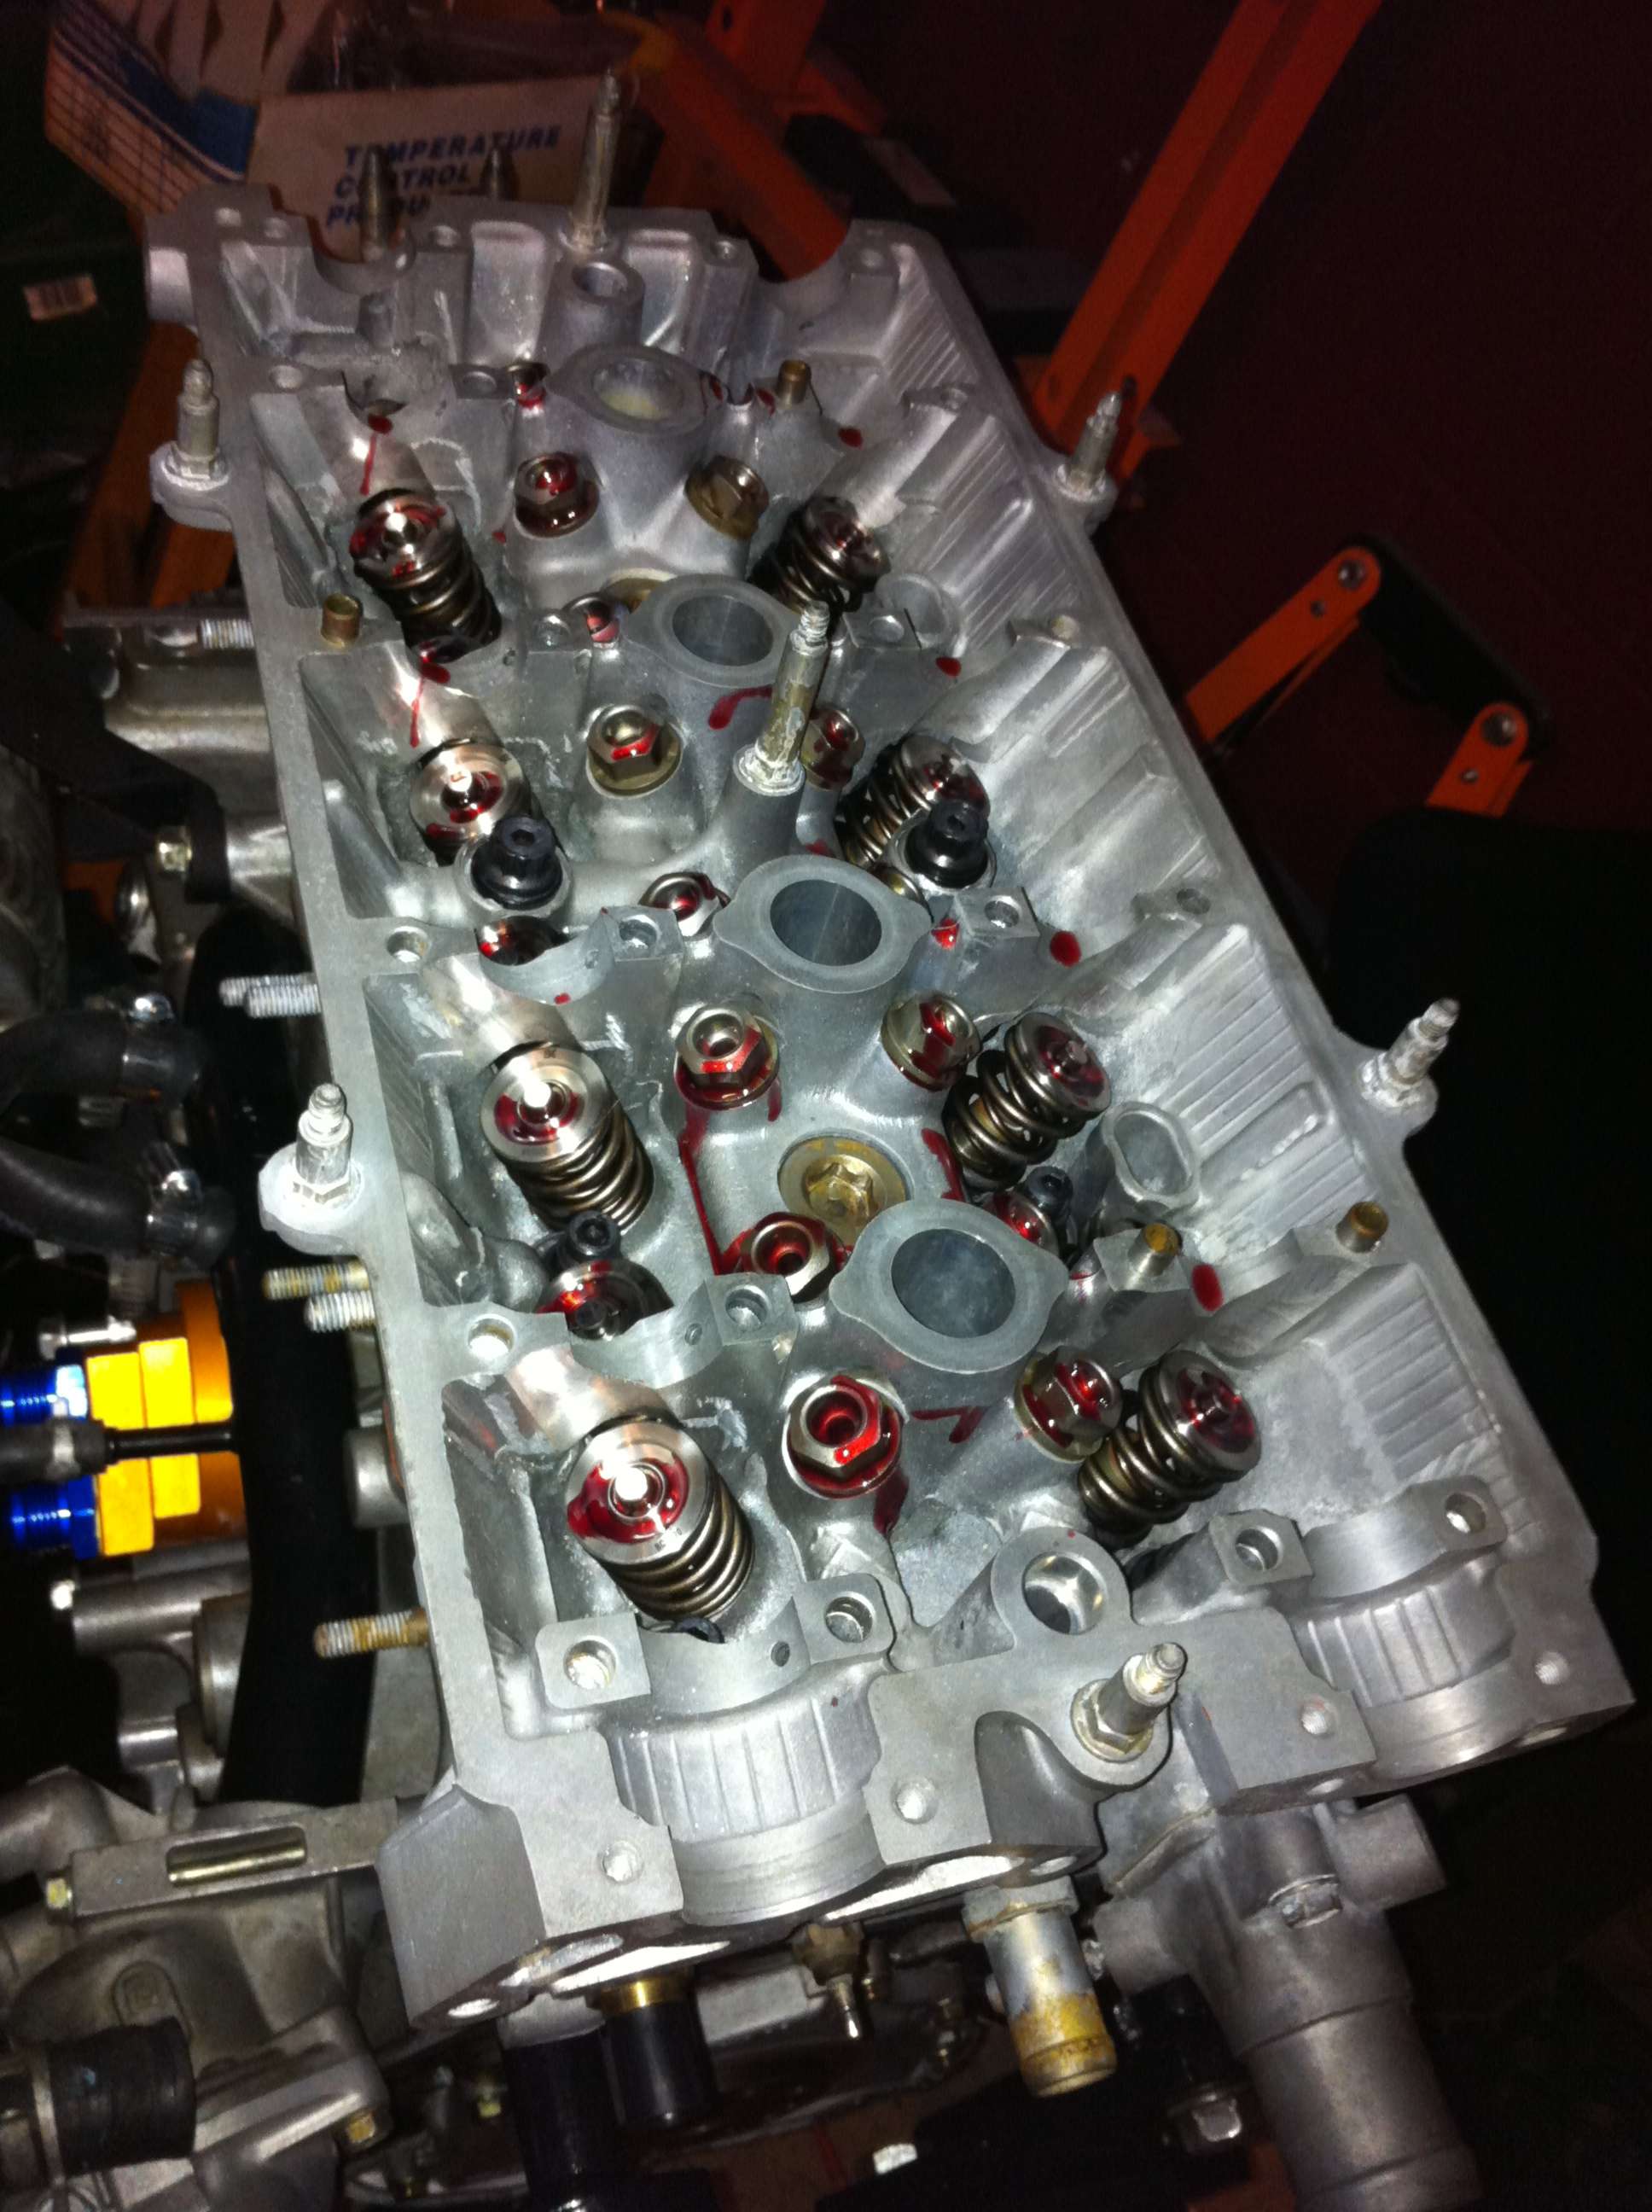
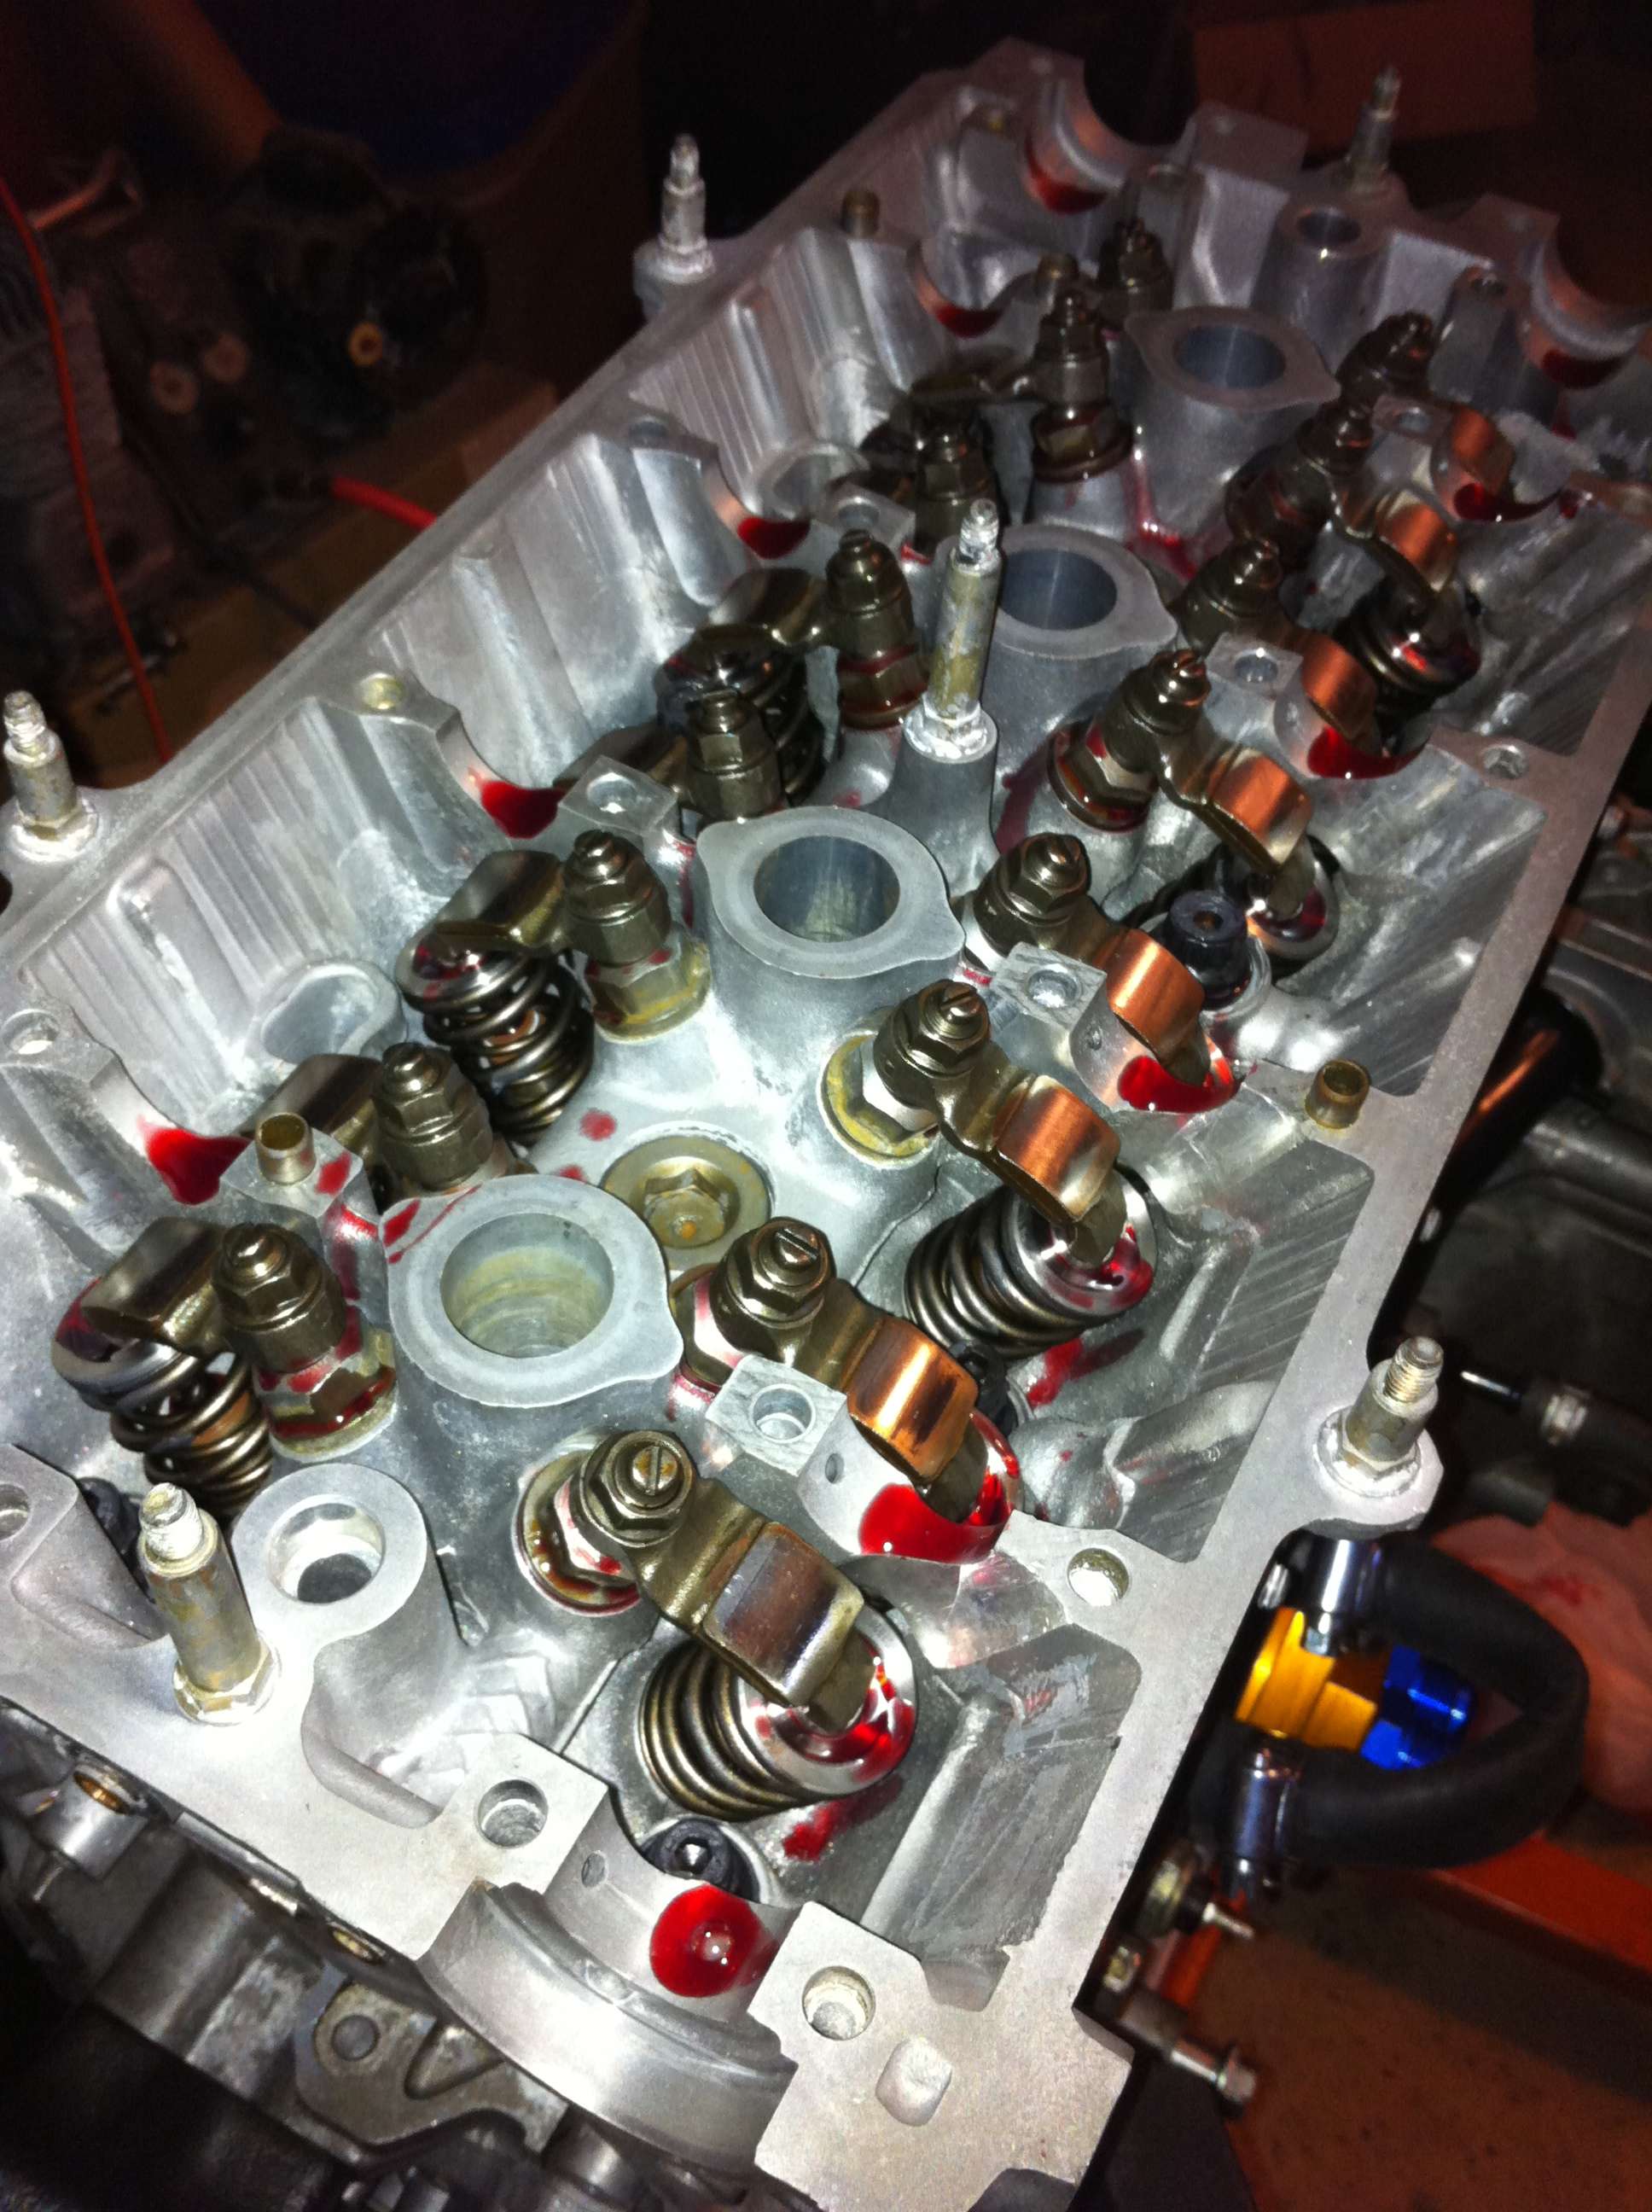
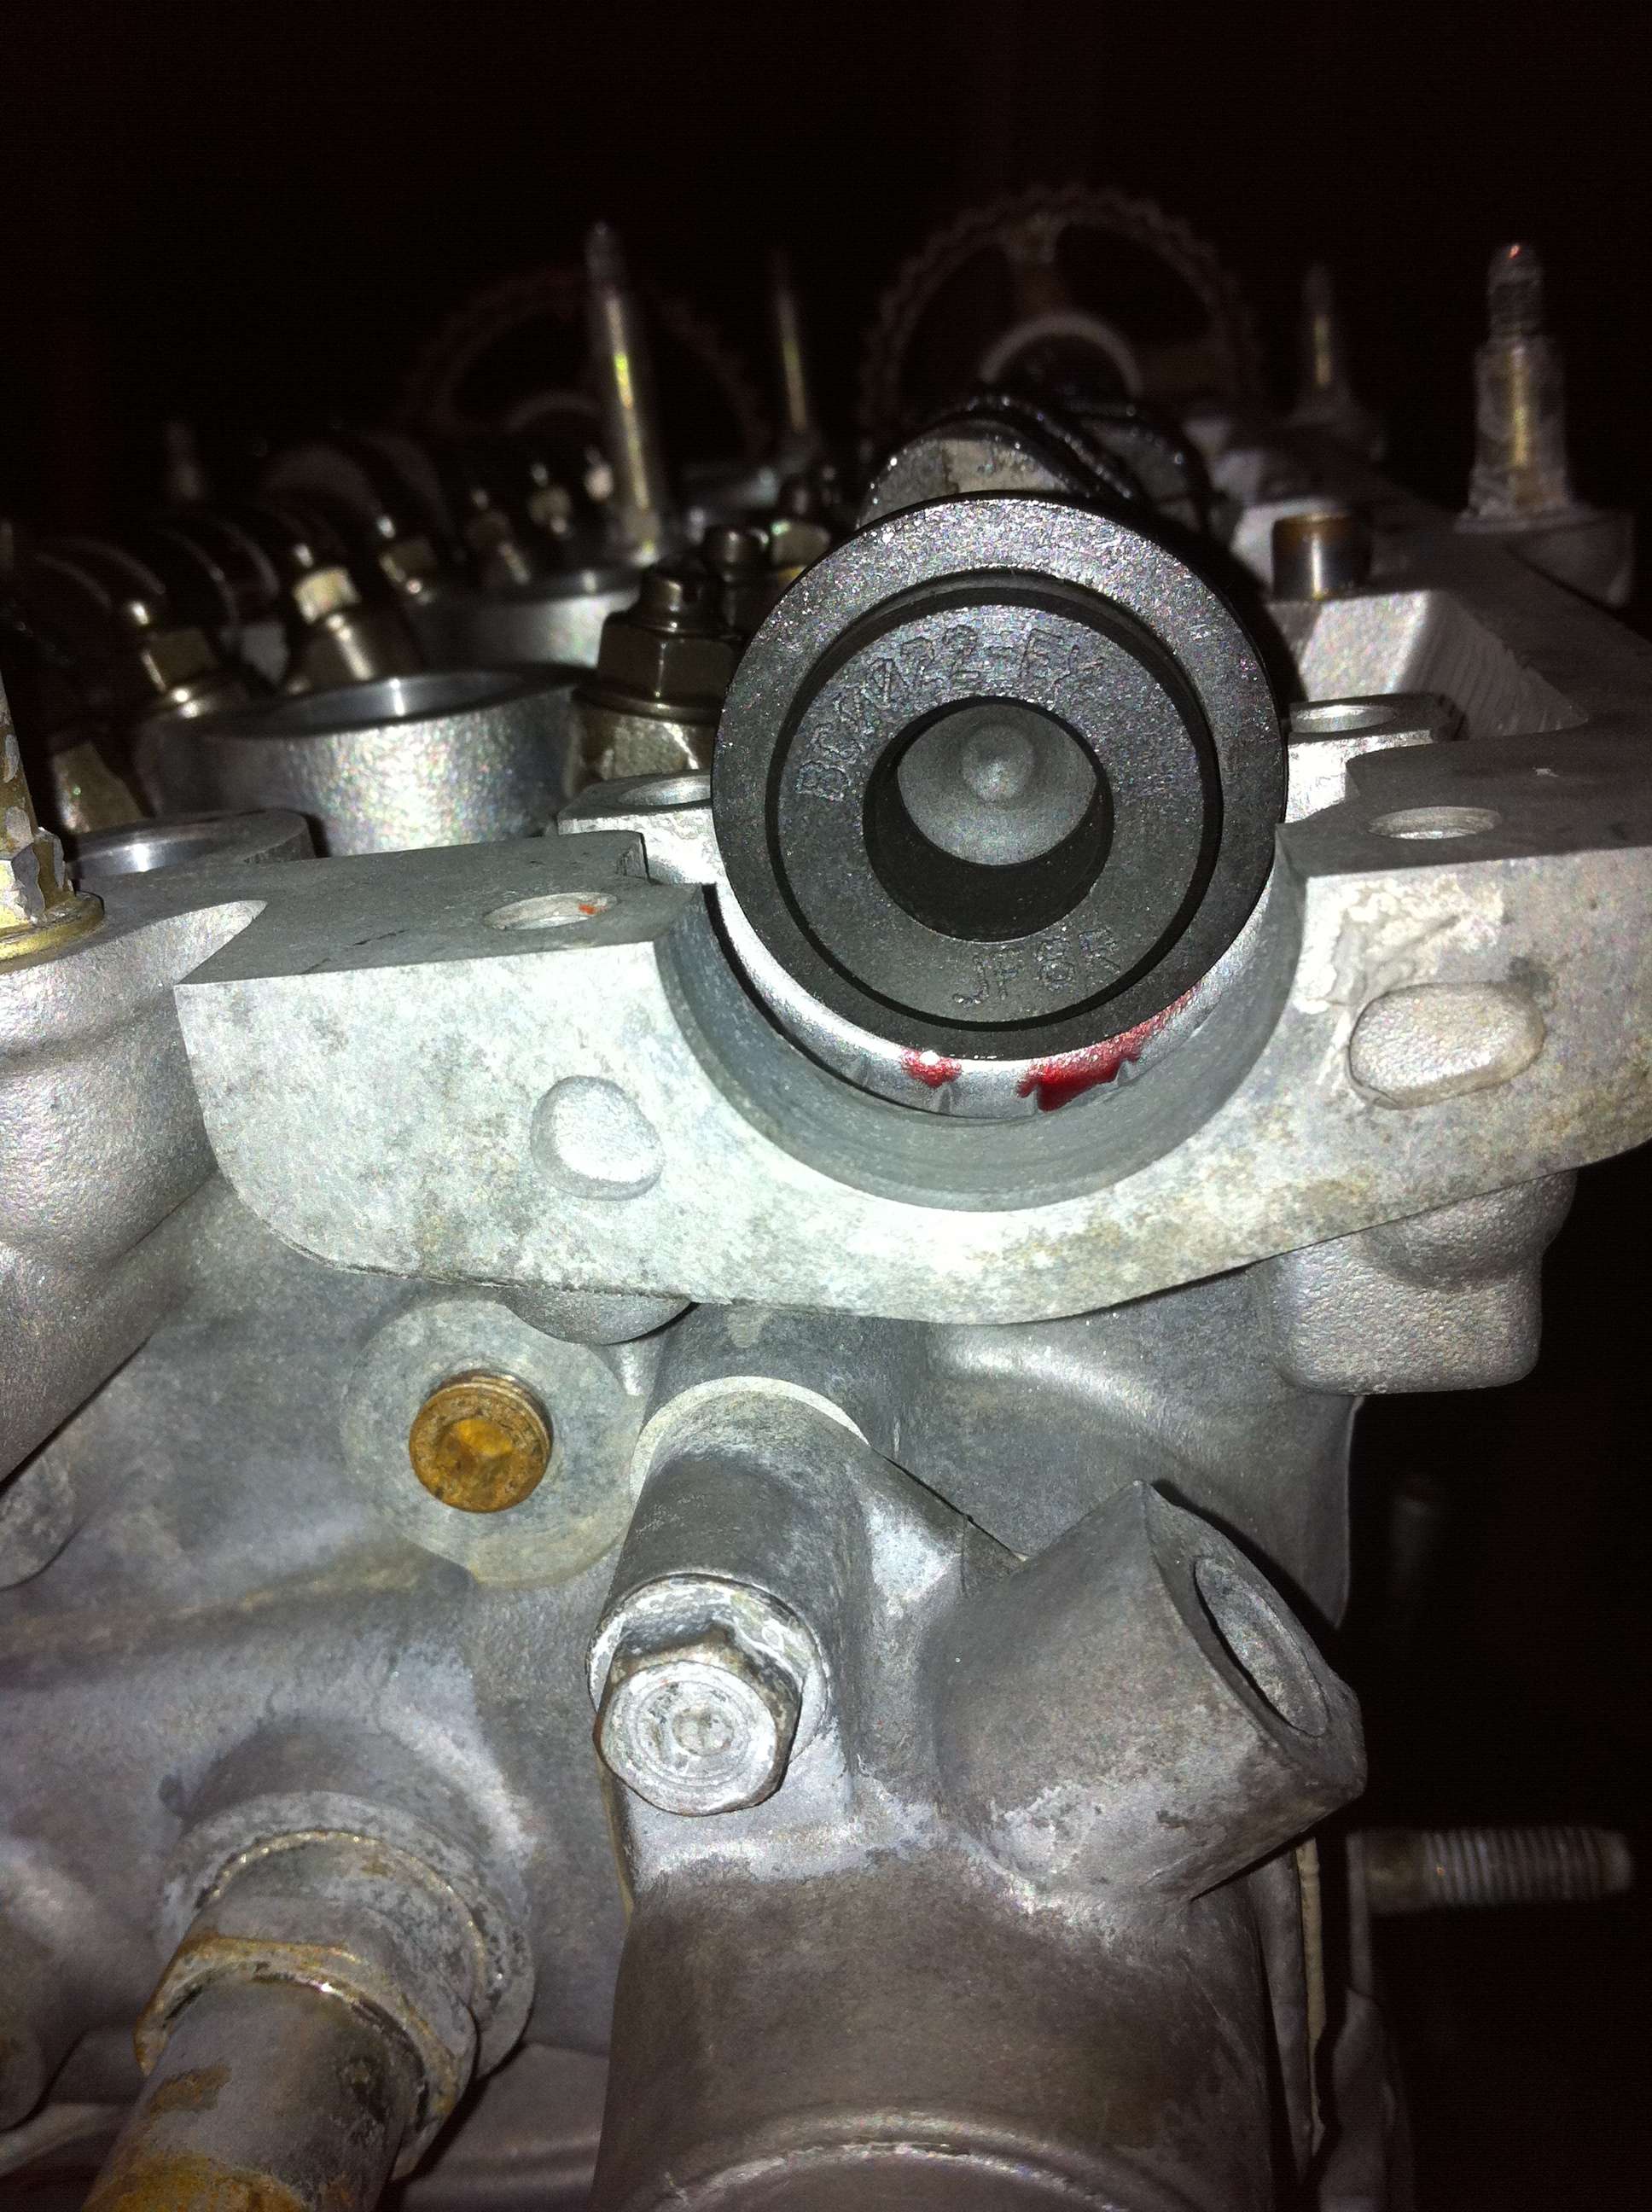
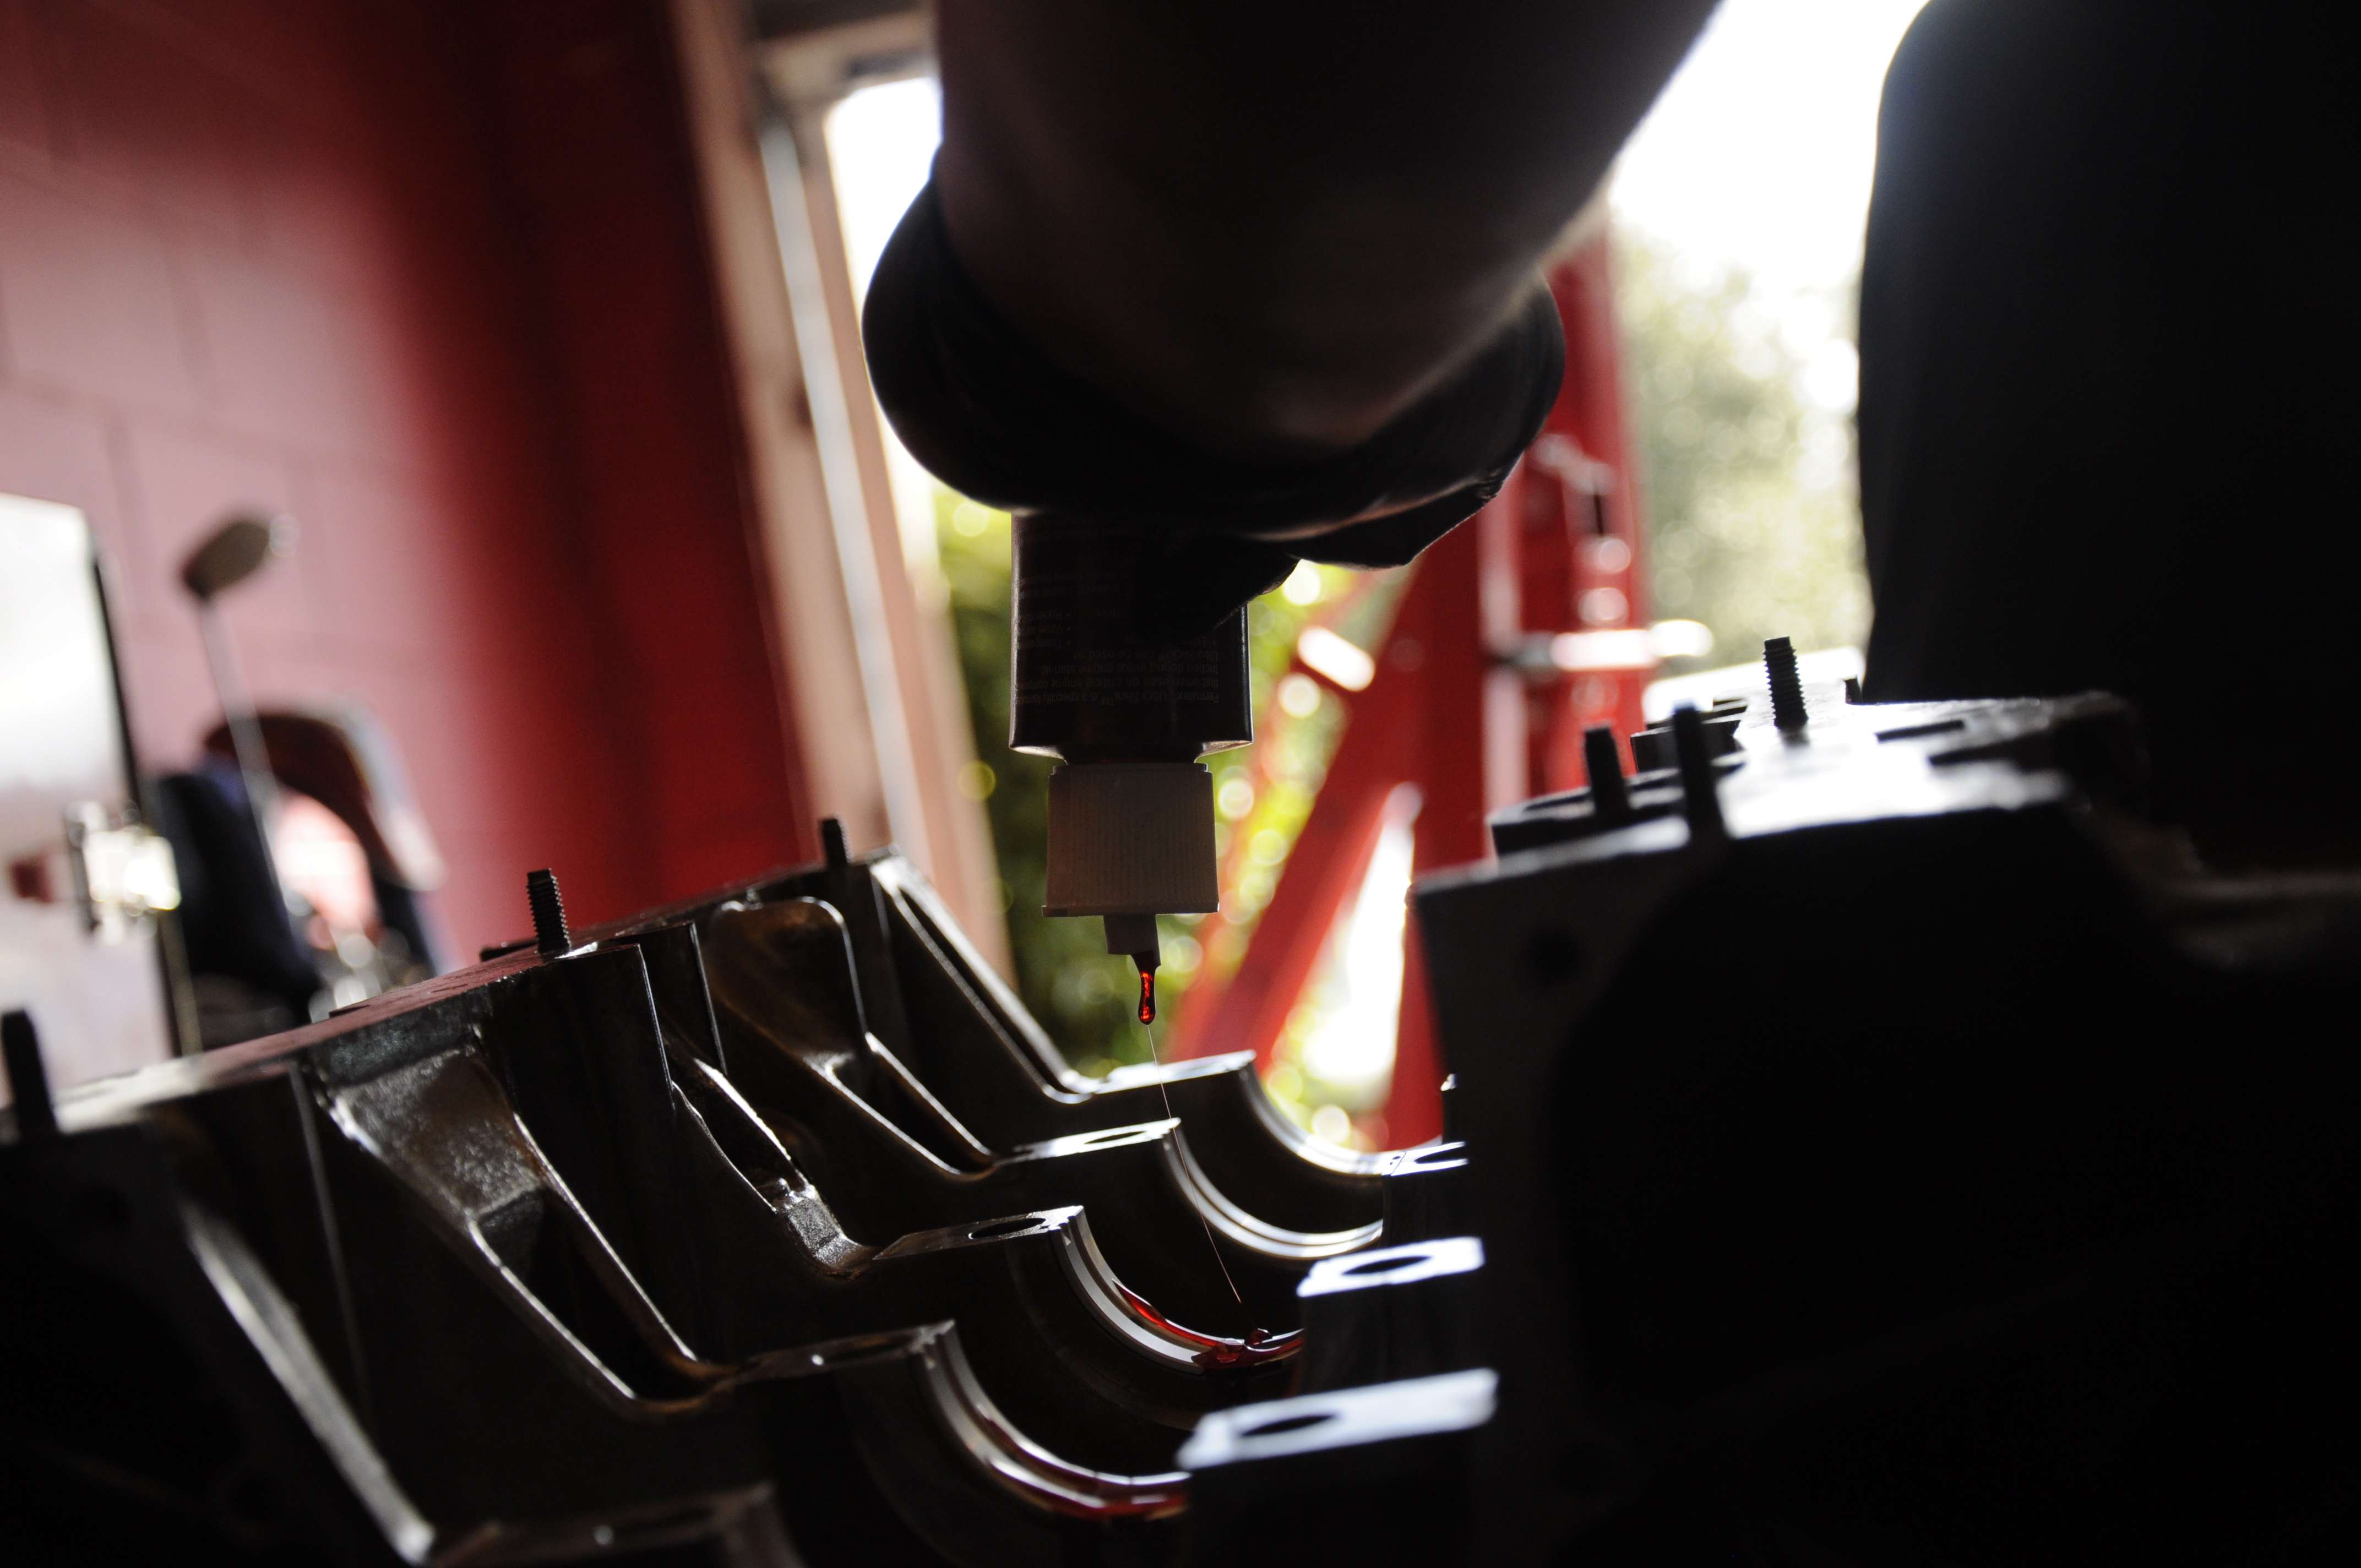
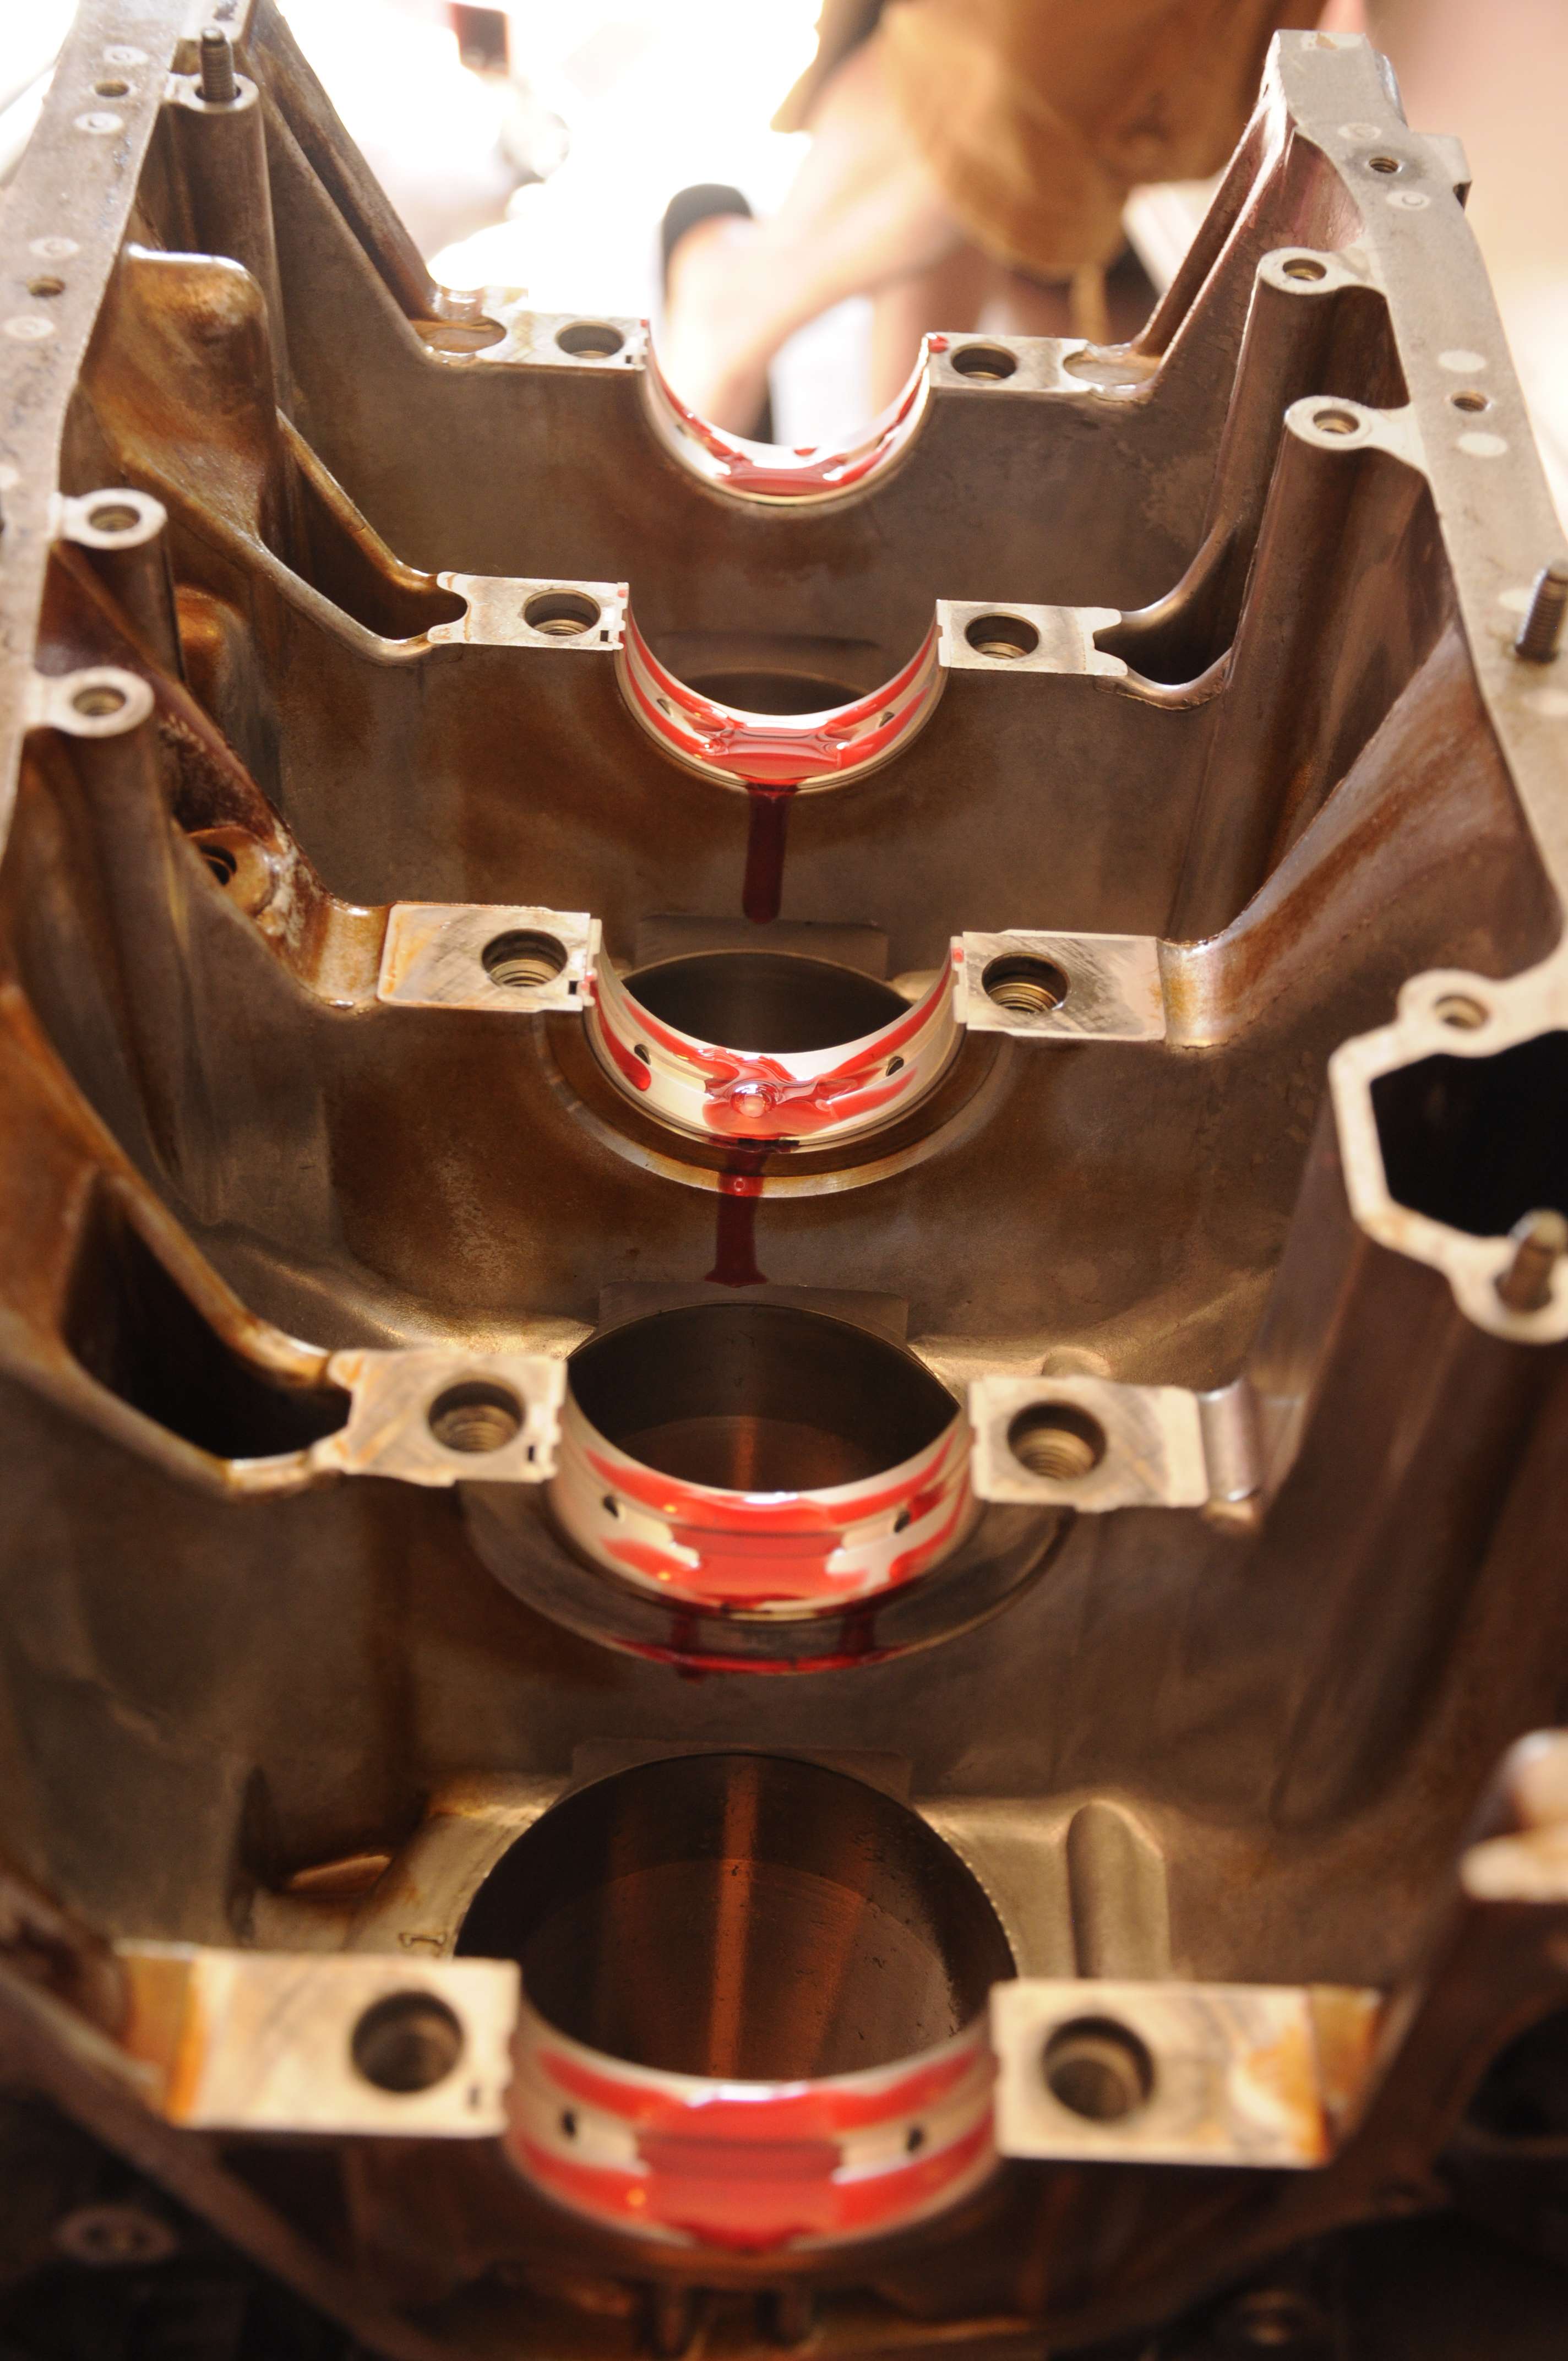
Adding some permatex lube to the new main oem honda bearings.
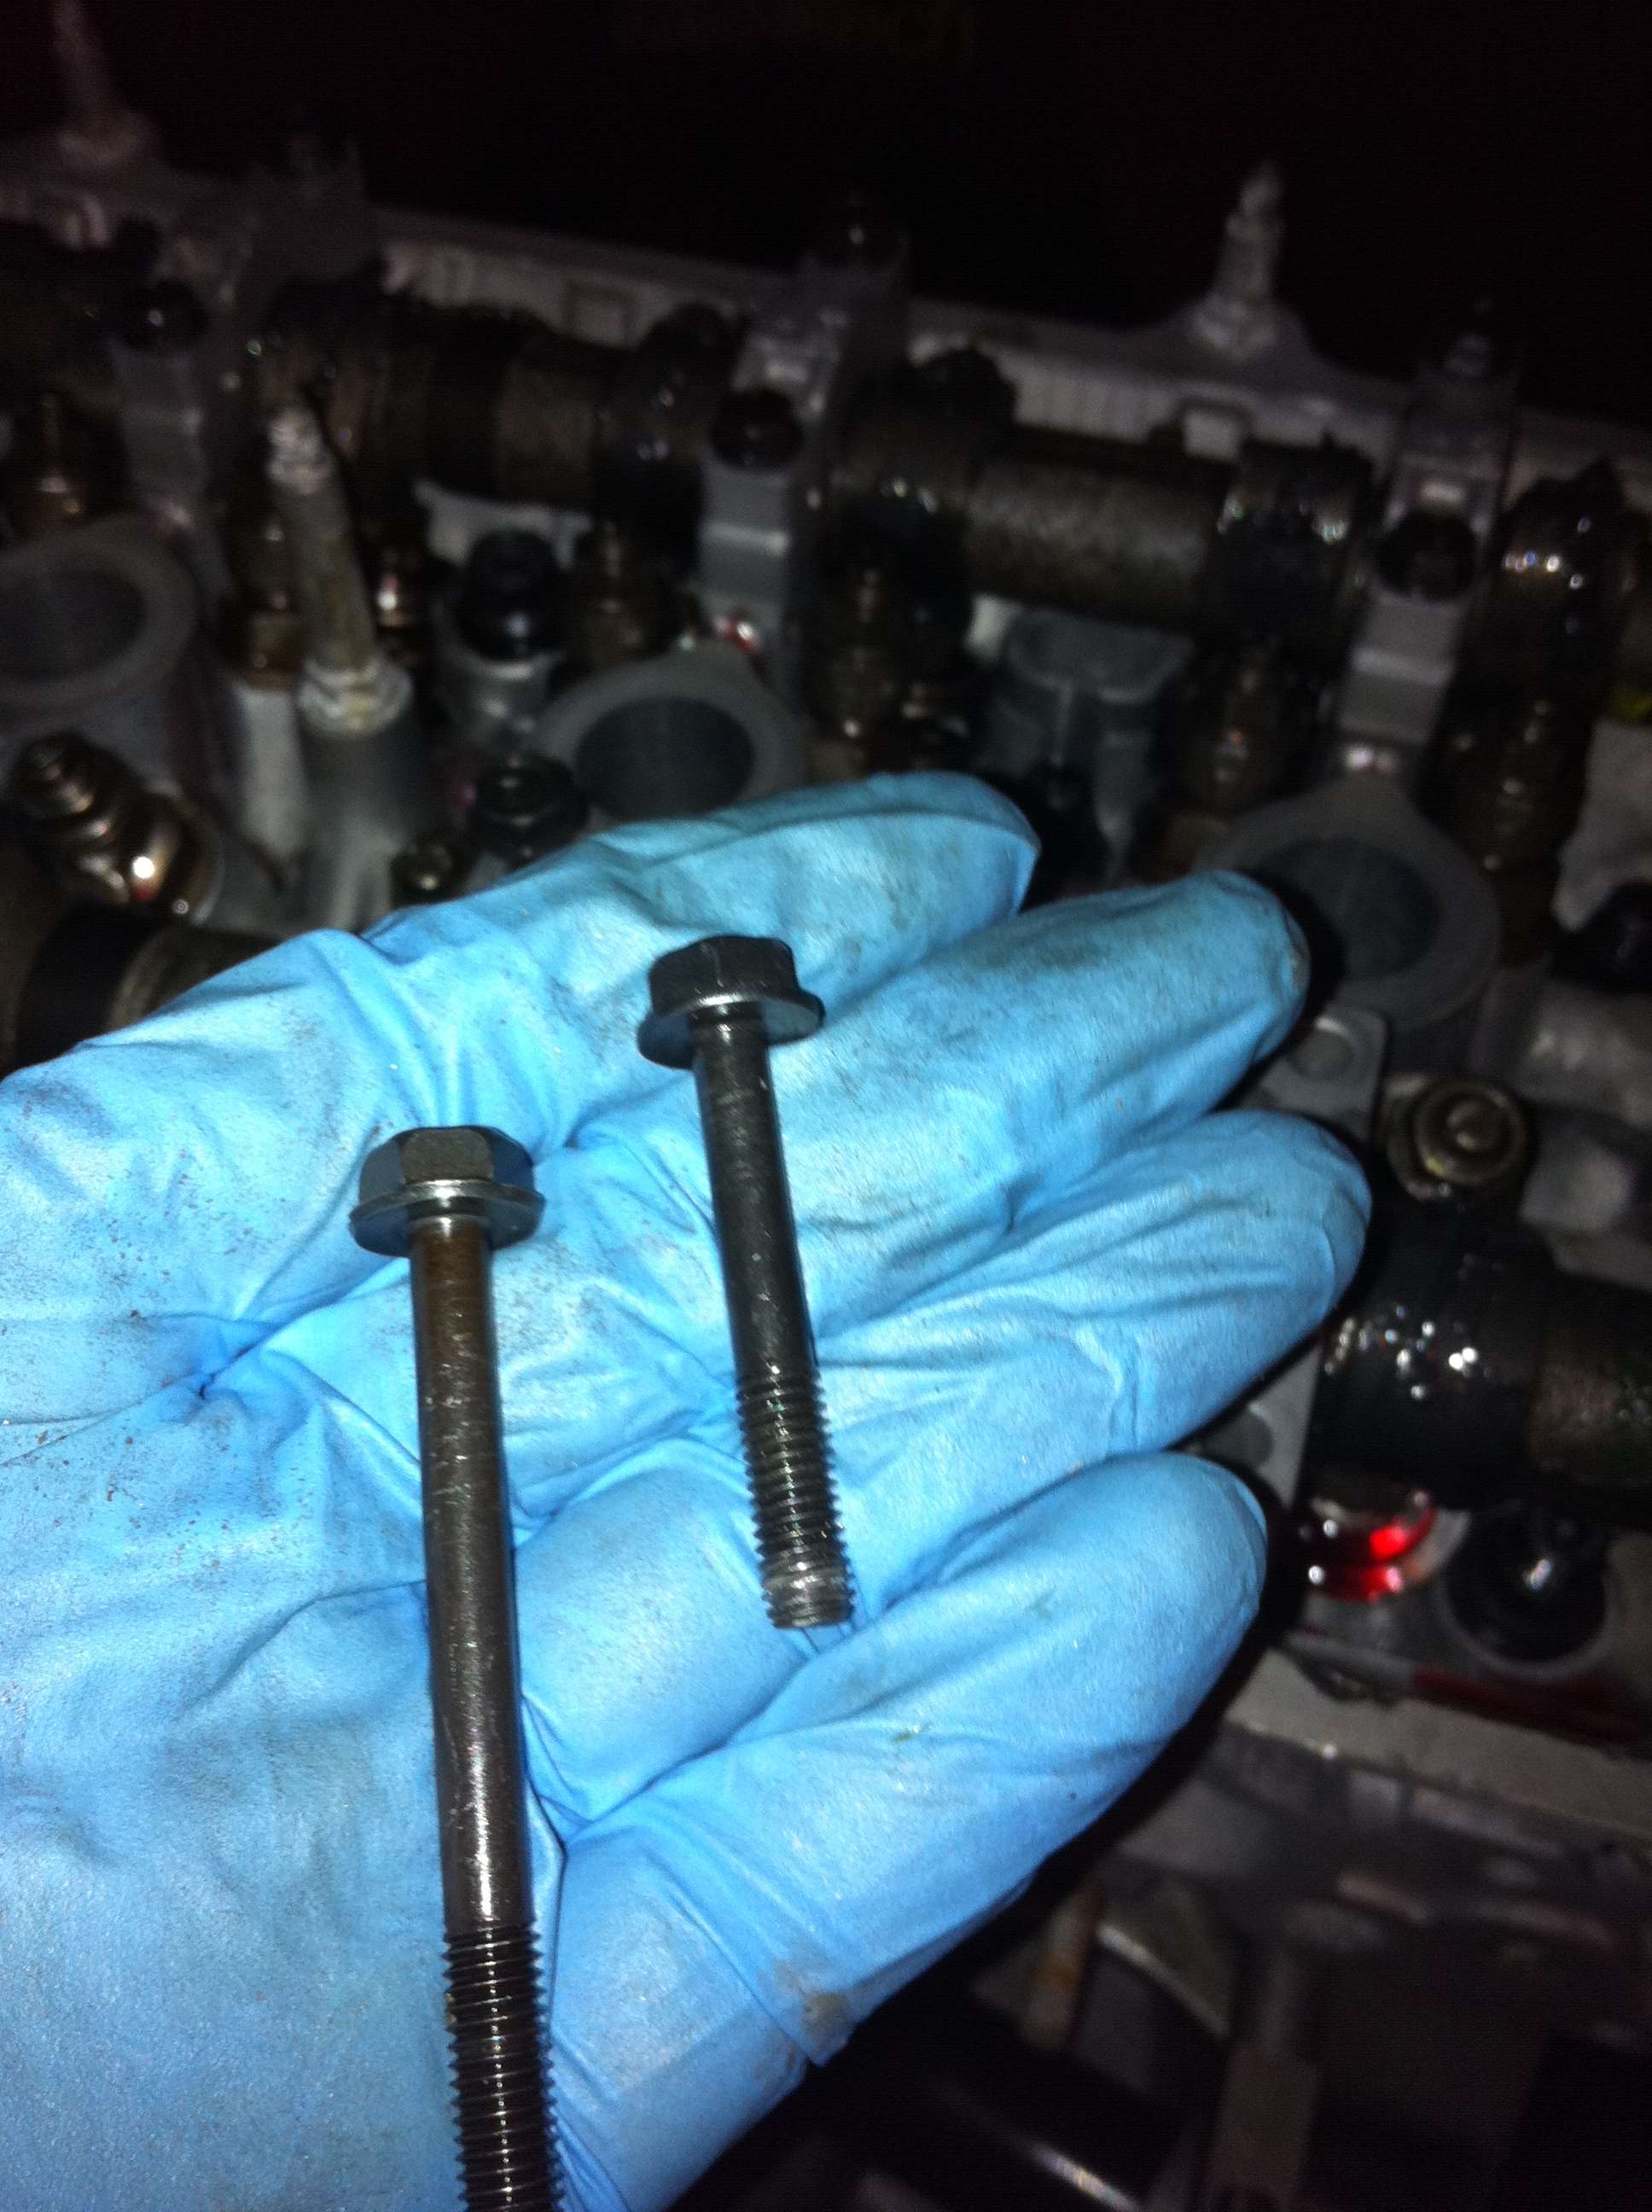
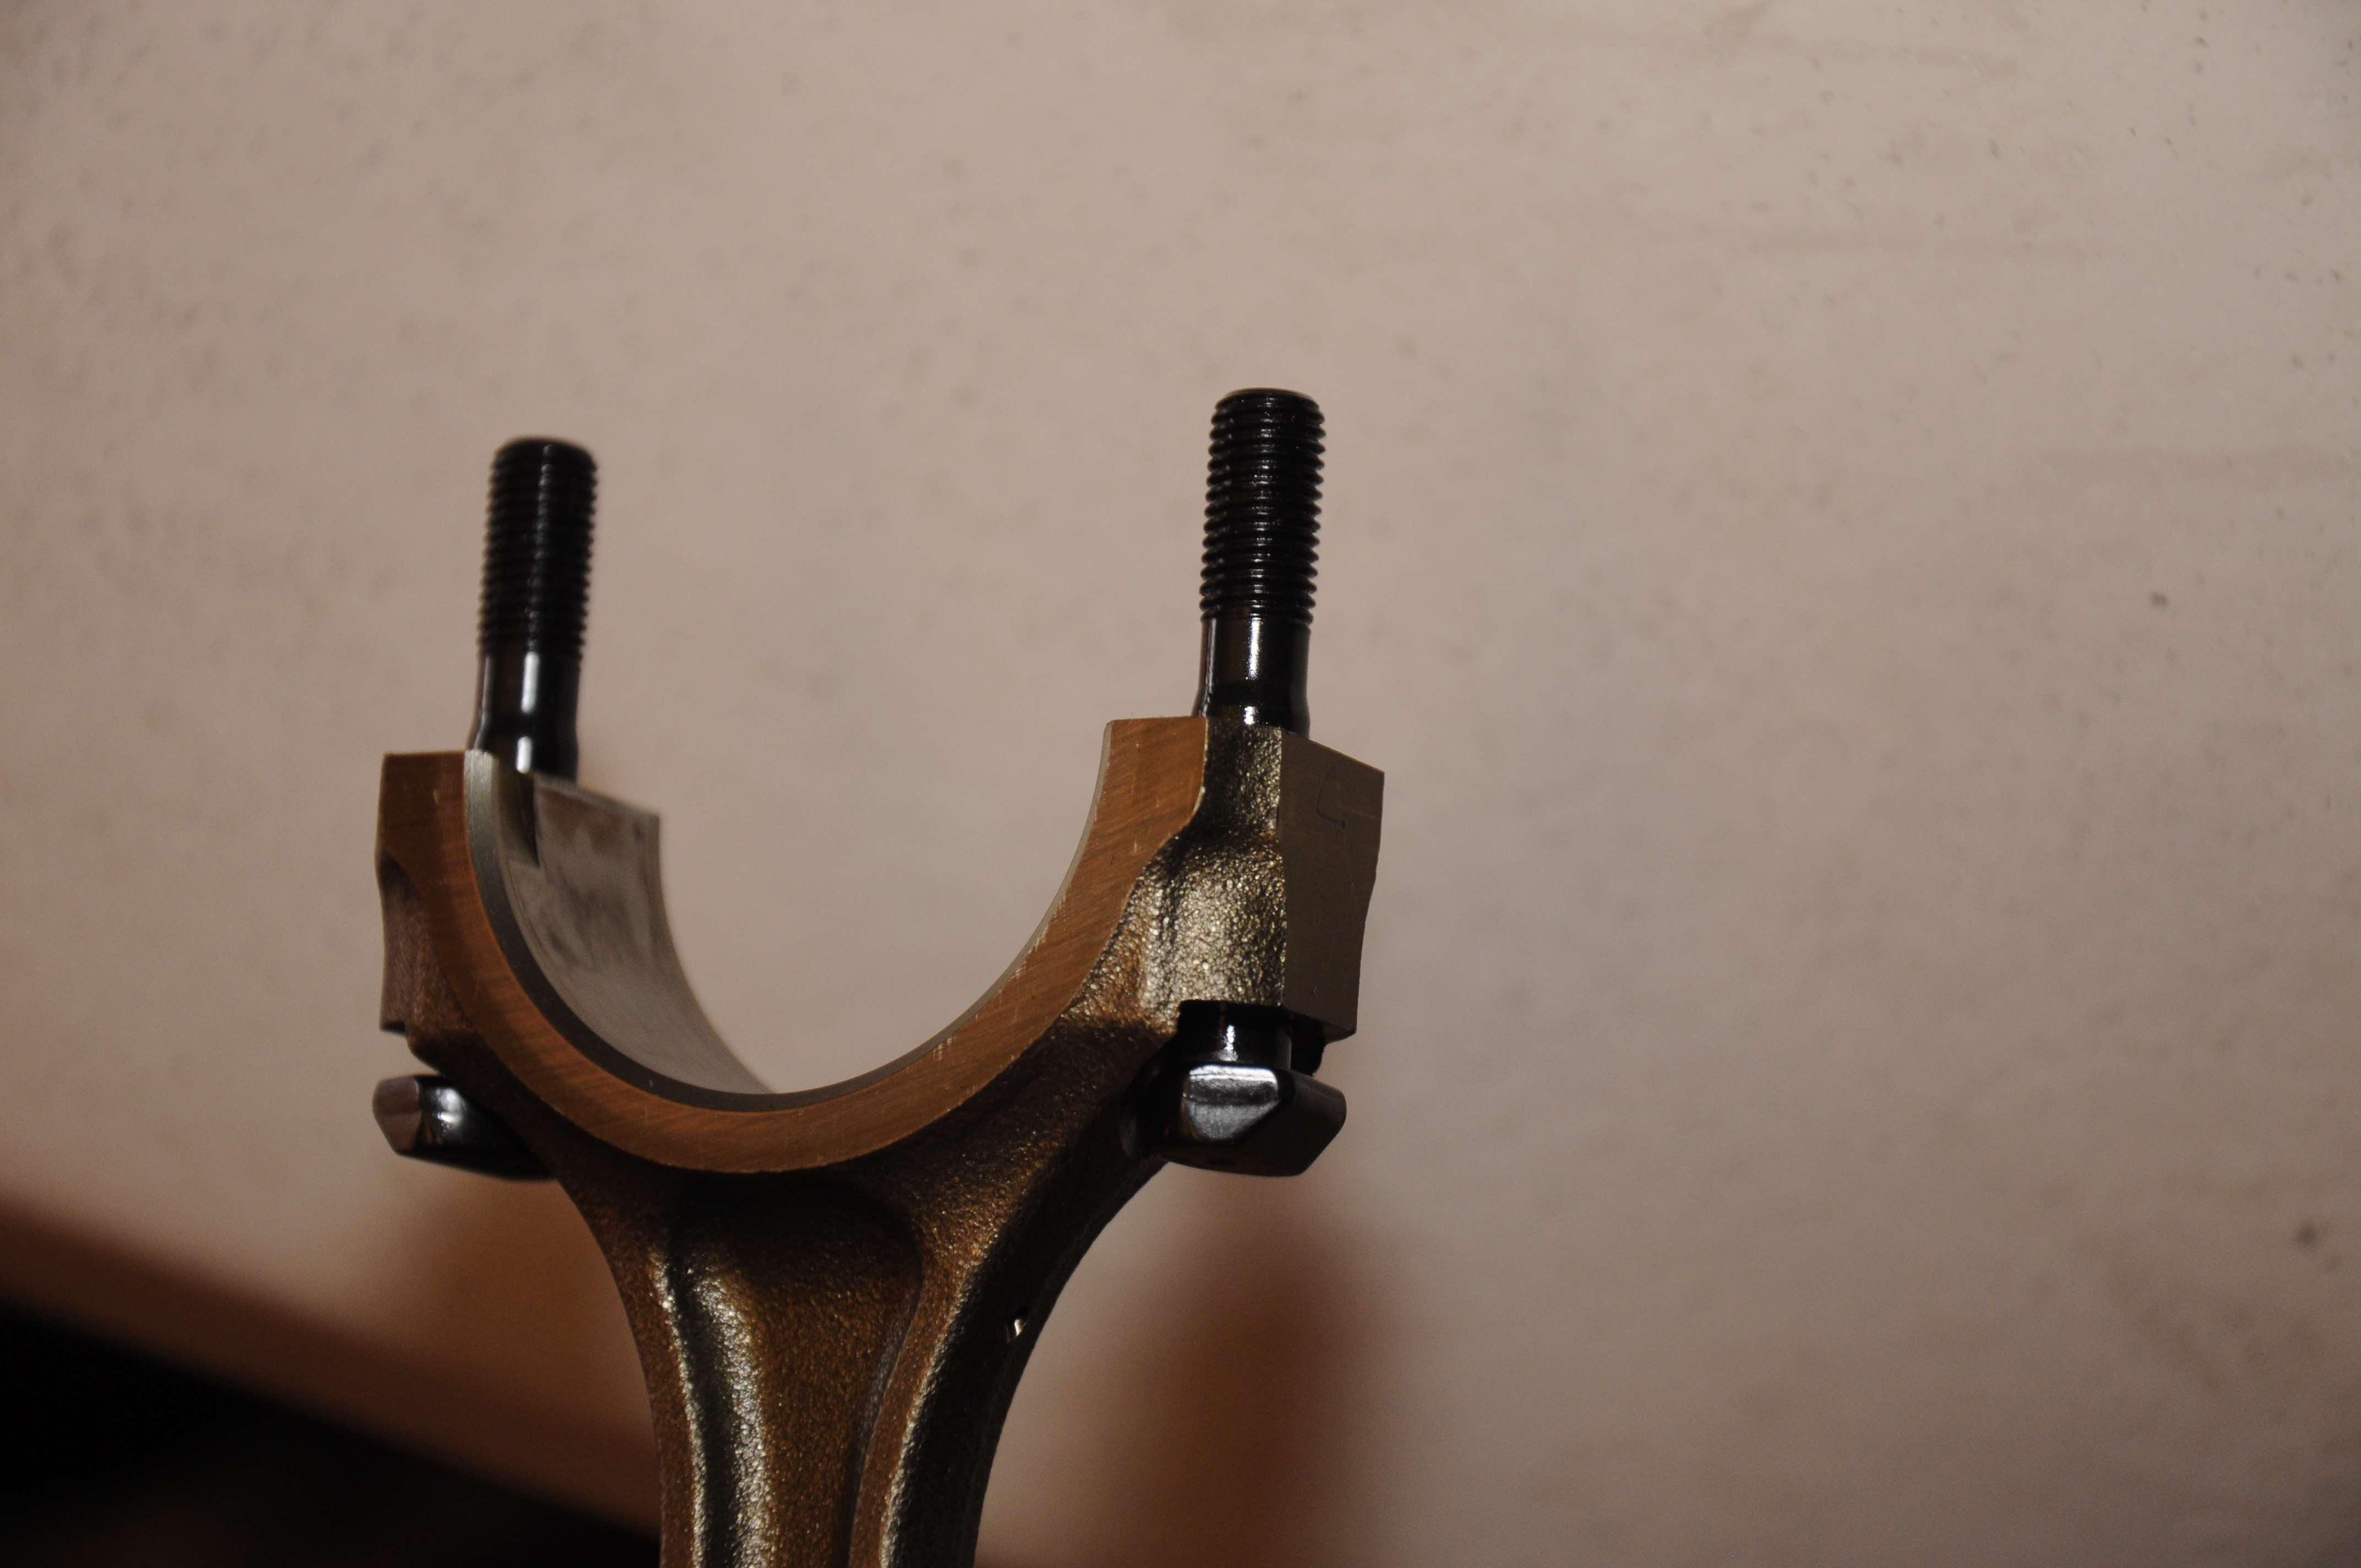
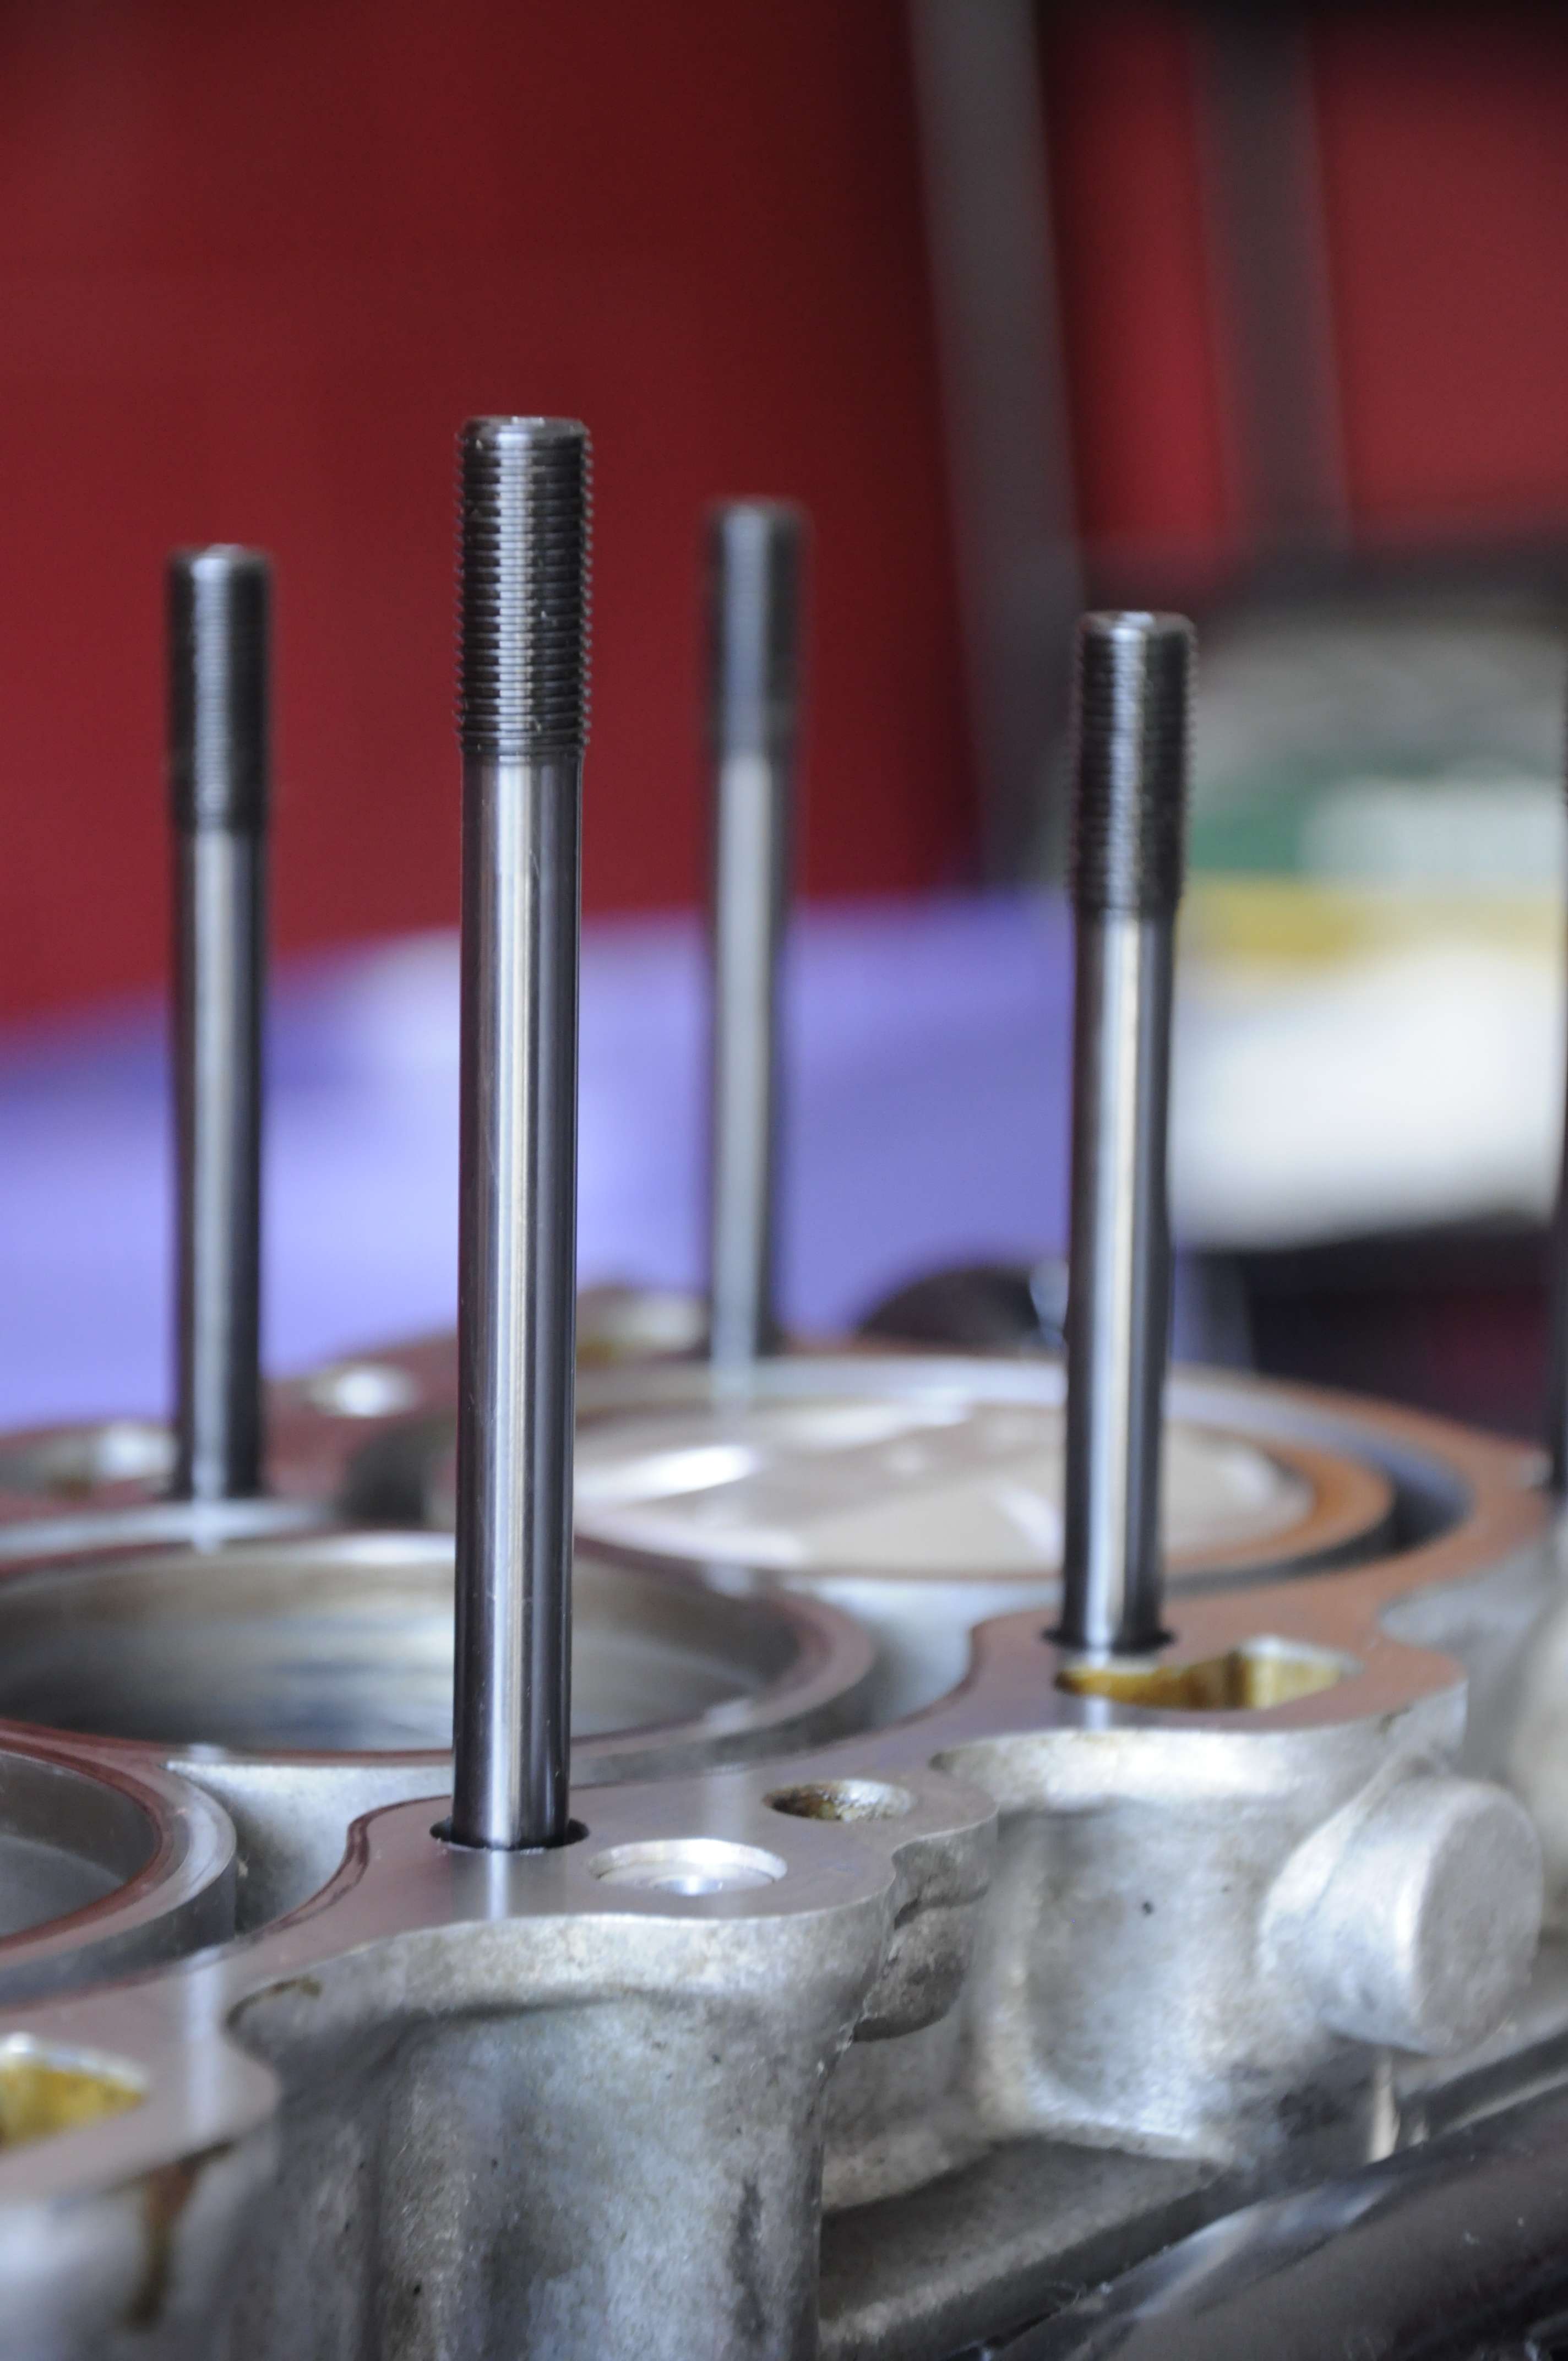
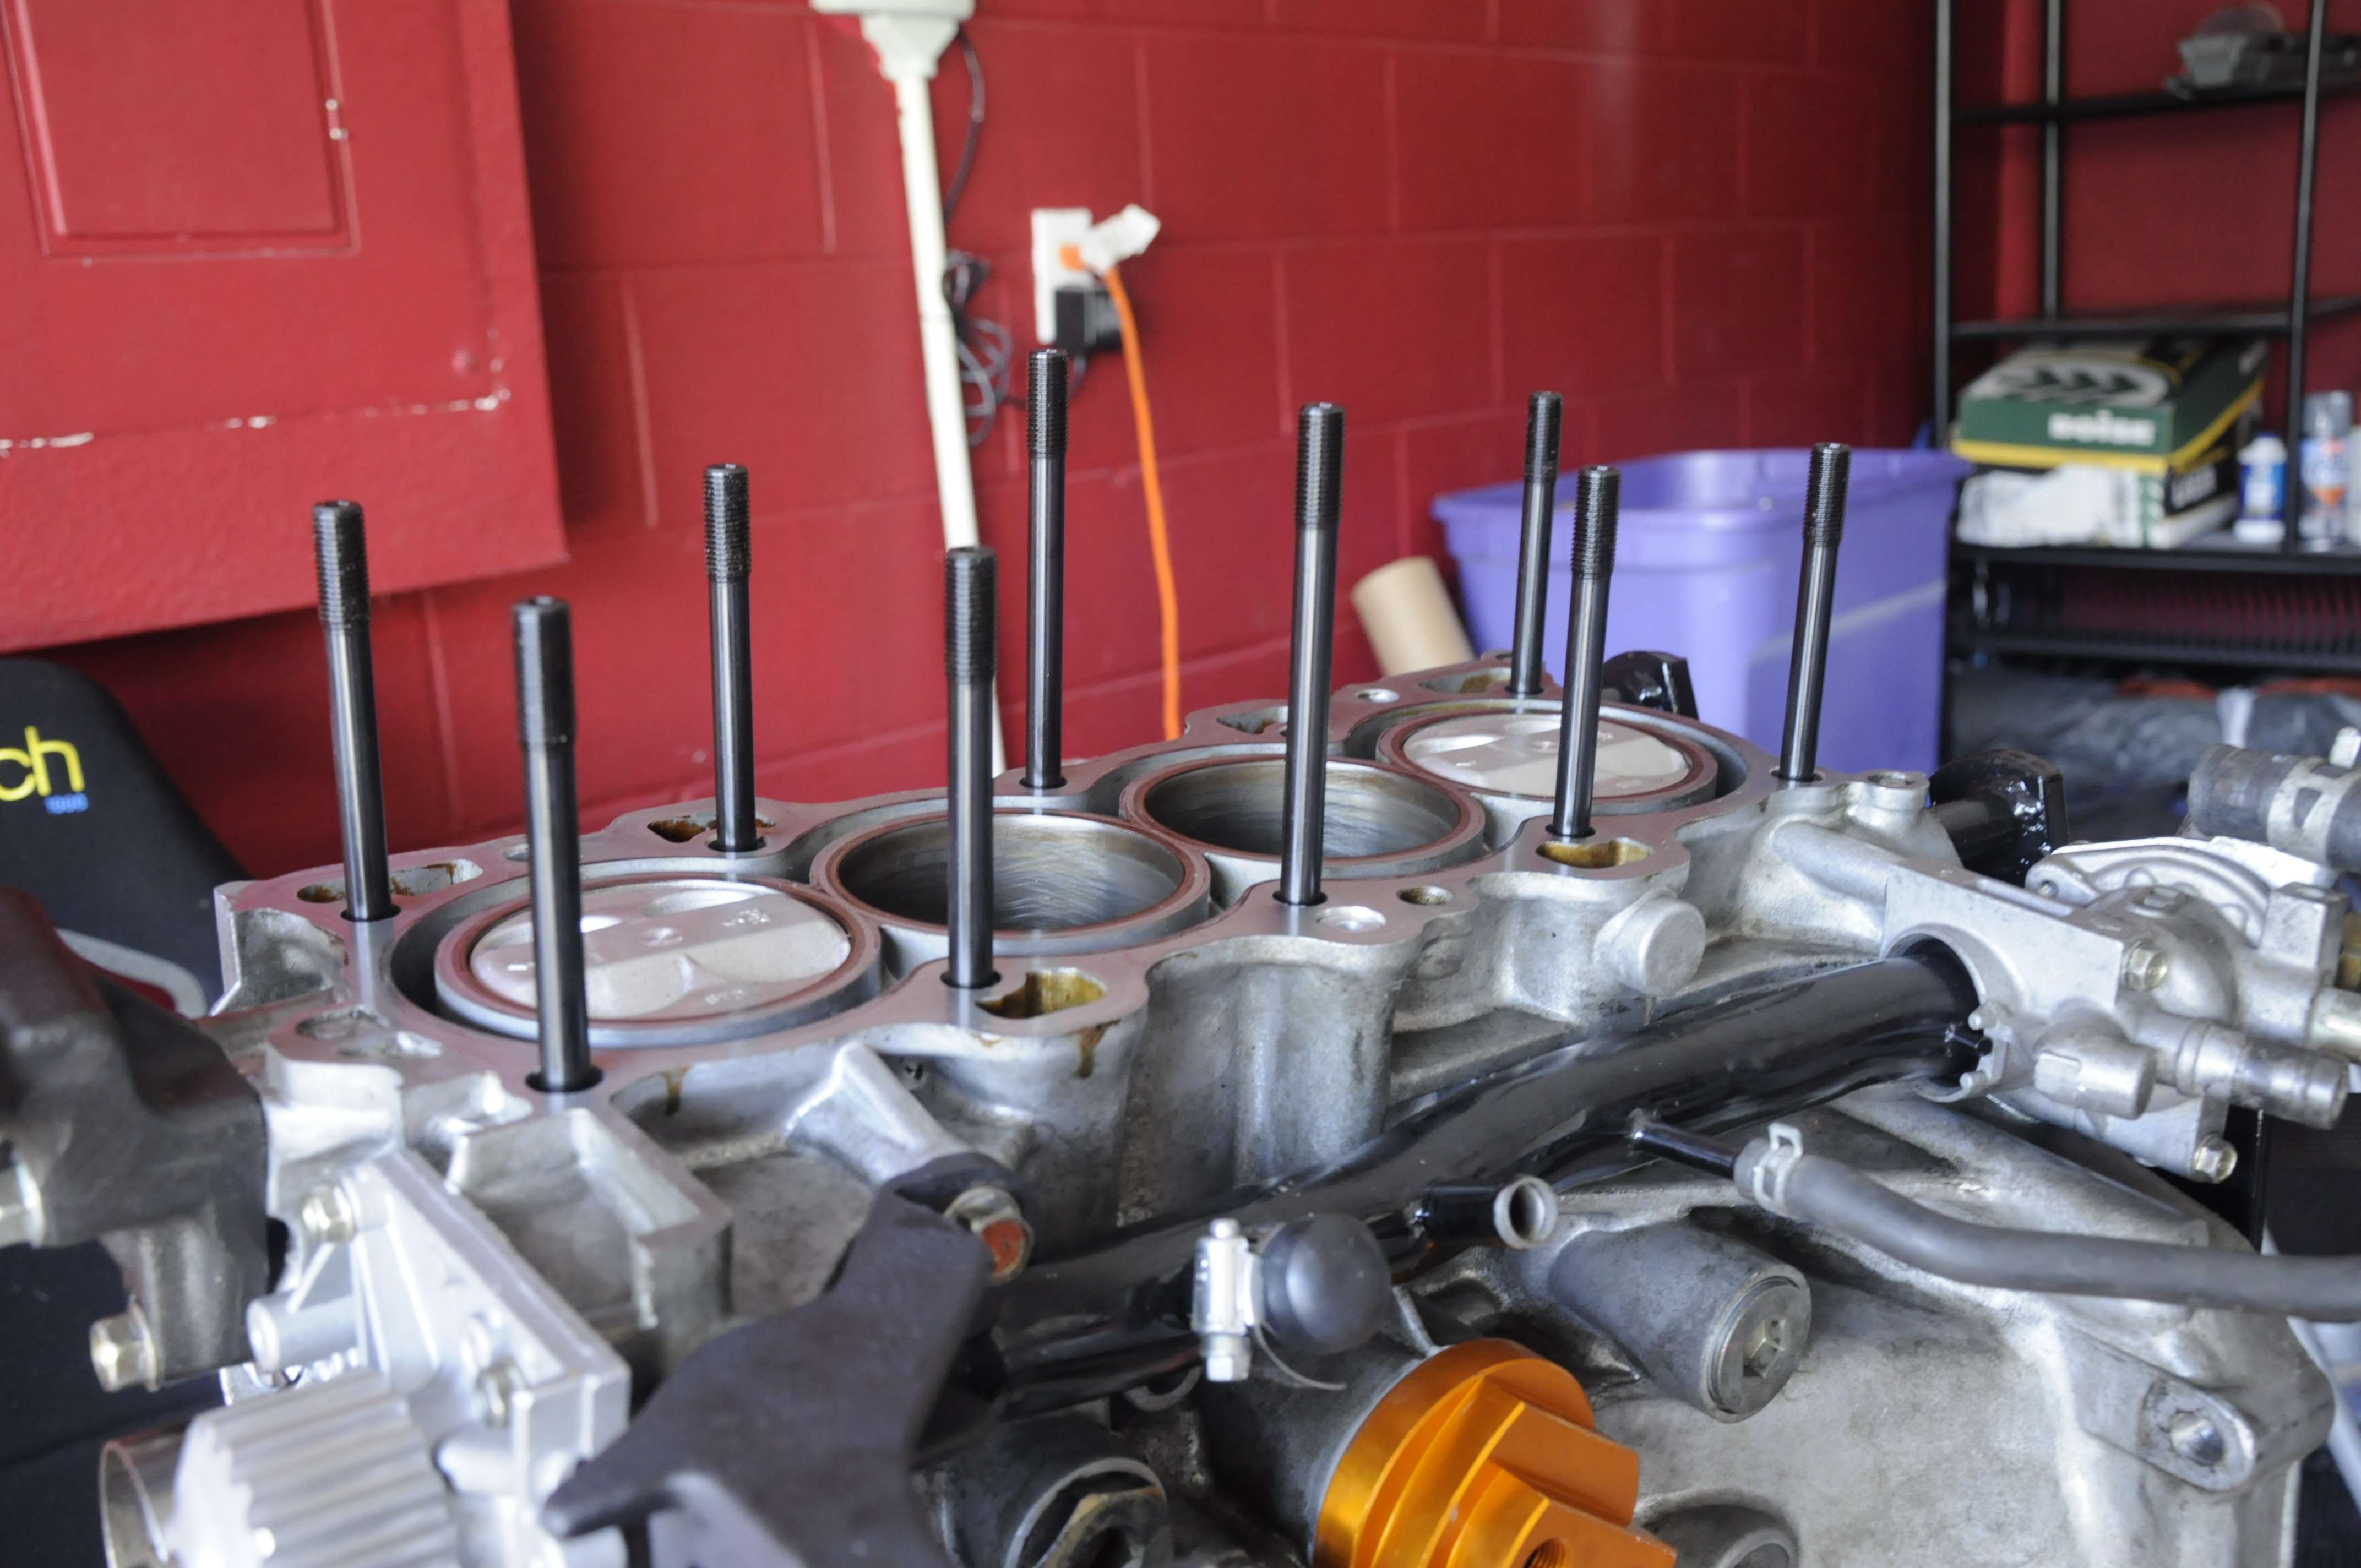
Image

Image

ARP rod bolts.

Image


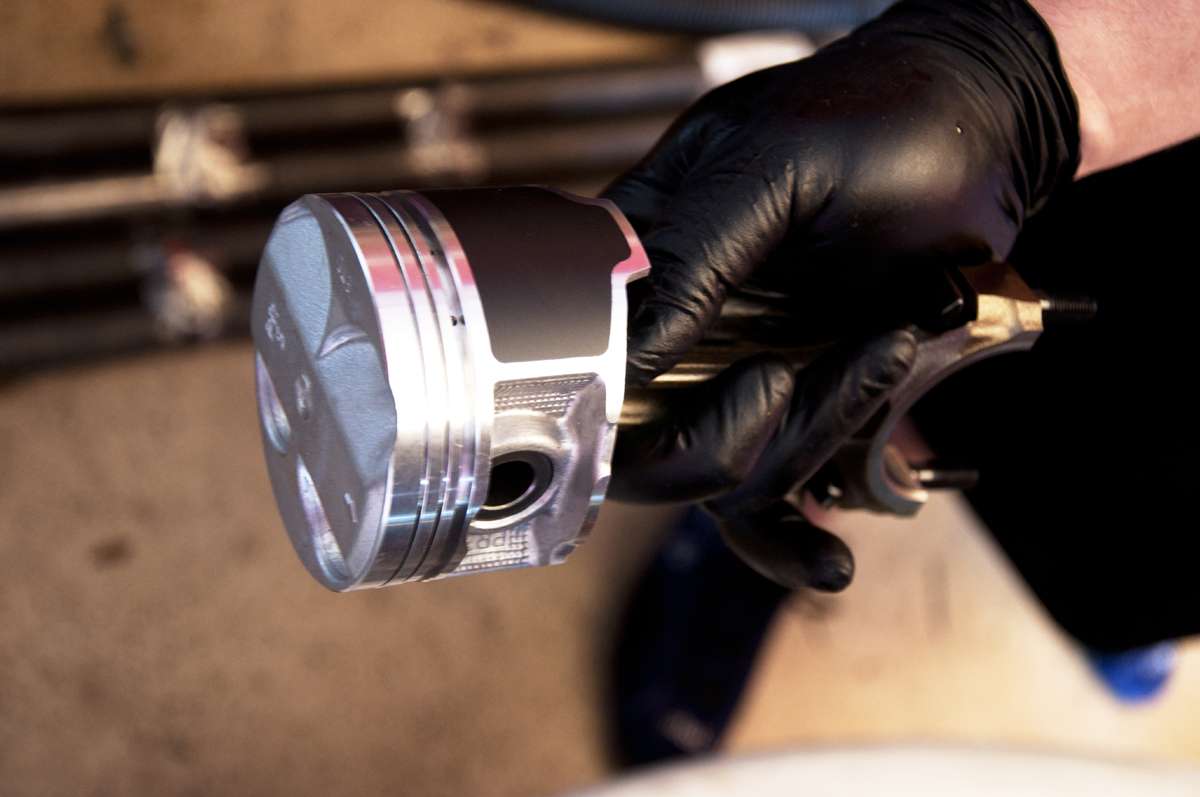
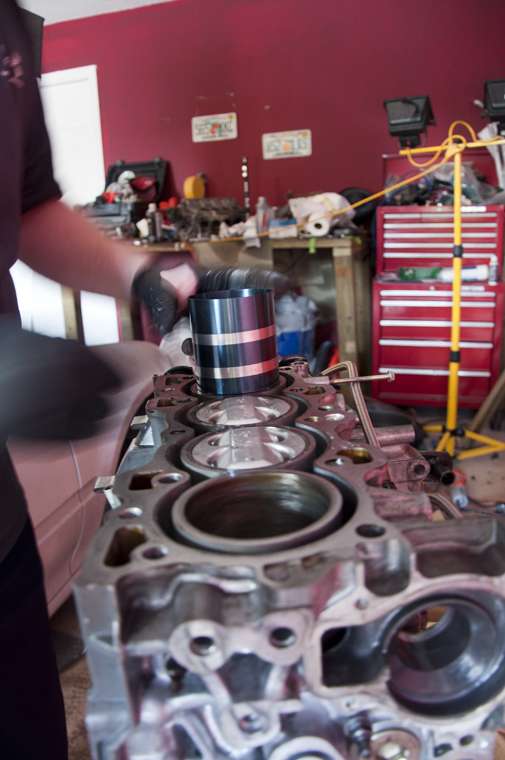
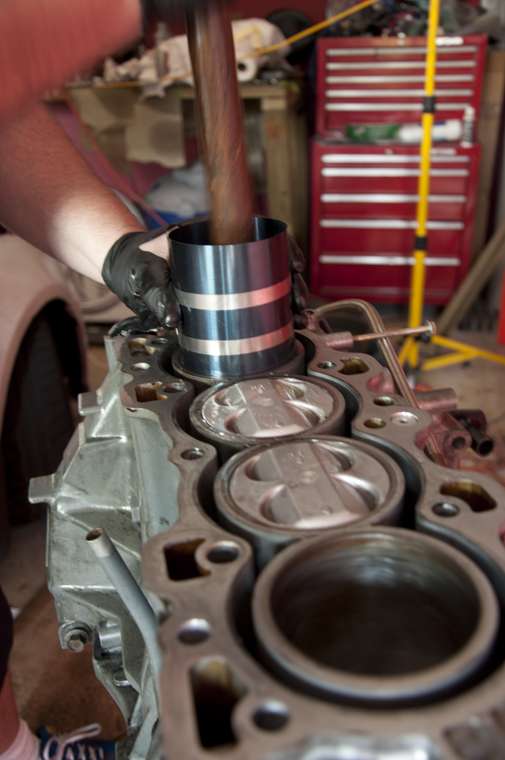
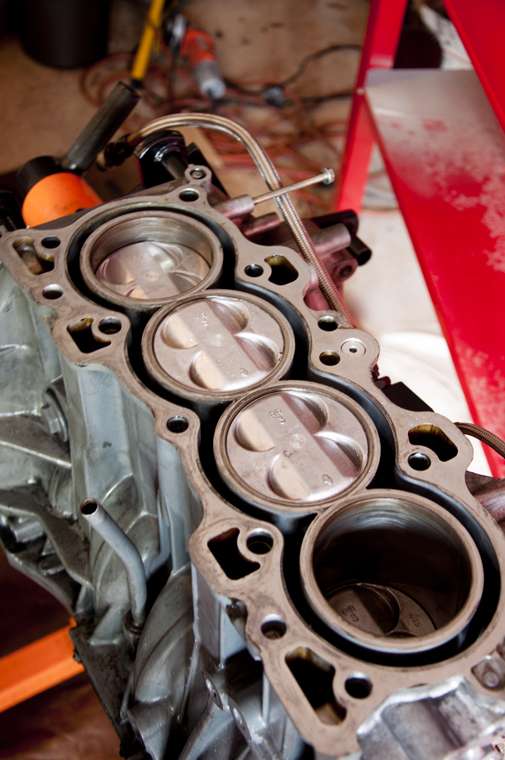
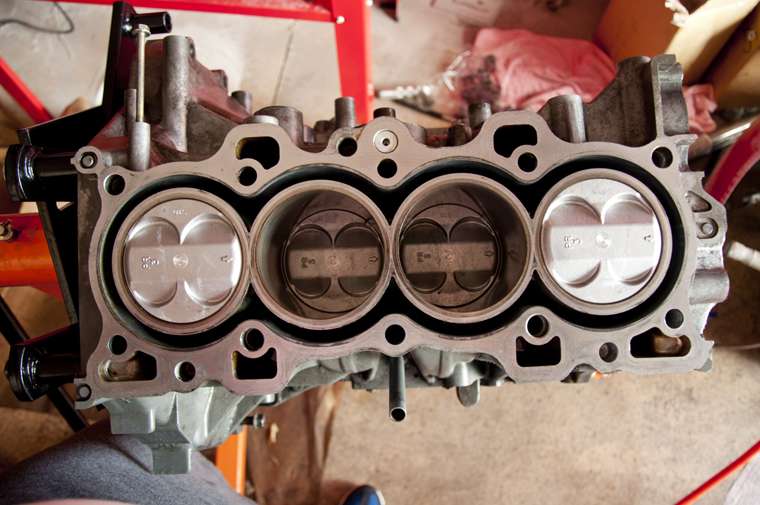
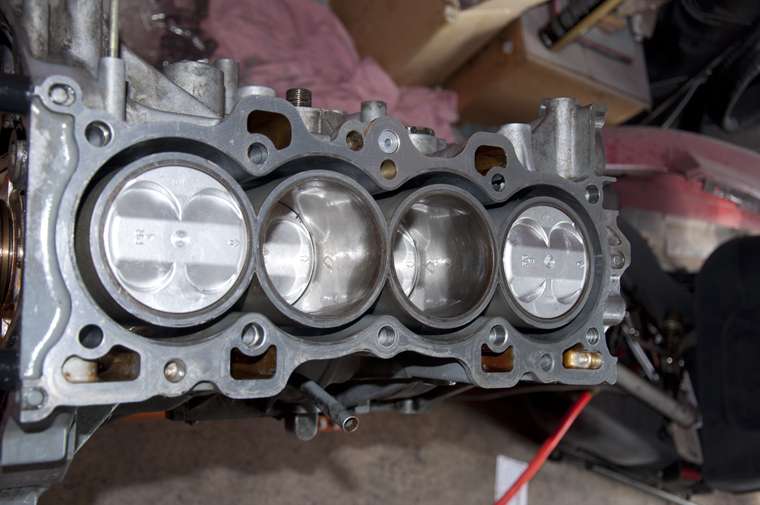
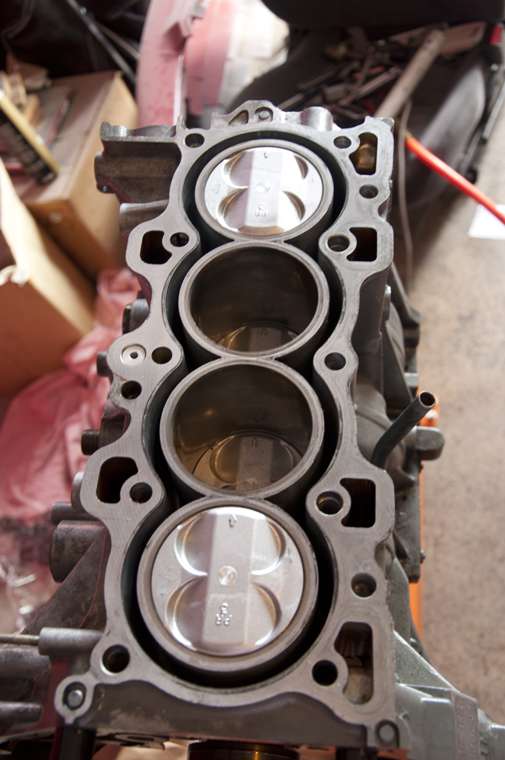
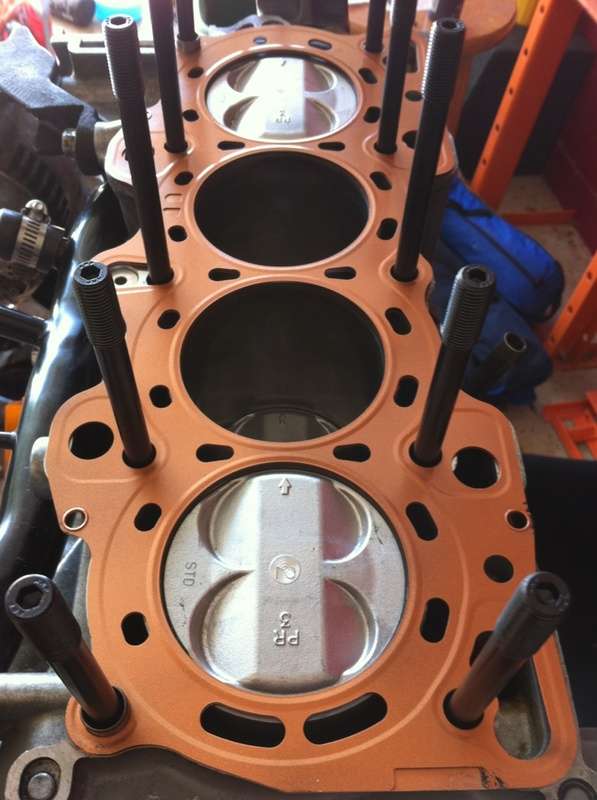
81mm RS machines USDM PR3 B16 pistons. The SCCA STL class so far allows 11.0.1 compression so this should put me right at or just under the compression using an OEM head gasket.

Image

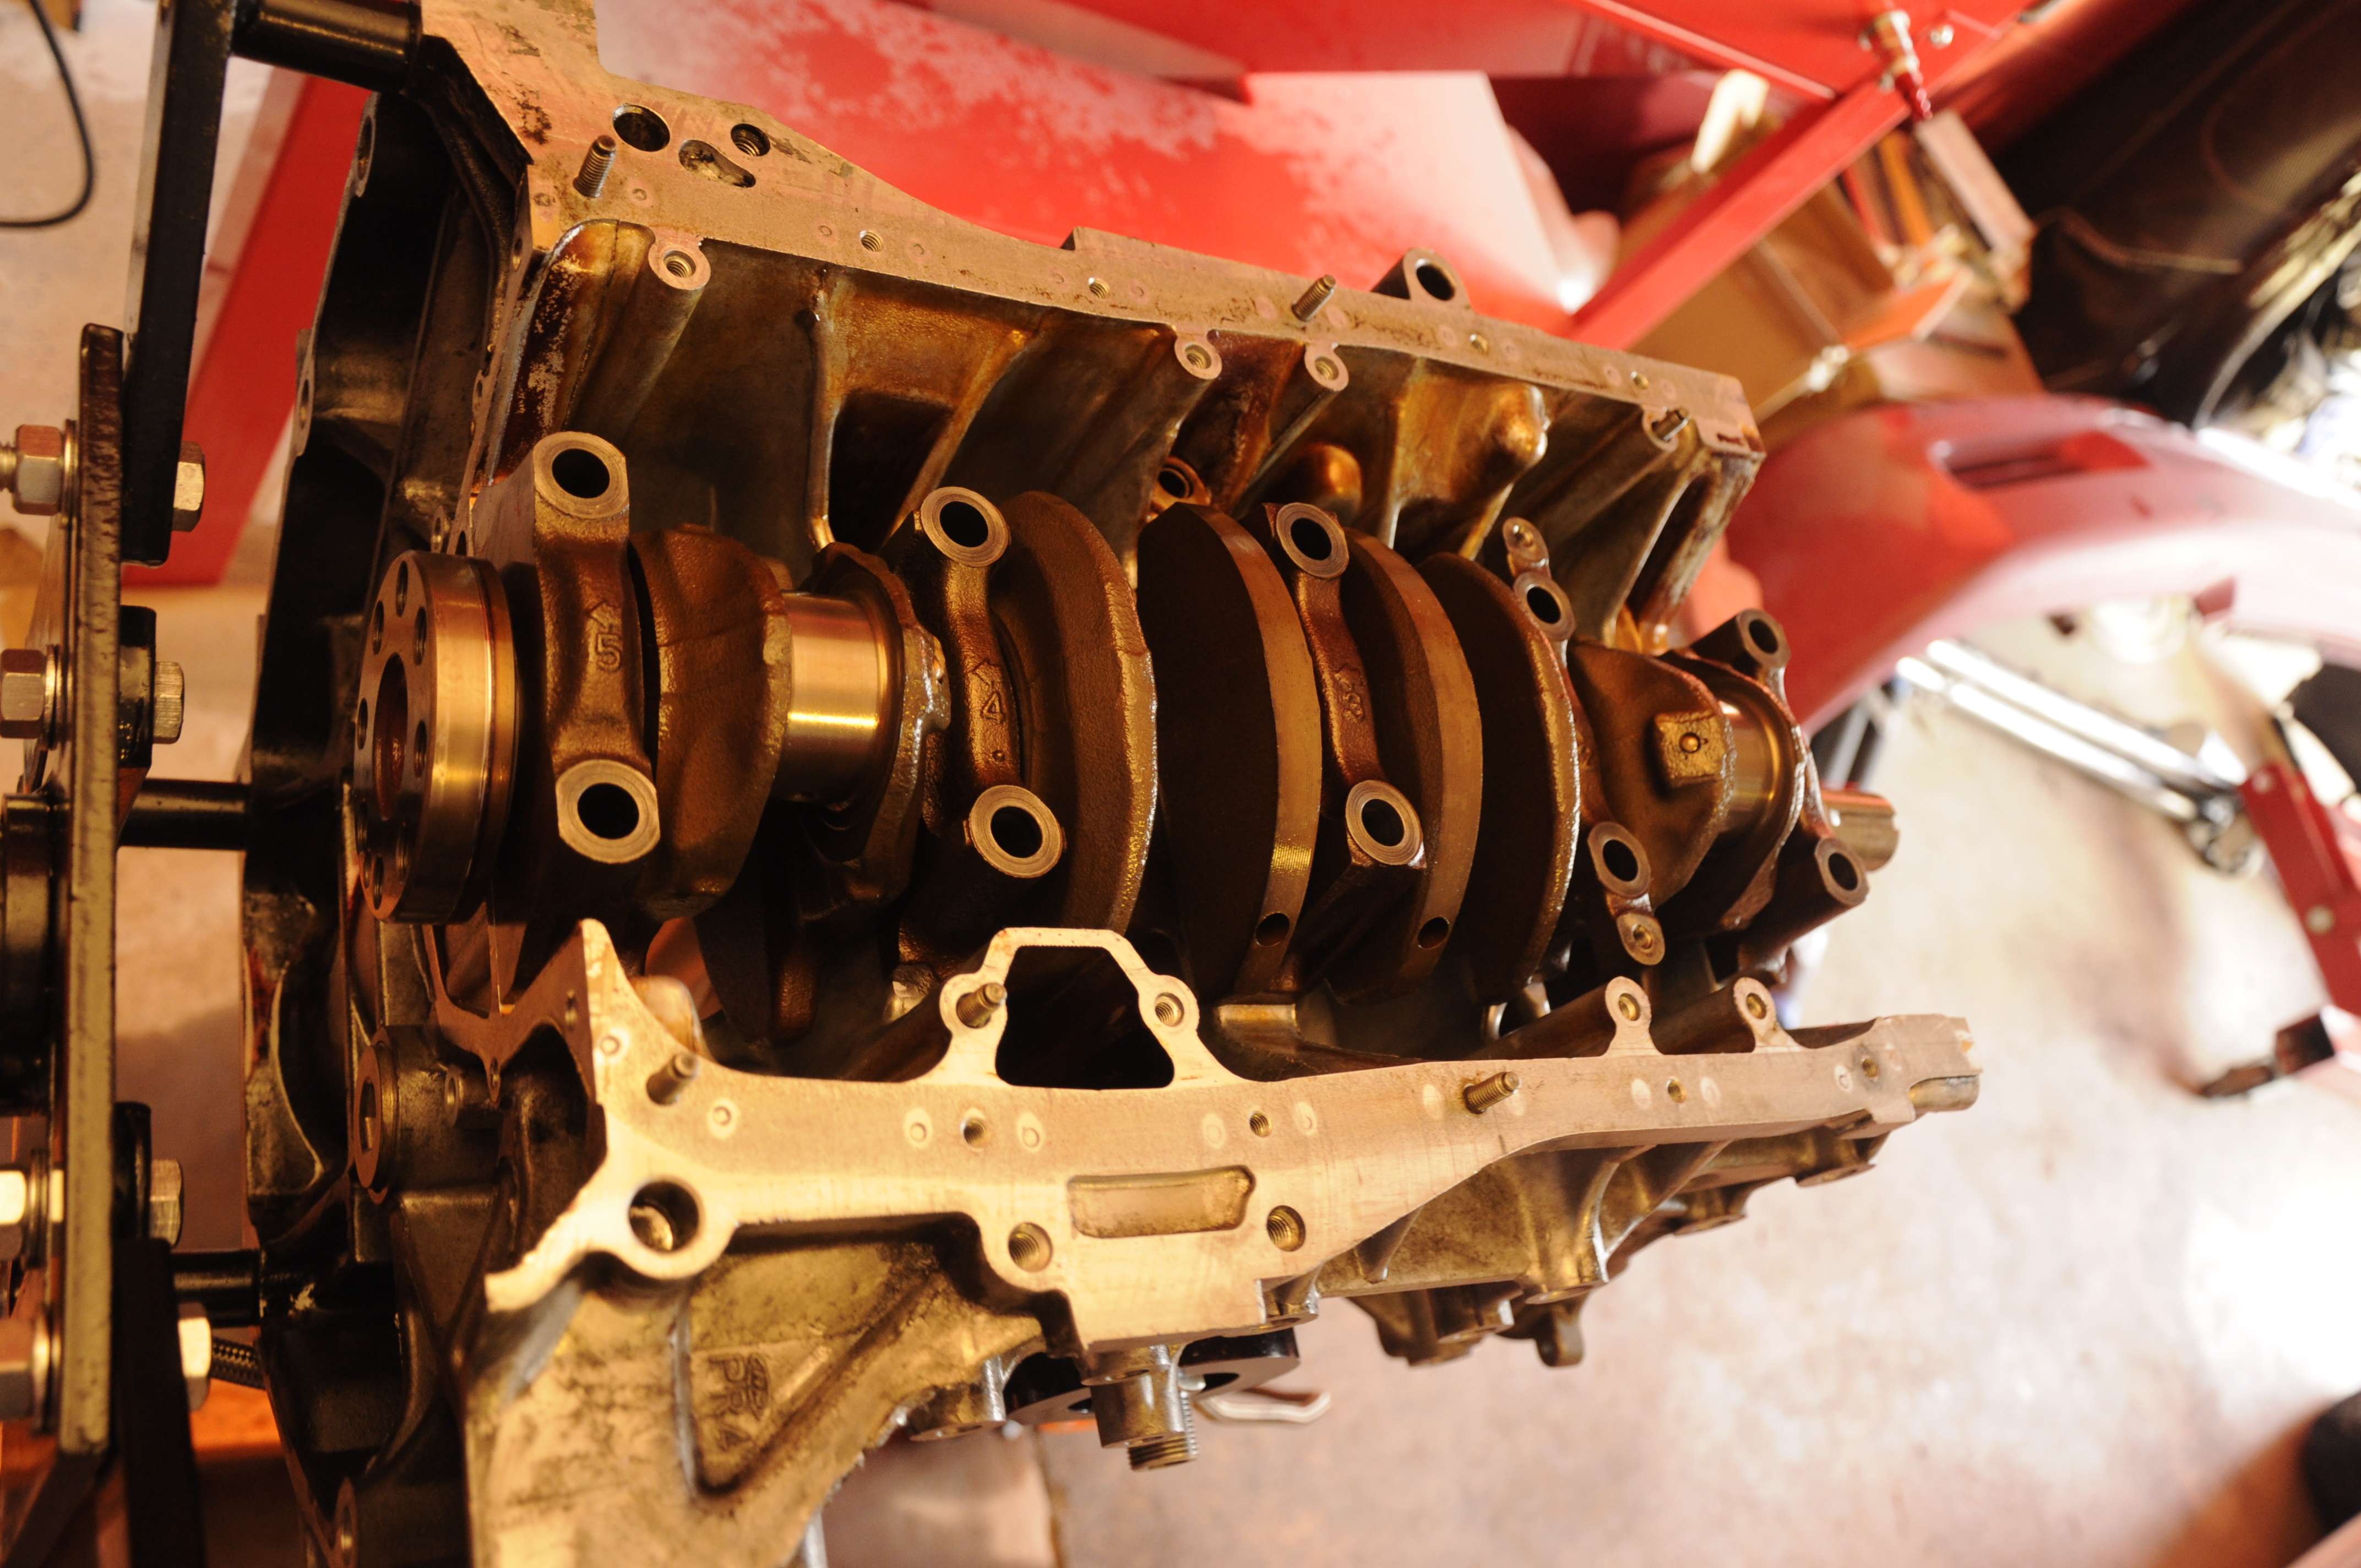
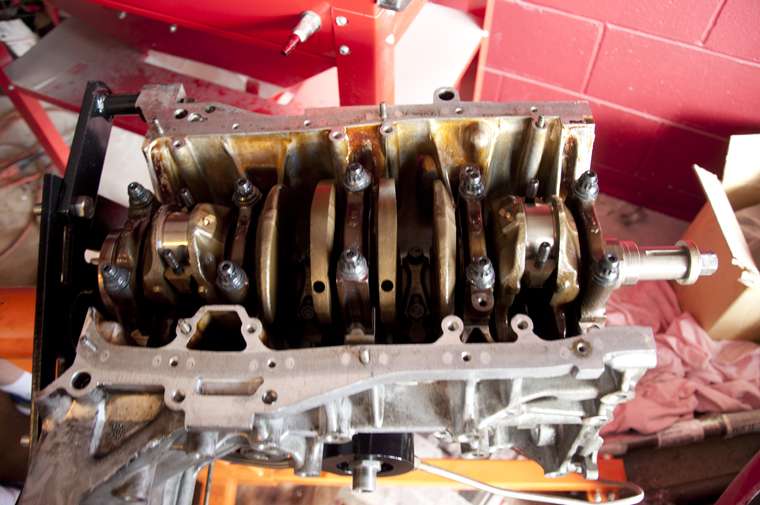
Main caps on just waiting for ARP main studs now....main caps are on backwards in this photo...oops I should know better.

Image


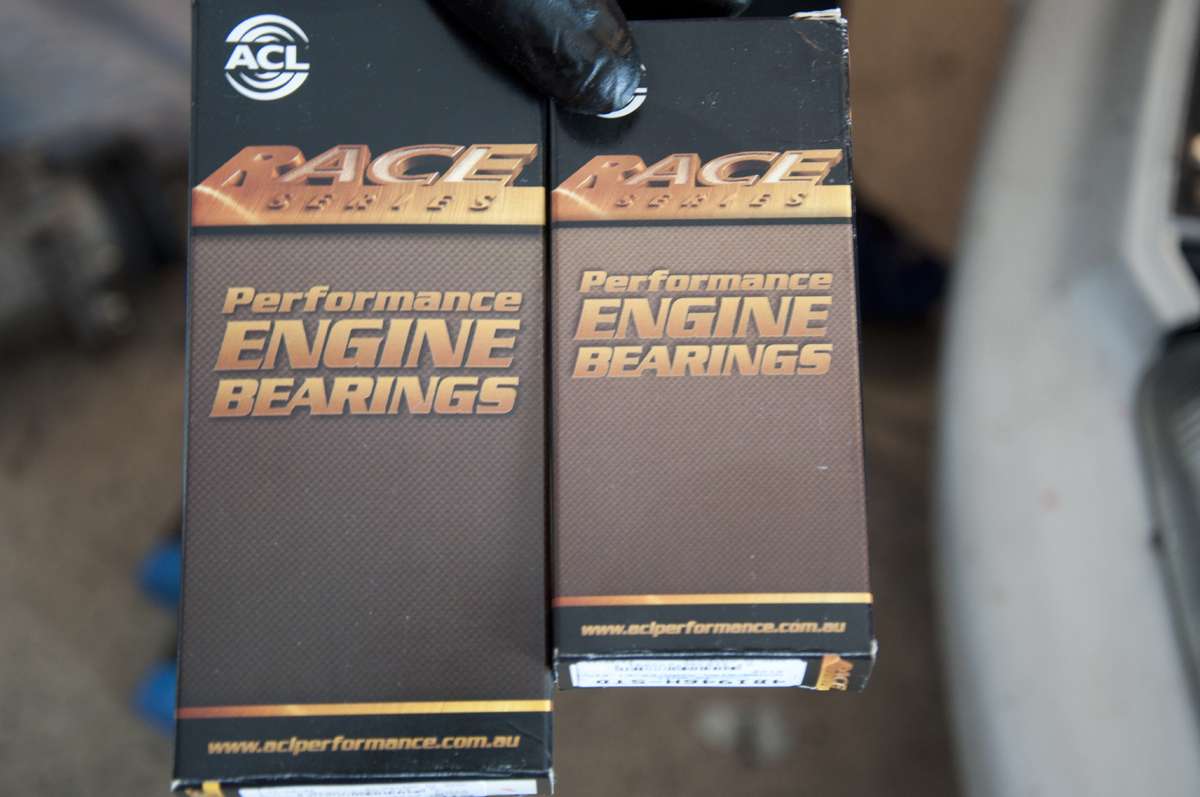
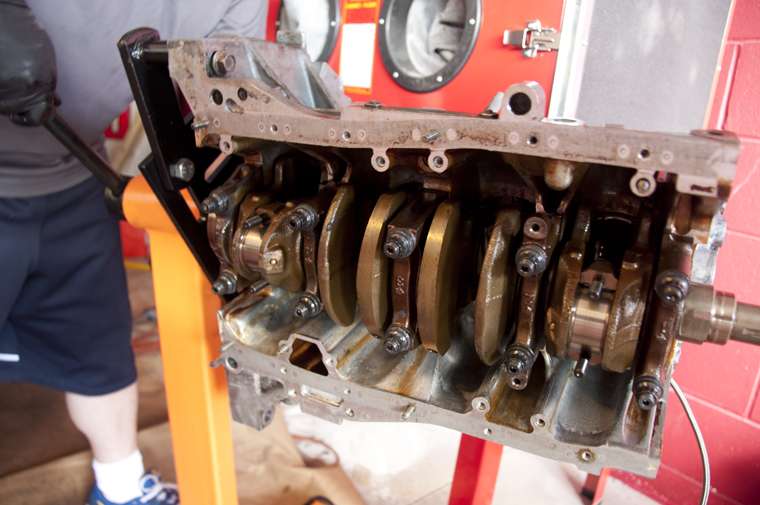
ACL race bearings main and rod end but Im only using the rod end because of clearance issues. The rods I have all have Green oem bearings which equate to about the same as a std acl rod race bearing. I went with oem main bearings because my block had a few different colors so I didnt want to go to a machine shop. All in all the crank looks perfect and the bearings showed minimal wear so I think this should be a good setup.

Image

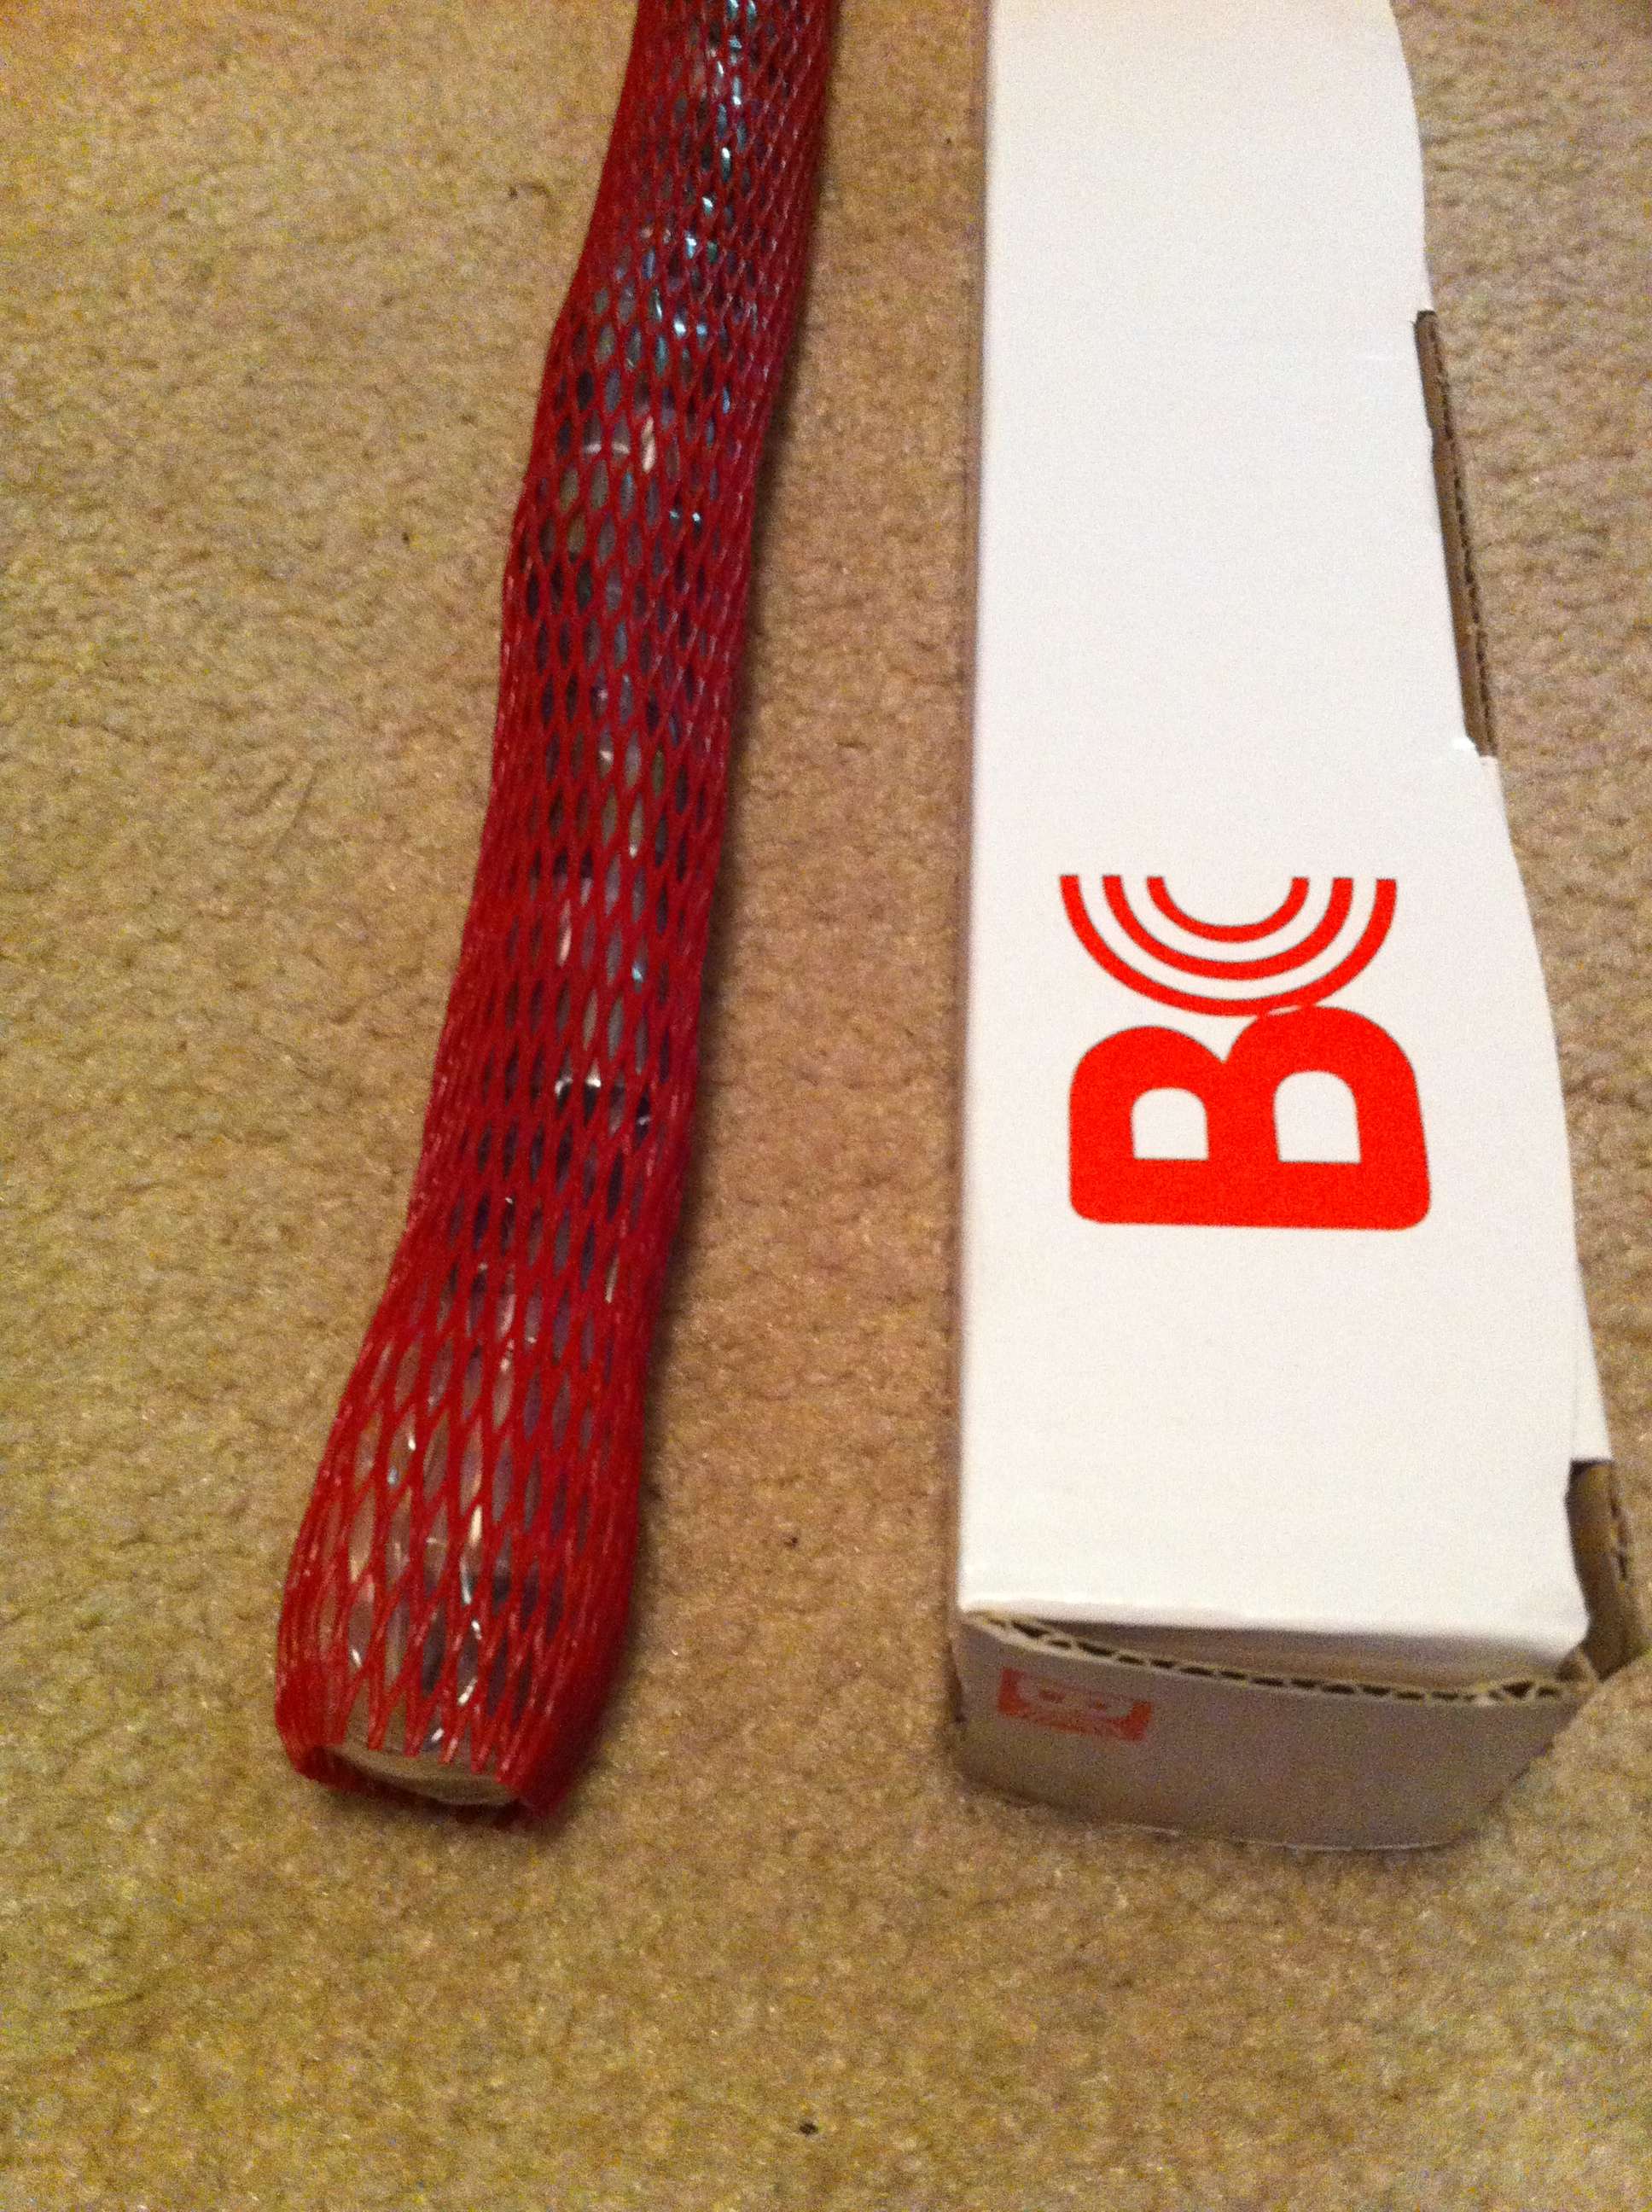
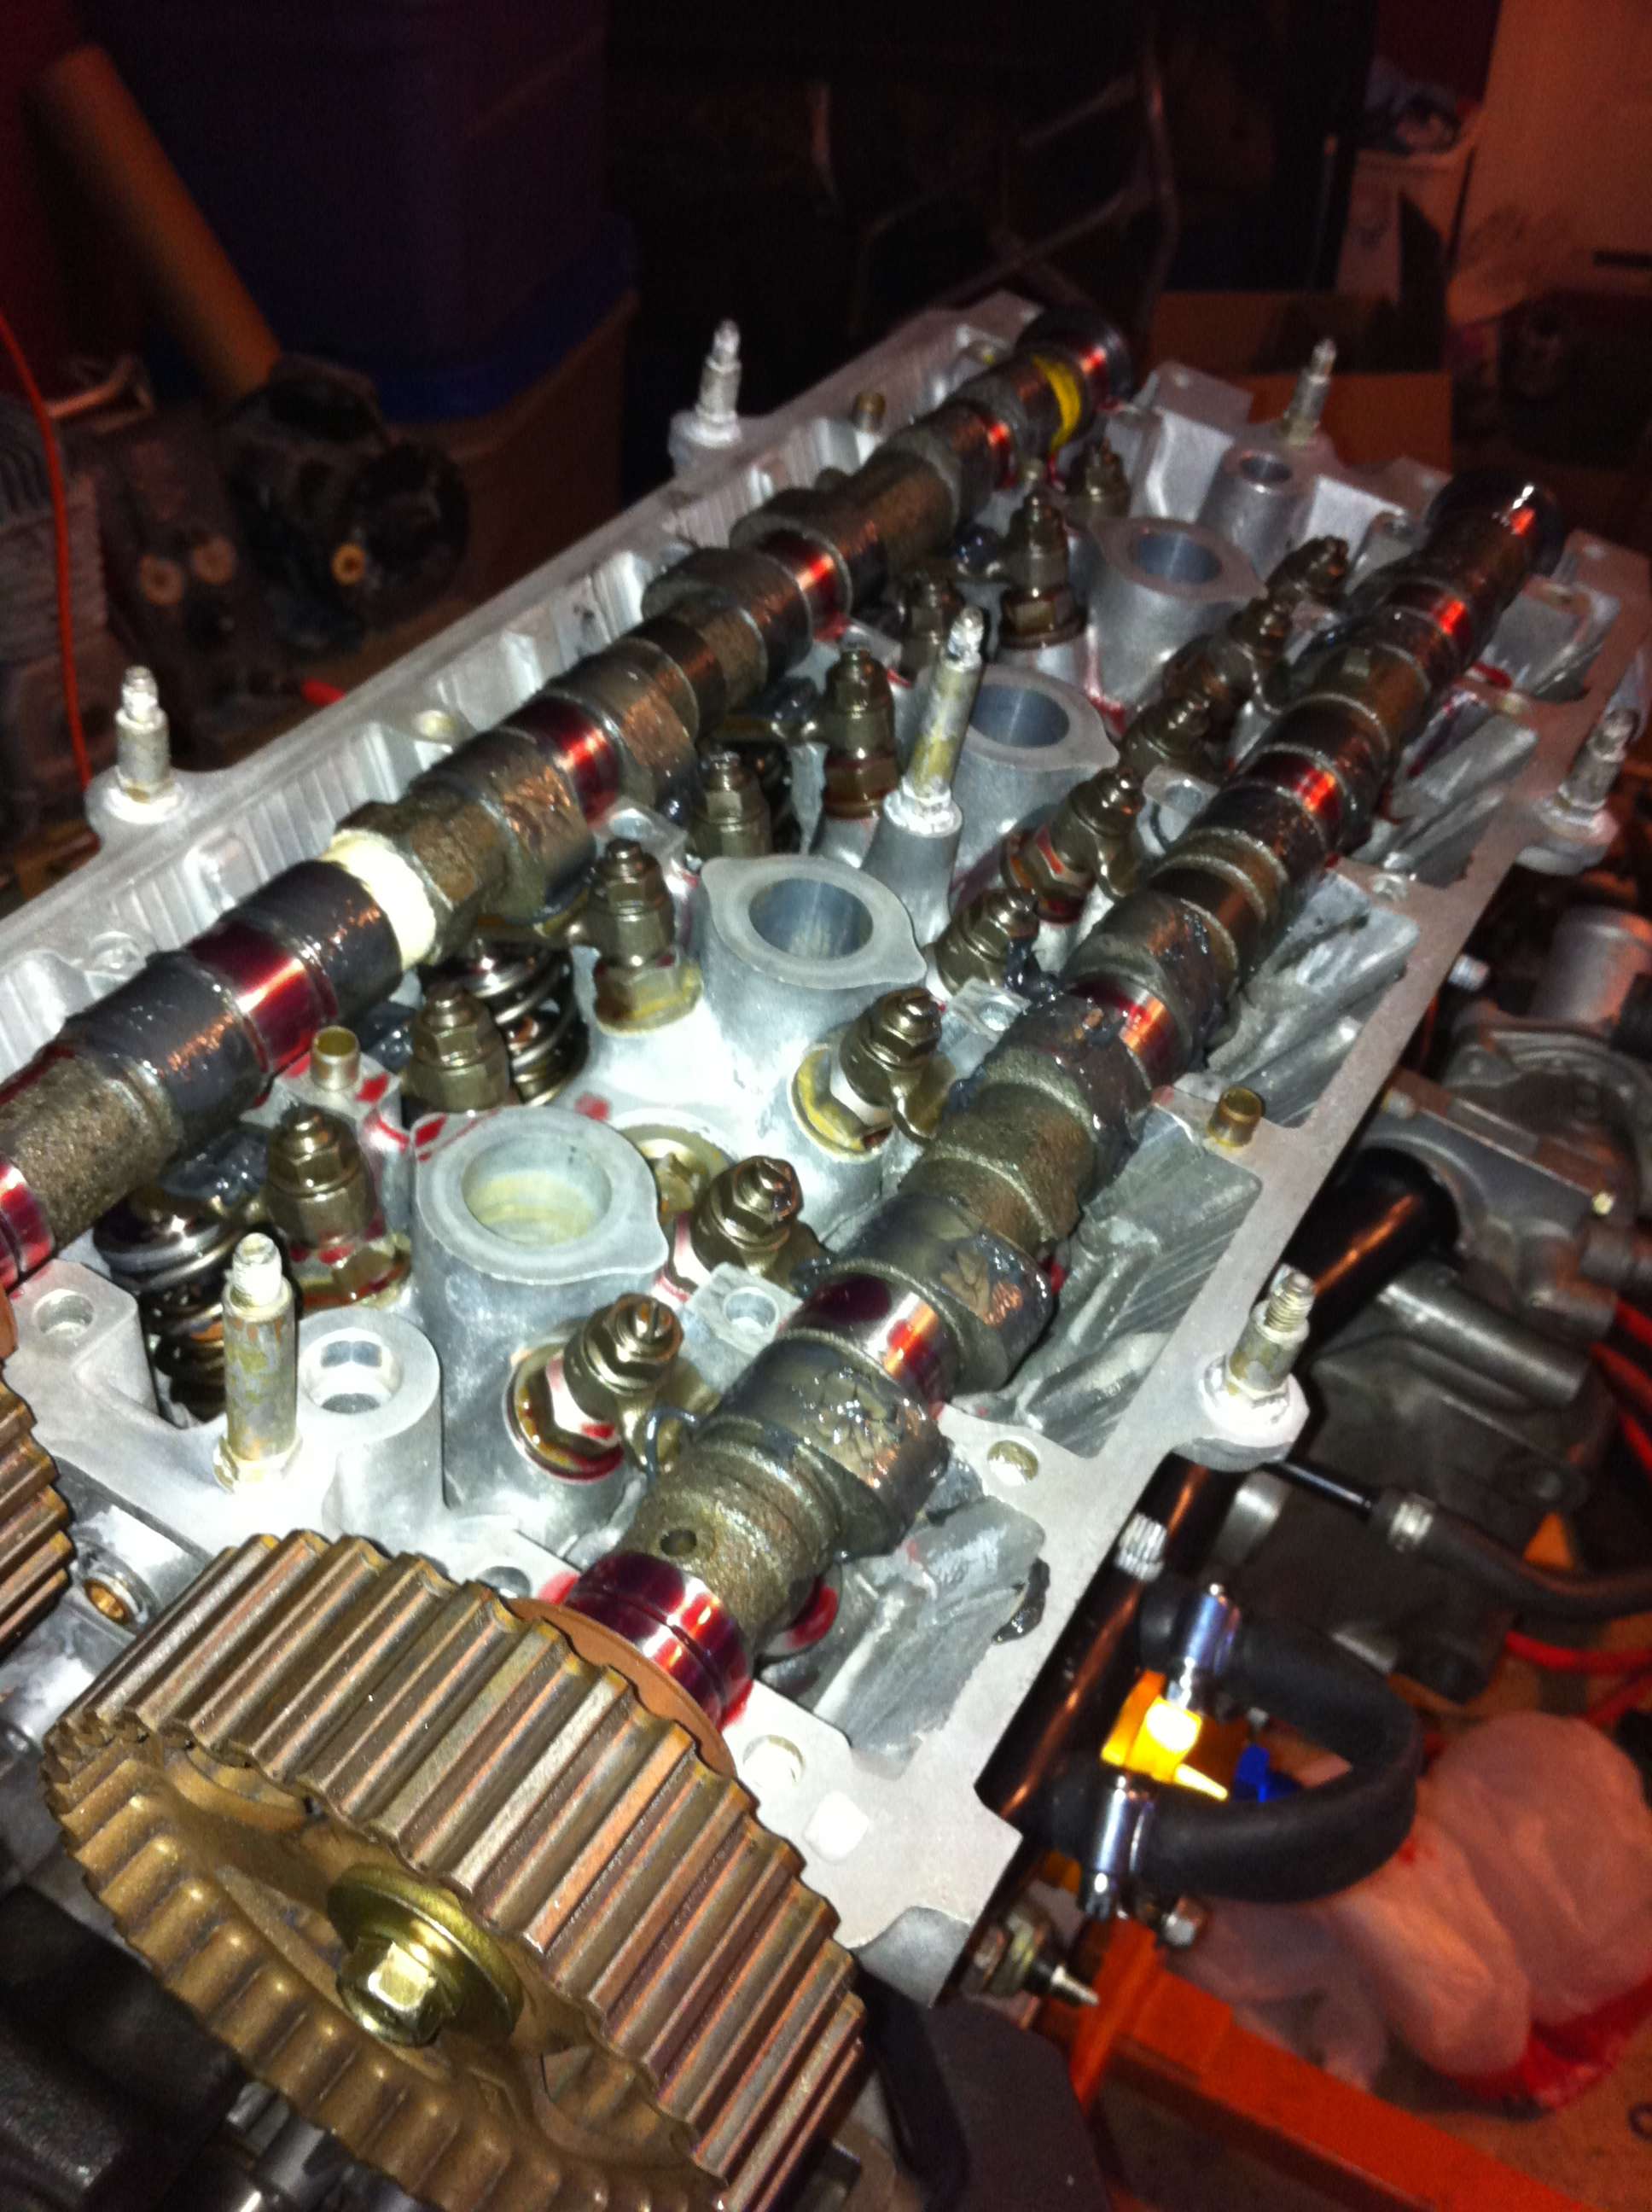
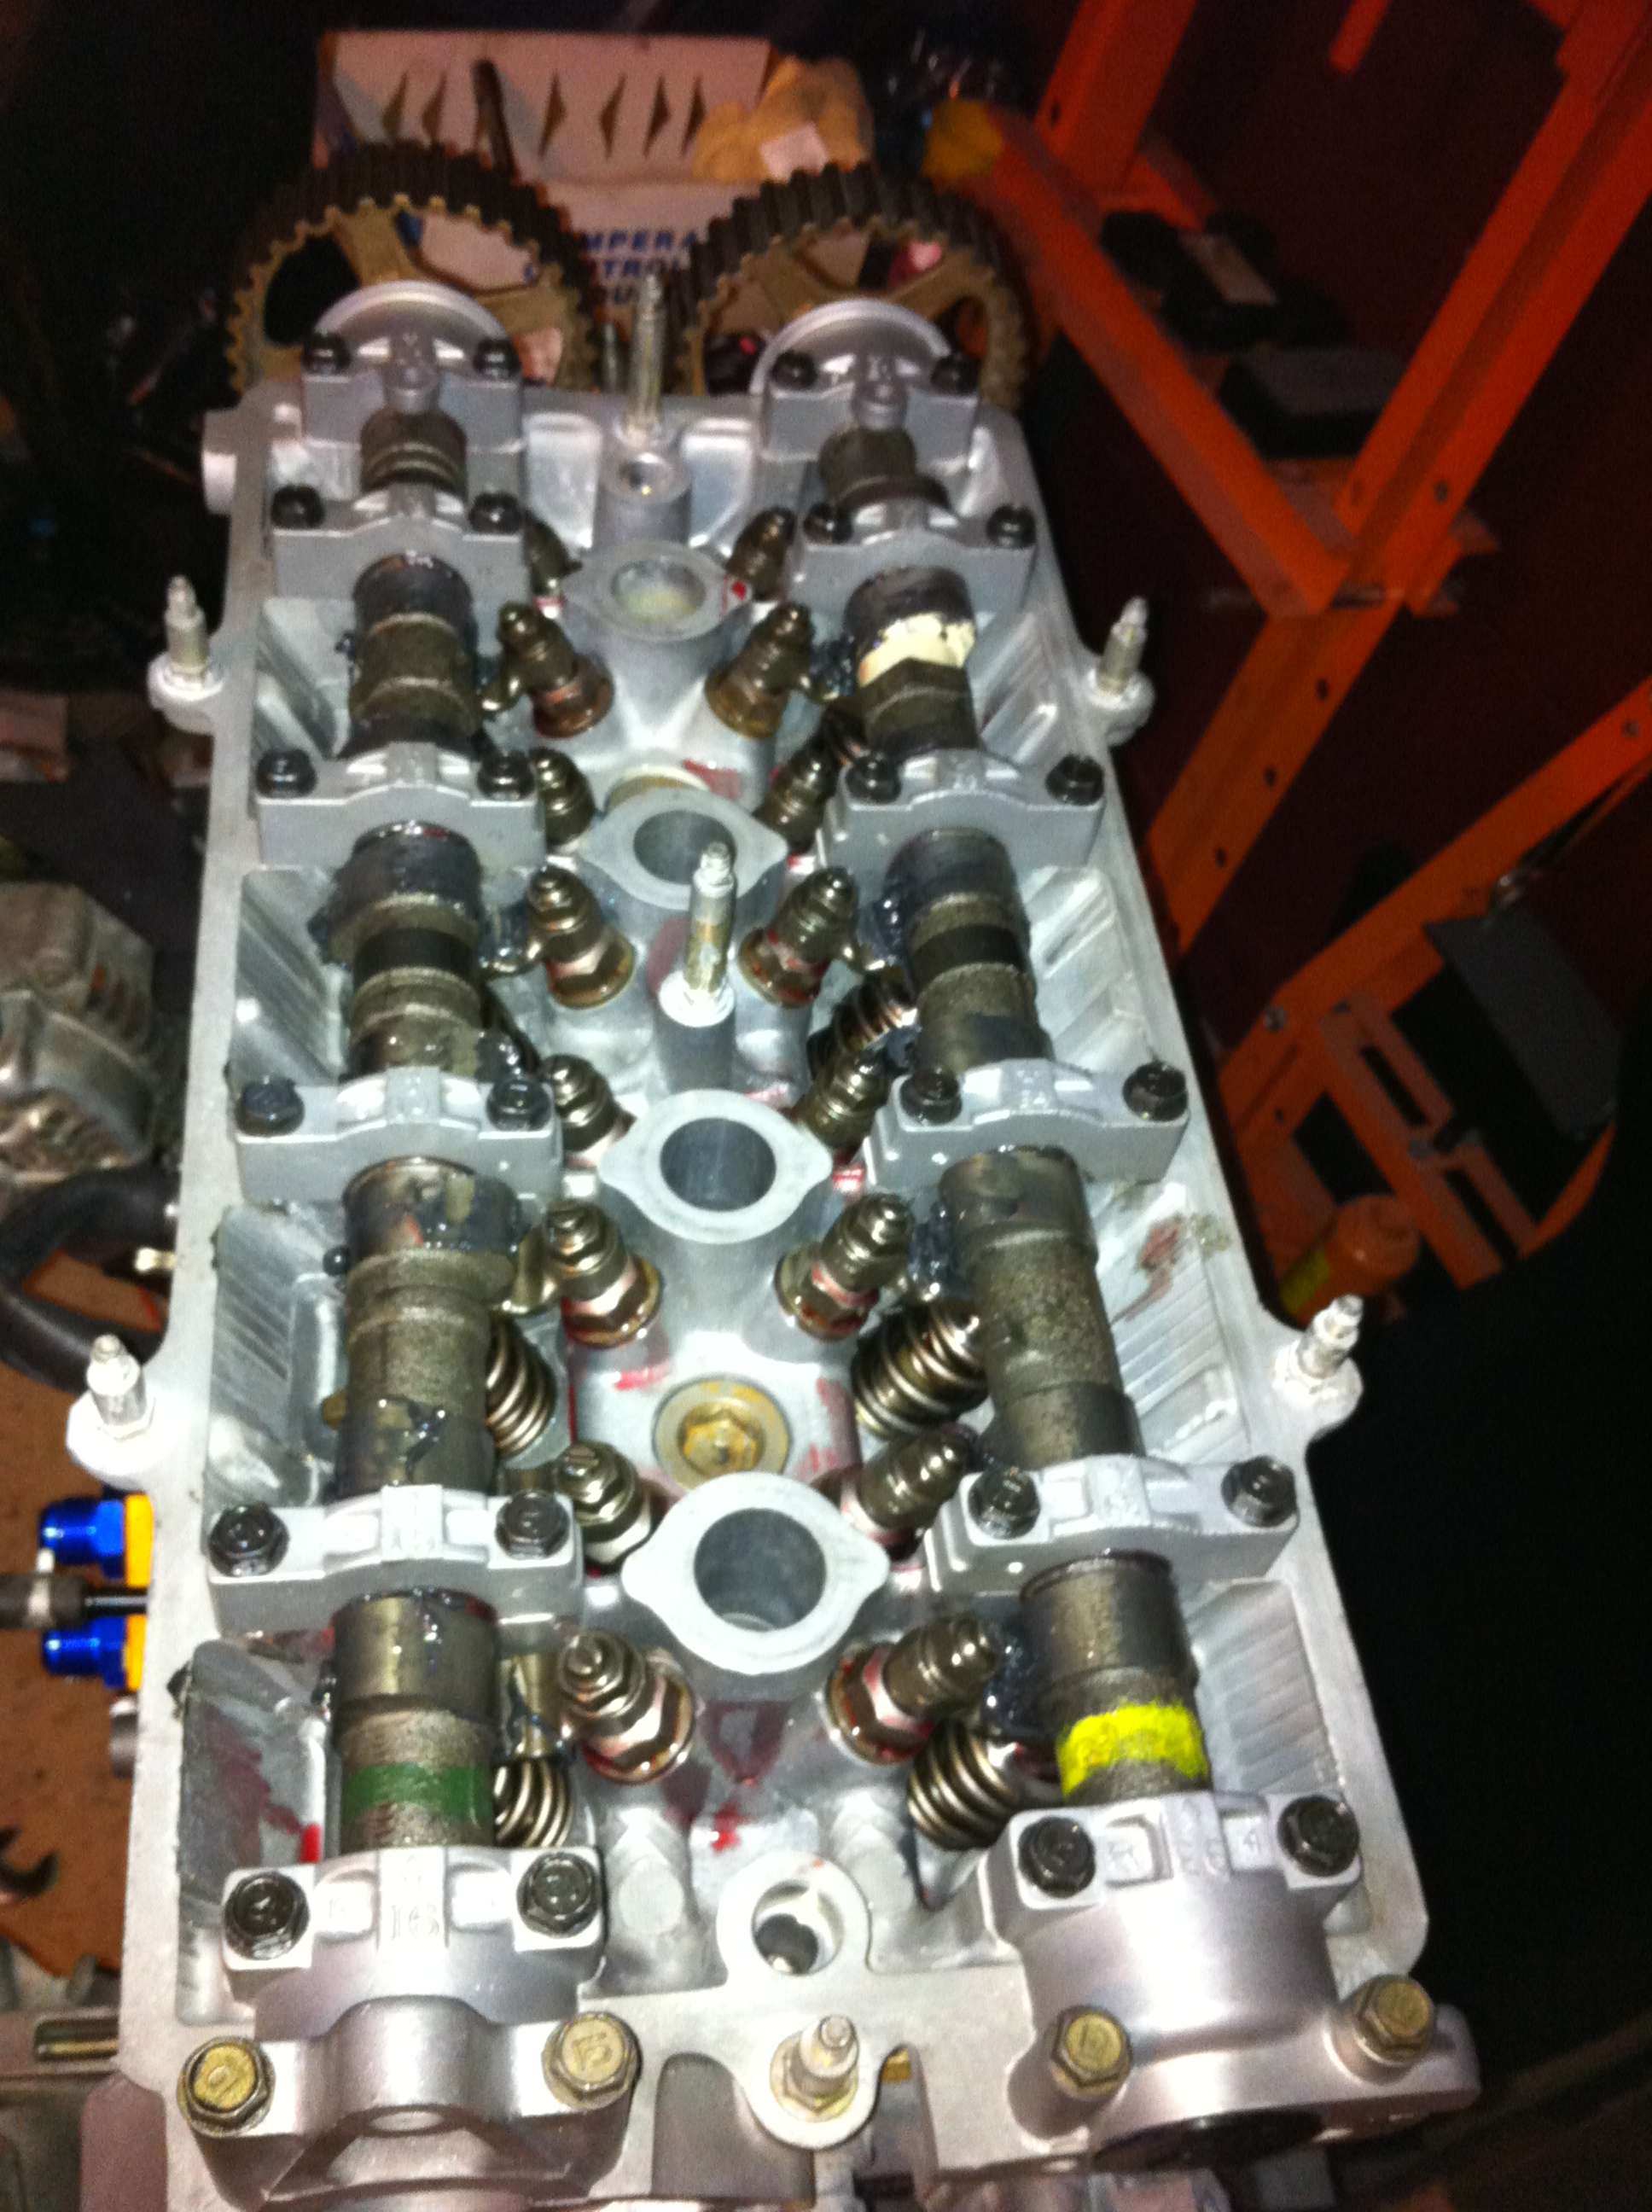
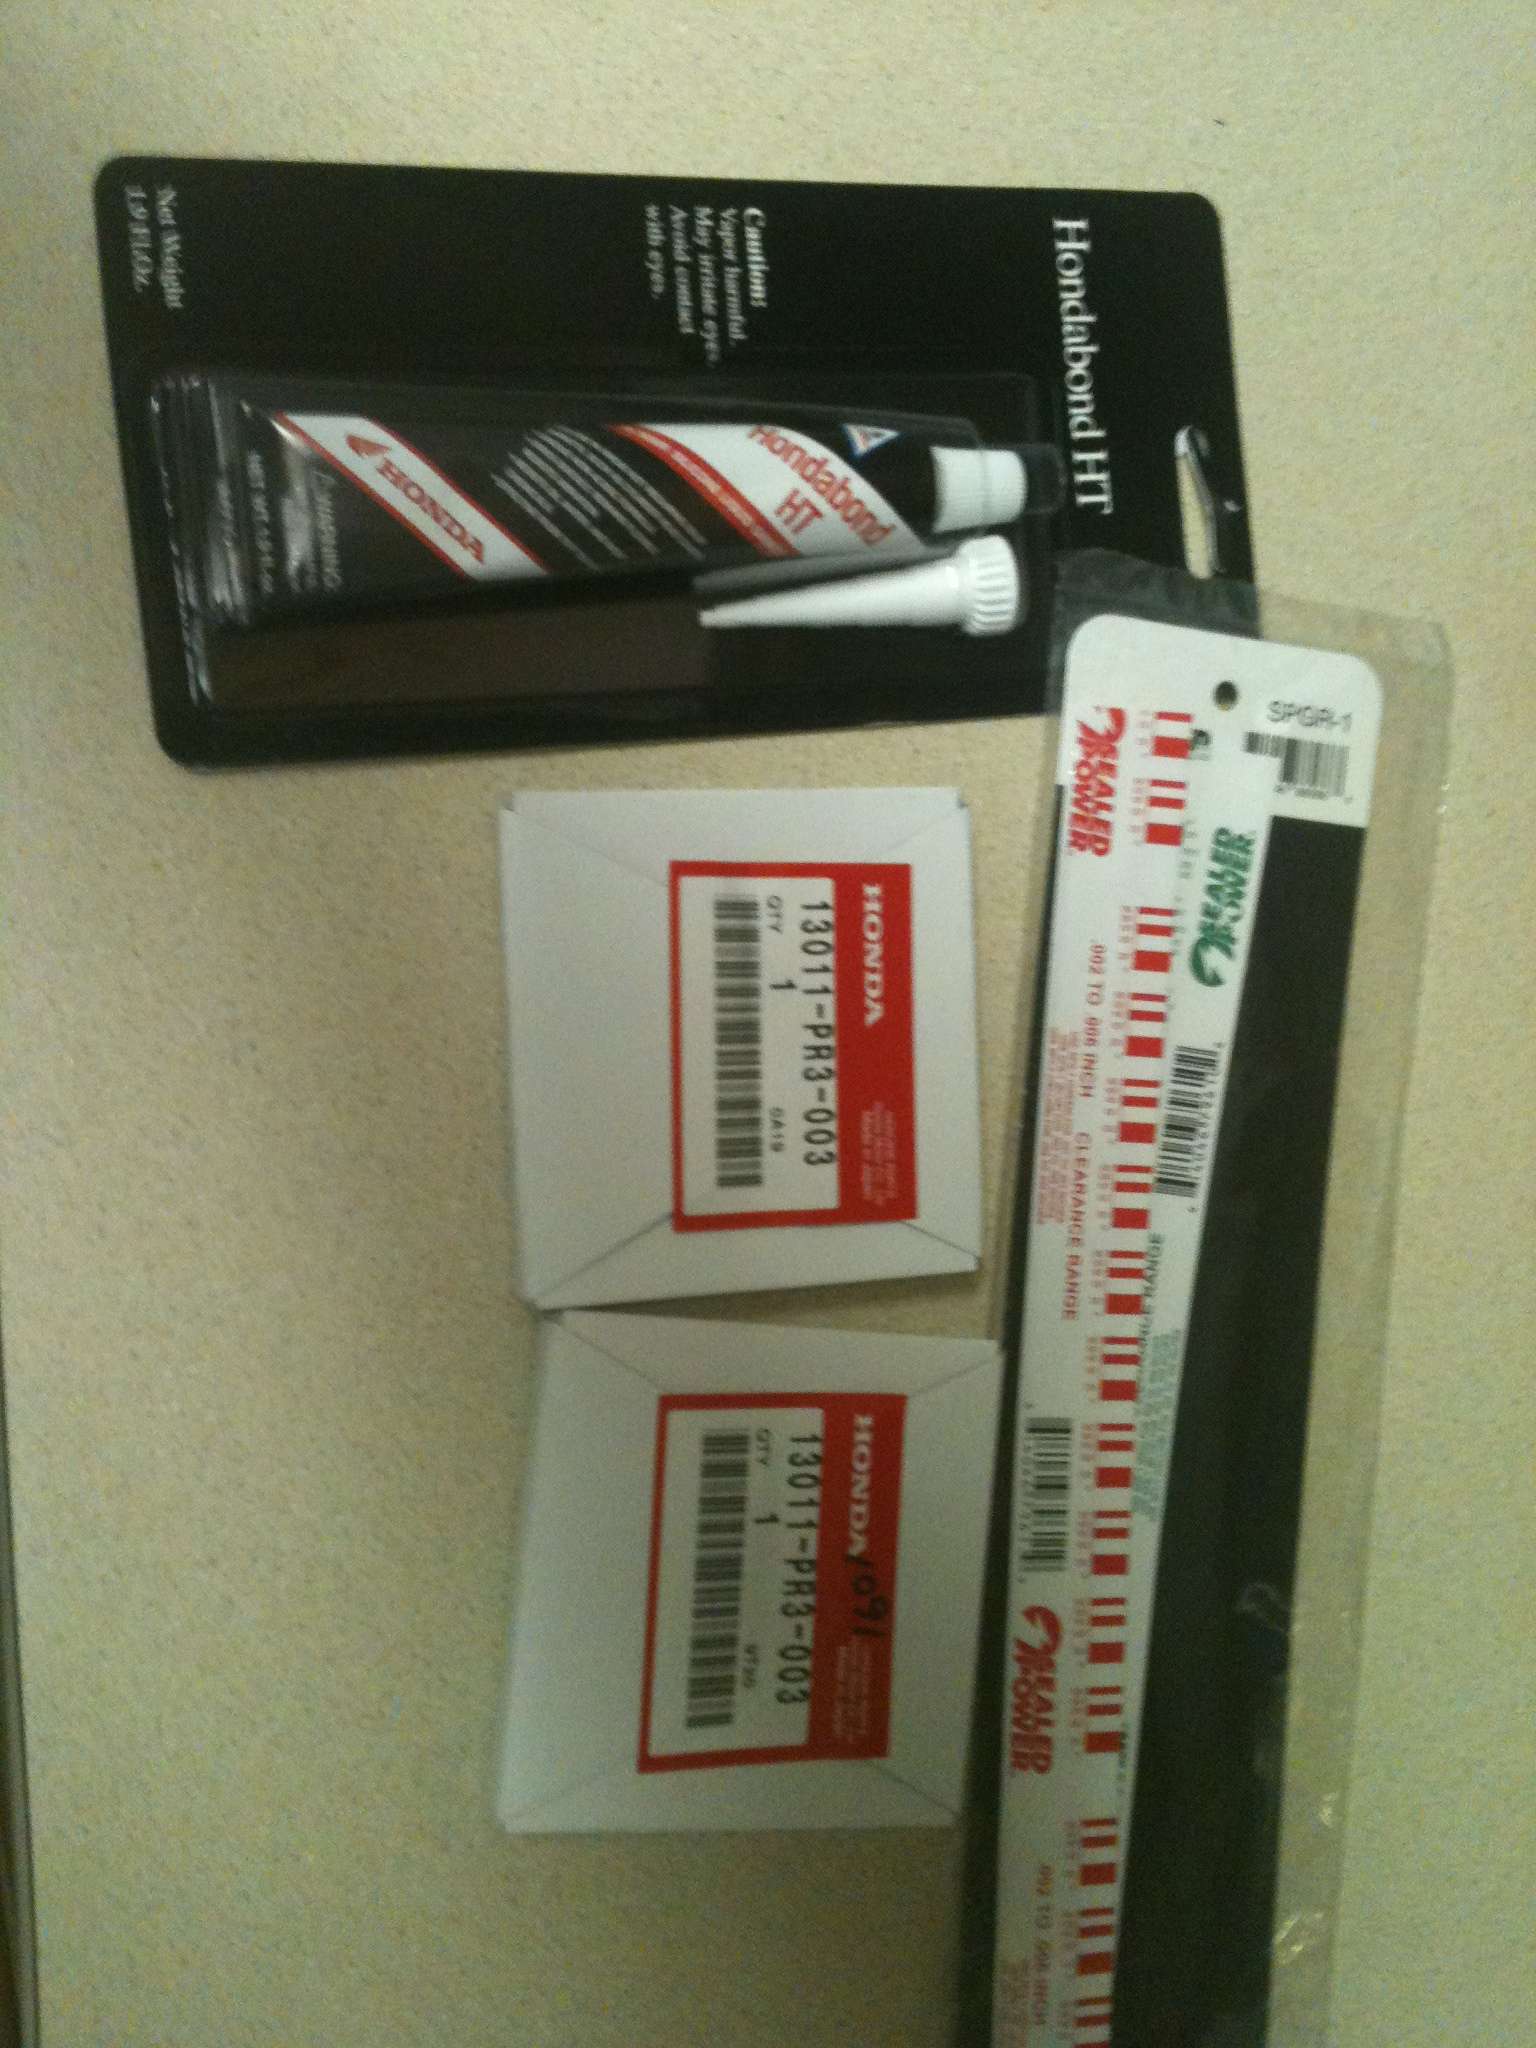
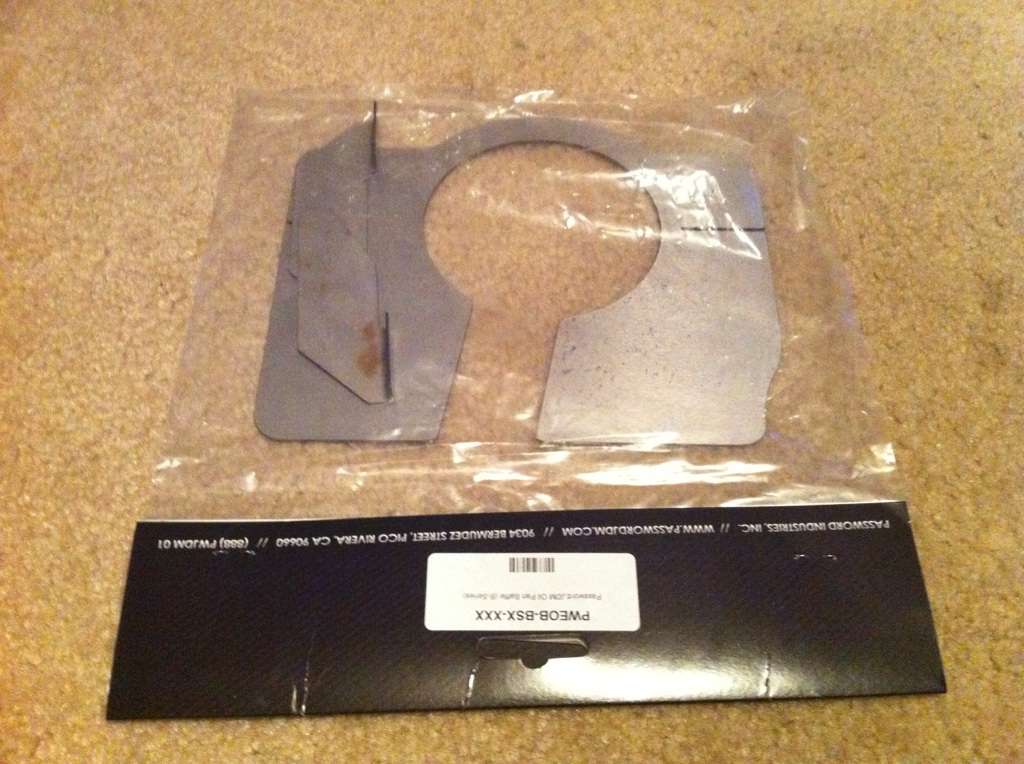
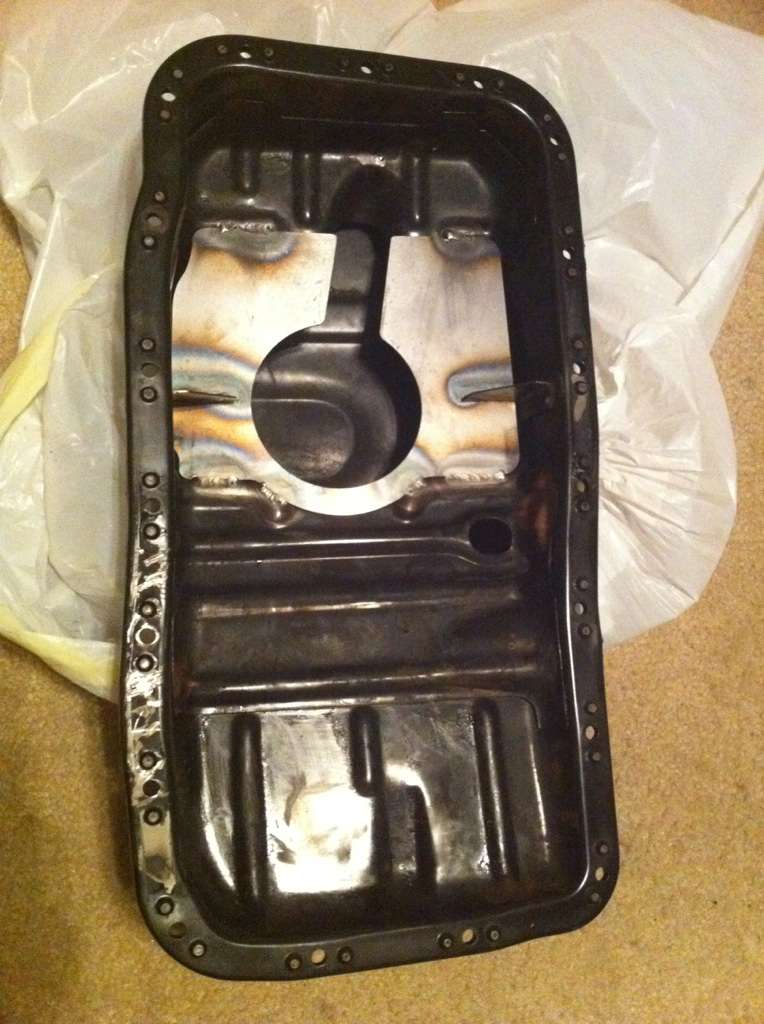
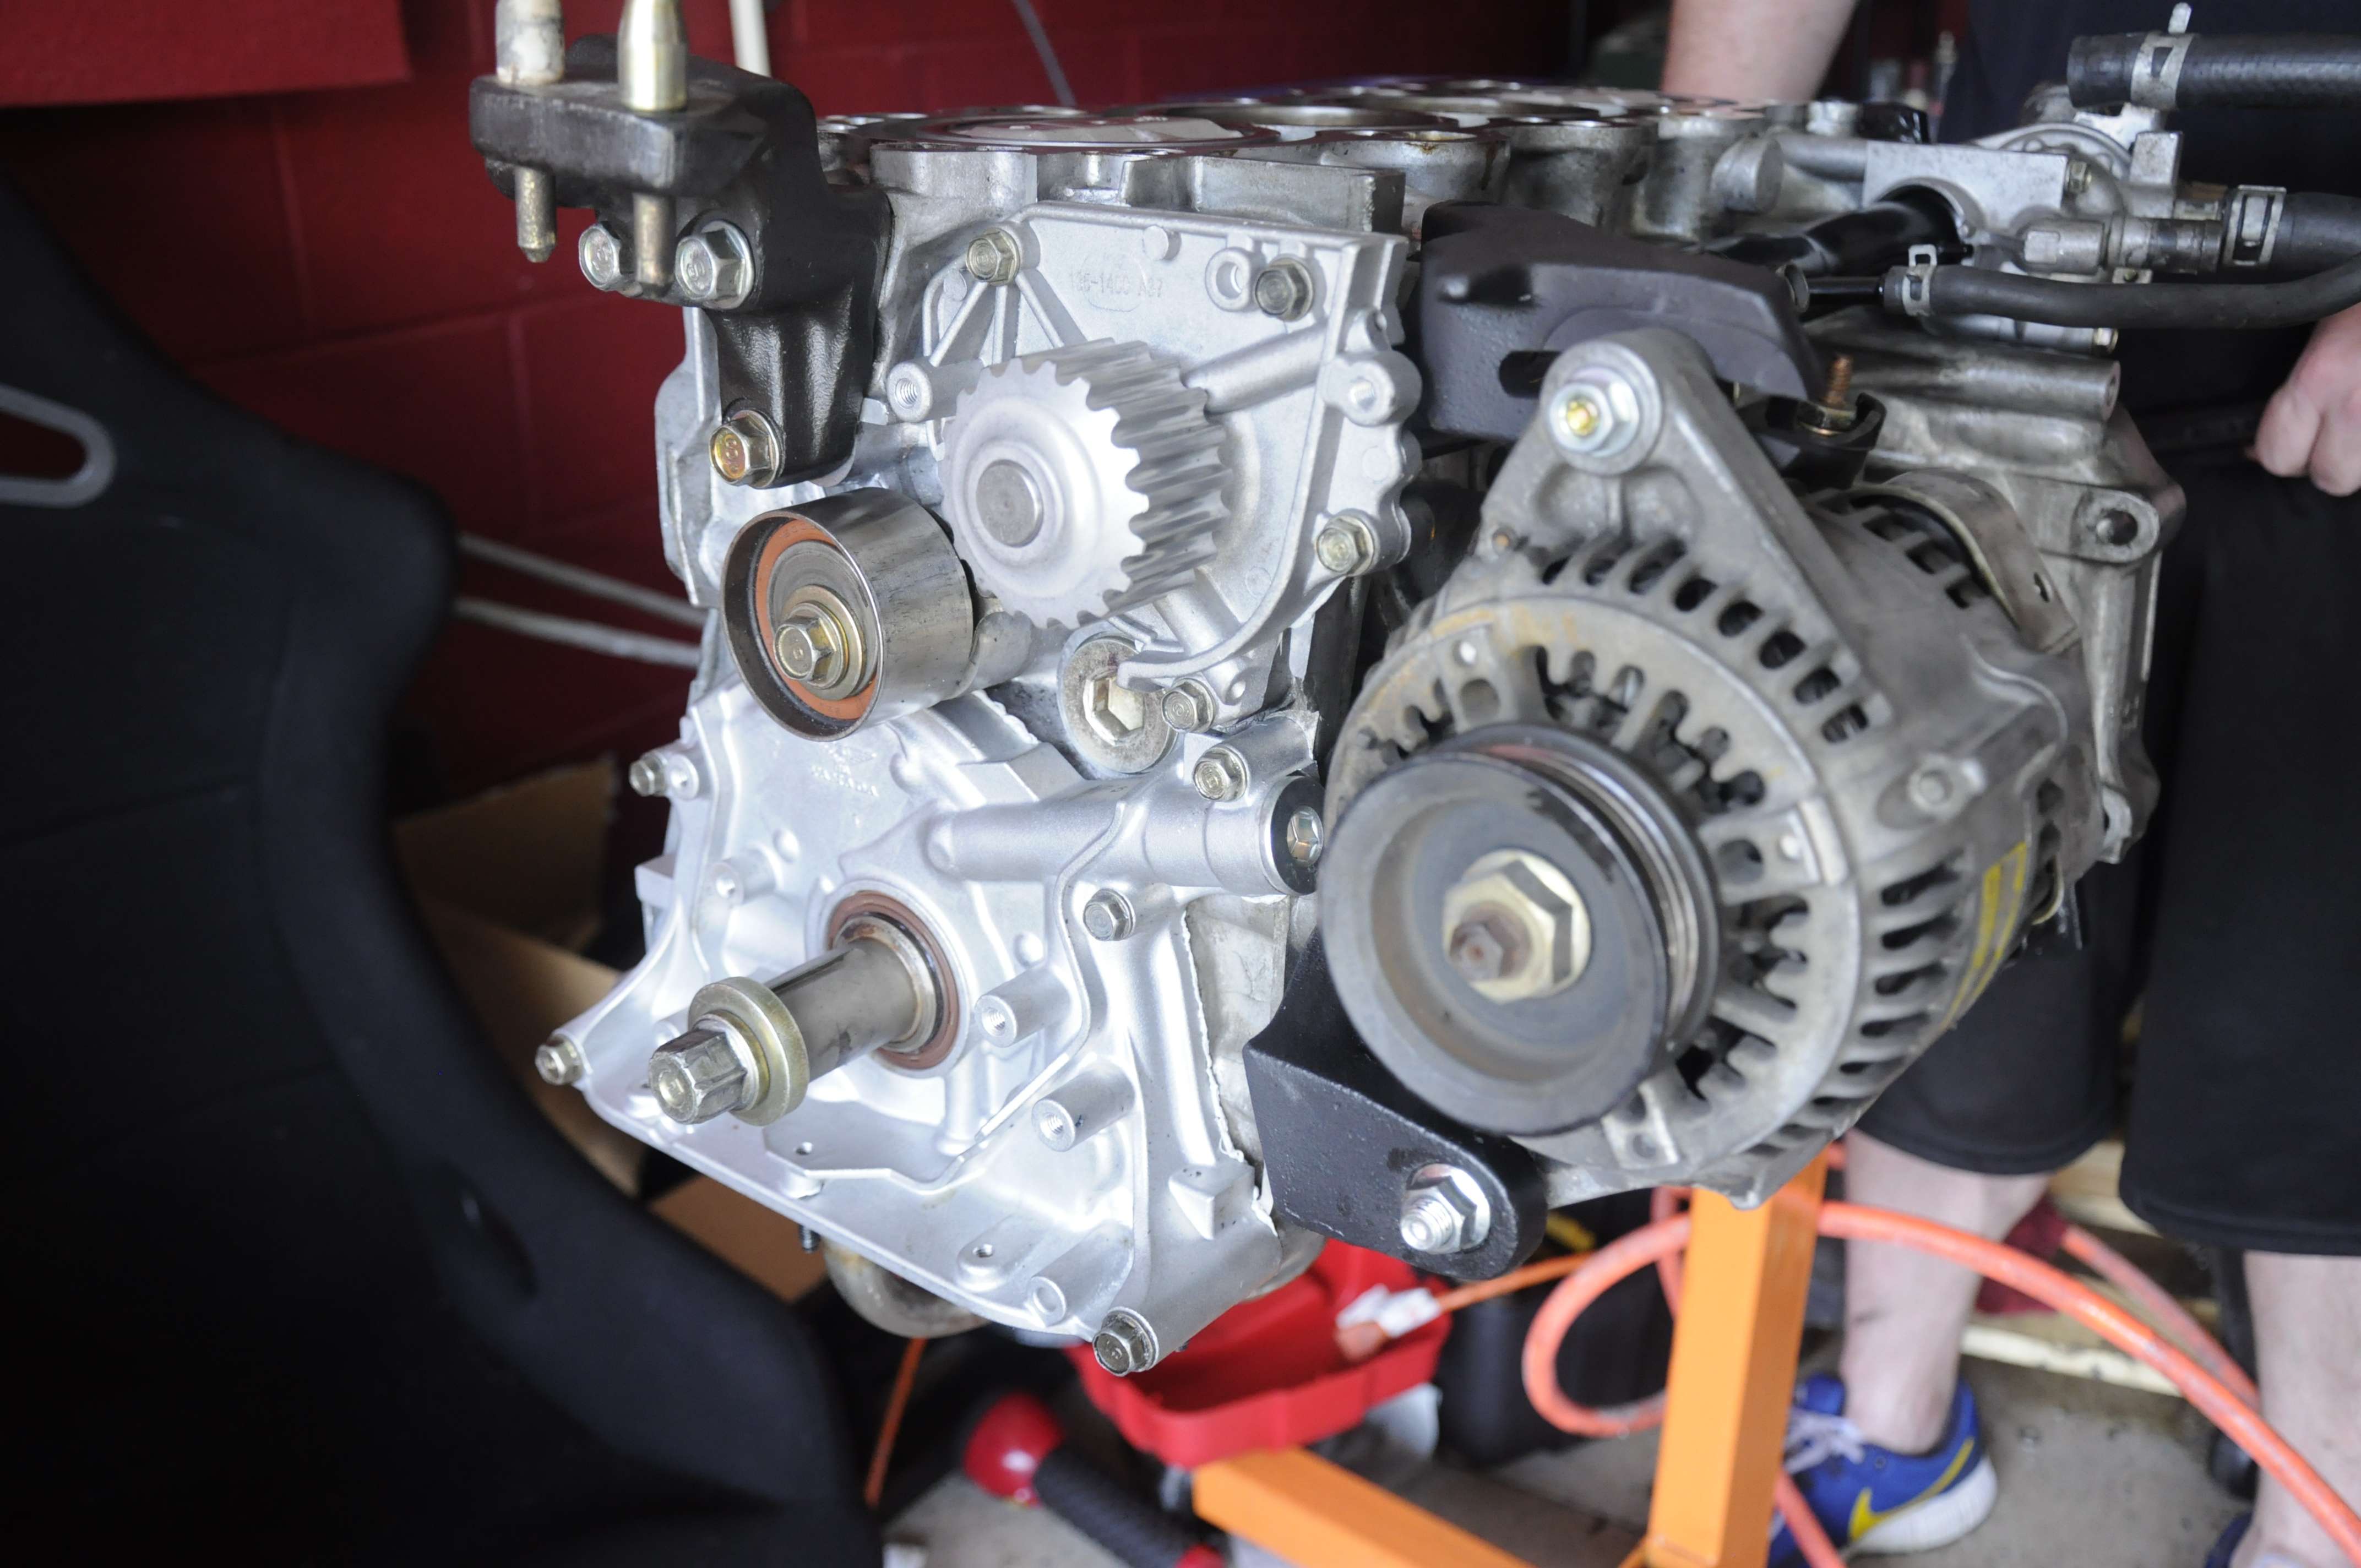
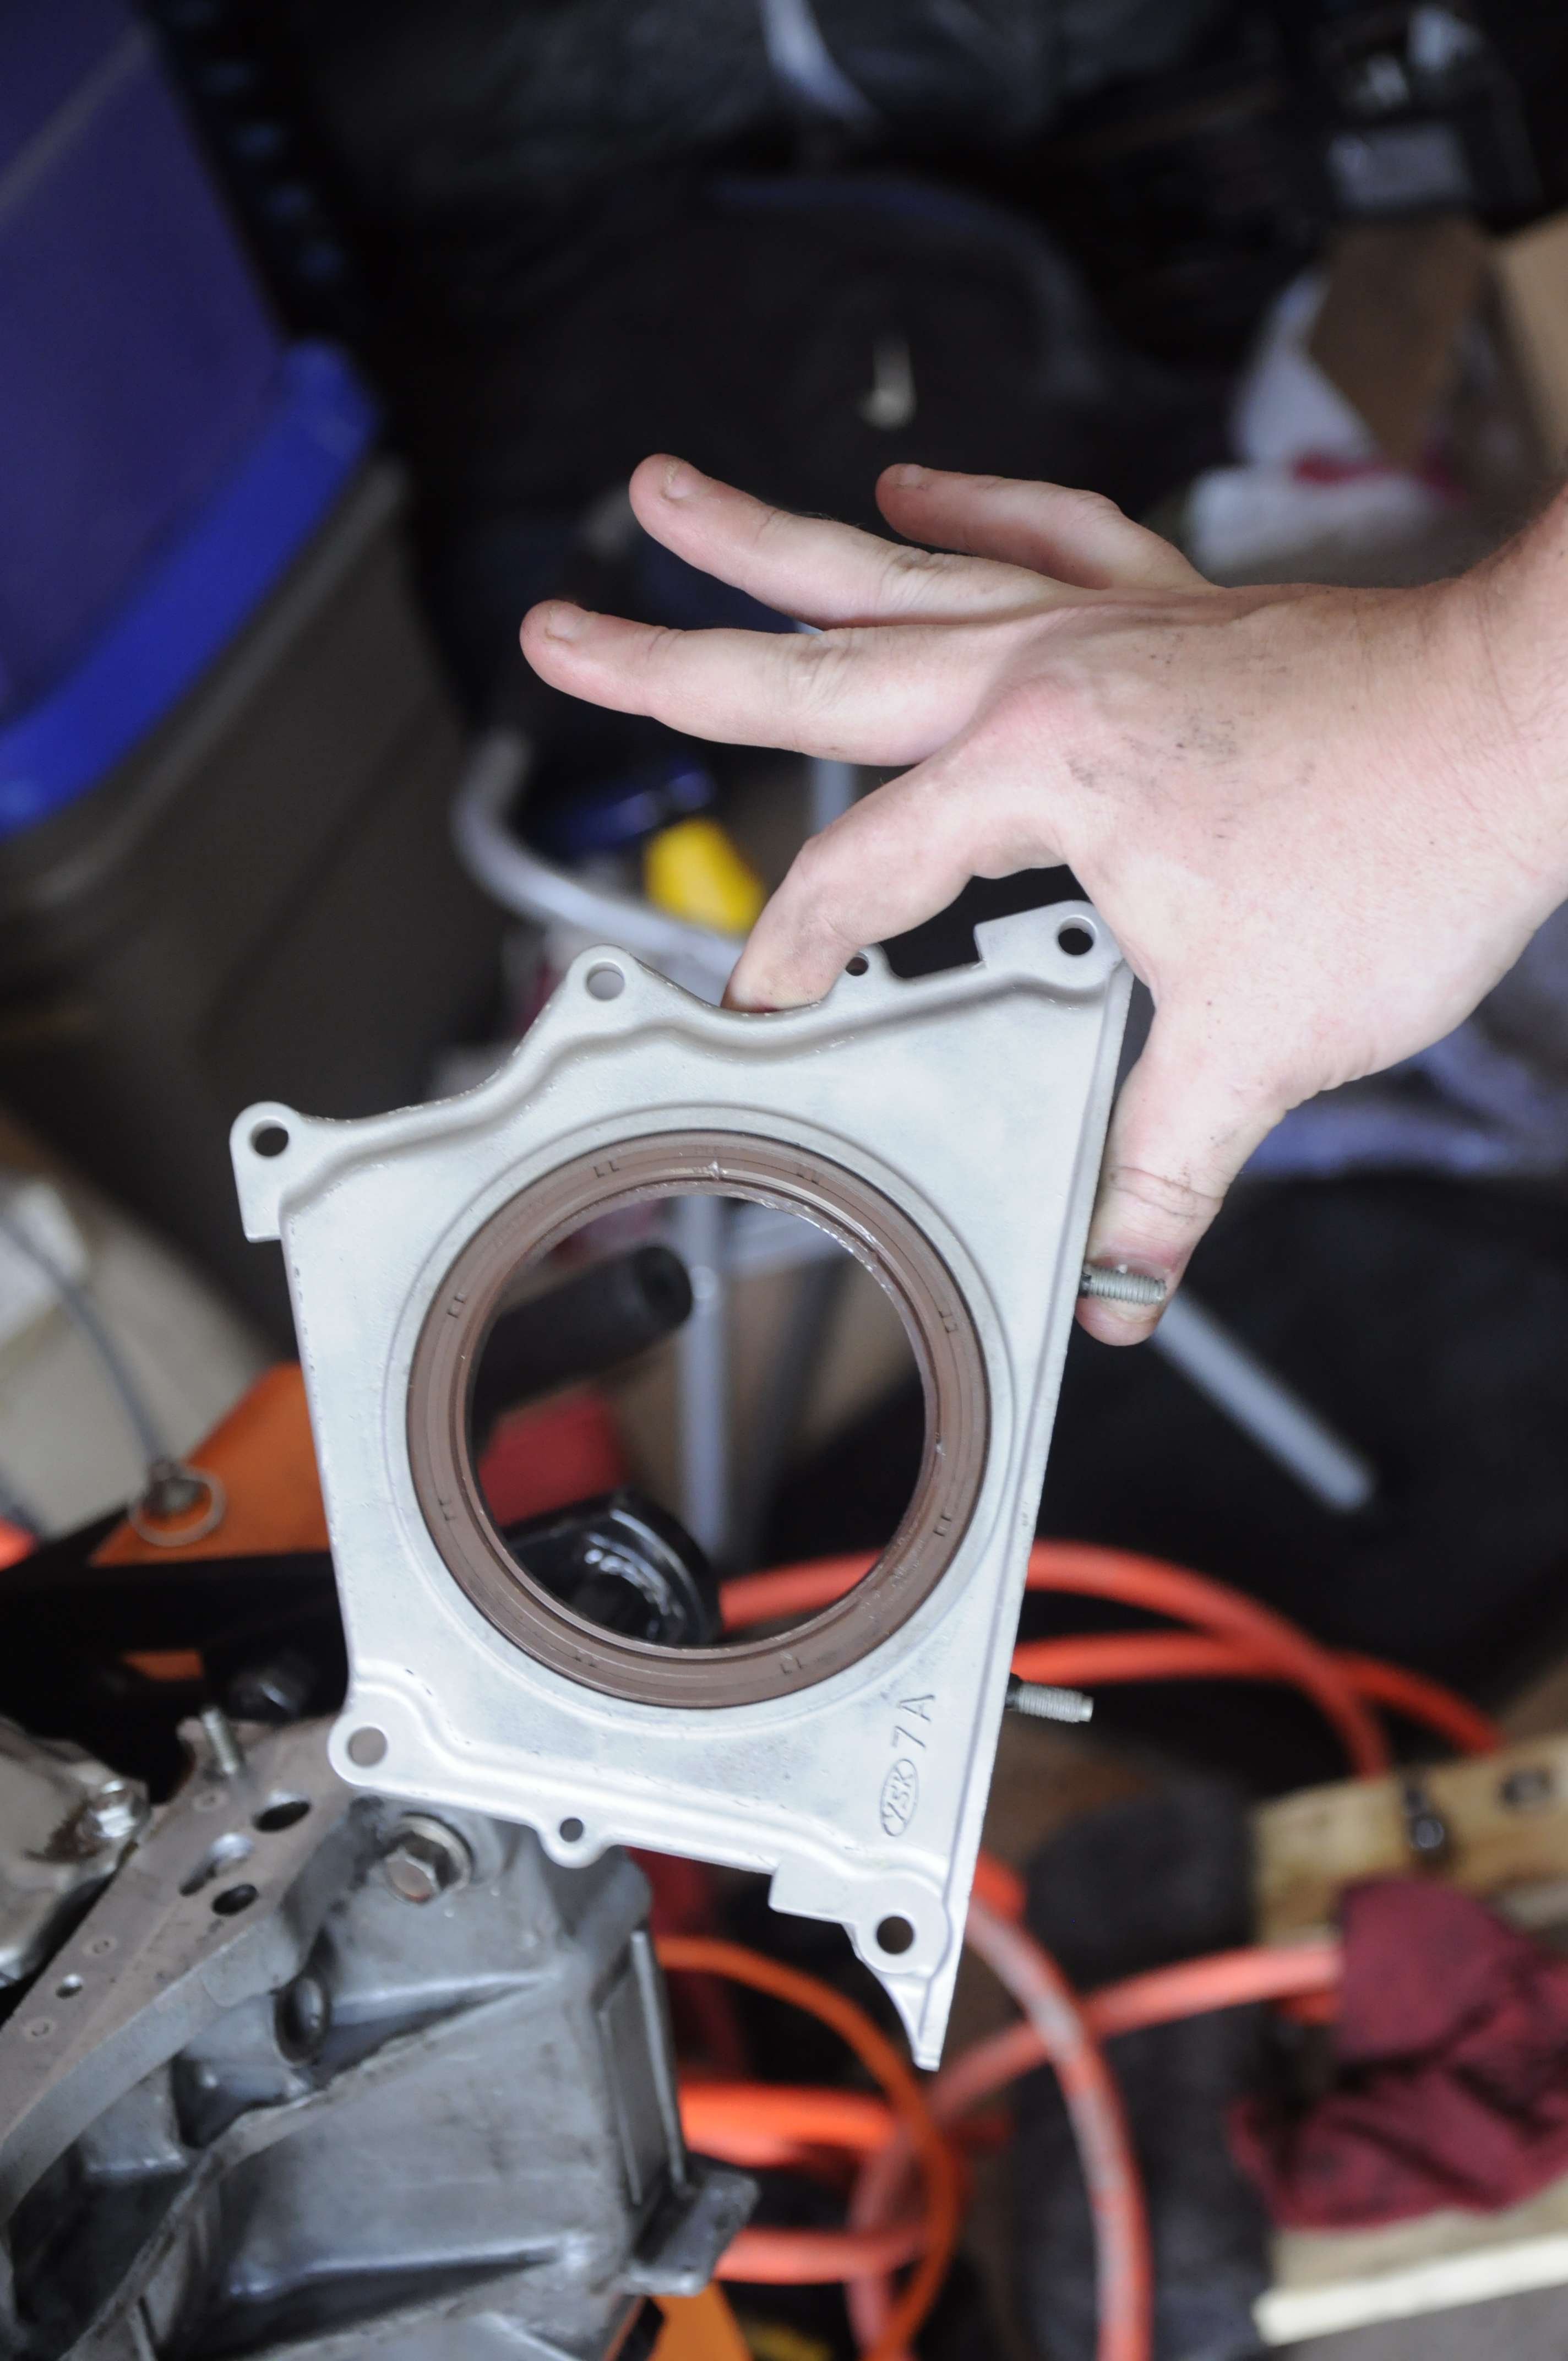
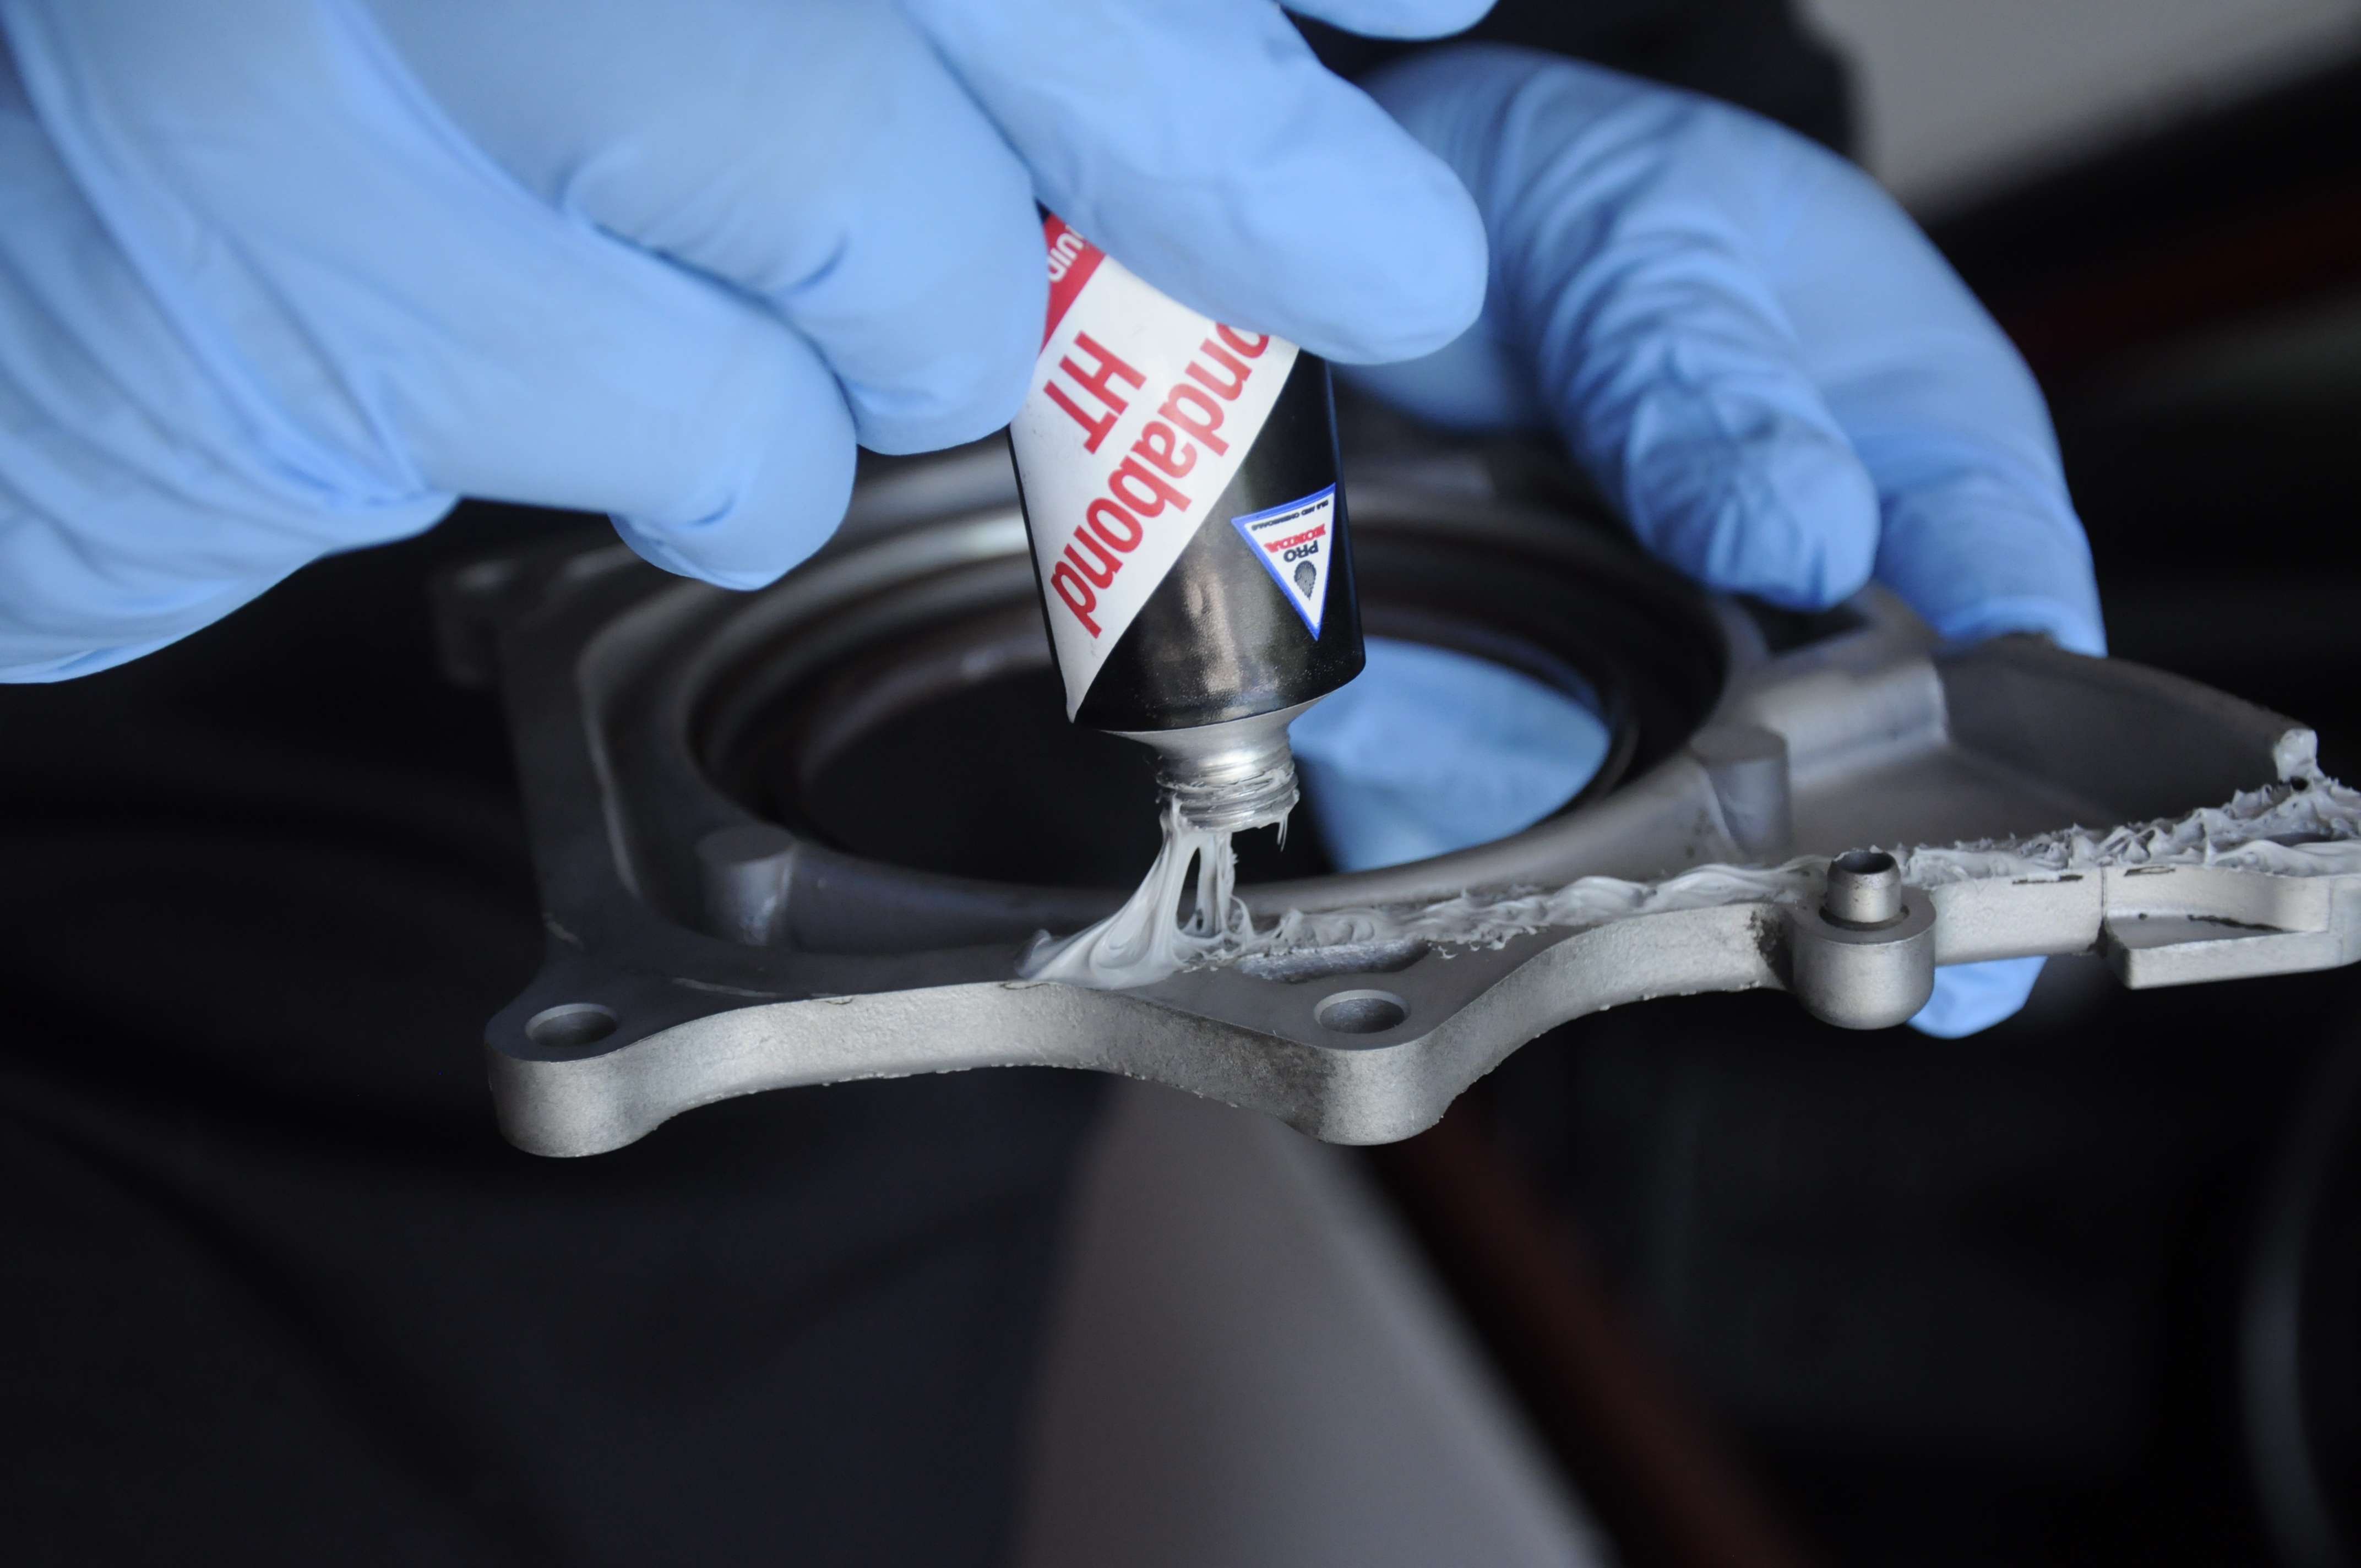
Oem honda gaskets, nuts and bolts. I also bought a brand new ob2 ls/gsr oil pump

Image

Crappy iphone pics.
Schroth profi 2 6 point

Image

Sparco tide gloves

Image

Trip back from Honda, I also picked up some plasti gauge because I dont know if its the permatex pre lube or what but I can barely turn the motor over without a lot of force. I had to get new rings because I frigging broke a ring during the install.

Image


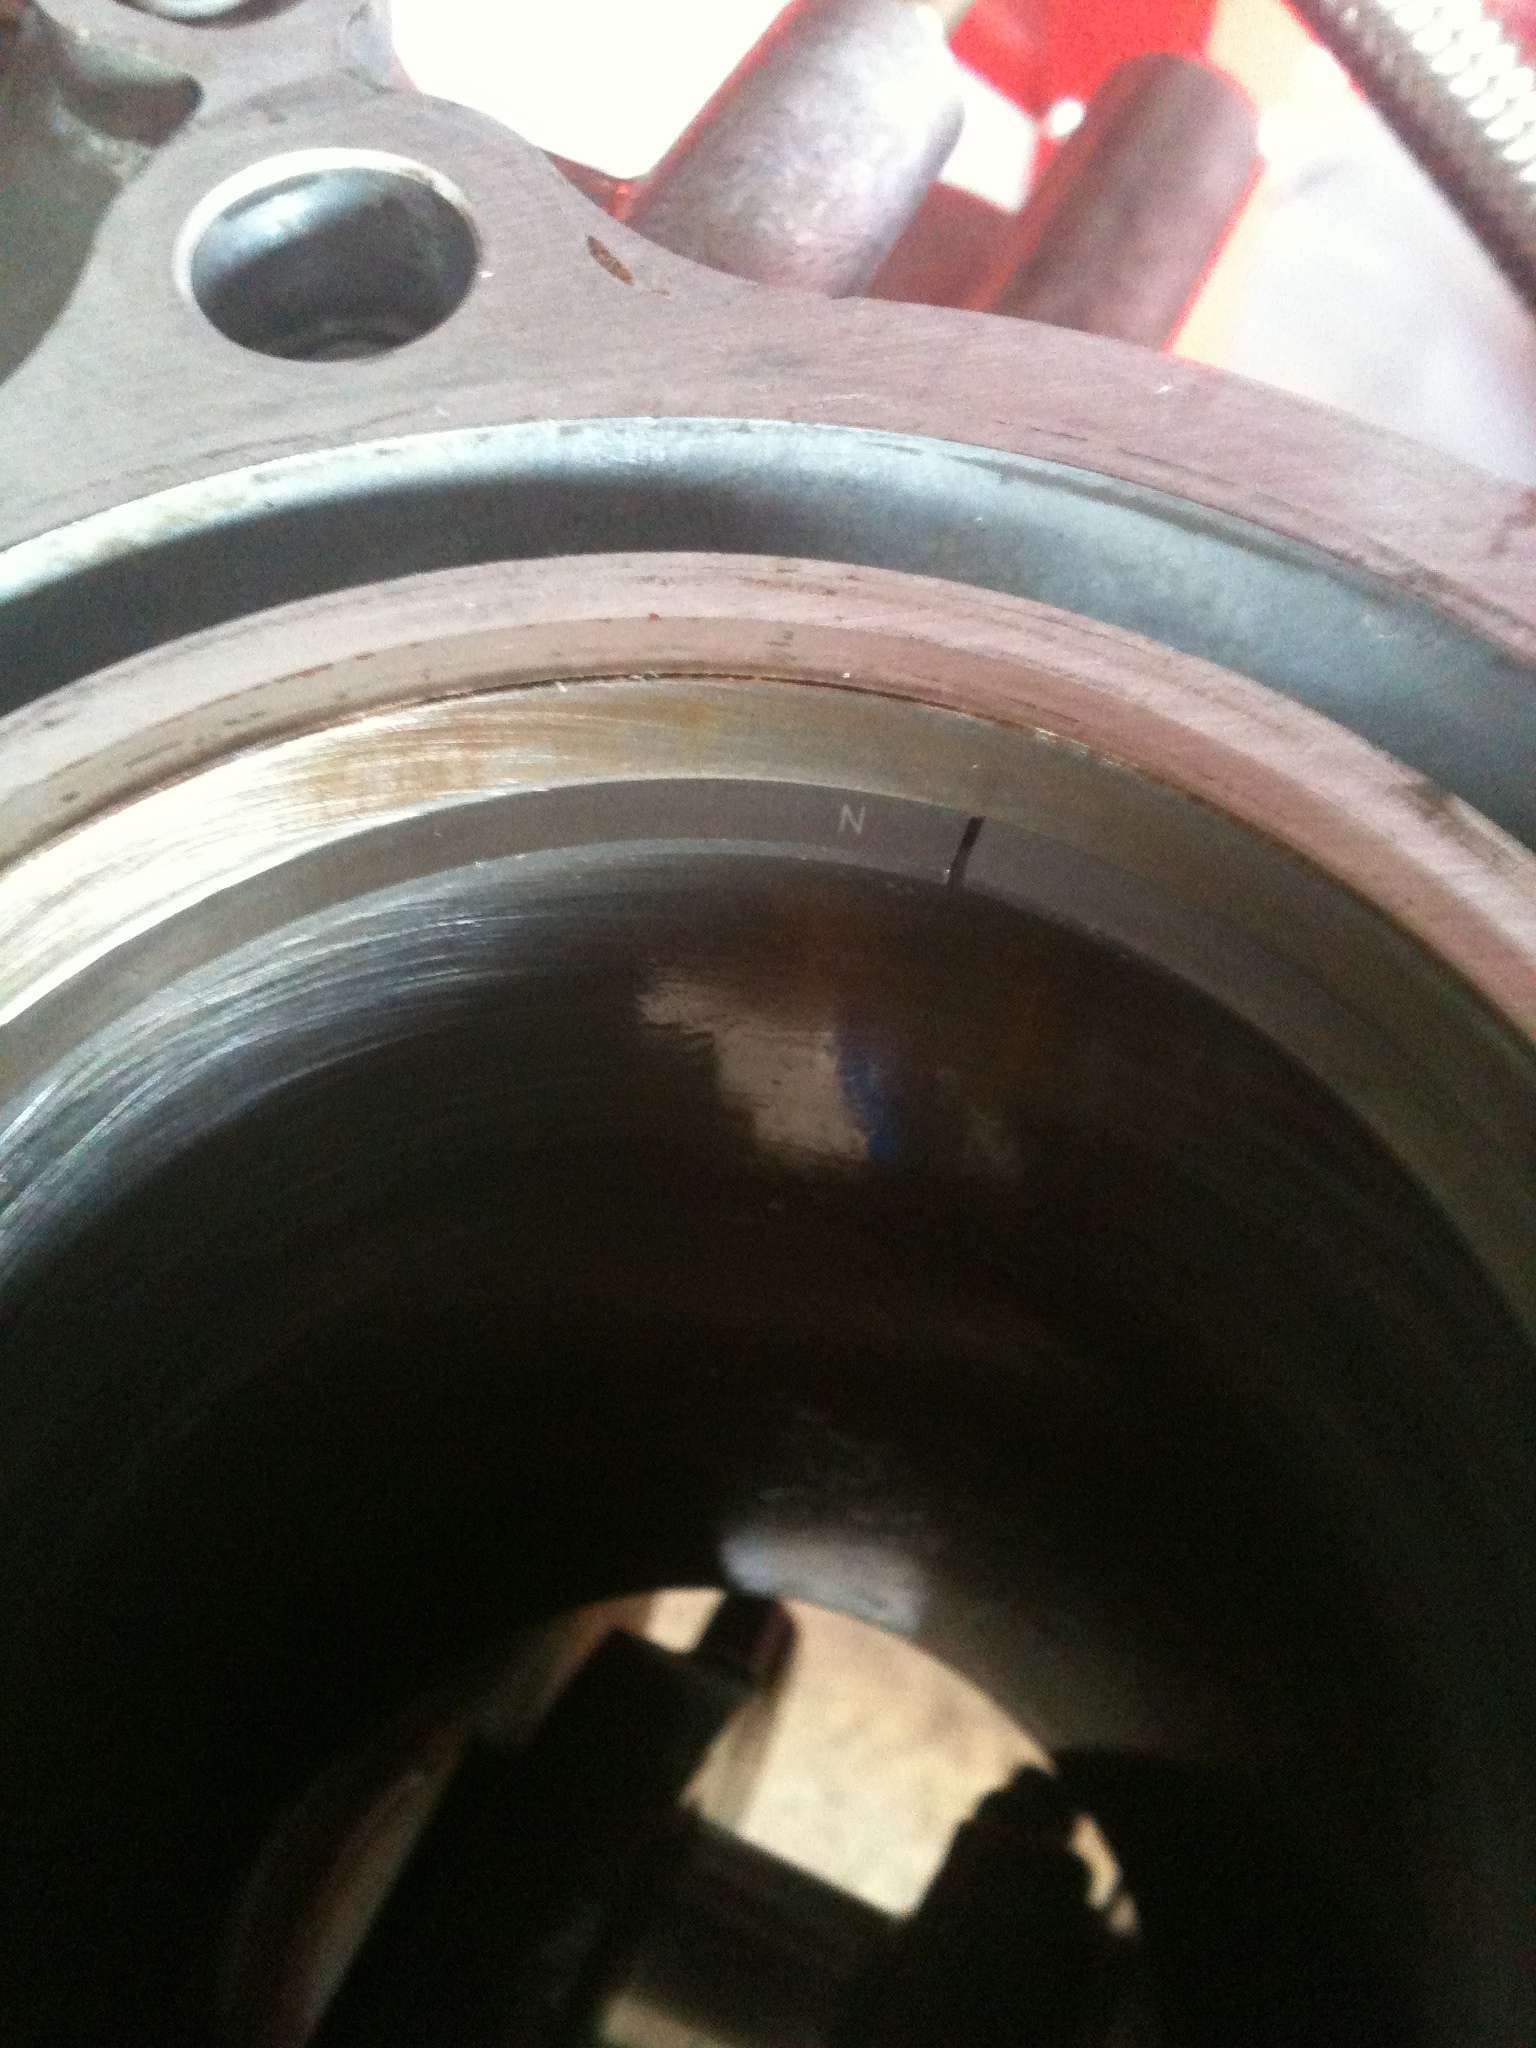
I gave the cylinders a light honing because they looked pretty good already.


Image

Measuring ring end gap which is right in between Hondas new ring limits of .20 -.35 these are .25


I will add some more stuff shortly.
Last edited by known on Mon Dec 26, 2011 8:32 pm, edited 2 times in total.
By known
#287116 Image

ARP main studs and rod bolts. Interesting thing with the torque specs from ARP...oem is 56 ft lbs and they said 80 ft lbs for the studs. This ended up having the clearances way too tight to the point of binding. So I plasti gauged it and 56 ft lbs was perfect and just slightly loose on the tolerance. This is a race motor after all and not meant to last 100k miles.

Image

I used Hondas OEM clocking specs for the most part. I moved one of the ring gaps to the other side of each piston to have a little less oil creep.

Image

I spray the cylinder bores with wd-40 to help the install go smooth.

Image

Tapping pistons into the bore. Be carefull and hold the ring compressor steady so you dont break any rings like I did!

Image

Image

Image

Image

Image
By known
#287152 I soaked the head over night in a simple green mix with water. I then blasted with with water as much as possible to remove any debris in the passages.


I then used compressed air to dry and blast out any other debris.


Now for the installation of the valves, valve springs, and retainers.


Brian Crower Titanium retainers

Image

Viton valve seals

Image


Lisle valve spring remover/installer Brian Crower dual valve springs

Image

Starting the install

Image

Image


Brian Crower is in the head

Image
Last edited by known on Tue Dec 27, 2011 4:47 pm, edited 1 time in total.
User avatar
By rootbeer_eg
#287154 subscribed
i want to rebuild an ls motor just to stock and this should help
By known
#287155 Cool, I have done several engine builds so if you have any specific questions as I go let me know.

This motor was probably the easiest to put back together.

I should have some more things to post shortly.
By known
#287200 Oil cooler, cheap ebay kit that I ended up having to replace certain pieces of.

Image

I dont want to have another spun bearing or any issues on the track so I decided to add an oil cooler. If I see any issues with this setup I will remove it and buy higher quality components for some of it but I think for now this will be fine. The items look just as good as any I have seen. $150 total is a deal for a setup like this.

I will be running my aluminum radiator as well so I dont think I will have any heat issues.


A good point to add the build specs:

OEM ITR transmission I have had for years that I bought brand new from Acura
B18B
Hytech replica header
Blox velocity stack on an intake I made out of ss
PR3 B16 RS Machines pistons
Stock Valves
Brian Crower dual valve springs
Brian Crower Titanium retainers
Brian Crower Stage 2 cams....this is where I think I will surprise people in the class. The cam lift is limited to.425 which means basically for a GSR or B16 motor you are capped out with stock camshafts unless you want to get a set of cams and have them ground down to .425 to pick up like .003 lift or something like that.

The type r motor/s2000 motor is banned from running in the class along with the Celica GTS motor.

The breathing of the motor will be my weak spot, stock intake manifold and throttle bodies. The head can be match ported an inch but Im not spending the money or doing that myself right now. Im not trying to win nationals or anything but would like to be competitive.

Suspension:

Progress coilovers 500/800 and 800/1100
Skunk2 front and rear camber kits
blox rear toe kit
es bushings already installed
beaks kit with jdm 23 mm itr rear sway bar....when or if I have some extra funds this will be changed to an ASR frame support with at least a 26mm or maybe the 32mm hollow rear bar they offer.
21 mm front sway bar from suspension techniques
newer style oem rear trailing arm bushing....likely switch to a spherical if allowed (havent checked rules yet)

Interior:

Racetech 1000 seat
schroth profi 2 6 point
aem wideband
oil, water temp, oil psi
JDM white rpm in my USDM cluster...I like it
10 point DOM cage for SCCA rules
Traqmate and Traqdash


Trying to get the interior cleaned out a bit more

Image

Oil pan baffle kit - pwjdm

Image

Welded in, be careful doing this so you dont warp the pan by getting too much heat on it. Take your time.

Image
By known
#287203 More engine work.

Image

Image

Image

Rear main seal

Image

Image

Image

Image

Image

Image

This was the last time the car was running before I completed this new build. Time attack at Sebring in 09.

Image
By known
#287204 New thermostat

Image

I bead blasted the coolant neck

Image

I always use copper spray gasket for all of my builds.

Image

Head dropped on

Image


Bolted down using arp studs.

Image

I just picked these up to go with my AEM wideband. My wife took these with her nice camera for me instead of using my iphone.

Image

Image


Nice fittings from AEM for the oil psi and oil temp gauges mounted in my remote oil filter thingy.

Image

SCCA Club racing stuff and a few race car parts like the power cutoff, nomex thread to alter my suit, and other required items.

Image

Image[/img]
Last edited by known on Tue Dec 27, 2011 5:41 pm, edited 1 time in total.
By known
#287206 Brian Crower stage 2 na cams

Image

Permatex pre lube before putting in the rockers

Image


Rocker arms in...the b18b is new to me so these are interesting in comparison to the vtec system.

Image

Image

Cams in

Image


Cam cap bolts...tricky lol shortys go on the outer most sides while deeper are in the center.

Image

Cam caps installed and honda bond around cam areas

Image
User avatar
By andyc
#287211 great build, when do you think it will be finished?
User avatar
By andyc
#287212 im also going to move this to the correct area for you mate :thumb:
By known
#287213 Thanks!

Its pretty much completed, I have SCCA drivers school in Feb so Im trying to finish up some things.

Im trying to post everything while I have time throughout the day.

EDIT: Crap sorry, I thought this was the right area!
User avatar
By andyc
#287216 no problem mate :thumb:

keep us updated :D
By known
#287221 Thanks again.


bead blasted the stock intake manifold

Image


Starting the valve adjustment .008 intake and .010 exhaust for these cams. Timing belt is on and the motor is pretty much perfect for timing. Im going with NGK platinum cheapo plugs with a heat range of 1 cooler at 6 for this motor due to the higher compression. I hope that works out. I basically will be going with a gsr/itr plug and stock gapping which is just a little ****** than the b18b normally.

So my nice valve adjustment tool is for a 10mm nut and the B18B has a 12mm nut so fail boat there. I went with the typical slave labor adjusting.

Image

Image


All buttoned up. I left the valve cover the same way I got it used so it doesnt look great but at this point I dont care, I can paint it later.

Image

Image


So I just need to get it off the stand now, if I cant get some help I might just lift it myself.

I need to get a smaller alternator belt, I want it as short as possible for less work albeit little for the motor. I currently have a 30.5 inch so Im going to go with a 29.5 and see if that has it almost as short as possible.

I was looking on Brian Crower today and it looks like the dyno for these cams with stock compression made a little over 150whp and 125 trq so if all goes well maybe I will be a little above that.

Their dyno chart they showed with mods aem cai intake, msd ignition, zero'd out cam gears, 4-2-1 header.

Image

Gasket muffler lol, this was gving me issues. I ordered a bunch of extra crush washers just in case too.

Image


MSD 6A digital ignition that came out recently, much cleaner and has a small profile. MSD blaster sc, MSD wires and cap.

Honda ignition is great but I would rather not have it go out on me at the track which I have seen happen often with some of my fellow scca club guys. Im starting it without this installed just to get it running. I also have the ever so important back-up igniter as well and transfered almost everything over internally from my gsr distributor.

Image


Firing it up for the first time.

http://www.youtube.com/watch?v=DT8aKDOi ... r_embedded


Slowly I acquired everything needed.

AMB transponder

Image

Cool suit for when its hot.

Image

Sparco cup suit, used.

Image

I needed a new Helmet so I got an HJC - AR10 II sn2010

Image
By known
#287225 One little snag I had is finally corrected. I was trying to find an exact replacement for my oil block off adapter for my ebay oil cooler setup after I had a friend tap it and destroy it for me.

Image

I got this setup from pegasus racing with fittings for $30 because I couldnt find just that piece. I could have run it like this but it is a critical thing to not have properly hooked up and have potential oil leaks causing me to crash or have someone behind me crash.

I wasnt going to risk it over $30.


You can see how jacked the adapter on the right is from a shitty tapping job. I didnt have a drill press and he did and apparently didnt give a shit. I can now finally hook up the oil cooler and check oil psi and oil temp to check and see what weight oil im going to run to try and maintain about 10 psi per 1000 rpms.


I bought a bunch of wire and other cool parts from skycraft which has everything you could ever want....wiring, switches, hoses etc. I also got my pegasus order in

Image


ignition switch, push start, low oil psi sensor with red dummy light, fittings 1/8bsp to 1/8npt for the block, 1/8 tee, braided line, additional oil psi gauge. I also bought about 16 feet of 4g wire as well as 8g wire.


I will try to get some more pics, I drove the car today with it running right and it really rips hard.

Oil psi was at around 50 at 1500 rpms with a temp of about 190. Seemed better from what I was getting the other day.