- Mon Nov 14, 2011 5:46 pm
#281443
Well time to start my own little build thread......
To start off my names cory and I have owned and worked on quite a few hondas in my day. First one I ever had I was 17 and it was an ek sedan and that's when I was bit by the tuning bug! Lol. Anyway had that for awile and sold it, then I went threw this vw phase.....yeah I know! Haha! After I figured out that vw's were a pain in my a** I sold the jetta and gti I had to get another honda! It was a 92 eg hatch pretty much like the one I have now. Anyway I had to move and I wouldn't have a place to store it and work on it cuz at that time I had another dd so I had to sell it . So now a couple years later I found a 95 hatch and iv owned it now for a month!

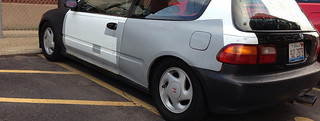
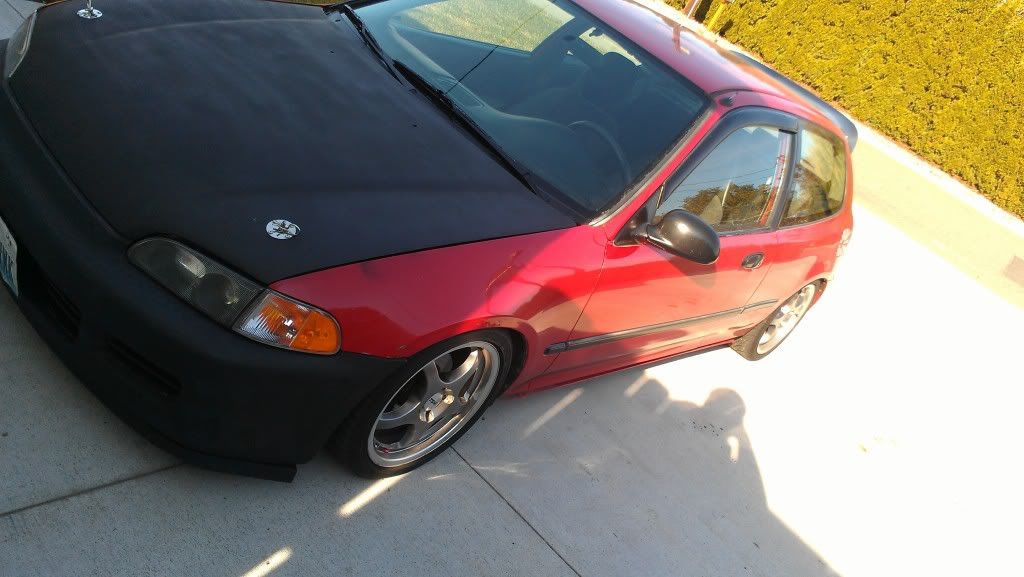
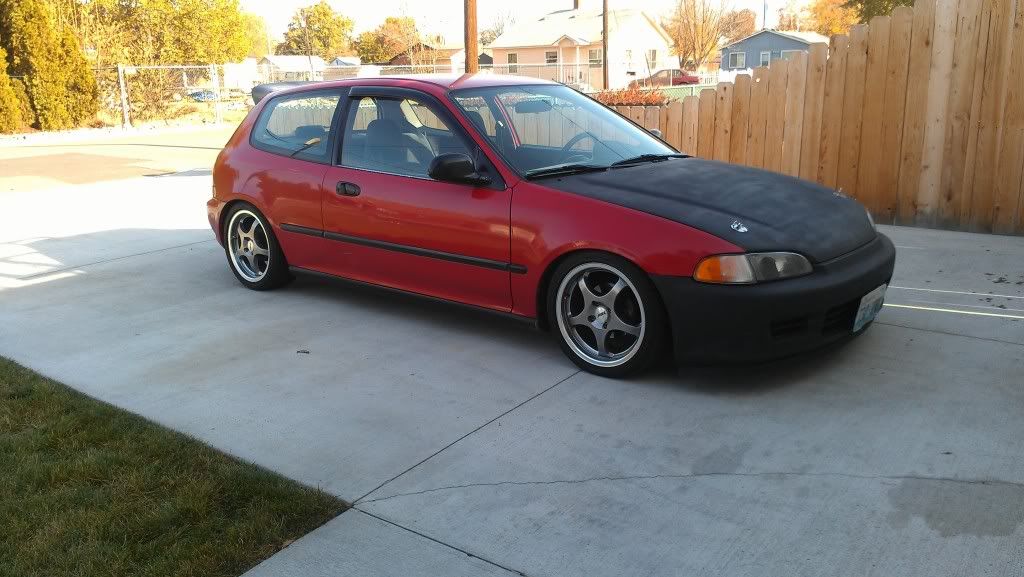
That basicly how I bought it!
It has a spoon carbon duckbill
16inch tsw
Dropped on some no name coils
Kyb shocks
Lots of dents! Lol
And a fiberglass hood that has seen better days!
Denji projetor headlights
As for the inside, its acualy really clean!
Is all stock mostly
Cd player and some speakers is all that was added
I also put in keyless entry and a alarm
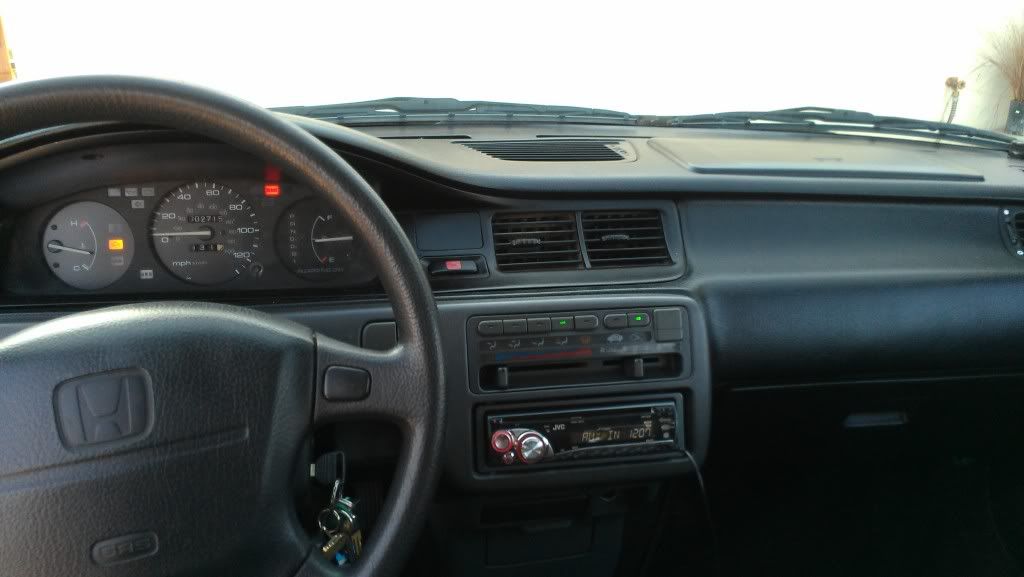
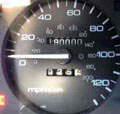
That's the only pic I have of the iside right now but ill take more soon! Check eng lite! Yeah!
Under the hood is a simple basicly stock d16z6 she's gettin kinda tired and makin some noise though.
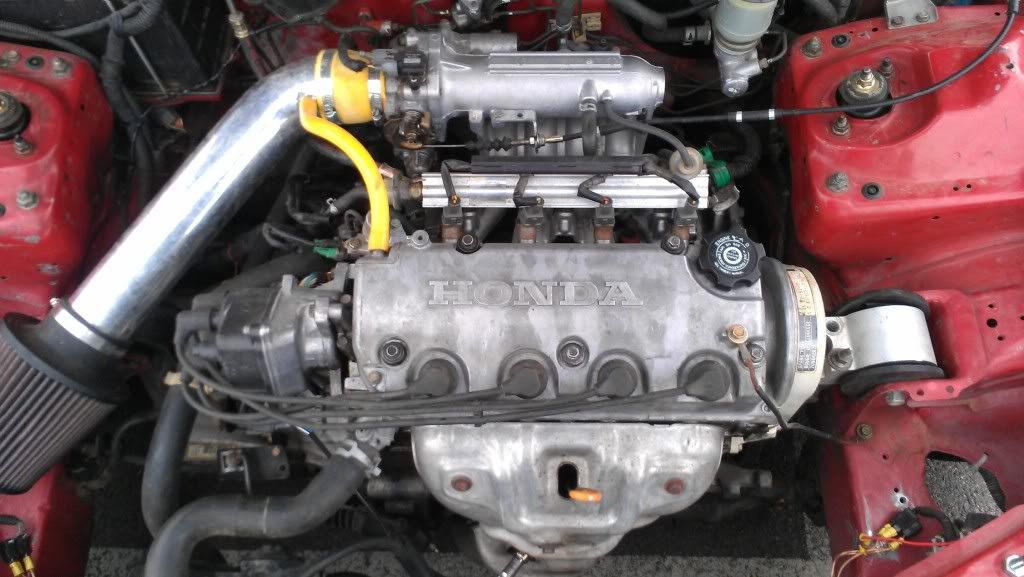
I just put a new o2 sencer in and a new valve cover gasket!
Furure plans:
New fenders
Get the dents out
New driver door
Carbon hood and trunk
New suspention
Fresh paint
Eather a motor rebuild or swap
Anyway, ill definatly add more as I go. It will be a kinda slow build but ill get there! Lol
Hope you guys like it and thanks for checking it out!
To start off my names cory and I have owned and worked on quite a few hondas in my day. First one I ever had I was 17 and it was an ek sedan and that's when I was bit by the tuning bug! Lol. Anyway had that for awile and sold it, then I went threw this vw phase.....yeah I know! Haha! After I figured out that vw's were a pain in my a** I sold the jetta and gti I had to get another honda! It was a 92 eg hatch pretty much like the one I have now. Anyway I had to move and I wouldn't have a place to store it and work on it cuz at that time I had another dd so I had to sell it
. So now a couple years later I found a 95 hatch and iv owned it now for a month!
That basicly how I bought it!
It has a spoon carbon duckbill
16inch tsw
Dropped on some no name coils
Kyb shocks
Lots of dents! Lol
And a fiberglass hood that has seen better days!
Denji projetor headlights
As for the inside, its acualy really clean!
Is all stock mostly
Cd player and some speakers is all that was added
I also put in keyless entry and a alarm
That's the only pic I have of the iside right now but ill take more soon! Check eng lite! Yeah!
Under the hood is a simple basicly stock d16z6 she's gettin kinda tired and makin some noise though.
I just put a new o2 sencer in and a new valve cover gasket!
Furure plans:
New fenders
Get the dents out
New driver door
Carbon hood and trunk
New suspention
Fresh paint
Eather a motor rebuild or swap
Anyway, ill definatly add more as I go. It will be a kinda slow build but ill get there! Lol
Hope you guys like it and thanks for checking it out!
Last edited by egbeegee on Sun Dec 04, 2011 10:14 pm, edited 2 times in total.
95 civic hatch z6 single slammer!