- Thu Mar 26, 2009 11:48 pm
#105999
Hey guys!! It’s been a little since the last time I posted anything. Right now I’m in the process of painting my hatch (finally!!!:woot:  ) and since the interior it’s stripped and all, I decide to do a little DIY on the banged up interiors. After 16 years of abuse and neglect the interior (if not the whole car look like caca) will most likely have scratches, discolored plastics and will be just plain ugly. So what can you do?? You can either:
-Buy new plastics = expensive
-Or paint yours = cheap (but in a good way if you use good technique and products) = good
I choose the second route because it’s impossible to buy things like that from local Honda dealers, and buying online means finding kickass prices just to be raped on shipping, so apainting we go!!!
**Disclaimer: The paint will get you HIGH AS A MOFO!!! If you inhale the toxic fumes so do it on an open space if you love your neurons. And always remember to dispose of used painting cans and other chemicals accordingly**
On to the DIY…
Materials:
-Scotch-Brite Light Duty Cleansing Pad 7445 (no picture)
-some degreaser
-wax and grease remover
-shop towels
-painter’s tape
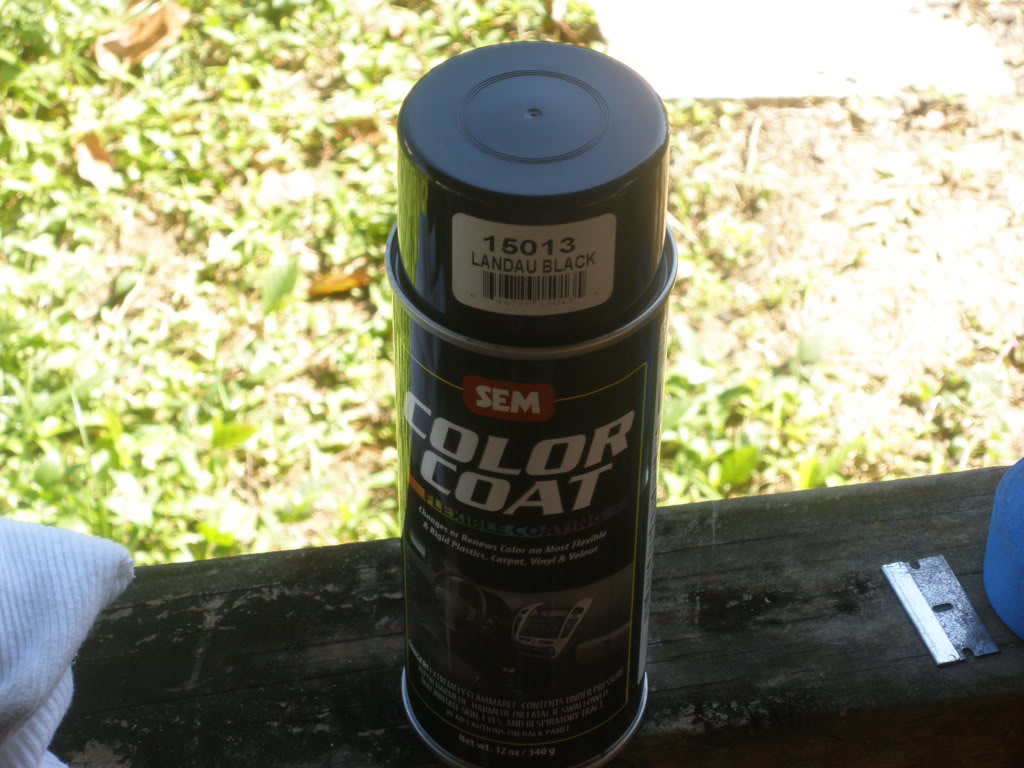
-SEM vinyl paint (15013Landau Black) I chose this because it's satin like not glossy
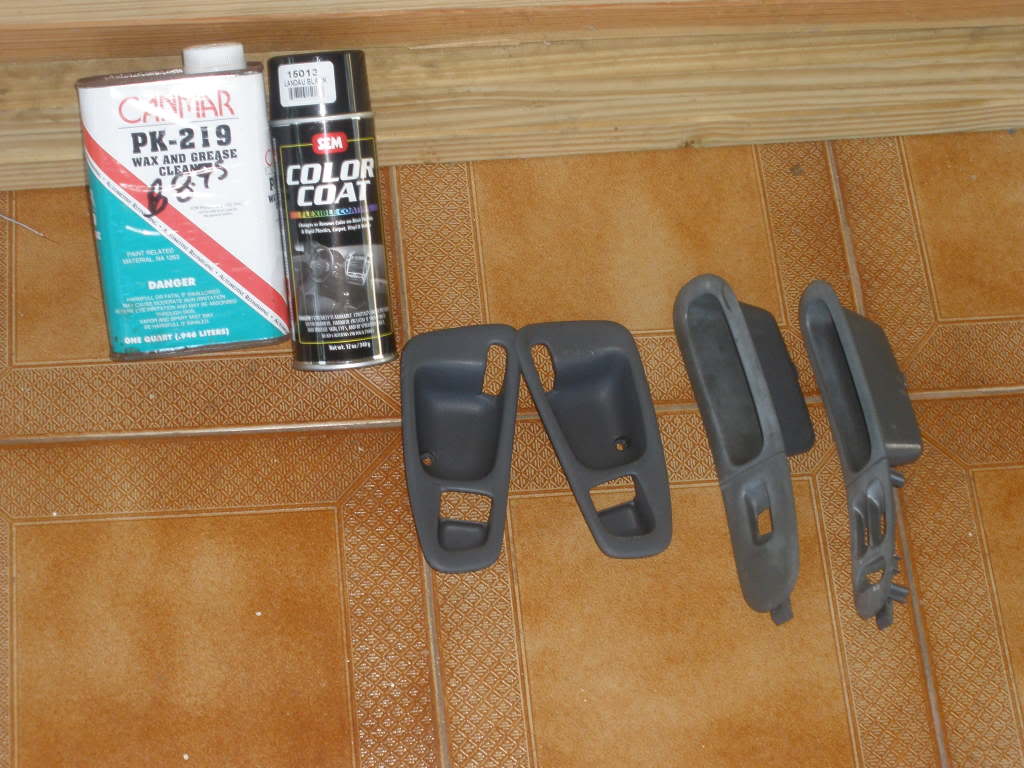
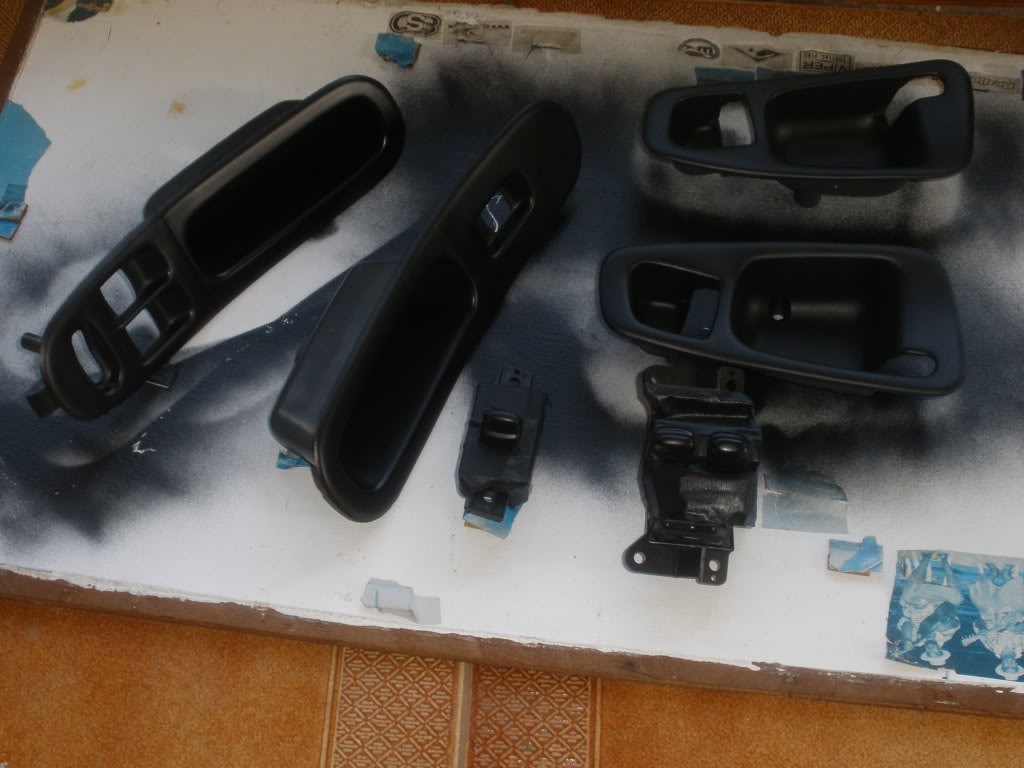
>First start by removing the plastics and prepping them for paint. (Assuming y'all know how to remove the interior pieces)
>Spray the pieces with the degreaser and wipe with the shop towel until it’s clean of all grime and crud.
>Give the pieces a little scuff with the scotch brite to remove the crap that didn’t come off with the shop towel.
>Now for the next step give another run with a little degreaser and the towel. Then wipe all of the area to be painted with the wax and grease remover. This is the most important step fail to do it and there’s a chance of paint peeling later.
>Tape everything you don’t want paint to get to.

As you can see on the left I already put 2 thin coats.

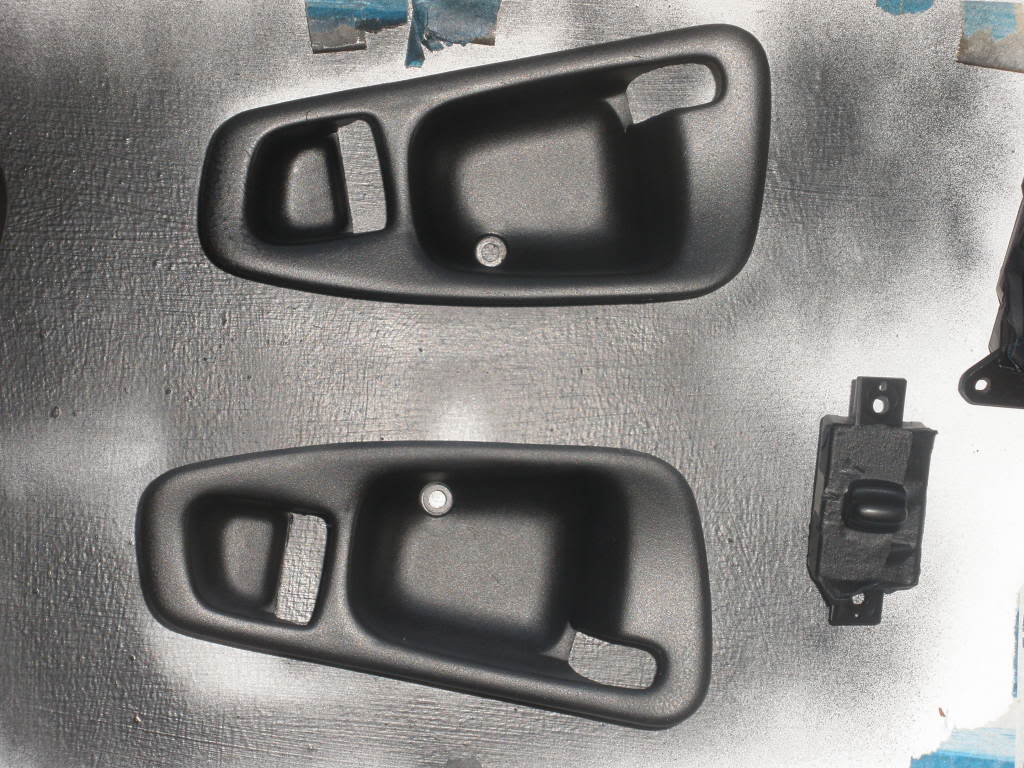
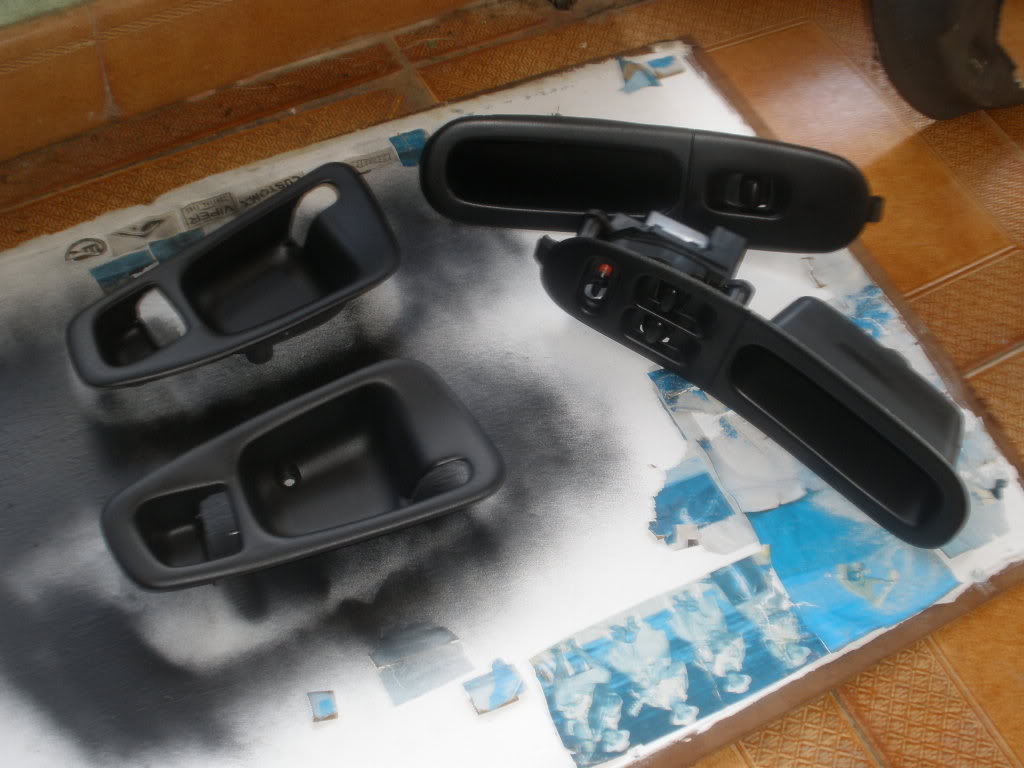
Done 5 coats total. took picture while still wet that's why is so shinny.
>Start painting, light coats and as many as needed. If you’re using SEM you’ll start to see little dots in the plastic with each coat, this is because it’s not really a paint it’s a tint and the plastic is absorbing it.
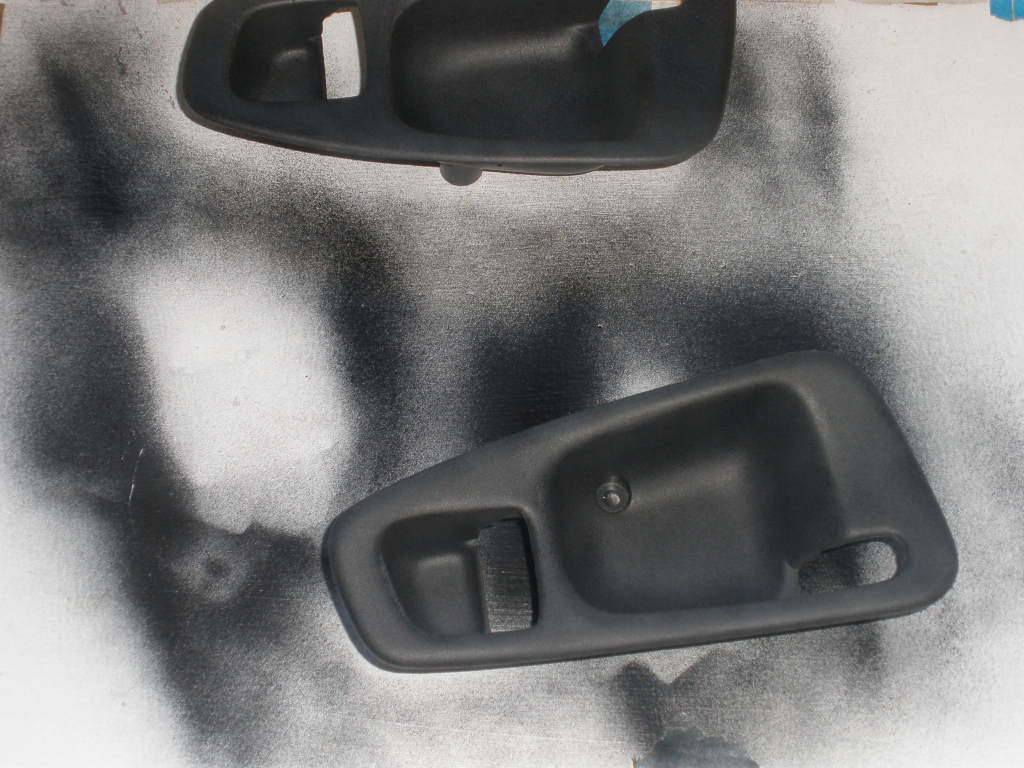
>Wait 5-10 mins. between each coat depending on the thickness. My pieces where gray and I intended to change them to black so, the first coats you’ll think you’re not doing anything, but after the second or even the third one you’ll start to see the tint.
Gray on left, 3 coats on the right

All done, put all the switches back together
It works!!!
>Once your finish put everything back and you’re done.
>Admire your new and rejuvenated interior and tell everyone you bought an new one.
This is all I have for now, I'll update as soon as I can. Will be doing the bigger panels and whatnot. All my other interior pieces are black, so It'll be just a matter of refreshing them. Just the door parts needed a color change.
Any questions/suggestions feel free to ask/comment. Hope this helps
) and since the interior it’s stripped and all, I decide to do a little DIY on the banged up interiors. After 16 years of abuse and neglect the interior (if not the whole car look like caca) will most likely have scratches, discolored plastics and will be just plain ugly. So what can you do?? You can either:-Buy new plastics = expensive
-Or paint yours = cheap (but in a good way if you use good technique and products) = good
I choose the second route because it’s impossible to buy things like that from local Honda dealers, and buying online means finding kickass prices just to be raped on shipping, so apainting we go!!!
**Disclaimer: The paint will get you HIGH AS A MOFO!!! If you inhale the toxic fumes so do it on an open space if you love your neurons. And always remember to dispose of used painting cans and other chemicals accordingly**
On to the DIY…
Materials:
-Scotch-Brite Light Duty Cleansing Pad 7445 (no picture)
-some degreaser
-wax and grease remover
-shop towels
-painter’s tape
-SEM vinyl paint (15013Landau Black) I chose this because it's satin like not glossy
>First start by removing the plastics and prepping them for paint. (Assuming y'all know how to remove the interior pieces)
>Spray the pieces with the degreaser and wipe with the shop towel until it’s clean of all grime and crud.
>Give the pieces a little scuff with the scotch brite to remove the crap that didn’t come off with the shop towel.
>Now for the next step give another run with a little degreaser and the towel. Then wipe all of the area to be painted with the wax and grease remover. This is the most important step fail to do it and there’s a chance of paint peeling later.
>Tape everything you don’t want paint to get to.
As you can see on the left I already put 2 thin coats.
Done 5 coats total. took picture while still wet that's why is so shinny.
>Start painting, light coats and as many as needed. If you’re using SEM you’ll start to see little dots in the plastic with each coat, this is because it’s not really a paint it’s a tint and the plastic is absorbing it.
>Wait 5-10 mins. between each coat depending on the thickness. My pieces where gray and I intended to change them to black so, the first coats you’ll think you’re not doing anything, but after the second or even the third one you’ll start to see the tint.
Gray on left, 3 coats on the right
All done, put all the switches back together
It works!!!
>Once your finish put everything back and you’re done.
>Admire your new and rejuvenated interior and tell everyone you bought an new one.
This is all I have for now, I'll update as soon as I can. Will be doing the bigger panels and whatnot. All my other interior pieces are black, so It'll be just a matter of refreshing them. Just the door parts needed a color change.
Any questions/suggestions feel free to ask/comment. Hope this helps
Bori-