
- Mon Mar 09, 2009 1:36 am
#101574
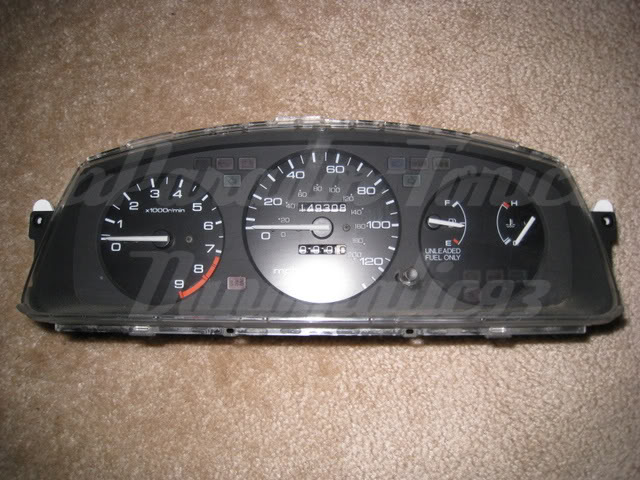
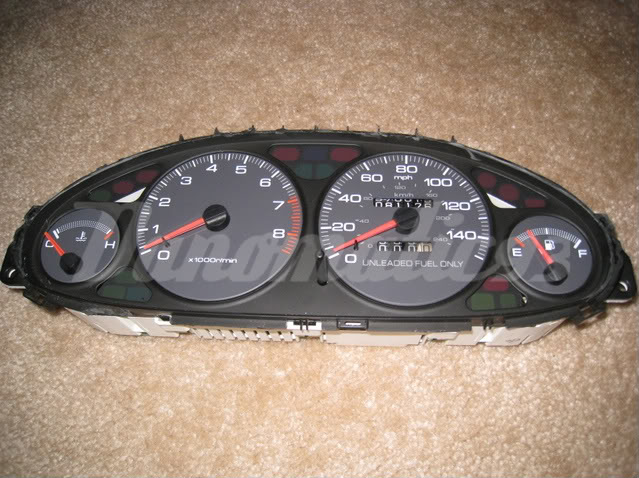
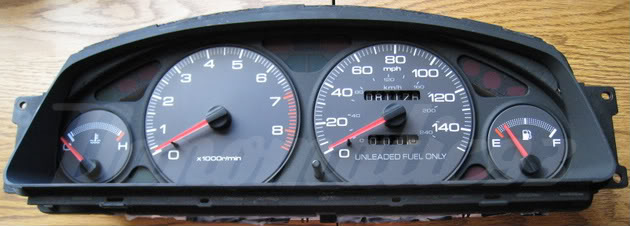
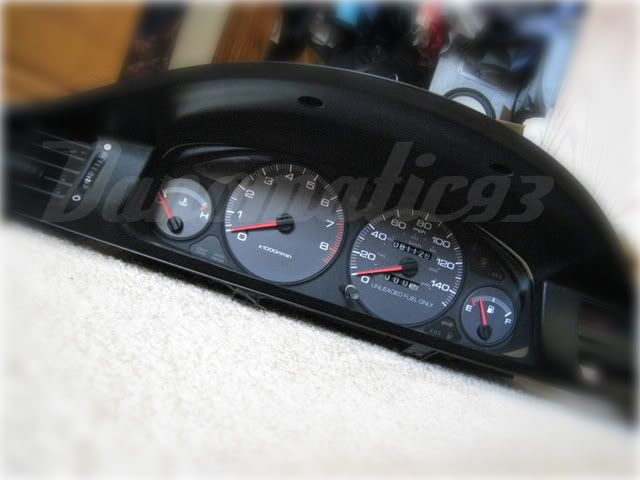
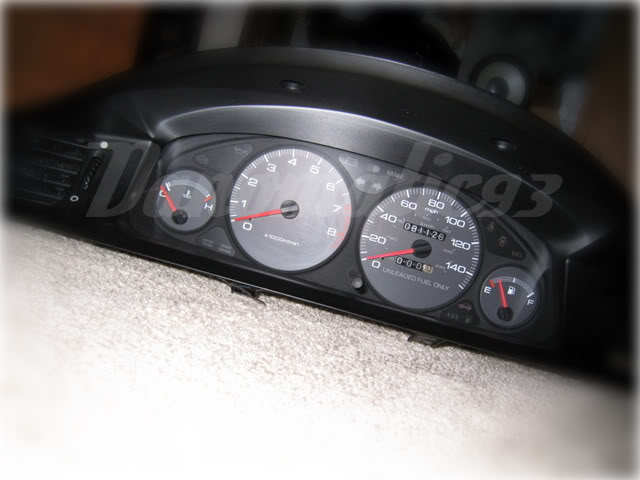
This is a detailed DIY for installing a 94-01 Integra Cluster into a 92-95 Civic. You are more that welcome to use this as a guideline as there are many ways of displaying the cluster.
Tools/Items Used:
Knife (Small Flat Head Driver)
Masking Tape
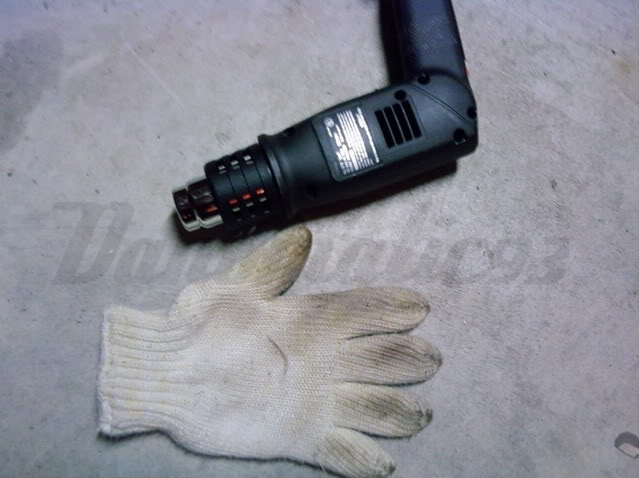
Heat Gun
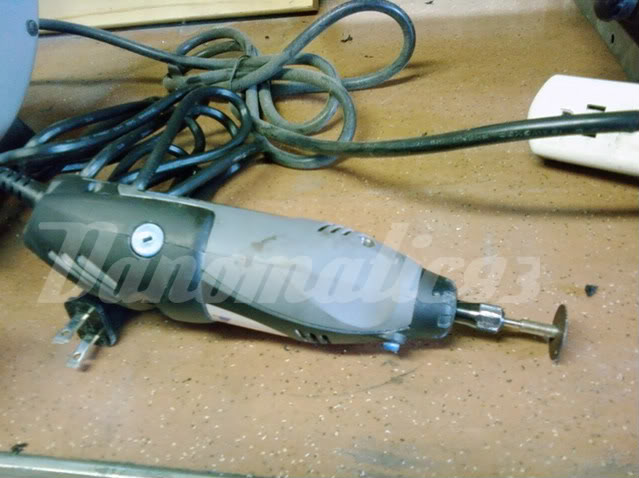
Dremel (Cutting and Sanding Bits)
Ove Glove
Safety Glasses
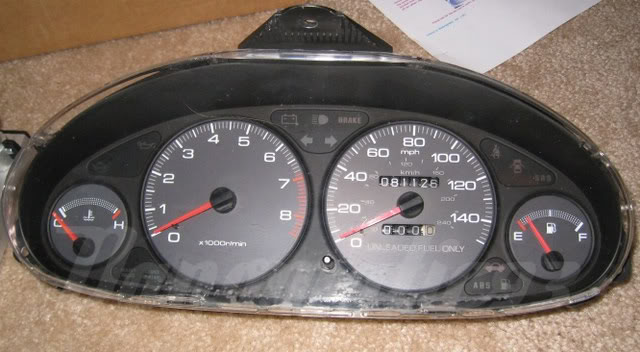
94-01 Integra Cluster with Pigtails (I used a 94-97 Cluster)
92-95 Civic Cluster Bezel
Acrylic (Plexiglas)
Epoxy
Flat Black Spray Paint
Sandpaper
Small piece of a paperclip
EG trip odometer stick rubber end
1� nylon sleeve with O.D. ¼� and 6-32 thread size inside
2� 6-32 threaded rod
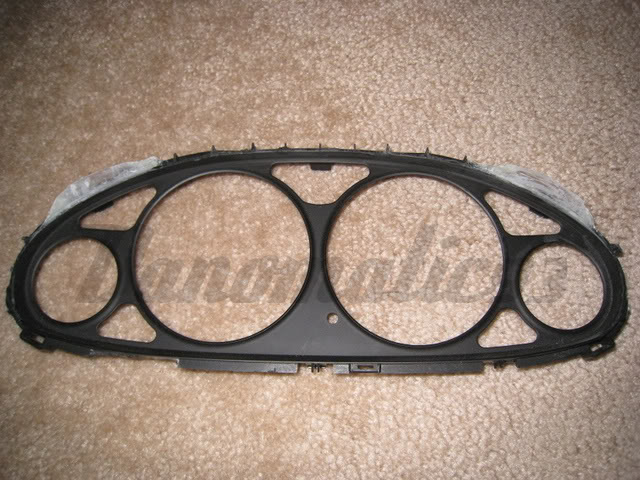
Civic Cluster Bezel Preparation:
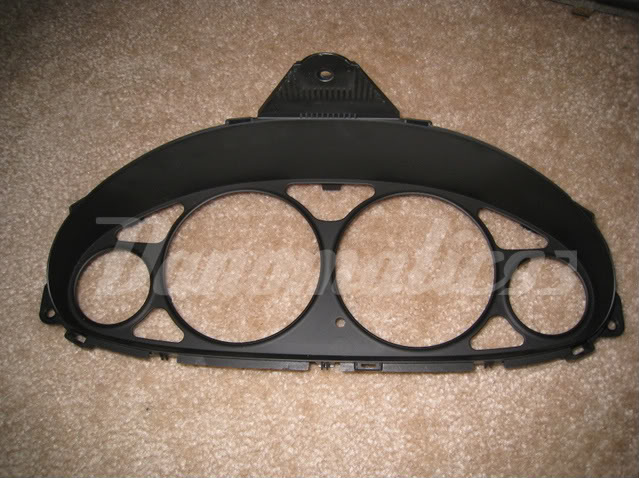
Let’s start by getting the Civic Cluster Bezel ready. I wanted the have a clean stock feel with these gauges, so I wanted to use a stock bezel (well, really just the frame of it.).
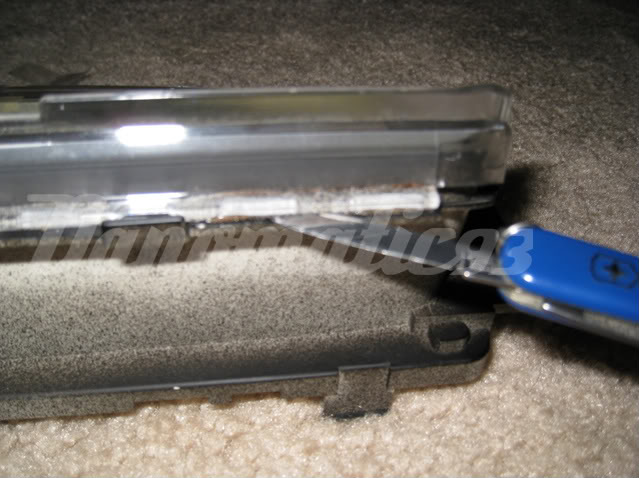
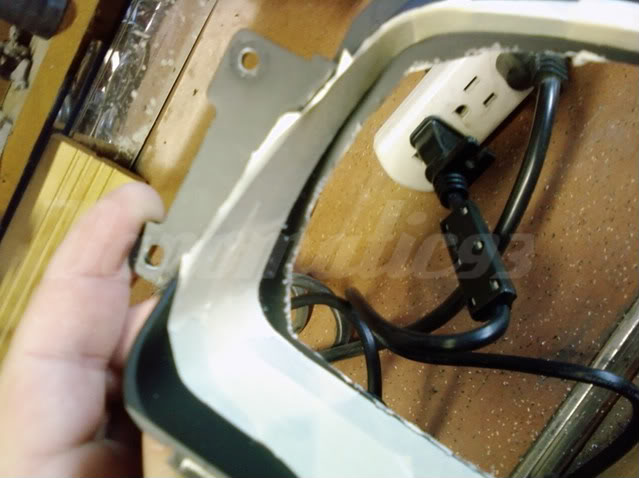
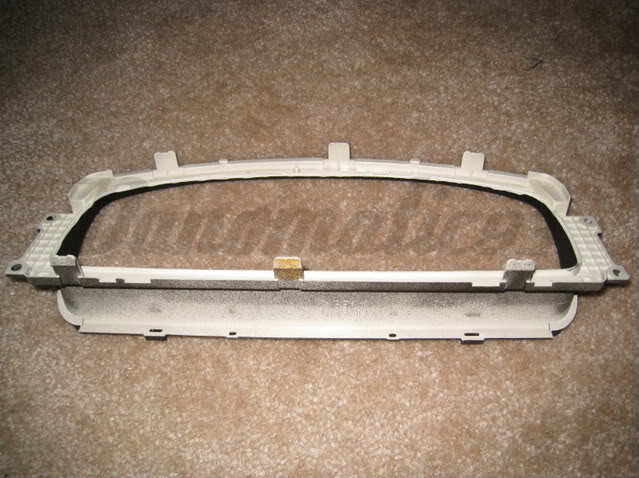
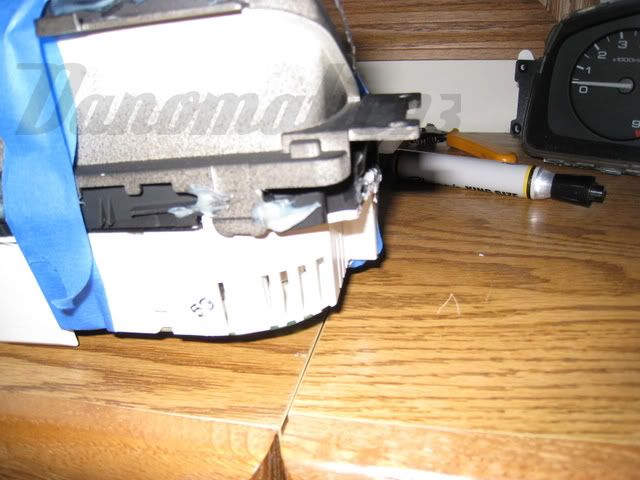
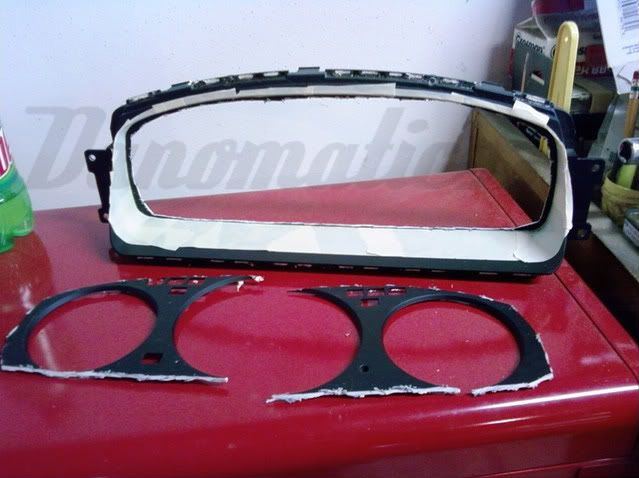
1. Remove the Bezel from the donor Cluster. 5 tabs, use ‘em.
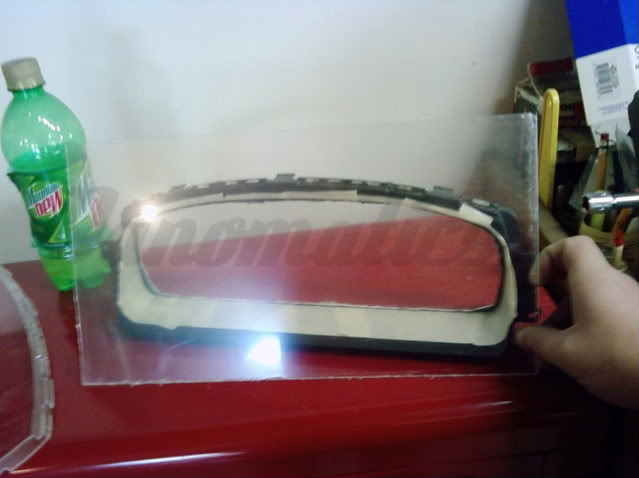
2. With a knife, shove it in between the Bezel and the plastic cover. Work your way around the cover, carefully prying up the cover as you go.
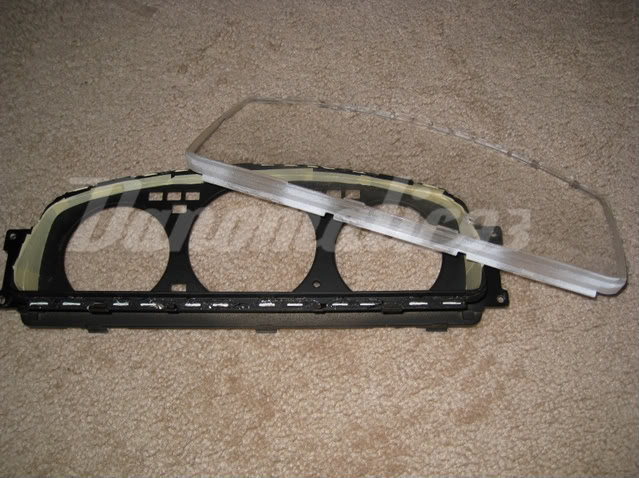
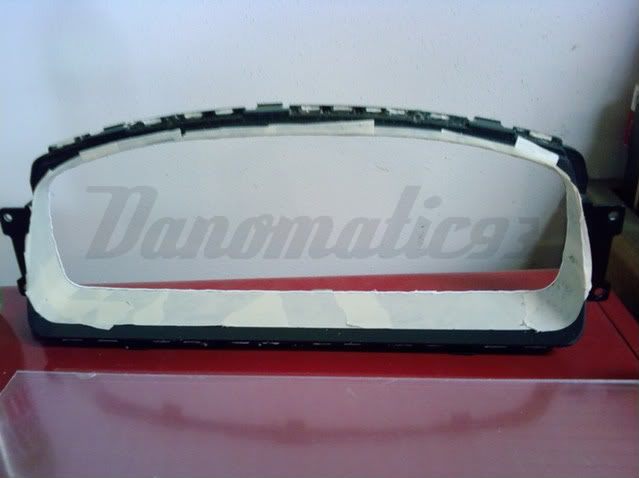
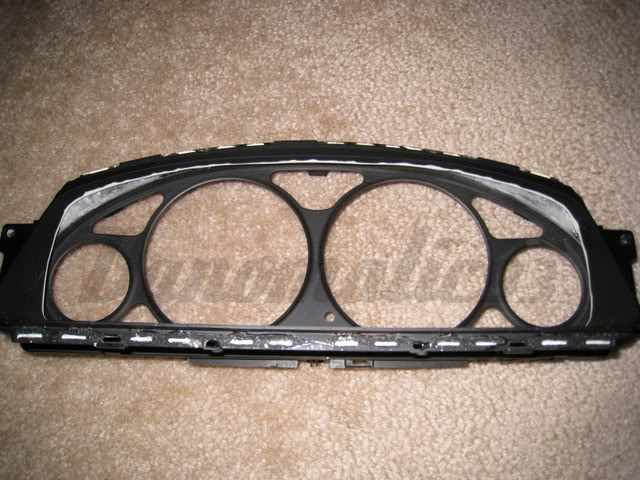
3. Mask off the inside of the Bezel with tape to protect it from scratches later.
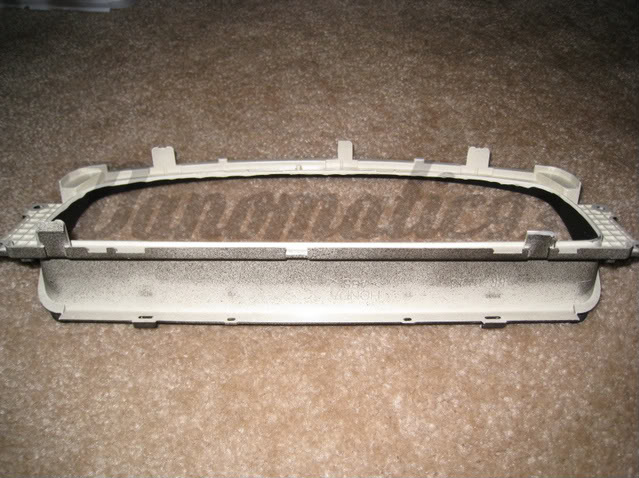
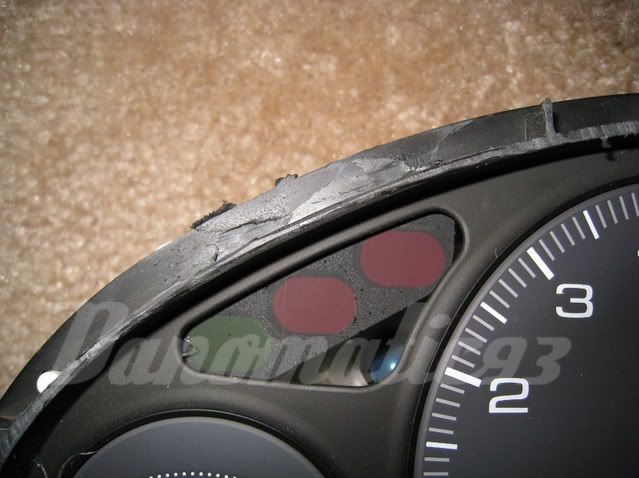
4. Get out the Dremel and cutting disc and cut it out. Leave extra material to sand down so that you don’t scar the Bezel.

WEAR SAFTEY GLASSES!!


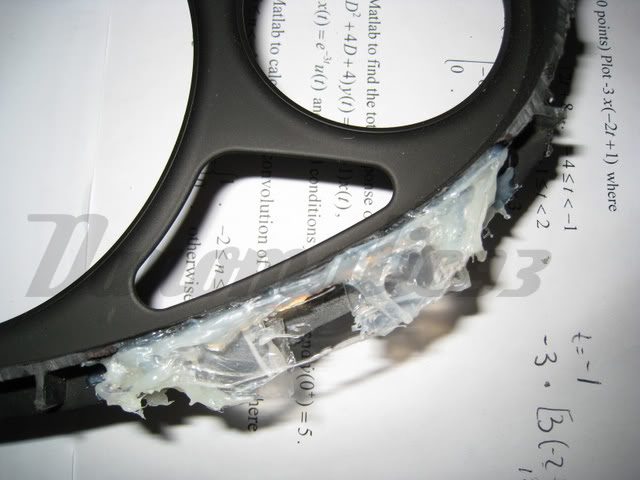
You can see how much I left to sand here:
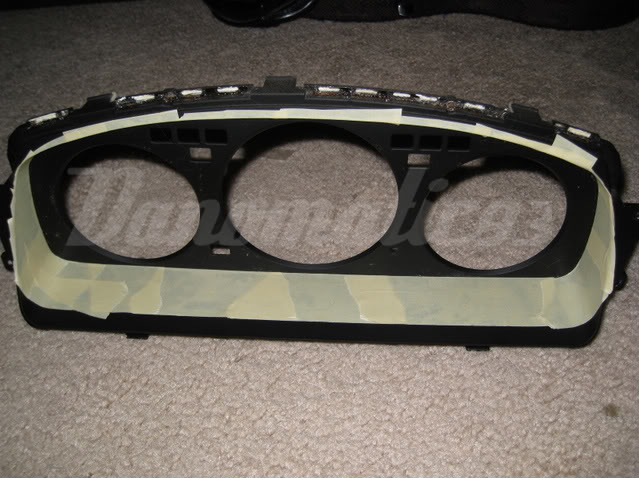
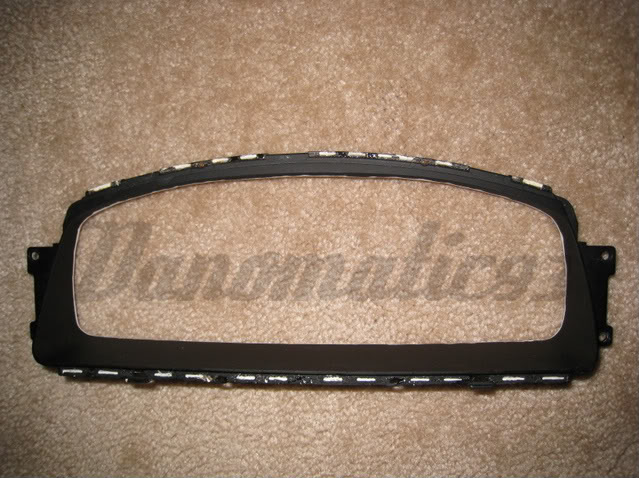
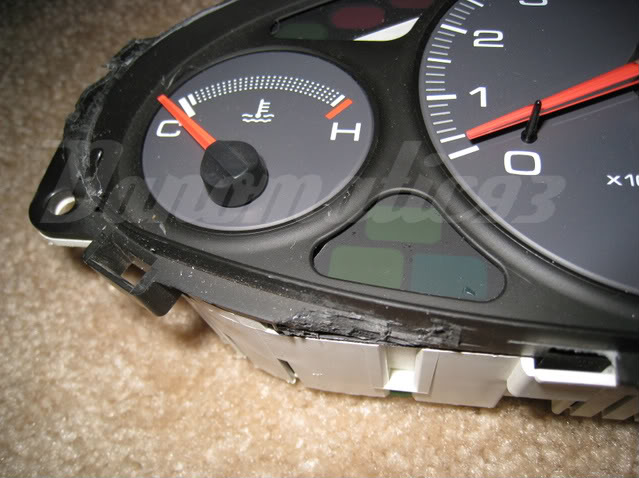
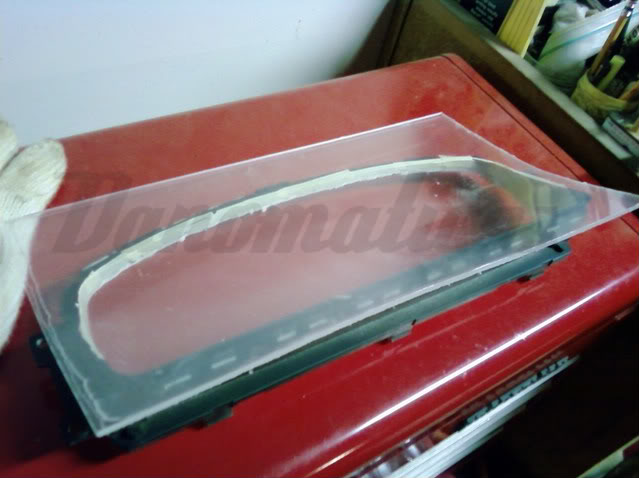
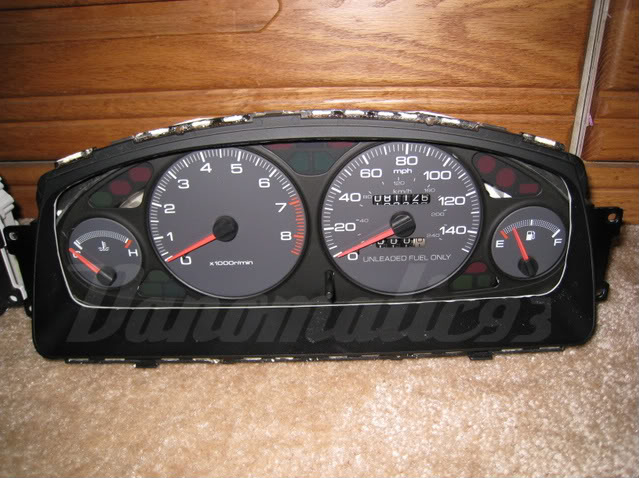
5. Again with the Dremel, but now with the sanding tubes. Sand it flush.
Note: I also hand sanded with 180, 360 and 600 grit sand paper after using the dremel.
Tools/Items Used:
Knife (Small Flat Head Driver)
Masking Tape
Heat Gun
Dremel (Cutting and Sanding Bits)
Ove Glove
Safety Glasses
94-01 Integra Cluster with Pigtails (I used a 94-97 Cluster)
92-95 Civic Cluster Bezel
Acrylic (Plexiglas)
Epoxy
Flat Black Spray Paint
Sandpaper
Small piece of a paperclip
EG trip odometer stick rubber end
1� nylon sleeve with O.D. ¼� and 6-32 thread size inside
2� 6-32 threaded rod
Civic Cluster Bezel Preparation:
Let’s start by getting the Civic Cluster Bezel ready. I wanted the have a clean stock feel with these gauges, so I wanted to use a stock bezel (well, really just the frame of it.).
1. Remove the Bezel from the donor Cluster. 5 tabs, use ‘em.
2. With a knife, shove it in between the Bezel and the plastic cover. Work your way around the cover, carefully prying up the cover as you go.
3. Mask off the inside of the Bezel with tape to protect it from scratches later.
4. Get out the Dremel and cutting disc and cut it out. Leave extra material to sand down so that you don’t scar the Bezel.
WEAR SAFTEY GLASSES!!
You can see how much I left to sand here:
5. Again with the Dremel, but now with the sanding tubes. Sand it flush.
Note: I also hand sanded with 180, 360 and 600 grit sand paper after using the dremel.


