DIY - Inline Fuel Filter, Braided Hose and -AN fittings
I actually had these pics ready to upload Jan of 08, but forgot about this until someone PM'd me
I bought all this stuff back in March '06. There wasn't a lot of info online back then. I found 2 separate write ups on Hondatech. Neither one was exactly what I wanted to do, so I took parts of each write up and made my own.
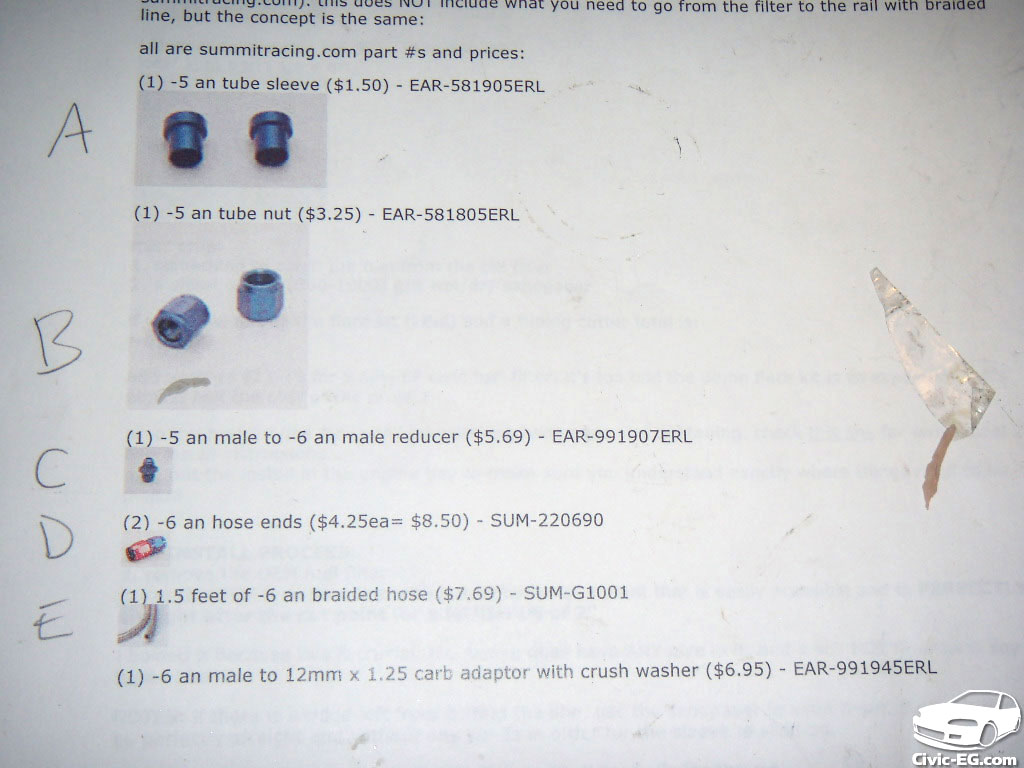
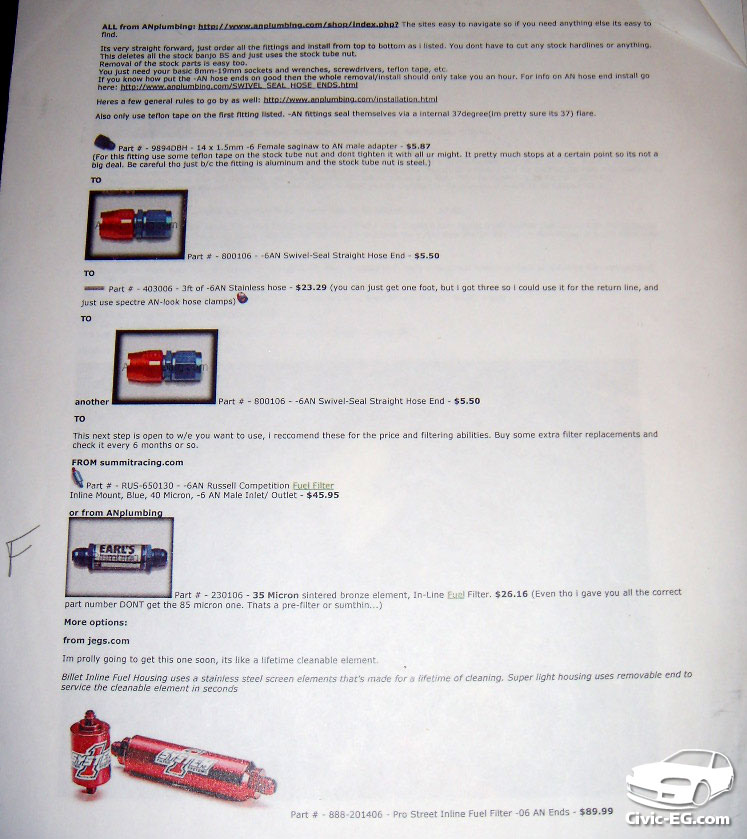
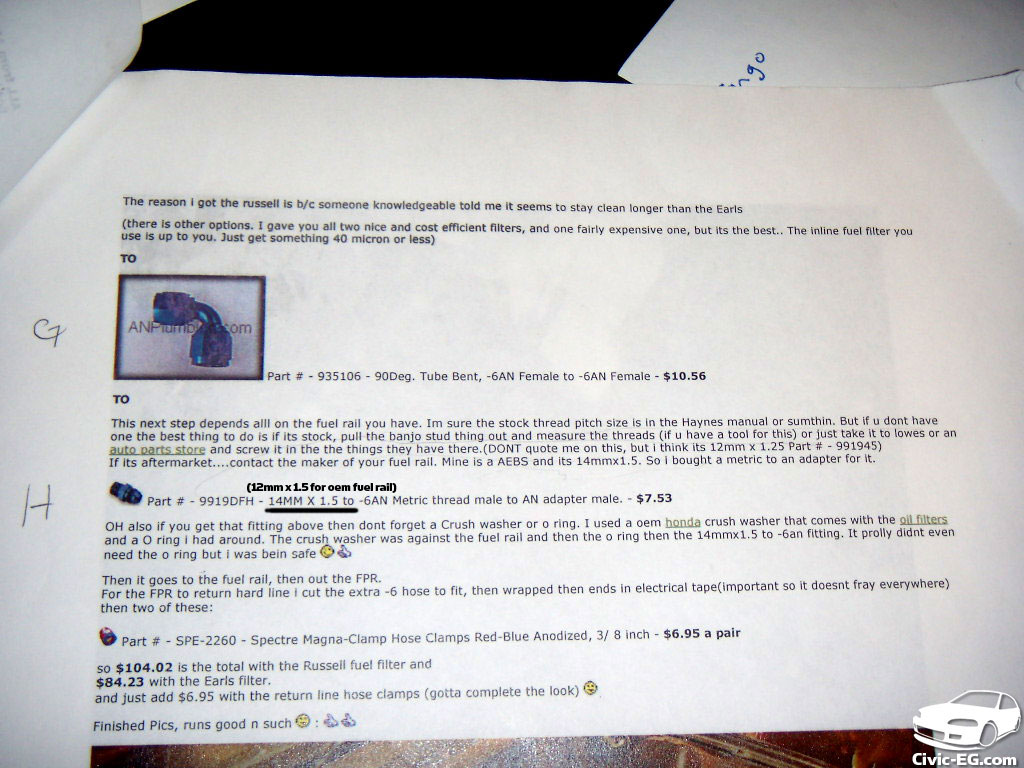
Here's my caveman plans:

Note that each one is lettered. The scans below have each leter next to the part number:
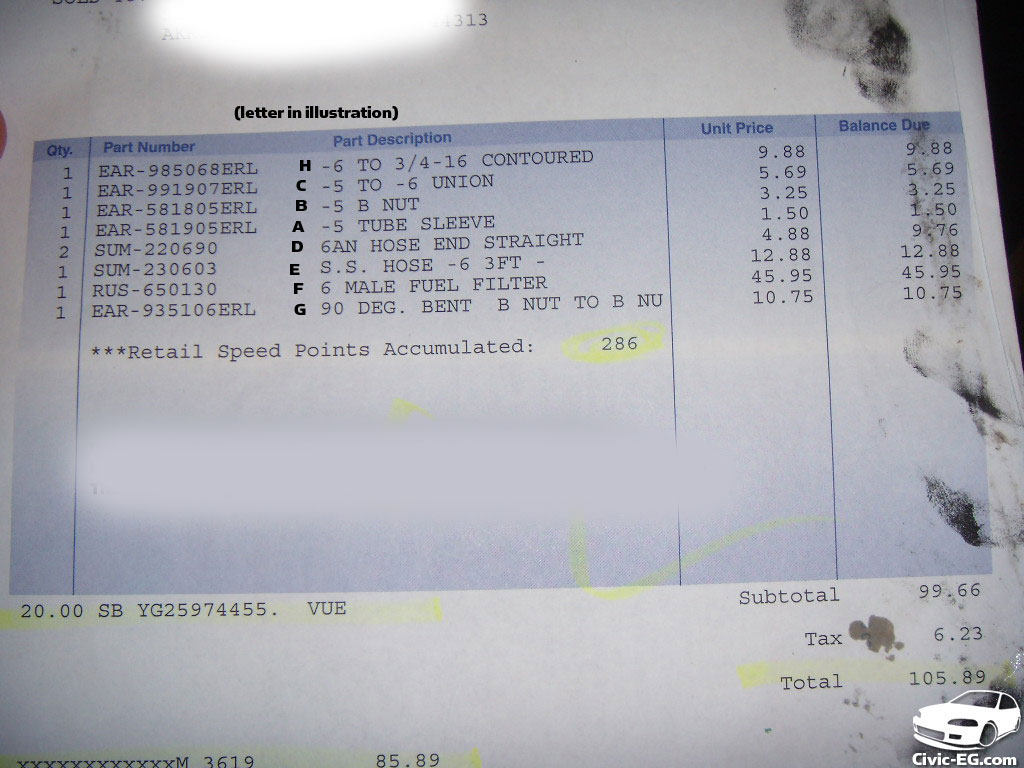
and my receipt from Summit Racing:
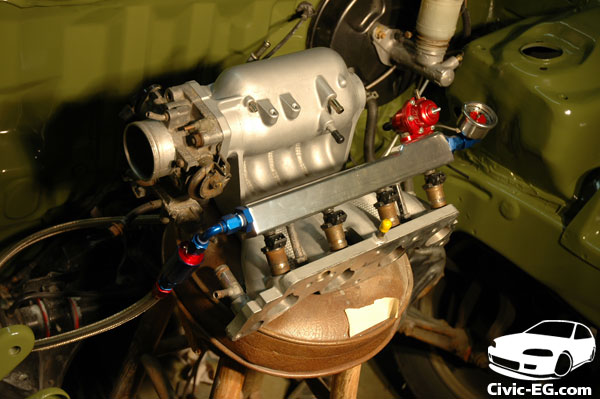
Now it is important that you double check the fitting for your fuel rail. Mine was aftermarket because It was the only one I could find that would bolt to a y8 IM and fit a z6 AEM FPR. I believe the stock fitting you need to go into the rail is 12mm x 1.5, but double check that as I read it online and I didn't check to see if it was accurate or not.
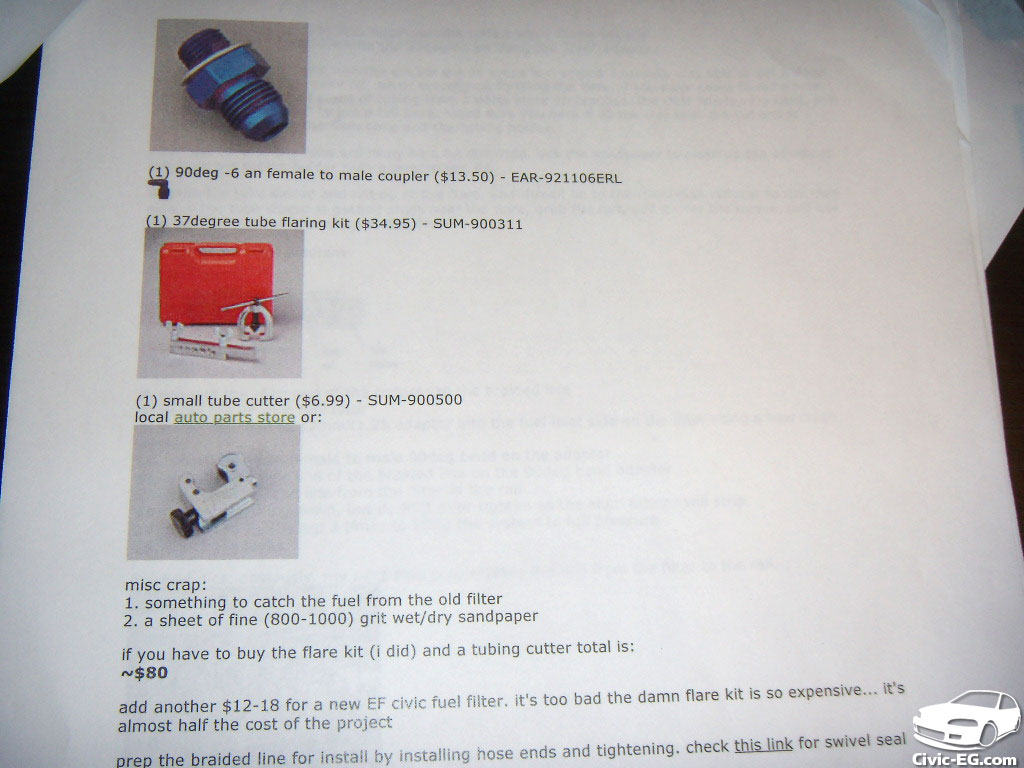
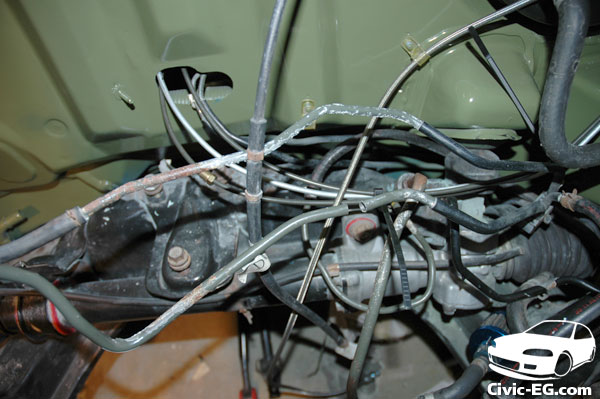
you need a tube cutter to snip the oem metal fuel line coming into the bay.
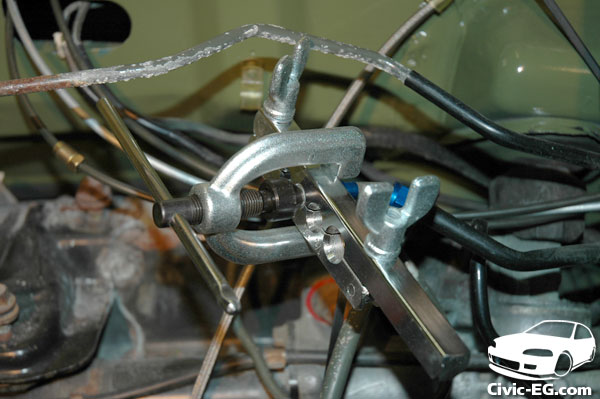
you will also need a 37 degree flare set to make the cut fit with the -an fitting.
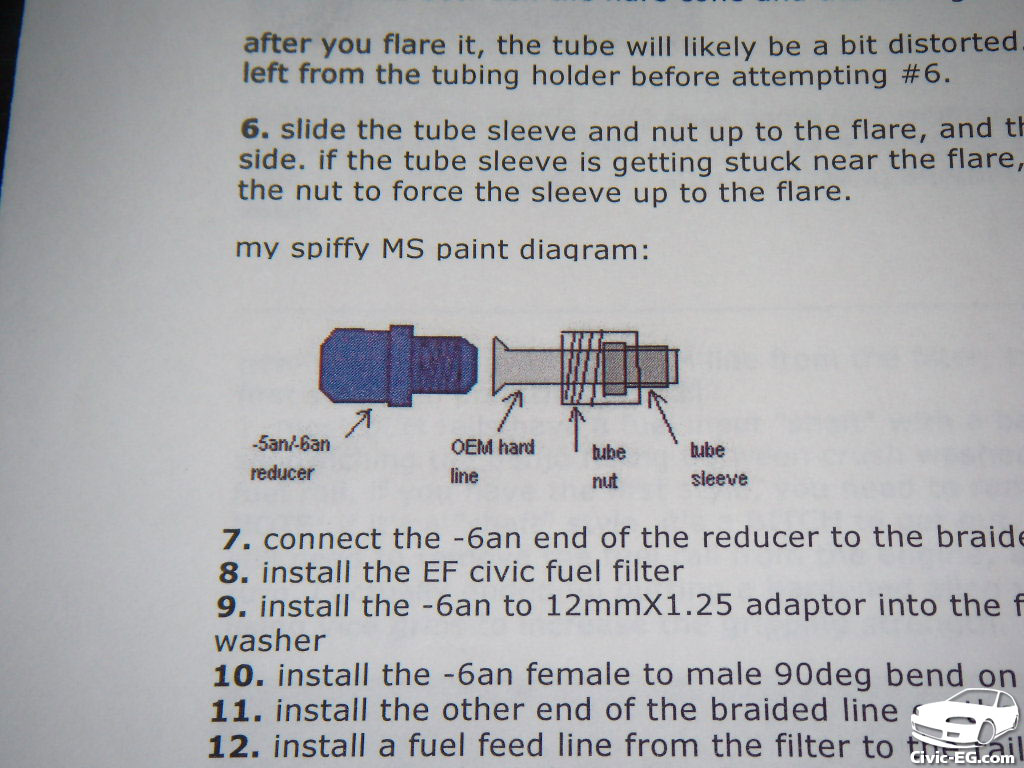
here's how the nut & sleeve fit over the stock line that you cut. Put the sleeve & nut on the line Before you flare it.
I'm going to go work on my car today (temp is above 40° woot!) I'll get pics of the final setup.
edit: got some pics (and found some more on my hard drive):
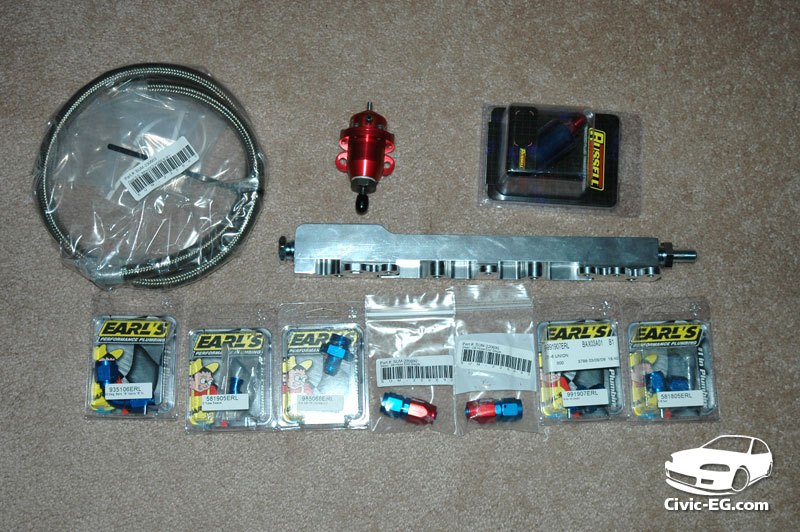
Pic of everything after I got home from Summit. I went back another time to get the 37° flare kit after I found that mine was 45°.
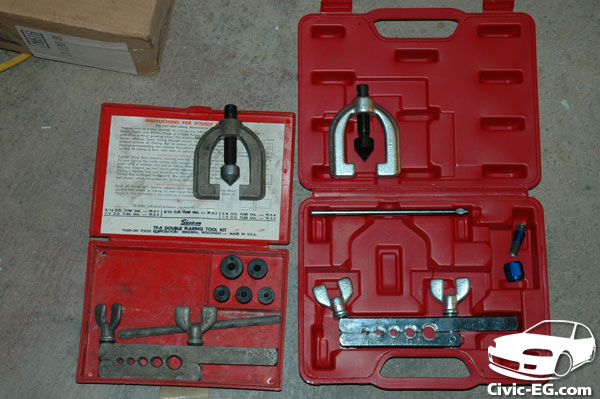
45° is on the left, 37° is on the right.
First I cut the line. I used a hand held fine tooth hack saw blade & was sure to get any metal debris out of the line with a Q-tip.
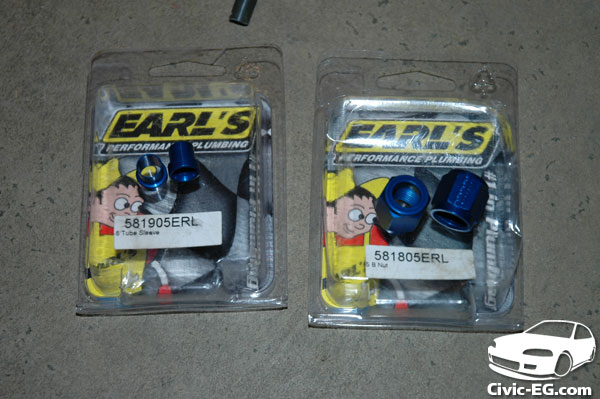
The sleeve and nut
I put the sleeve & nut on the line & then flared the end. the first time I flared a little too much and it started to crack the flared edge. So I cut it off and flared again.
Now that's a nice flare!
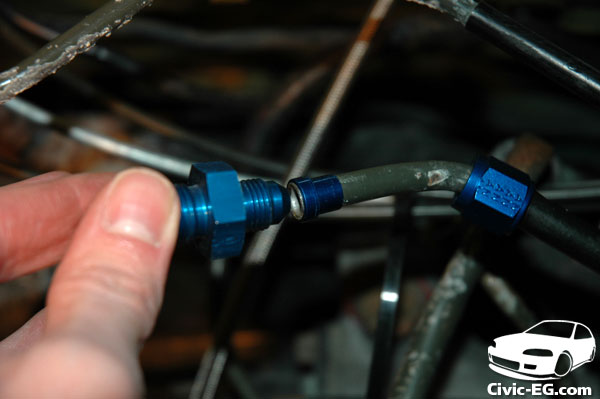
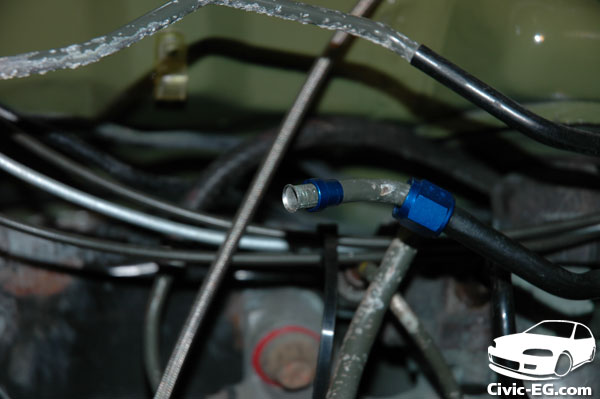
the 37° angle of the flare matches the tip of the fitting. The threaded nut will slide over the sleeve and screw over the AN fitting, making a tight fit on the flared tube.
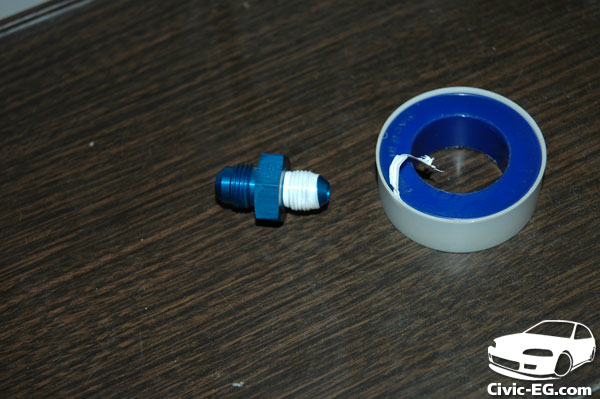
Be sure to wrap everything in Teflon or you will have leaks!
I didn't get pics of every fitting going together, but it's common sense for the rest. Just be sure to use teflon on all threads and tighten, but don't over tighten. You can always tighten them more if you notice a fuel leak, but once they are stripped out they're done. The teflon will make them feel tighter.
3' of braided stainless was too much. 1.5' would have been more like it.
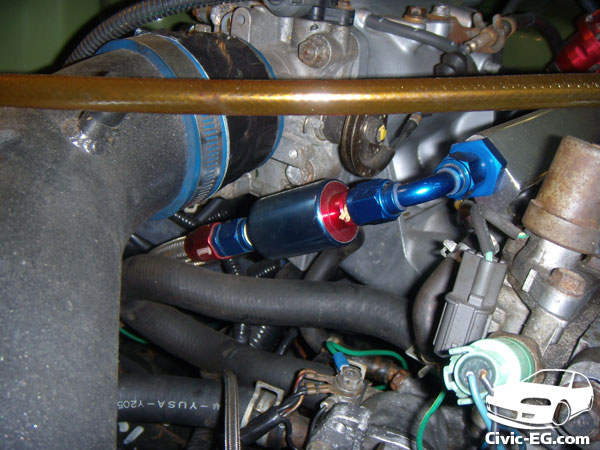
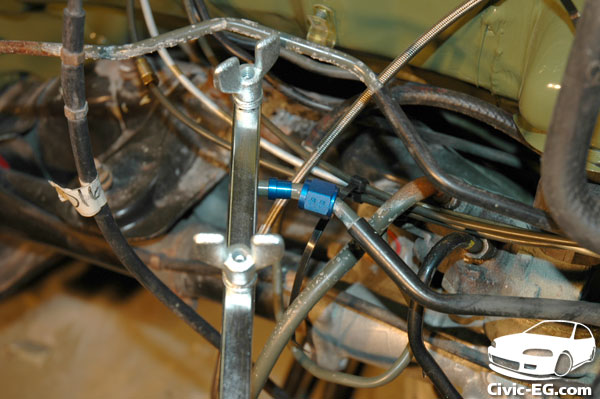
There's a pic I took tonight, still holding up well
I'm not sure how often the filter should be changed though, being that it's smaller than the OEM one.
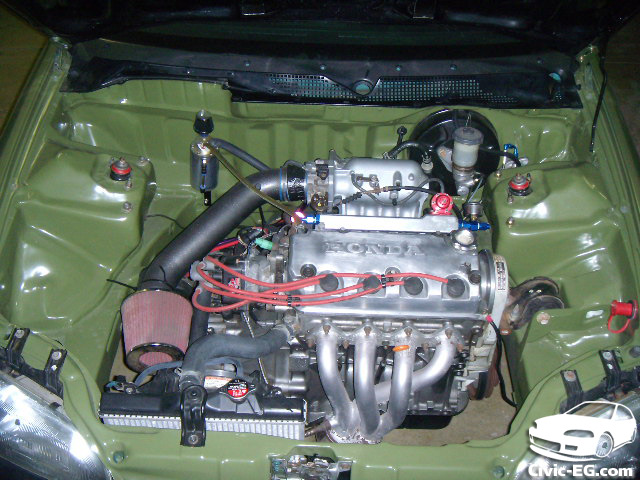
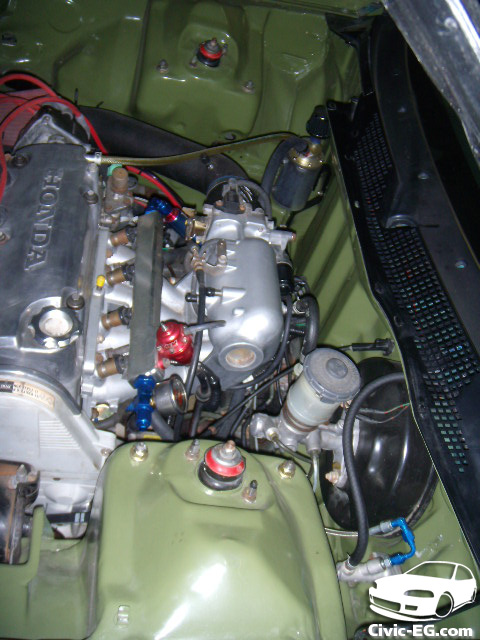
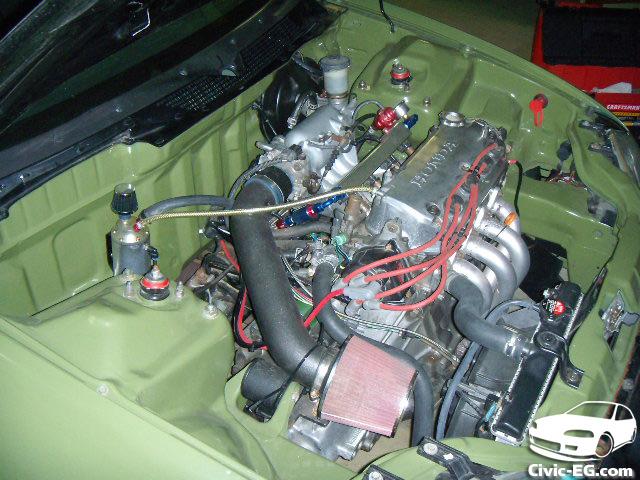
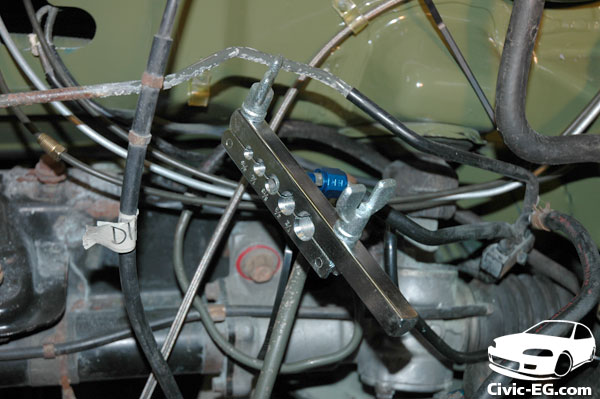
money shots with no ugly fuel filter!
I bought all this stuff back in March '06. There wasn't a lot of info online back then. I found 2 separate write ups on Hondatech. Neither one was exactly what I wanted to do, so I took parts of each write up and made my own.
Here's my caveman plans:
Note that each one is lettered. The scans below have each leter next to the part number:
and my receipt from Summit Racing:
Now it is important that you double check the fitting for your fuel rail. Mine was aftermarket because It was the only one I could find that would bolt to a y8 IM and fit a z6 AEM FPR. I believe the stock fitting you need to go into the rail is 12mm x 1.5, but double check that as I read it online and I didn't check to see if it was accurate or not.
you need a tube cutter to snip the oem metal fuel line coming into the bay.
you will also need a 37 degree flare set to make the cut fit with the -an fitting.
here's how the nut & sleeve fit over the stock line that you cut. Put the sleeve & nut on the line Before you flare it.
I'm going to go work on my car today (temp is above 40° woot!) I'll get pics of the final setup.
edit: got some pics (and found some more on my hard drive):
Pic of everything after I got home from Summit. I went back another time to get the 37° flare kit after I found that mine was 45°.
45° is on the left, 37° is on the right.
First I cut the line. I used a hand held fine tooth hack saw blade & was sure to get any metal debris out of the line with a Q-tip.
The sleeve and nut
I put the sleeve & nut on the line & then flared the end. the first time I flared a little too much and it started to crack the flared edge. So I cut it off and flared again.
Now that's a nice flare!
the 37° angle of the flare matches the tip of the fitting. The threaded nut will slide over the sleeve and screw over the AN fitting, making a tight fit on the flared tube.
Be sure to wrap everything in Teflon or you will have leaks!
I didn't get pics of every fitting going together, but it's common sense for the rest. Just be sure to use teflon on all threads and tighten, but don't over tighten. You can always tighten them more if you notice a fuel leak, but once they are stripped out they're done. The teflon will make them feel tighter.
3' of braided stainless was too much. 1.5' would have been more like it.
There's a pic I took tonight, still holding up well
I'm not sure how often the filter should be changed though, being that it's smaller than the OEM one.
money shots with no ugly fuel filter!
