

- Sun Oct 05, 2014 2:30 am
#348983
Lets say you have some rare wheels without center caps and don't want to pay a couple hundred bucks for a set of caps or just don't like the design of your center caps and want something cleaner.
Example: the canter caps that came on a customer's Ridler (ebay) wheels.
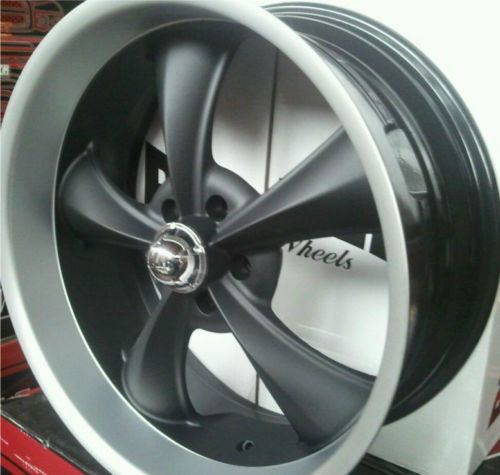
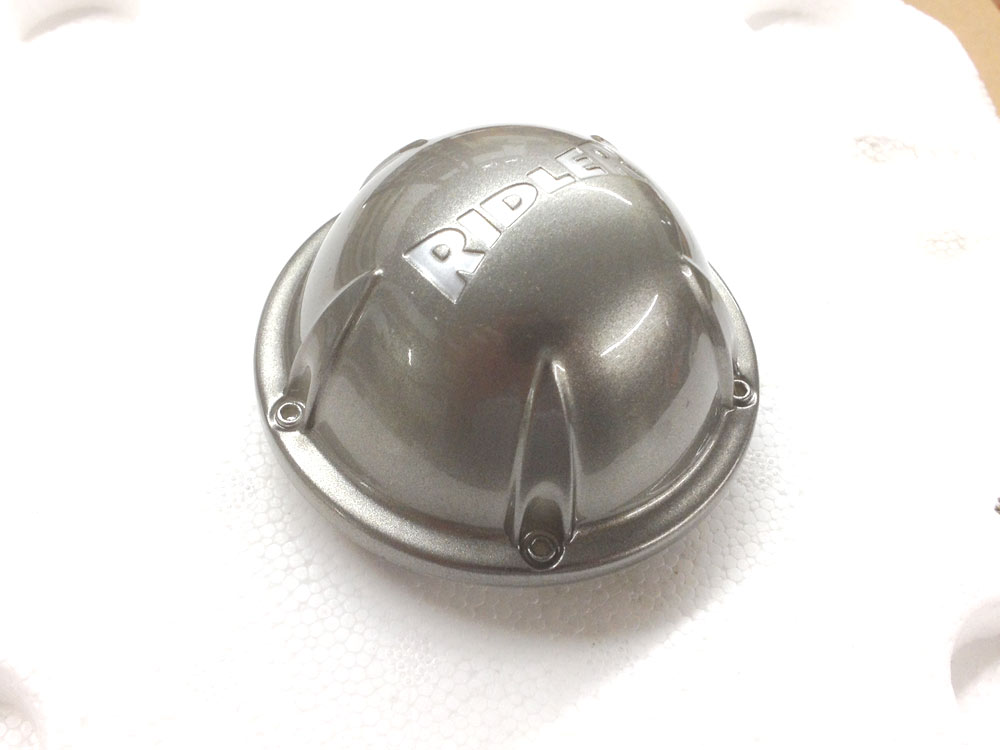
man those are hideous
I measured the backside (edge to edge as well as the tabs) and didn't find any generic blank caps on ebay in the size I needed. The only caps I could find in 70mm (3") were from a VW Touareg SUV.
So I got them and they fit perfect!
Too bad the car wasn't a VW, or I would be done.
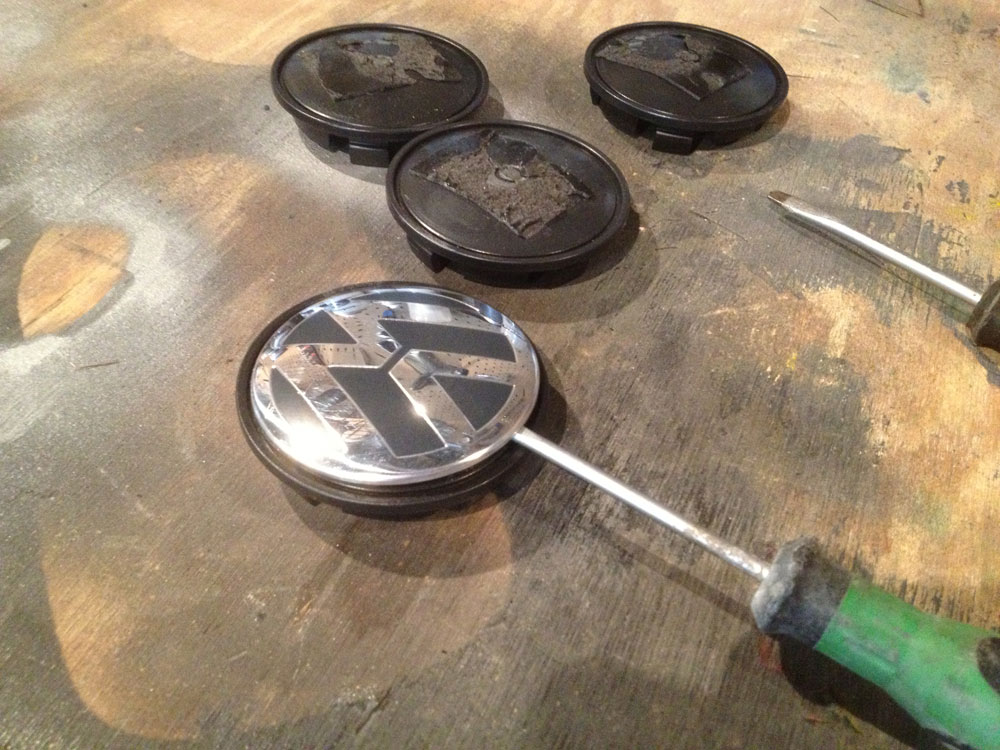
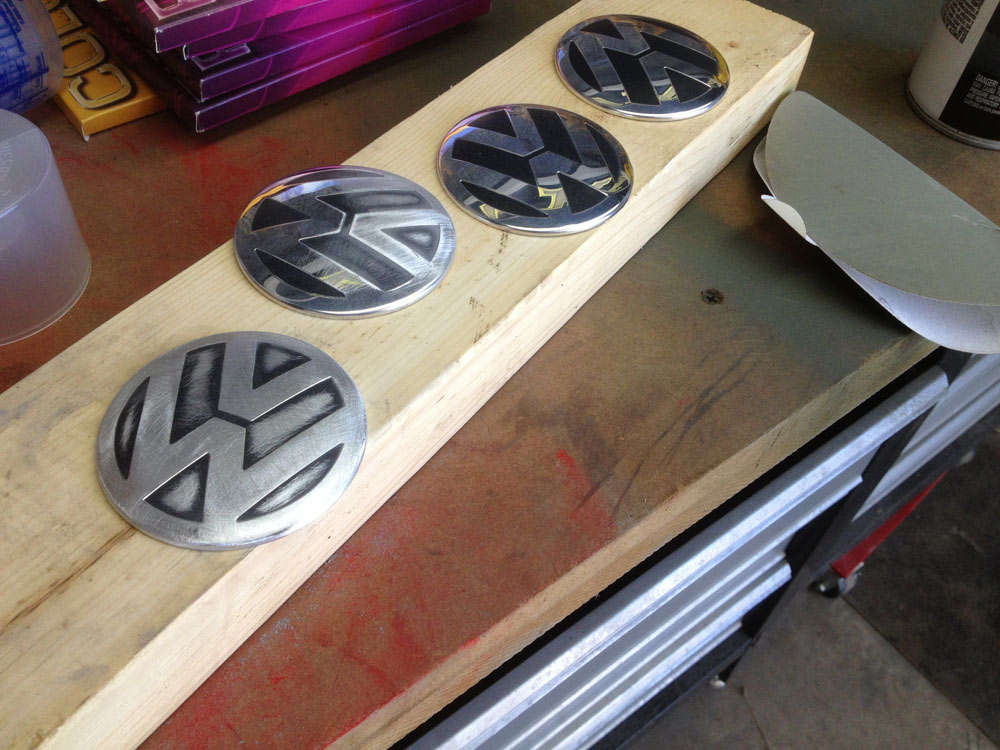
First, I slowly and carefully pried the metal faces off of the black plastic cap.
Next, I scuffed up the faces real well to give the primer a good surface to bite to.
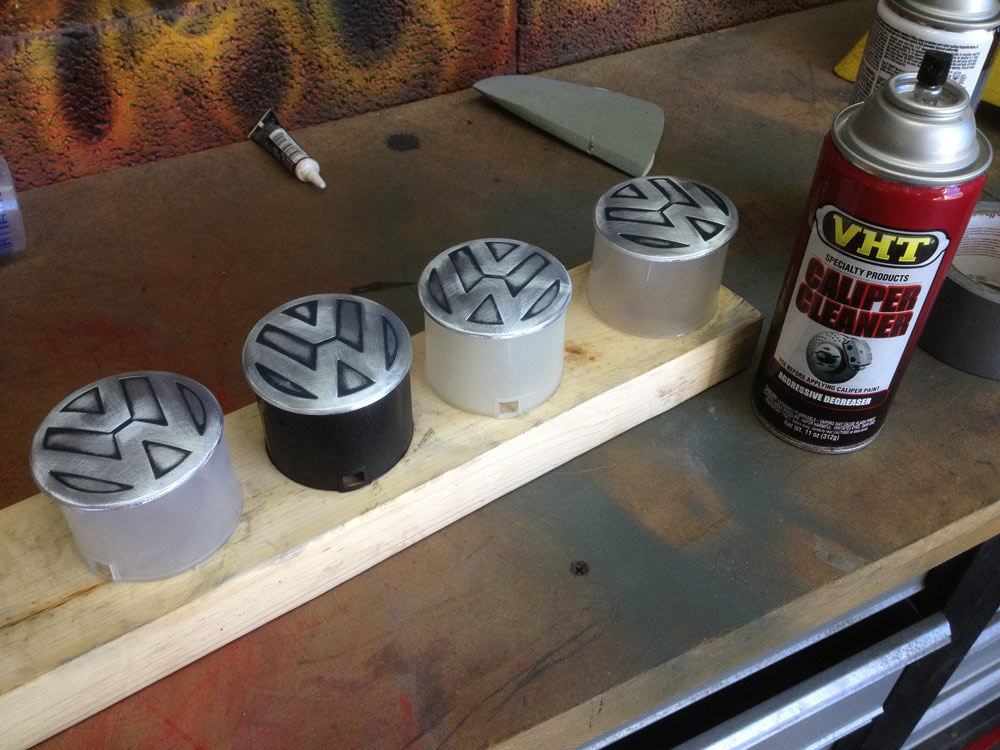
Then I taped them to some paint caps to give them an elevated surface, so i could pant the edges easier.
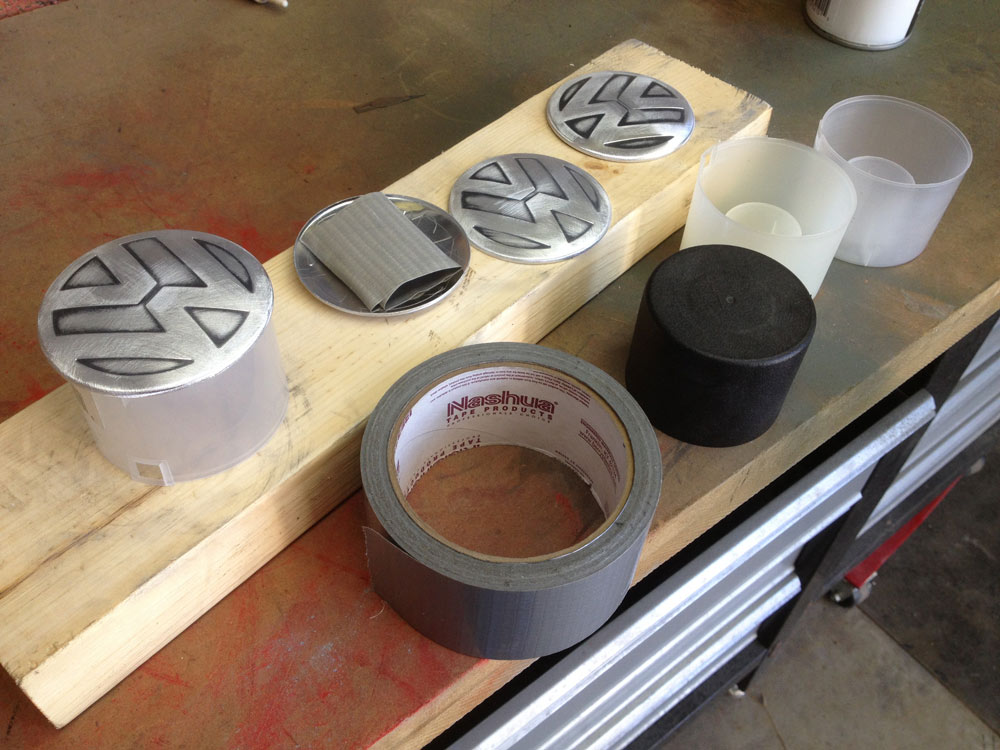
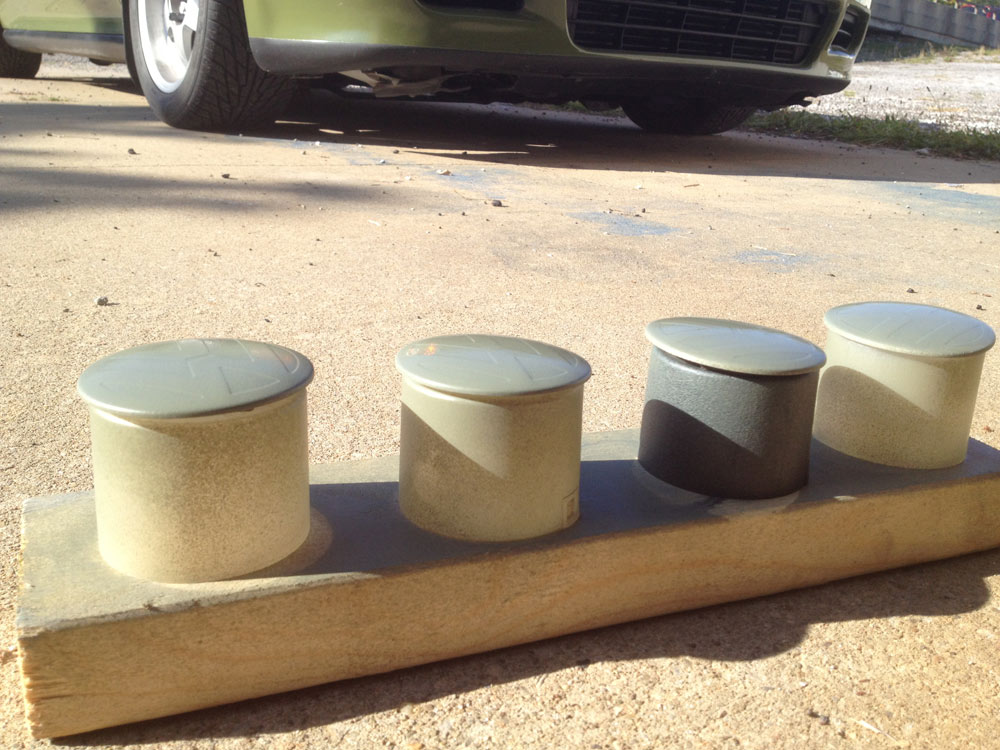
Cleaned them with some caliper cleaner and let dry before priming. Wax & grease remover would have worked fine, but I ran out.
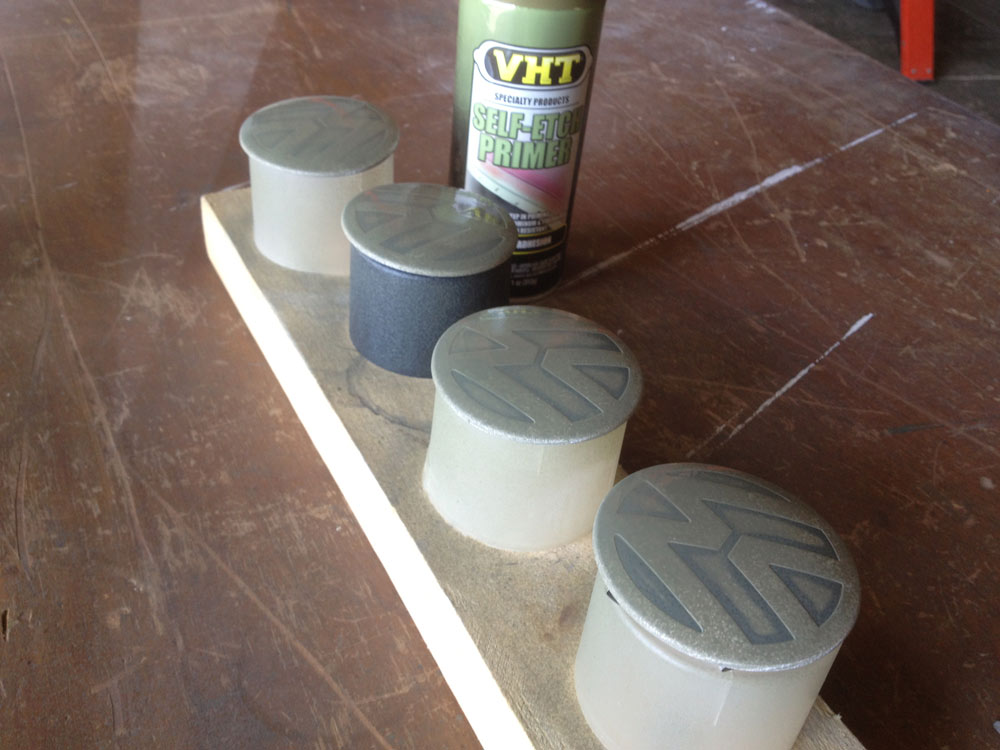
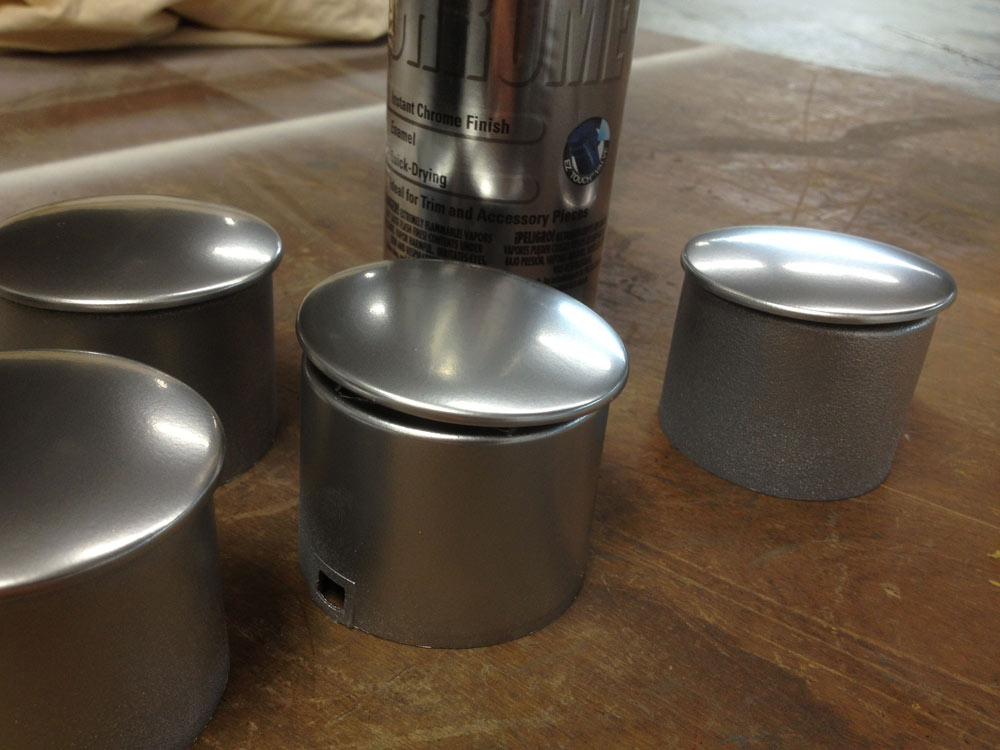
Self Etch primer is ideal for bare metal. Two coats and I put them in the sun to dry.
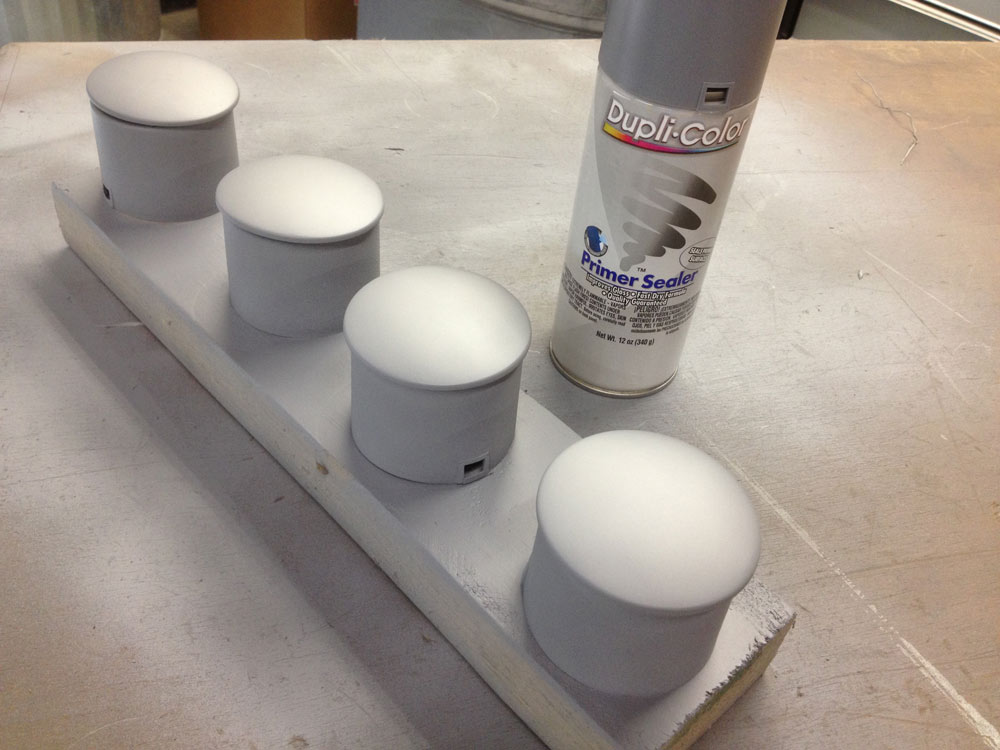
Next I started the long process of building up the surface with Filler Primer. I probably used half of this can on the 4 caps and it was plenty thick to allow sanding smooth. Follow the directions on the can to ensure the primer dries properly.
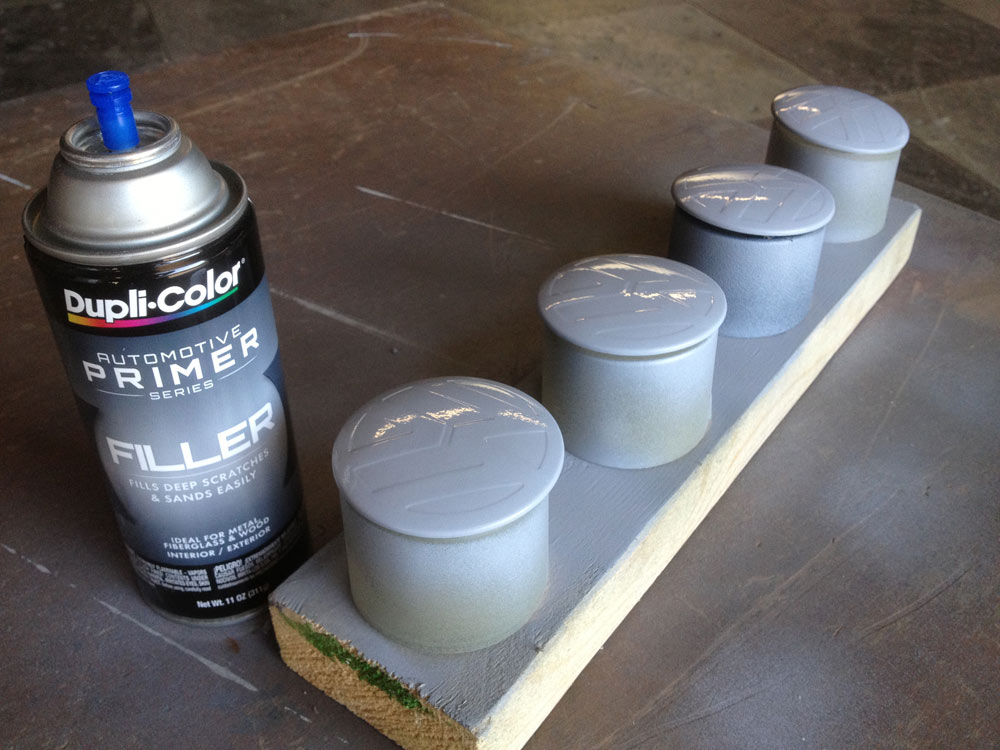

You can still see the raised VW logo.
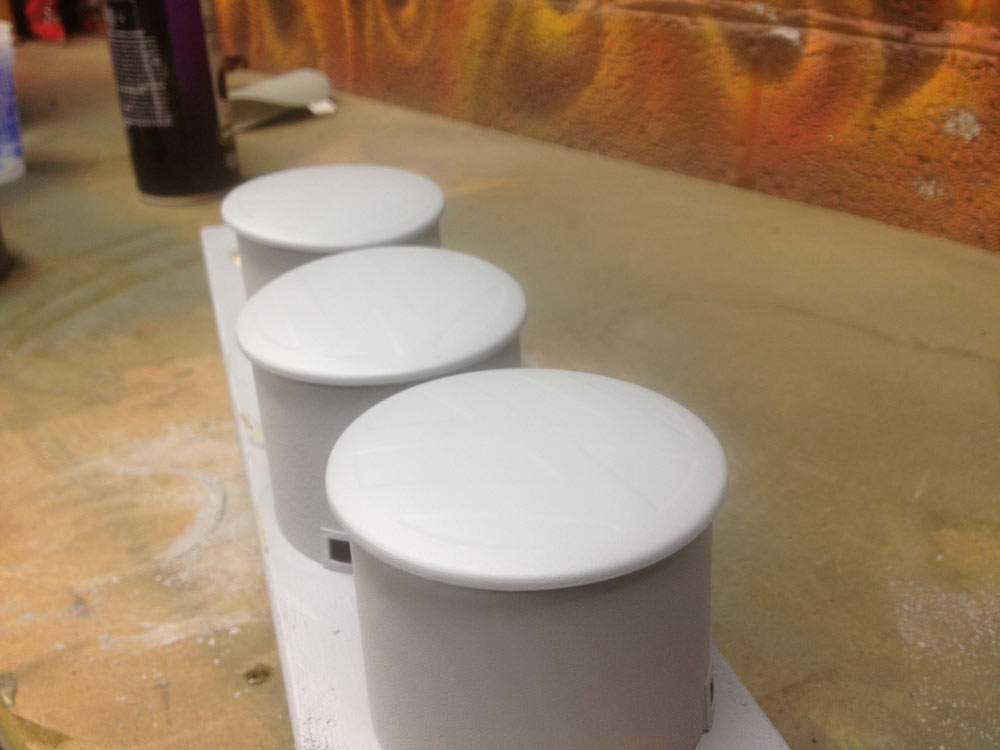
Then I sanded the raised areas level with the rest of the surface. I went just a little too far on one cap, so I had to put a few more coats on and repeat. I started sanding with 220 and then as it got more level, I switched to 400 and then finished with 600 grit.
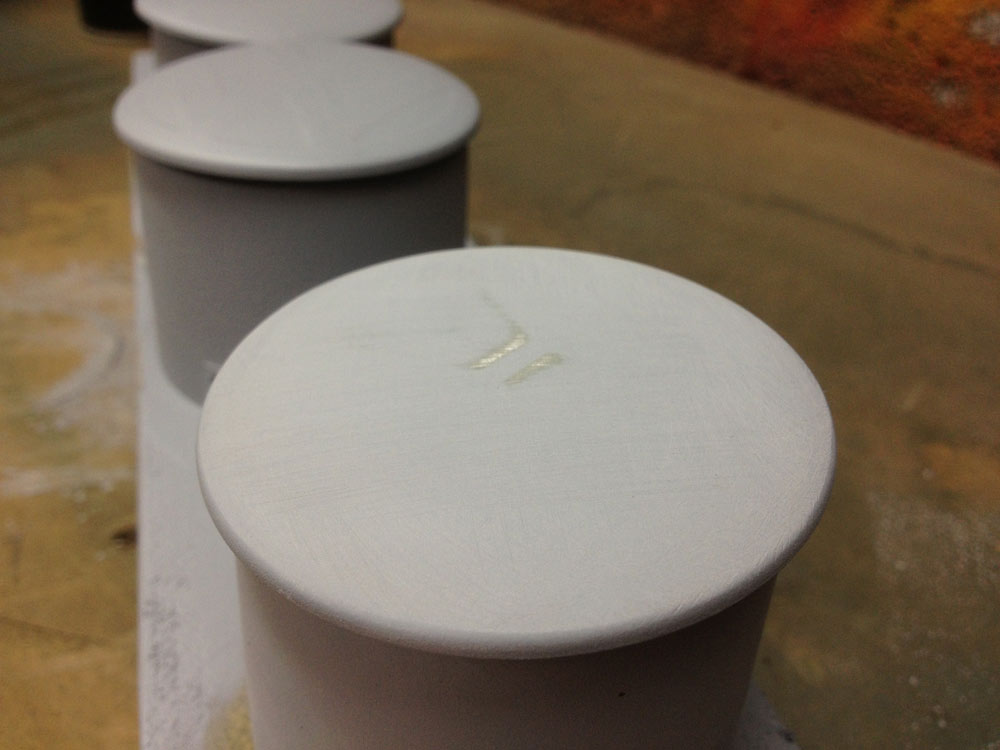
Next I put on some Primer Sealer, 2 coats.
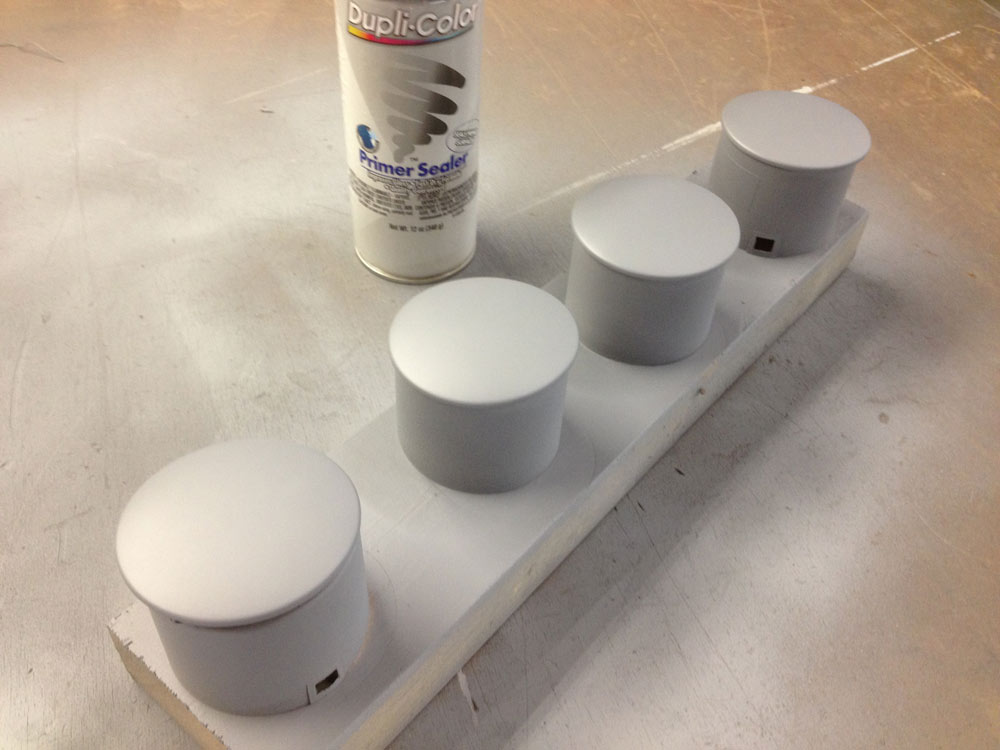
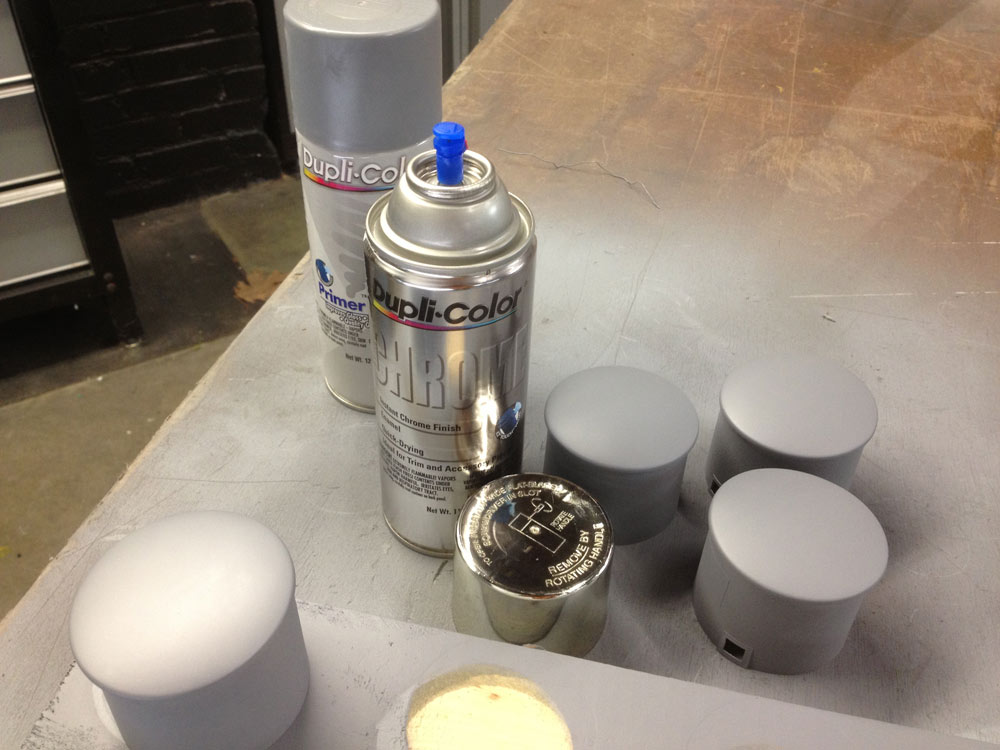
Then I put on 2 coats, followed by 1 wet coat of Chrome paint.
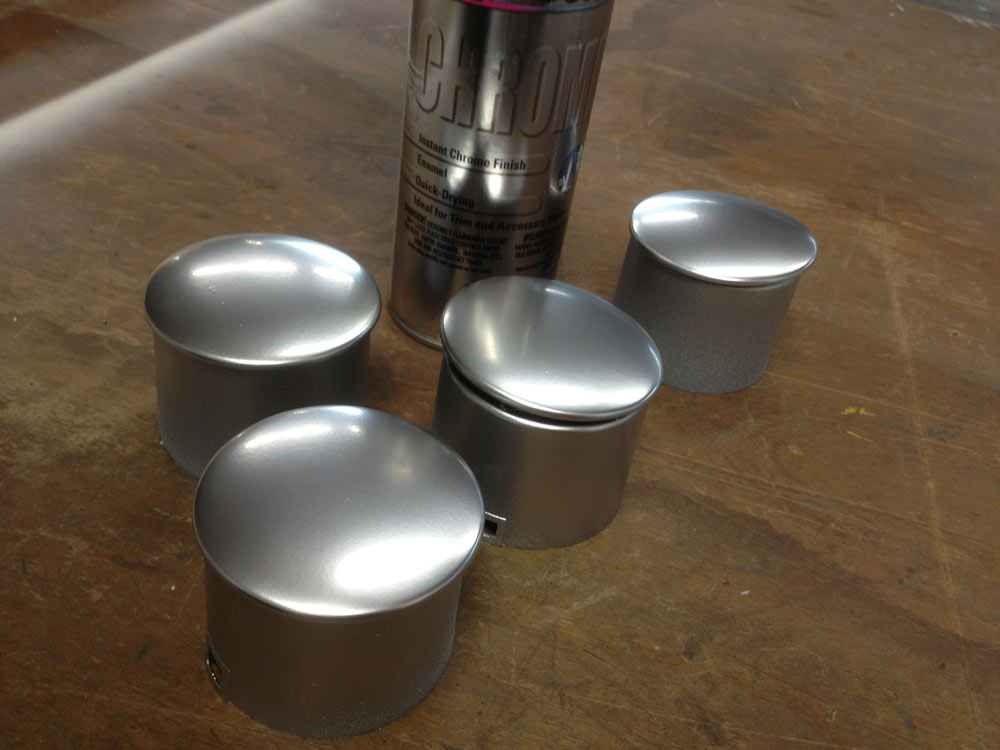
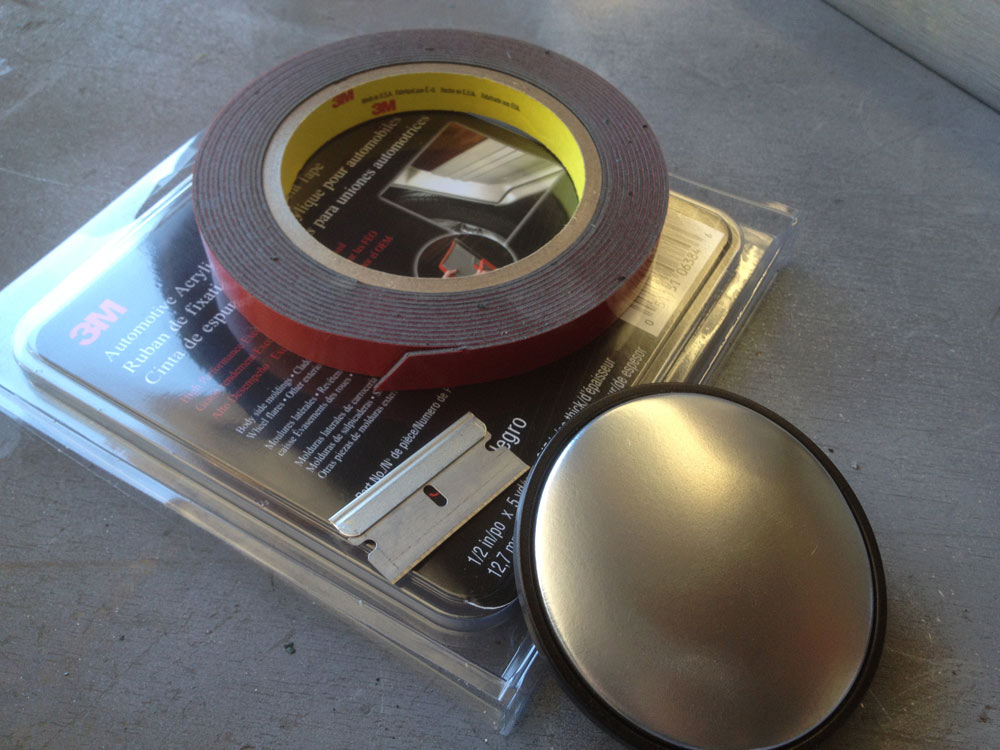
I cut pieces of 3M double sided automotive tape to put the faces back on the base.
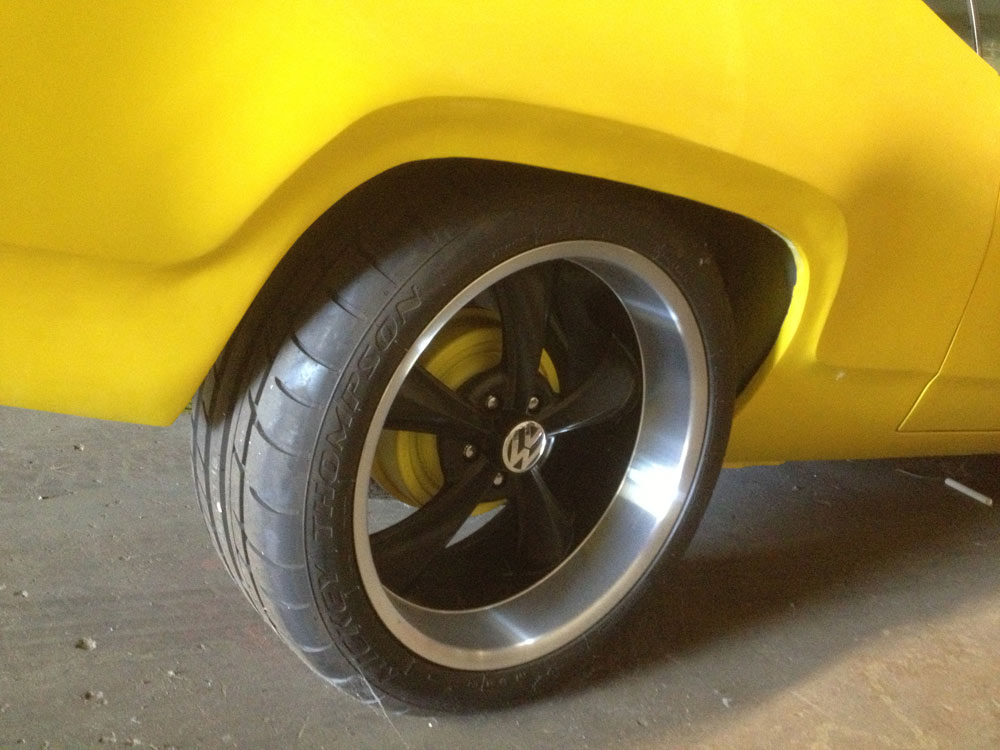
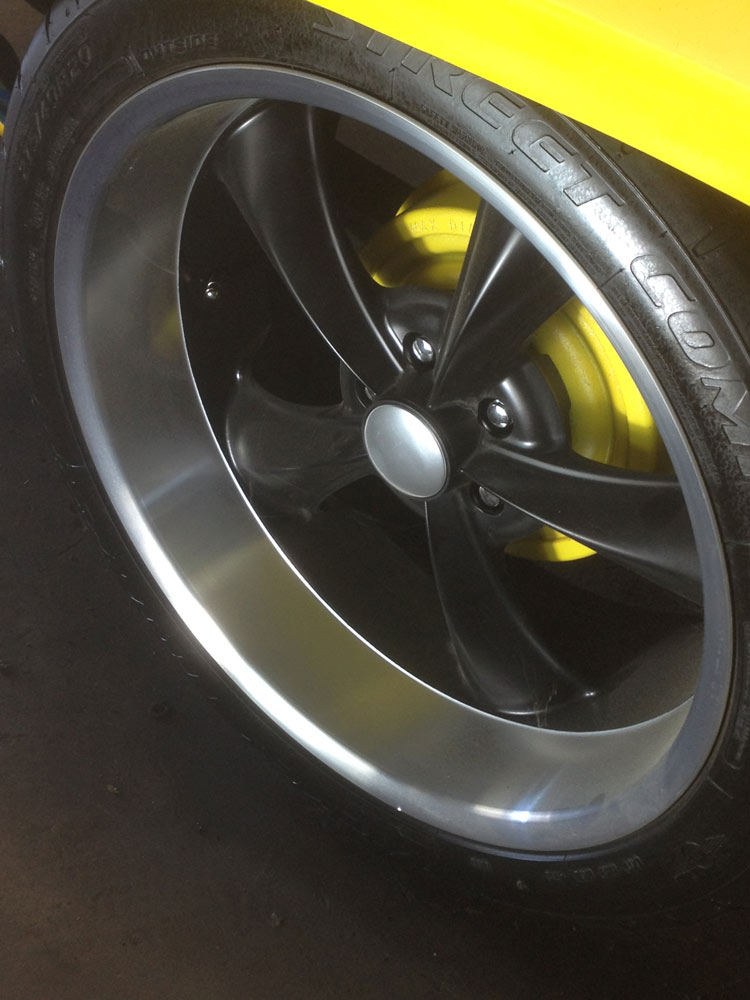
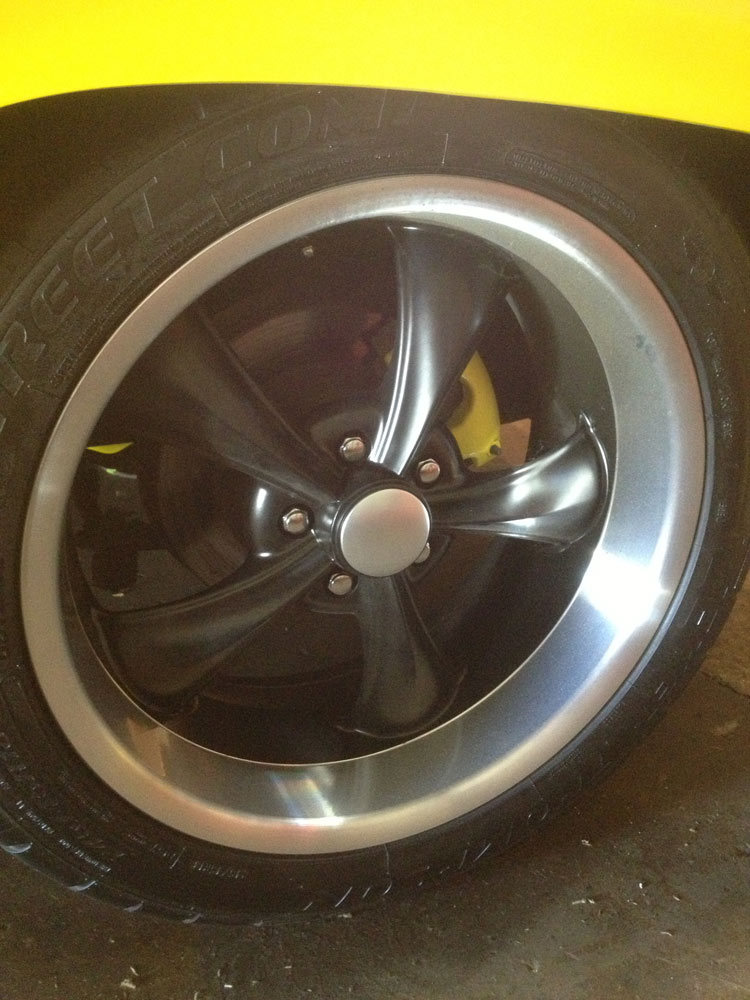
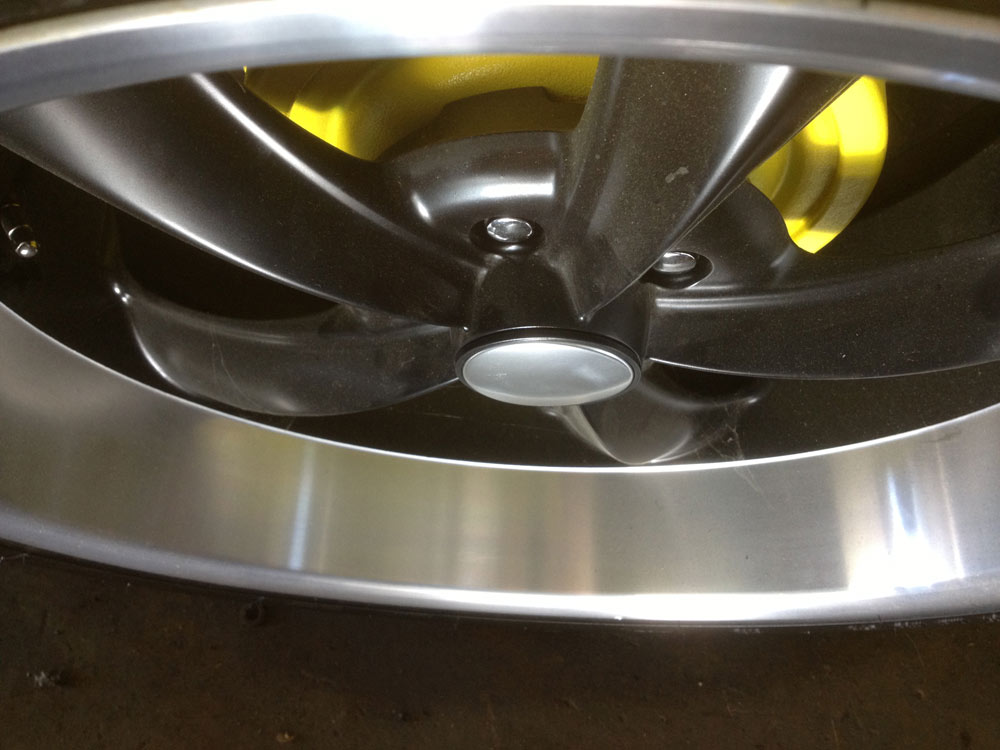
And the finished result: Much cleaner!
Example: the canter caps that came on a customer's Ridler (ebay) wheels.
man those are hideous
I measured the backside (edge to edge as well as the tabs) and didn't find any generic blank caps on ebay in the size I needed. The only caps I could find in 70mm (3") were from a VW Touareg SUV.
So I got them and they fit perfect!
Too bad the car wasn't a VW, or I would be done.
First, I slowly and carefully pried the metal faces off of the black plastic cap.
Next, I scuffed up the faces real well to give the primer a good surface to bite to.
Then I taped them to some paint caps to give them an elevated surface, so i could pant the edges easier.
Cleaned them with some caliper cleaner and let dry before priming. Wax & grease remover would have worked fine, but I ran out.
Self Etch primer is ideal for bare metal. Two coats and I put them in the sun to dry.
Next I started the long process of building up the surface with Filler Primer. I probably used half of this can on the 4 caps and it was plenty thick to allow sanding smooth. Follow the directions on the can to ensure the primer dries properly.
You can still see the raised VW logo.
Then I sanded the raised areas level with the rest of the surface. I went just a little too far on one cap, so I had to put a few more coats on and repeat. I started sanding with 220 and then as it got more level, I switched to 400 and then finished with 600 grit.
Next I put on some Primer Sealer, 2 coats.
Then I put on 2 coats, followed by 1 wet coat of Chrome paint.
I cut pieces of 3M double sided automotive tape to put the faces back on the base.
And the finished result: Much cleaner!
Do Not PM me your technical questions. Post them in the forum! 
My 1992 SOHC Turbo Hatch
My Youtube Channel: 6th Gear Garage
My 1992 SOHC Turbo Hatch
My Youtube Channel: 6th Gear Garage


