

- Wed May 07, 2008 5:58 pm
#54235
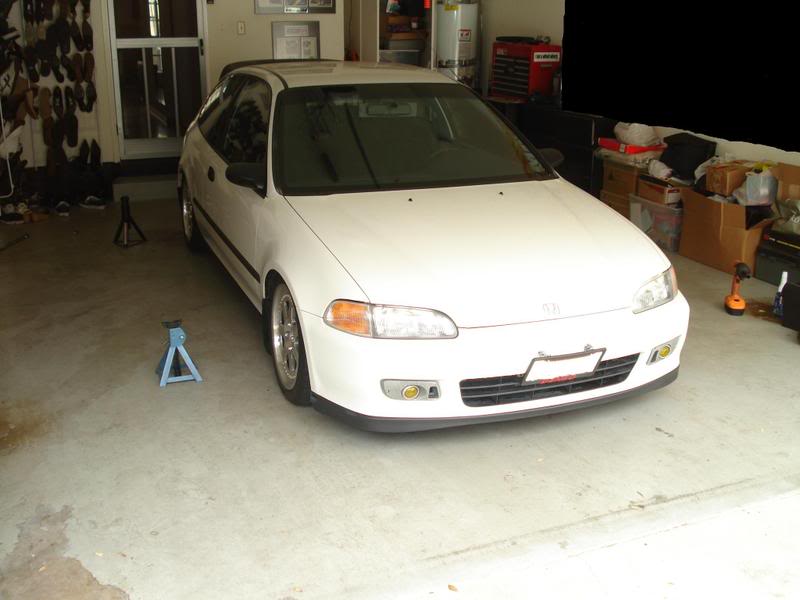
Ok guys I know a lot of people keep asking for one so here it is.
Give urself enough room on both sides, we position his hatch in the middle of the garage. Get the car on jack stands and remove the rims.
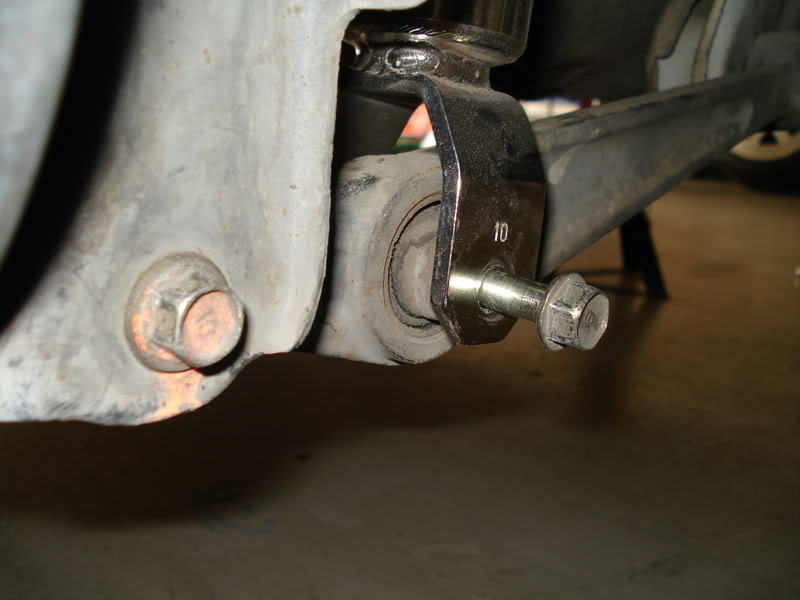
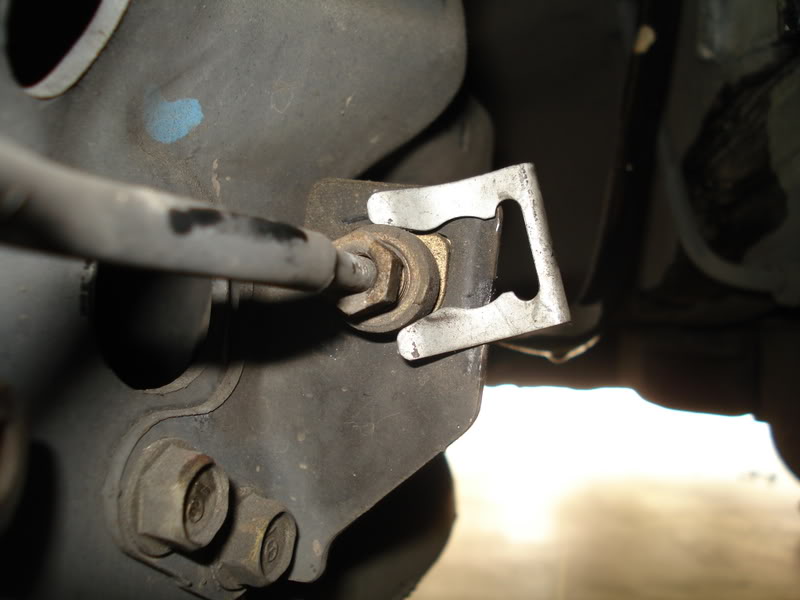
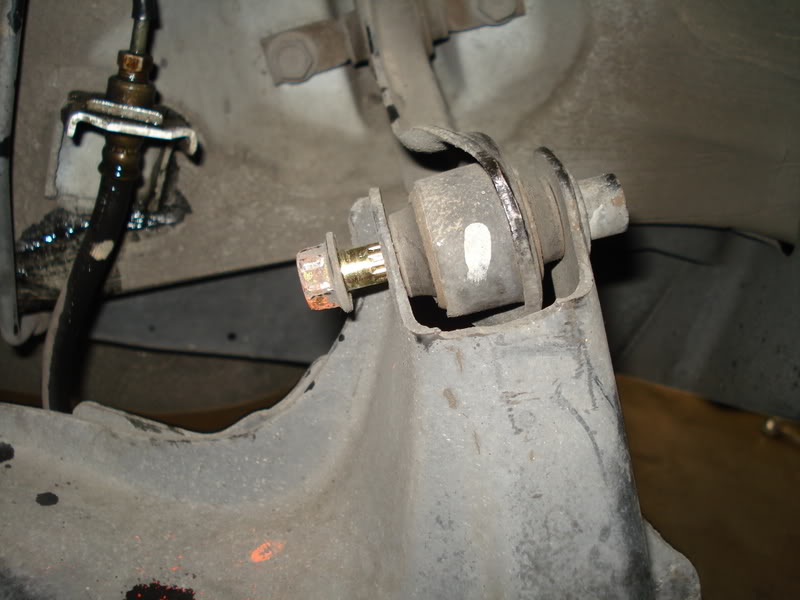
Start out by removing the lower strut bolt that connects to the LCA.
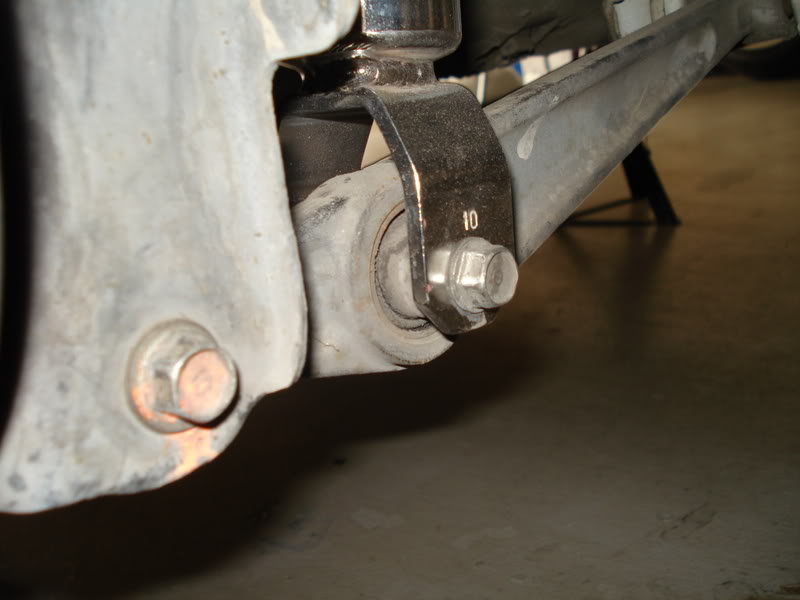
Than you want to remove the to top-hat bolts on the top side.
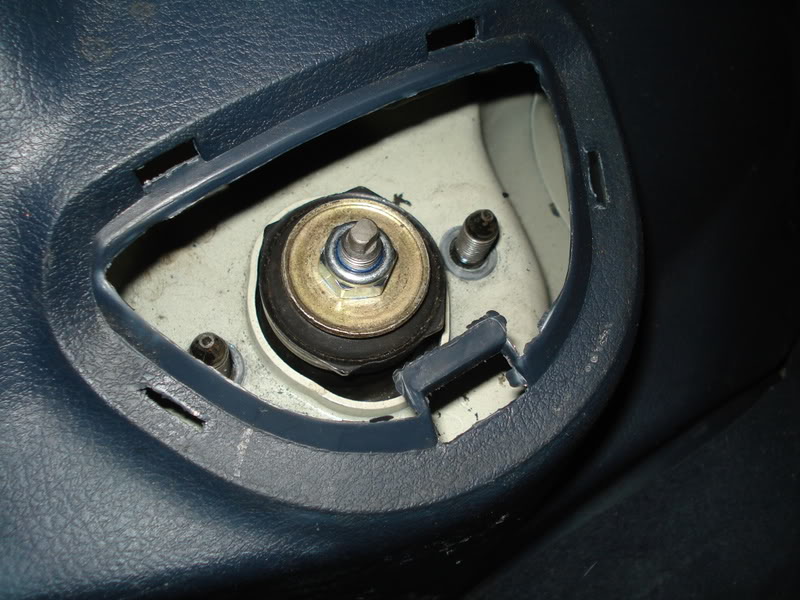
They you want to remove the strut but before we can do so with FULL COILOVERS we need to remove the LCA bolt ( reason for remove so you have more room to work with when installing the new trailing arms)
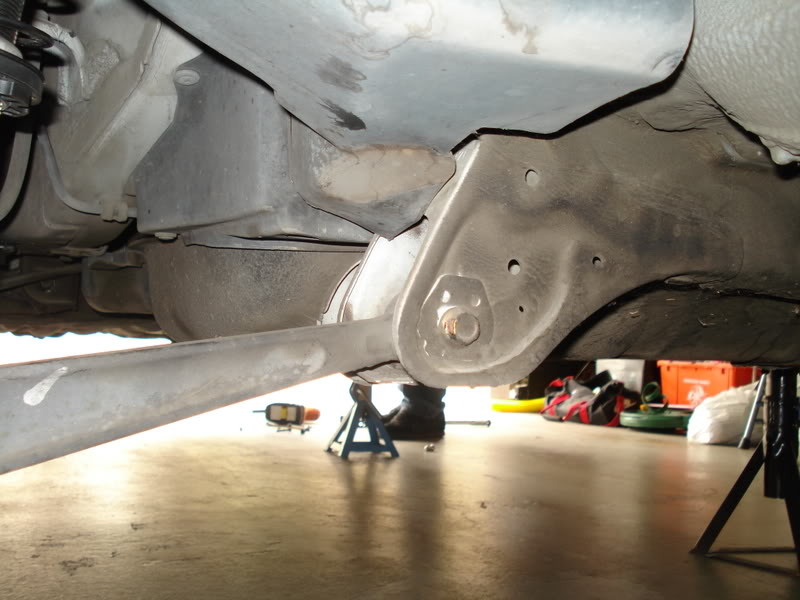

Lower the LCA down
Now remove the strut or coilover
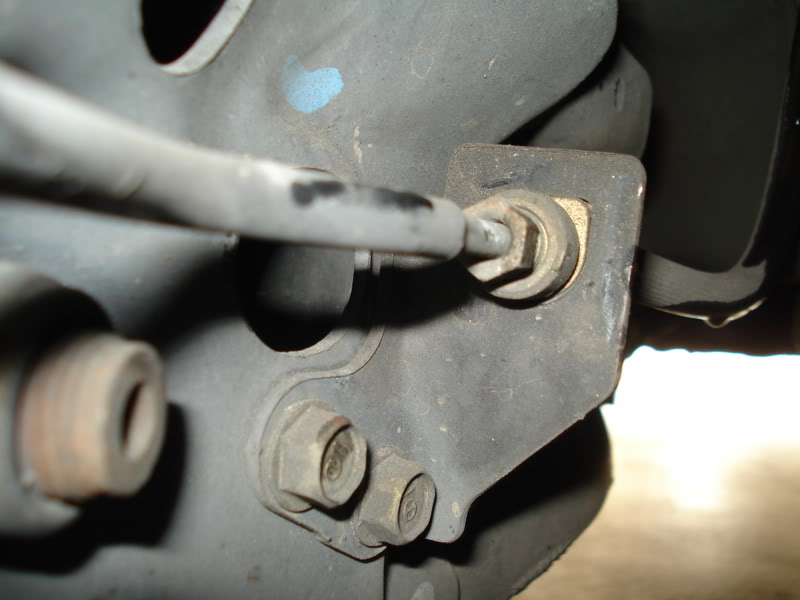
Ok now you have to disconnect the brake line
Use a 10mm flare nut wrench to remove the fitting.
than you want to remove the retaining clip so the brake line can slip thru
Since there is fluid in the system grab a bottle and let the line drain inside.
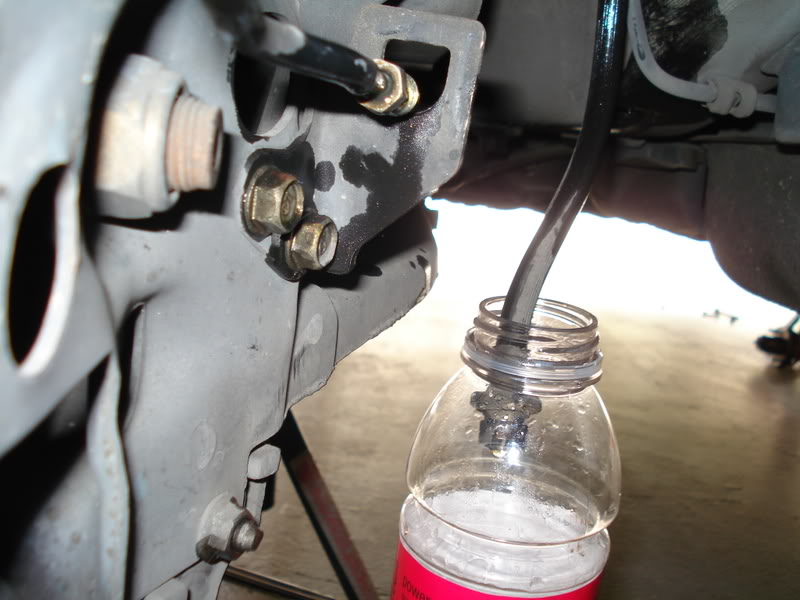
Since we are replacing the lines with Goodyear Stainless Steel ones we need to remove the whole line instead. So you need to loose the fitting and remove the retaining clip again
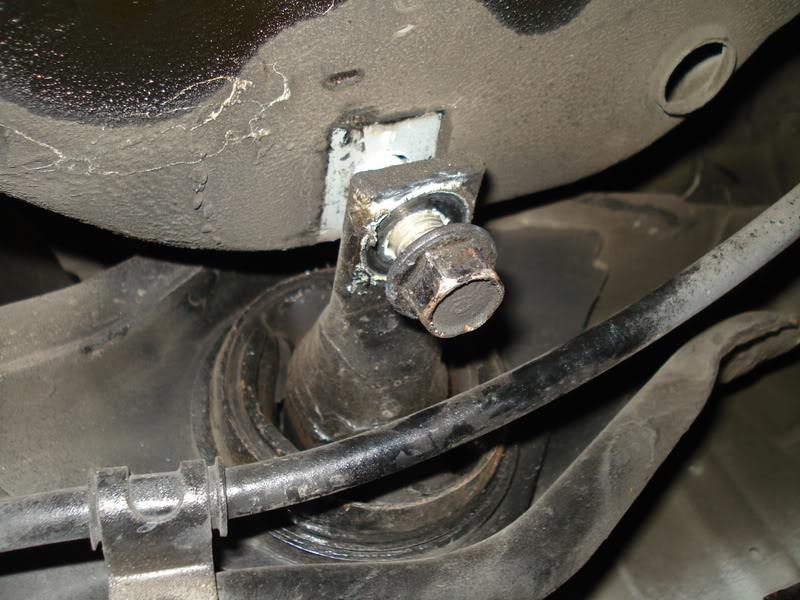
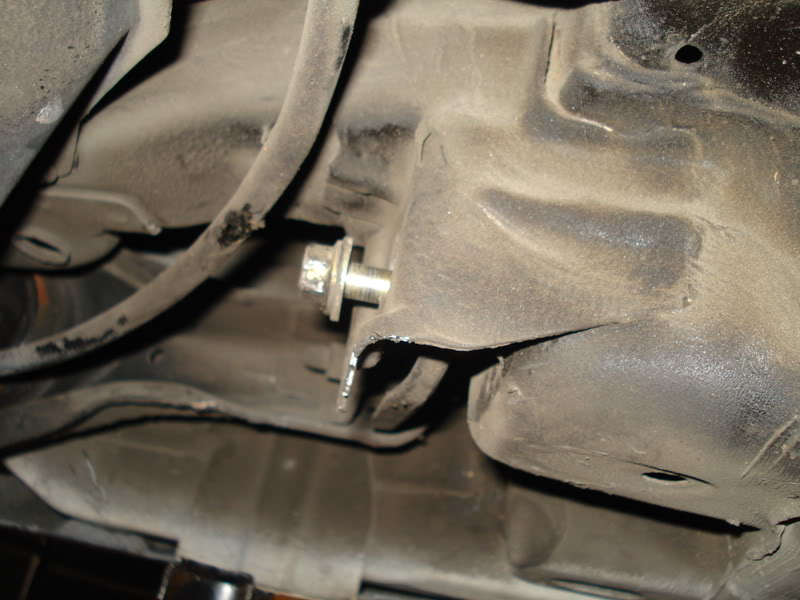
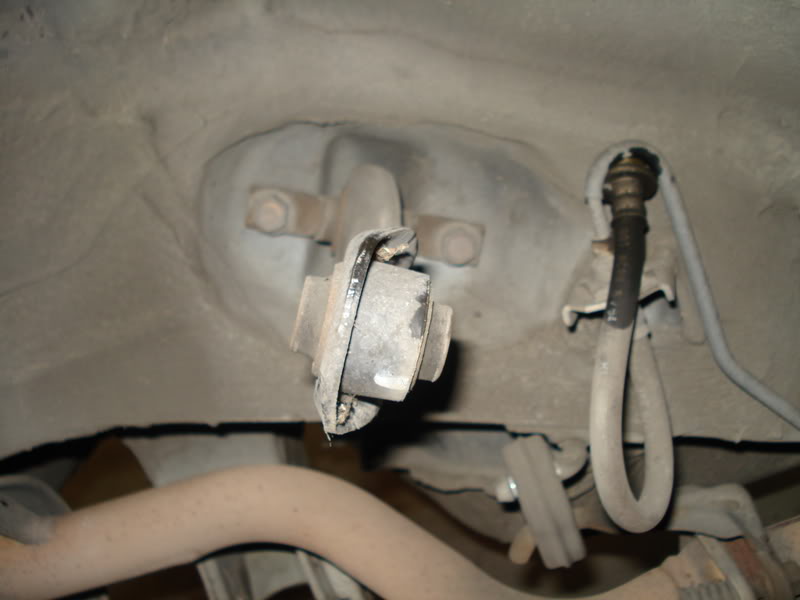
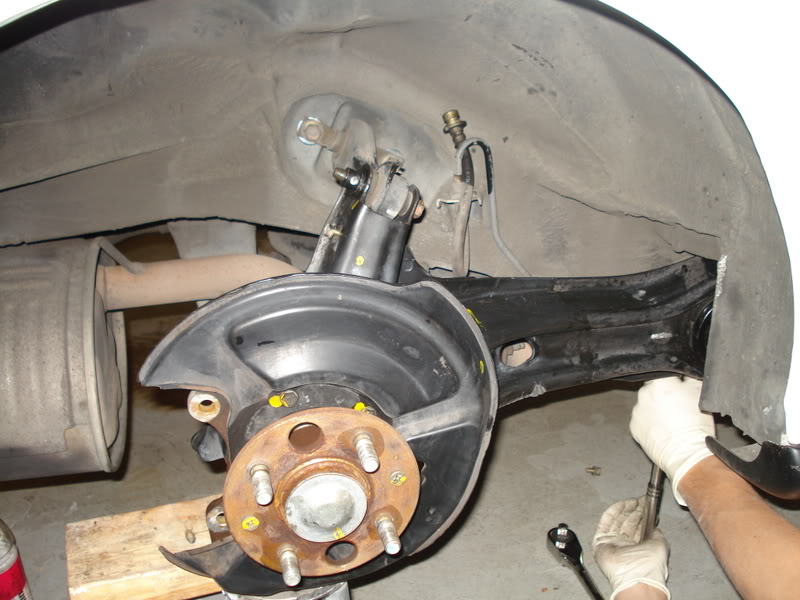
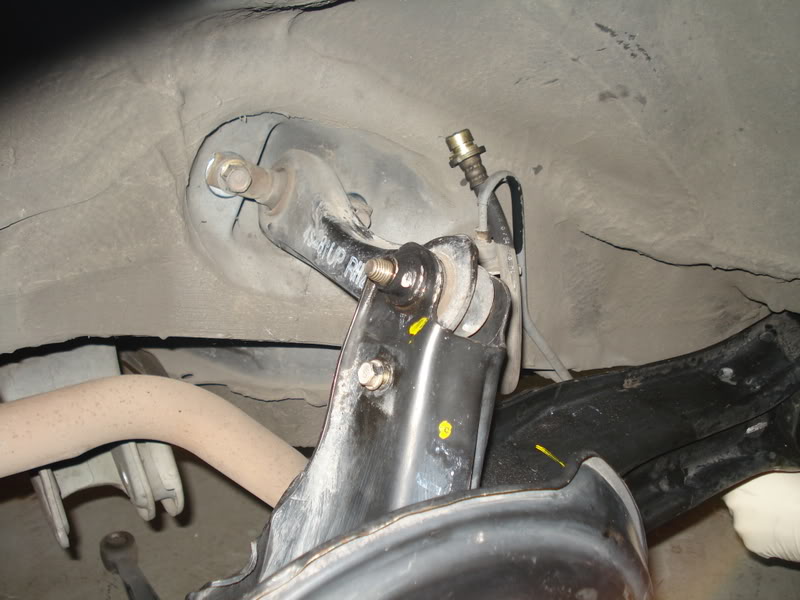
This would also be a good time to break loose the bolt connecting the upper control arm.
Now its time to break loss the bolts holding in the trailing arm. we frist start with the trailing arm bushing
Theres one on each side
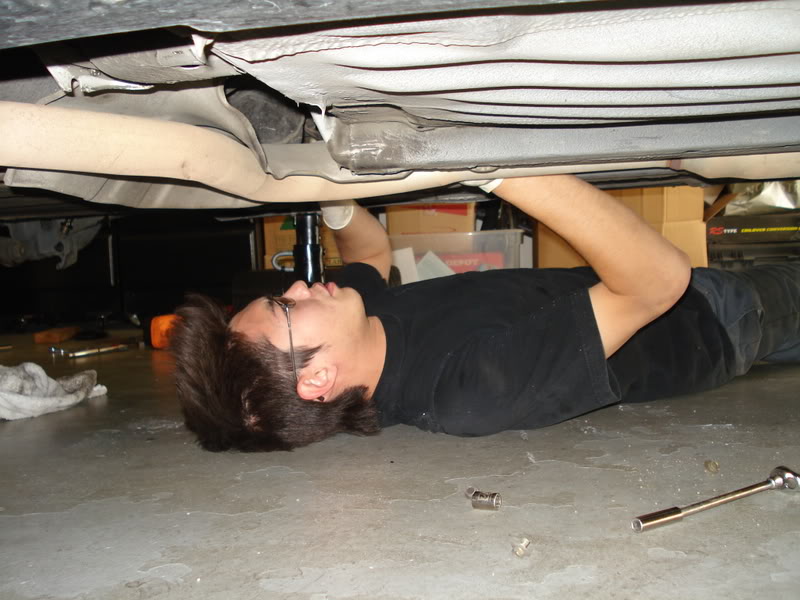
myself in action haha
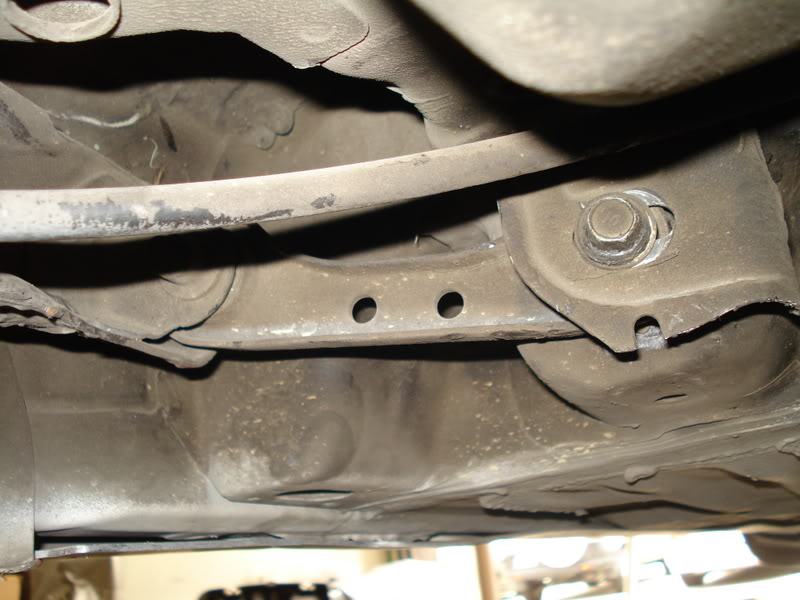
Than remove the bolt in the top right corner, this arm adjusts ur Toe.
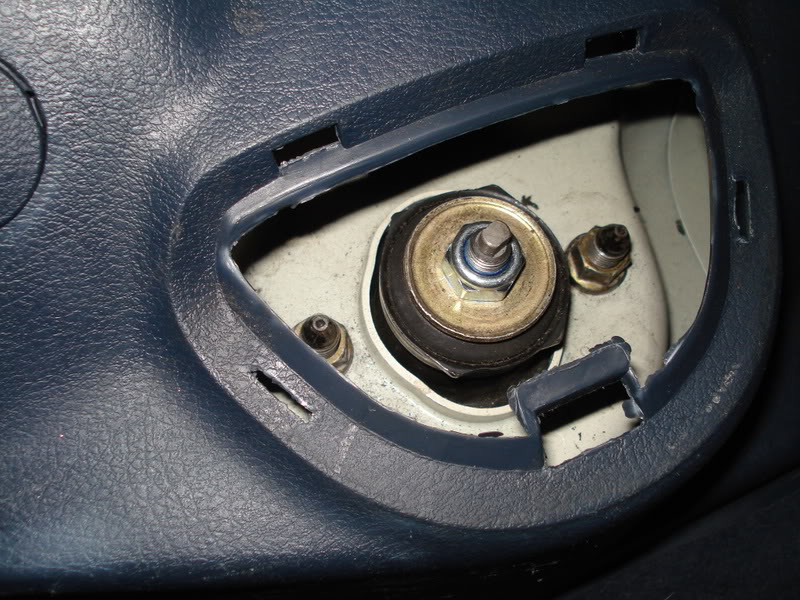
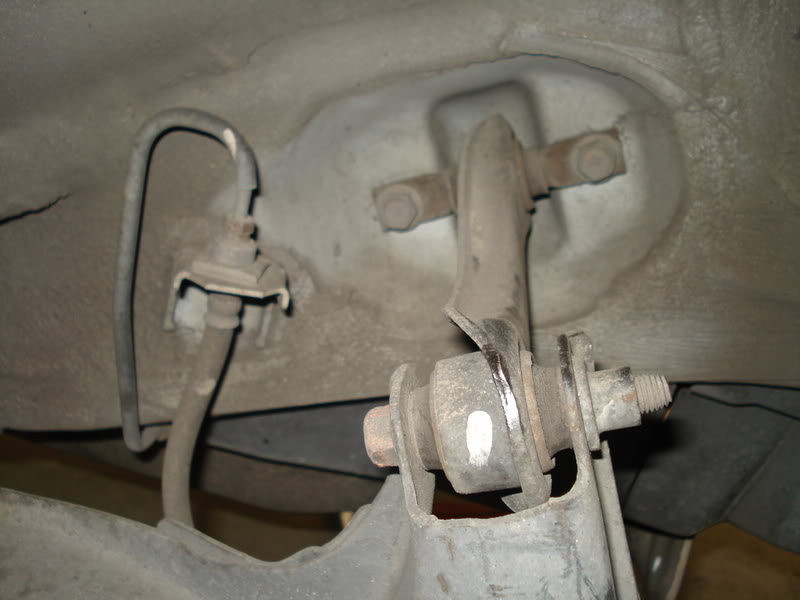
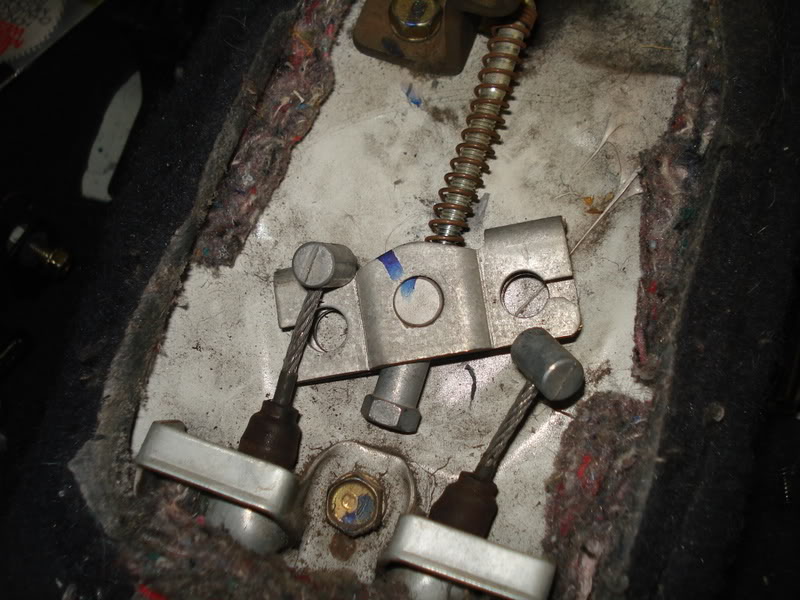
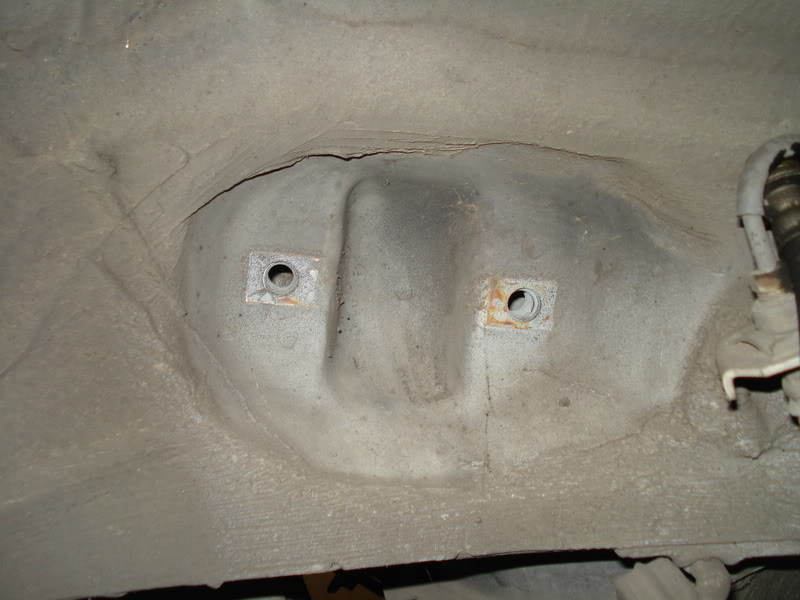
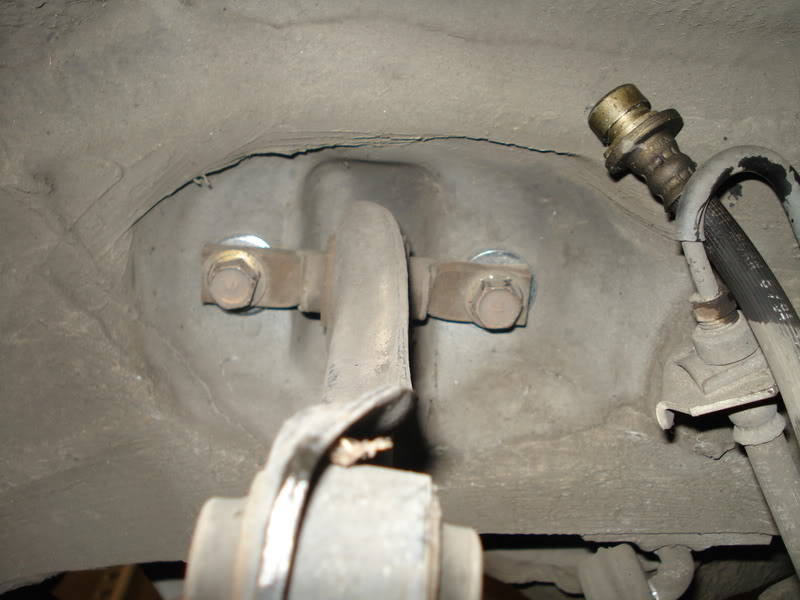
than you will need to disconnect two of these E-Brake line brackets from the frame.
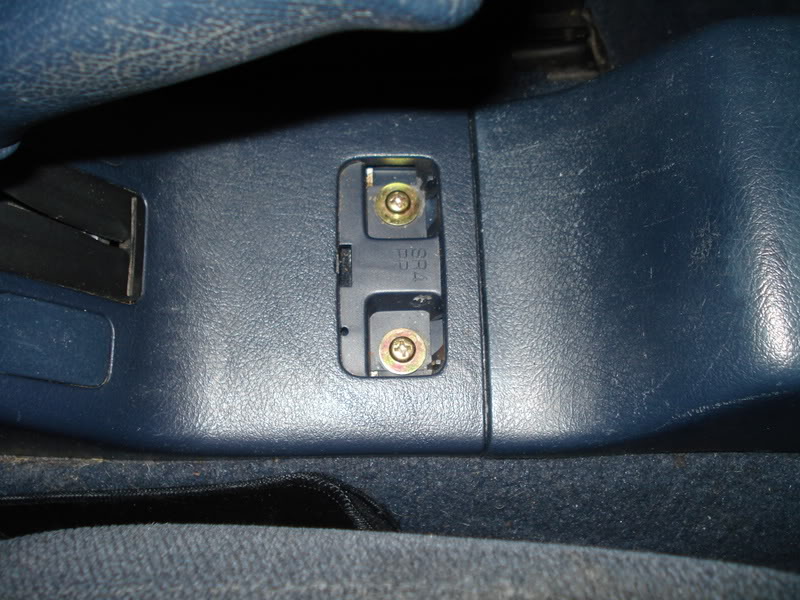
Before the E-brake lines can be removed you have to remove the arm-rest or e-brake console to get to lines inside.
Than start out by loosing the lines to give you some slack
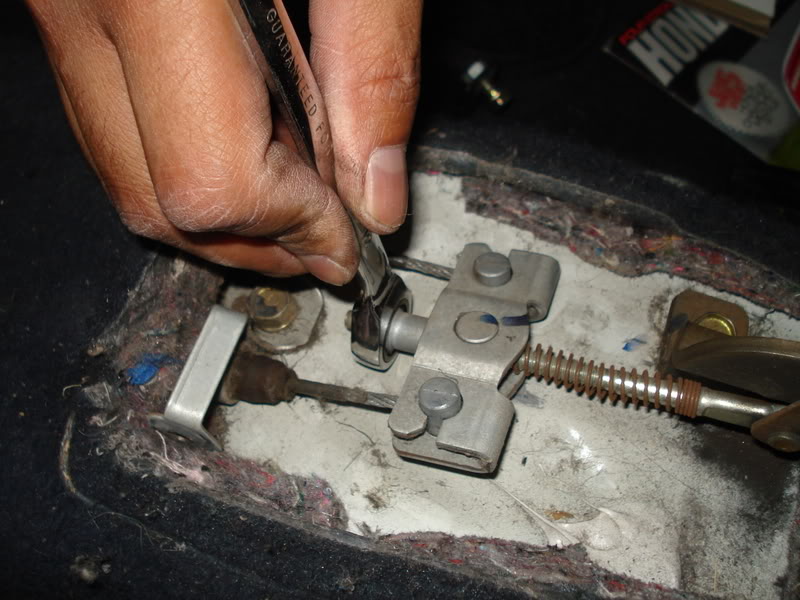
Than with some needle noses remove the lines from the bracket.
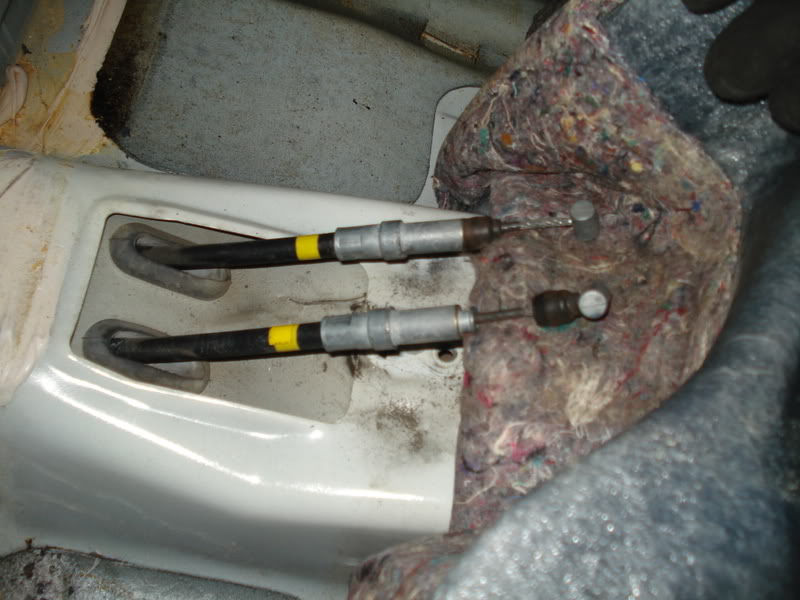
Than un-do the two 12mm's holding the lines in, Pull the carpet back so the lines can be feed out now.
Now that the lines are out. just go back with a cordless impact and remove the UCA than the toe arm and the trailing arms bolts and there the old drums are out.
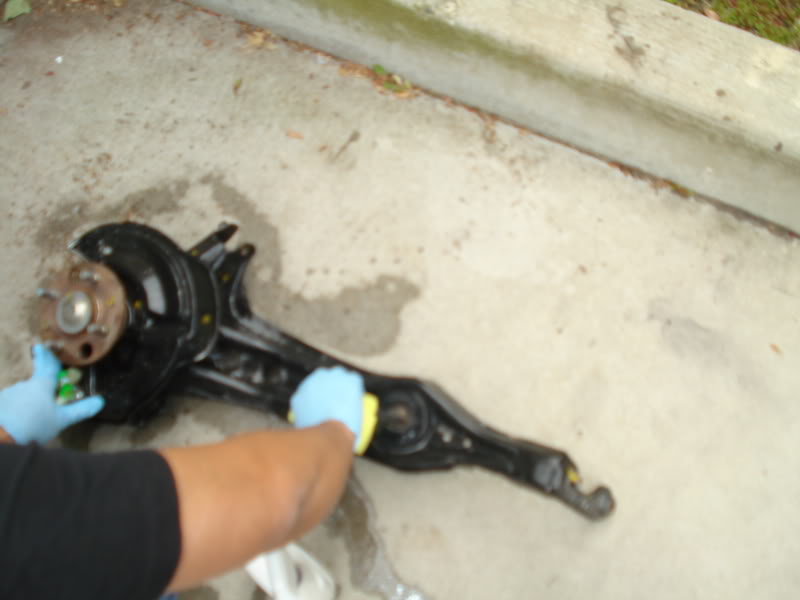
now we wash the new rears
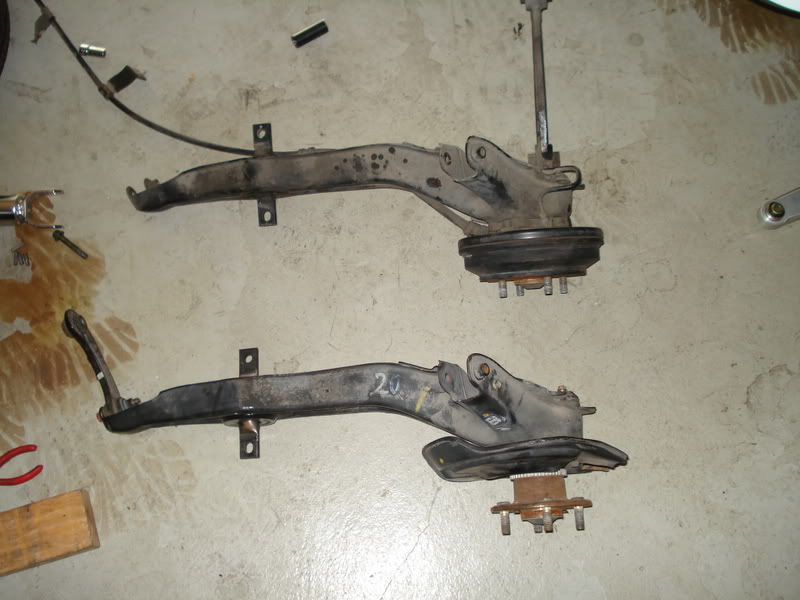
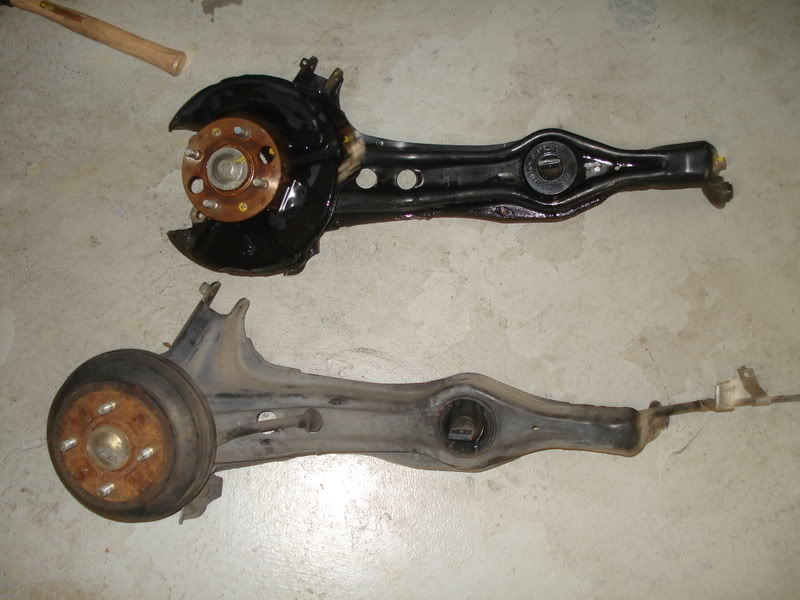
Comparison between the two, we also have new trailing arm bushing pressed in. This is always a good idea especailly since you dont want to have to repeat ur work when you find out the bushing is TOAST.
Before we install the new gsr rears I decide to throw some washers in the UCA's to help with cambering problems
with two washers installed
Now its time to install the GSR trailing arm, just like we took them off start out by just getting the bolts in. I start with the trailing arms than go to the upper control arms (UCA) and than the Toe arms.
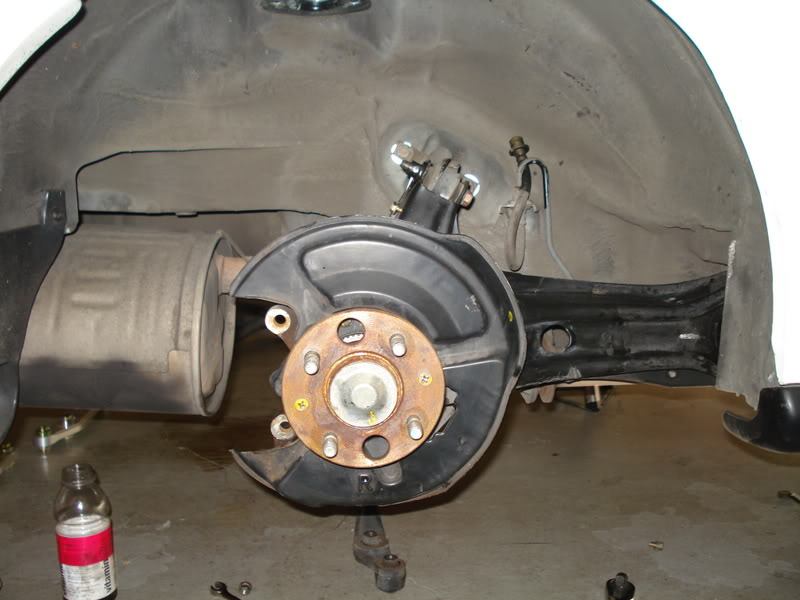
than it should look like this
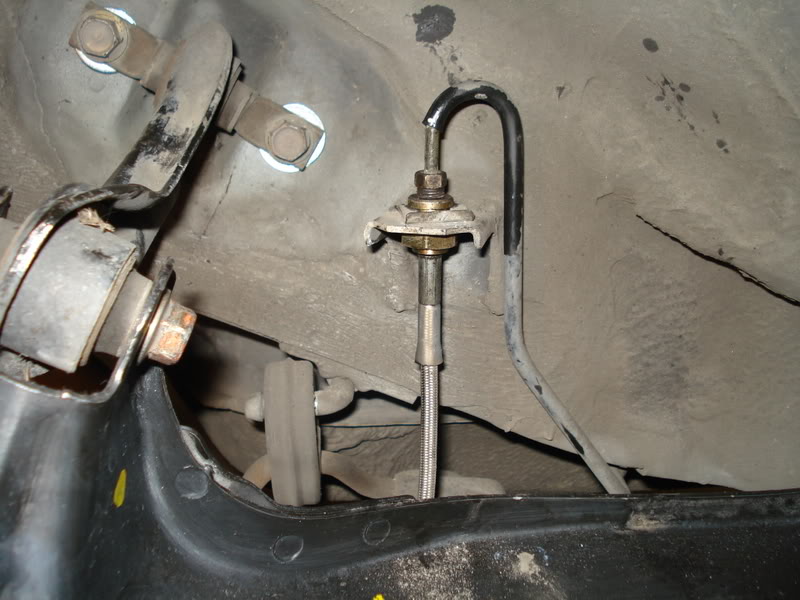
Than you install ur brakelines in are case we put in the stainless lines.
Now we are back to this point the whole trailing arms are in now we just need to get the caliper back on.
Ok my camera died when we started the calipers so NO pictures guys sorry, just follow the haynes manual its really simple.
So first you want to turn the piston back into the caliper with ur rear piston rool. I used a HONDA OEM one but you can get unverisal ones from AUTOZONE.
after you get it clocked you want to mount the caliper bracket on just to see if you got the piston clocked right so the caliper will bolt on. once its in place. take the caliper back off.
Install the rotor, than install the bracket, put your shoes in place ( ur caliper should now be clocked right to slide in the pad. than conect the caliper and bolt everything done. If you guys want pictures I can take mine apart and install it again so you have pictures.
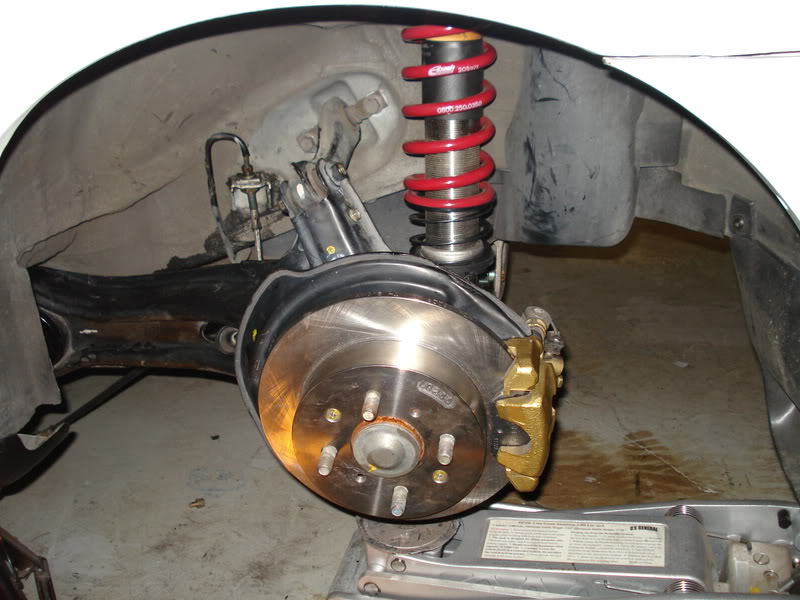
After installed it should look like this.
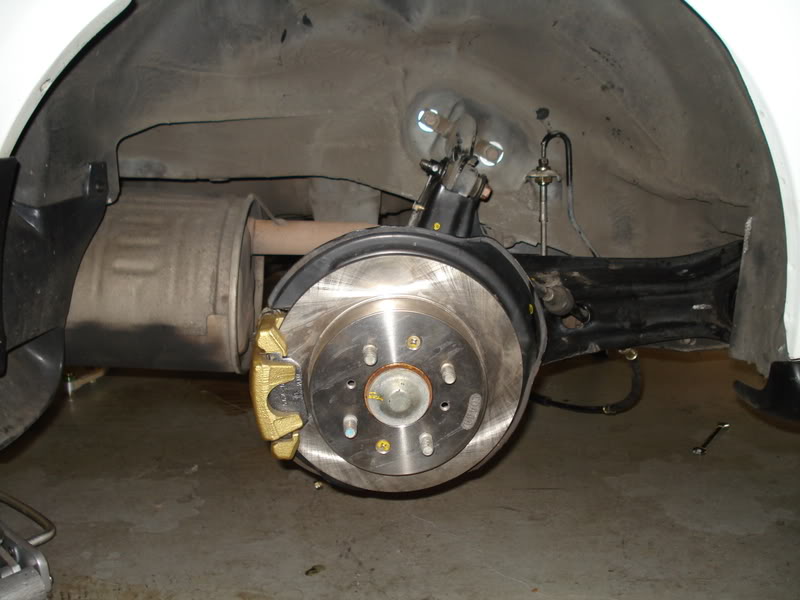
Beatiful huh hahaha
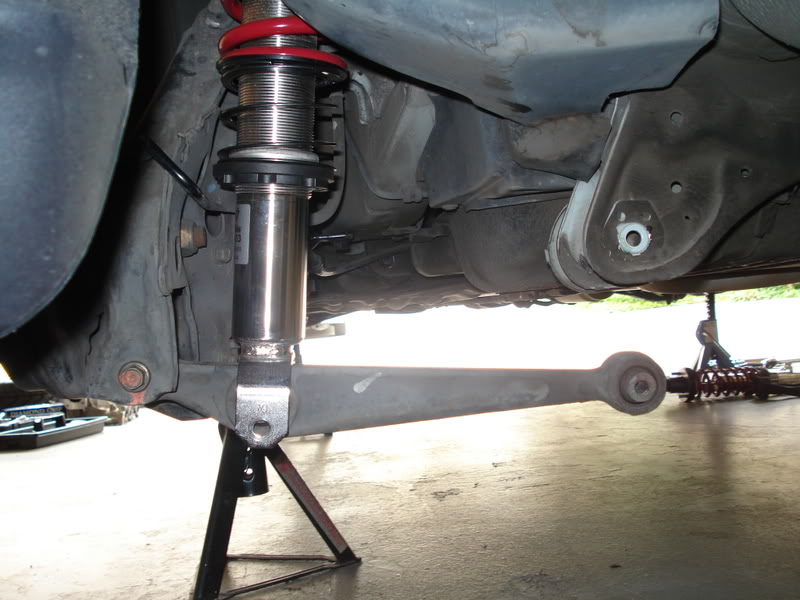
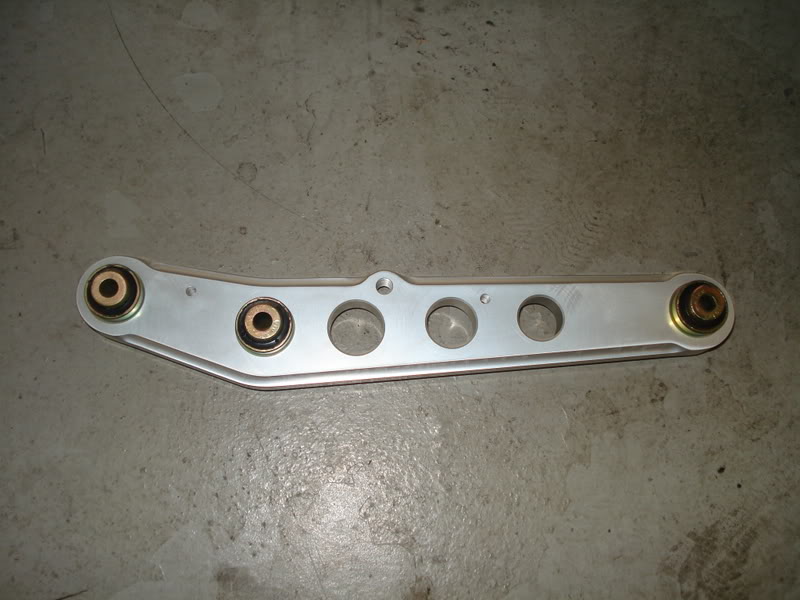
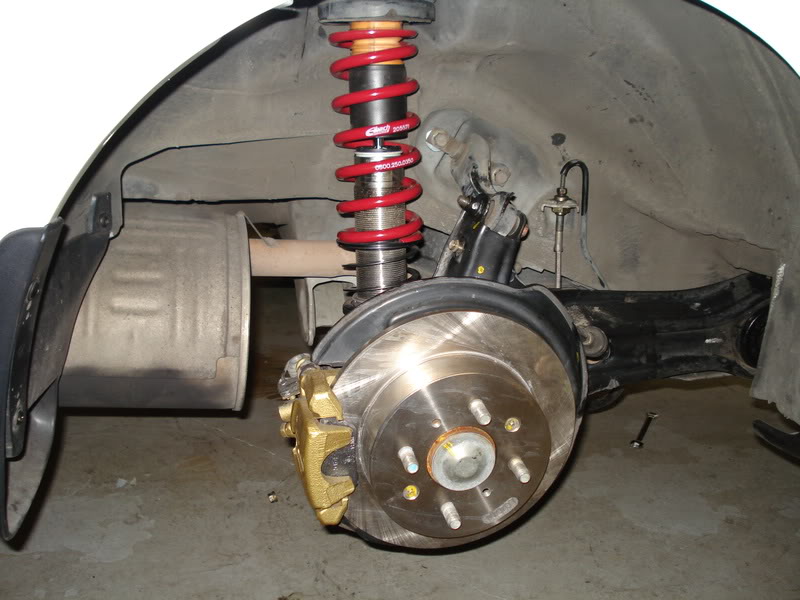
Ok My home also got some custom Eibach LCA's so we installed those next.
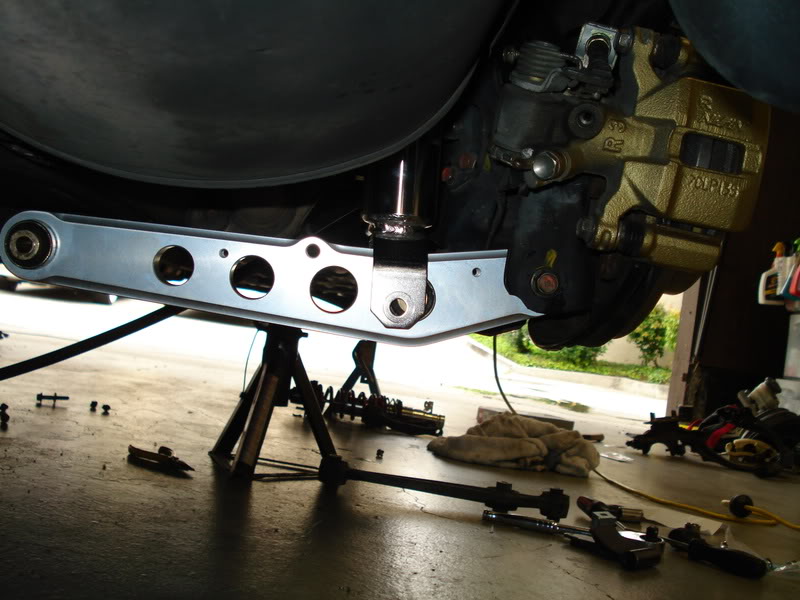
start out by bolting in the LCA to the HUB
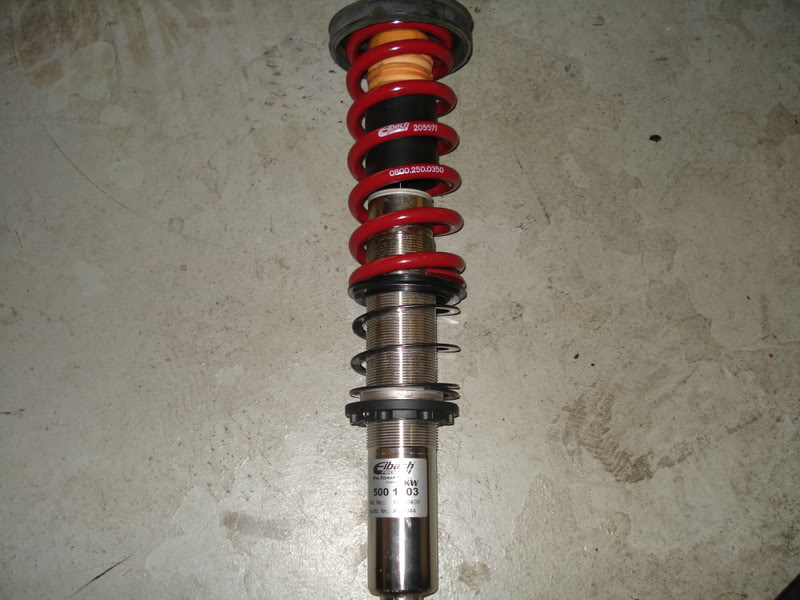
He also has a set off custom spring rate Coilovers which ride dope as fuck.
Than install the coilover or strut and than tight the last bolt to hold in the LCA.
Should look like this than
do the same for the other side.
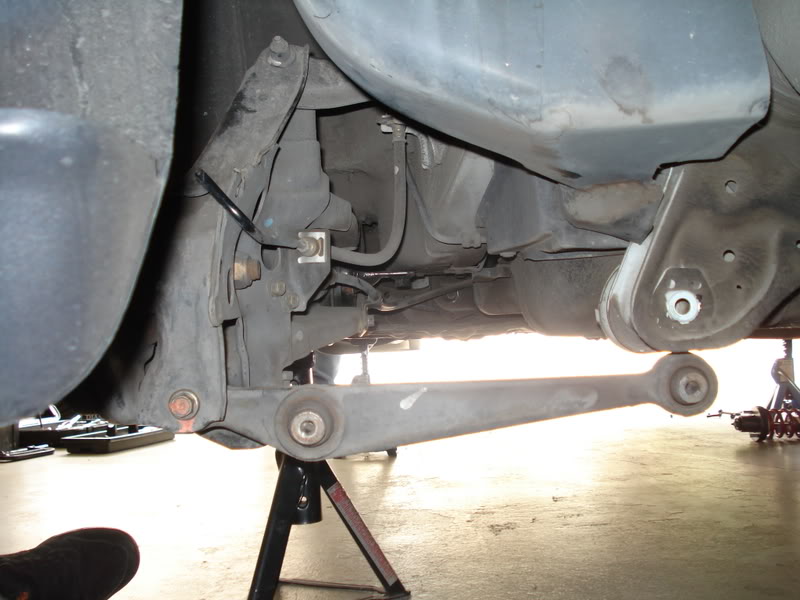
Than you want to reconnect ur e-brake lines just the reverse of the way they came out.
than you would bleed ur brakes from RR RL FR than FL. And ur finished.
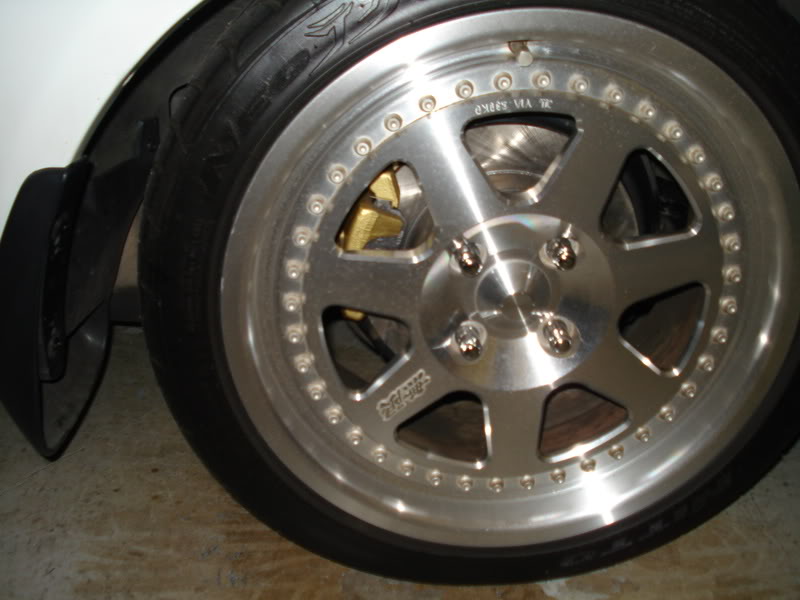
Should come out looking like this
LABOR COSTS = taking me to get some BomB ass FLIP food and these ^_^
Stay tuned... next week I am installing Front GSR's with calipers and Upper control arms that are adjustable along with a GSR Brake Booster and MC.
Give urself enough room on both sides, we position his hatch in the middle of the garage. Get the car on jack stands and remove the rims.
Start out by removing the lower strut bolt that connects to the LCA.
Than you want to remove the to top-hat bolts on the top side.
They you want to remove the strut but before we can do so with FULL COILOVERS we need to remove the LCA bolt ( reason for remove so you have more room to work with when installing the new trailing arms)
Lower the LCA down
Now remove the strut or coilover
Ok now you have to disconnect the brake line
Use a 10mm flare nut wrench to remove the fitting.
than you want to remove the retaining clip so the brake line can slip thru
Since there is fluid in the system grab a bottle and let the line drain inside.
Since we are replacing the lines with Goodyear Stainless Steel ones we need to remove the whole line instead. So you need to loose the fitting and remove the retaining clip again
This would also be a good time to break loose the bolt connecting the upper control arm.
Now its time to break loss the bolts holding in the trailing arm. we frist start with the trailing arm bushing
Theres one on each side
myself in action haha
Than remove the bolt in the top right corner, this arm adjusts ur Toe.
than you will need to disconnect two of these E-Brake line brackets from the frame.
Before the E-brake lines can be removed you have to remove the arm-rest or e-brake console to get to lines inside.
Than start out by loosing the lines to give you some slack
Than with some needle noses remove the lines from the bracket.
Than un-do the two 12mm's holding the lines in, Pull the carpet back so the lines can be feed out now.
Now that the lines are out. just go back with a cordless impact and remove the UCA than the toe arm and the trailing arms bolts and there the old drums are out.
now we wash the new rears
Comparison between the two, we also have new trailing arm bushing pressed in. This is always a good idea especailly since you dont want to have to repeat ur work when you find out the bushing is TOAST.
Before we install the new gsr rears I decide to throw some washers in the UCA's to help with cambering problems
with two washers installed
Now its time to install the GSR trailing arm, just like we took them off start out by just getting the bolts in. I start with the trailing arms than go to the upper control arms (UCA) and than the Toe arms.
than it should look like this
Than you install ur brakelines in are case we put in the stainless lines.
Now we are back to this point the whole trailing arms are in now we just need to get the caliper back on.
Ok my camera died when we started the calipers so NO pictures guys sorry, just follow the haynes manual its really simple.
So first you want to turn the piston back into the caliper with ur rear piston rool. I used a HONDA OEM one but you can get unverisal ones from AUTOZONE.
after you get it clocked you want to mount the caliper bracket on just to see if you got the piston clocked right so the caliper will bolt on. once its in place. take the caliper back off.
Install the rotor, than install the bracket, put your shoes in place ( ur caliper should now be clocked right to slide in the pad. than conect the caliper and bolt everything done. If you guys want pictures I can take mine apart and install it again so you have pictures.
After installed it should look like this.
Beatiful huh hahaha
Ok My home also got some custom Eibach LCA's so we installed those next.
start out by bolting in the LCA to the HUB
He also has a set off custom spring rate Coilovers which ride dope as fuck.
Than install the coilover or strut and than tight the last bolt to hold in the LCA.
Should look like this than
do the same for the other side.
Than you want to reconnect ur e-brake lines just the reverse of the way they came out.
than you would bleed ur brakes from RR RL FR than FL. And ur finished.
Should come out looking like this
LABOR COSTS = taking me to get some BomB ass FLIP food and these ^_^
Stay tuned... next week I am installing Front GSR's with calipers and Upper control arms that are adjustable along with a GSR Brake Booster and MC.
INLINEFOUR.COM
If you are in the Southern Ca. area, drop on by and visit our showroom.
11400 Knott Street, Garden Grove, CA 92841.
info@inlinefour.com Or Sales@inlinefour.com
If you are in the Southern Ca. area, drop on by and visit our showroom.
11400 Knott Street, Garden Grove, CA 92841.
info@inlinefour.com Or Sales@inlinefour.com


 ) Just remove the drum, pad, and get to the toothed insert( It has springs all around it that you will have to slide back. You will need pliers to smash the teeth in and pull it out. Saves you from having to get away from what your doing and go to the interior.


 !
!